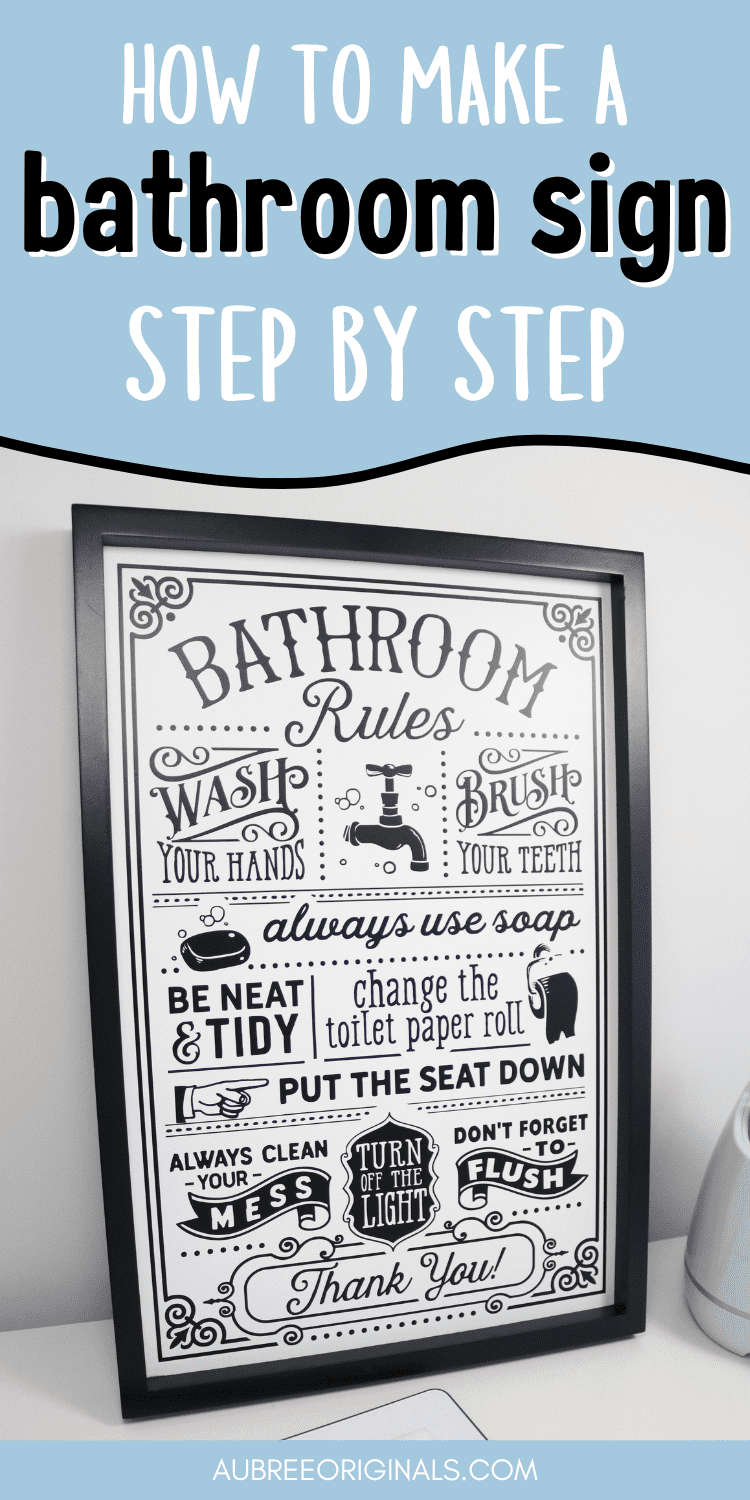
DIY Bathroom Wall Decor With Cricut
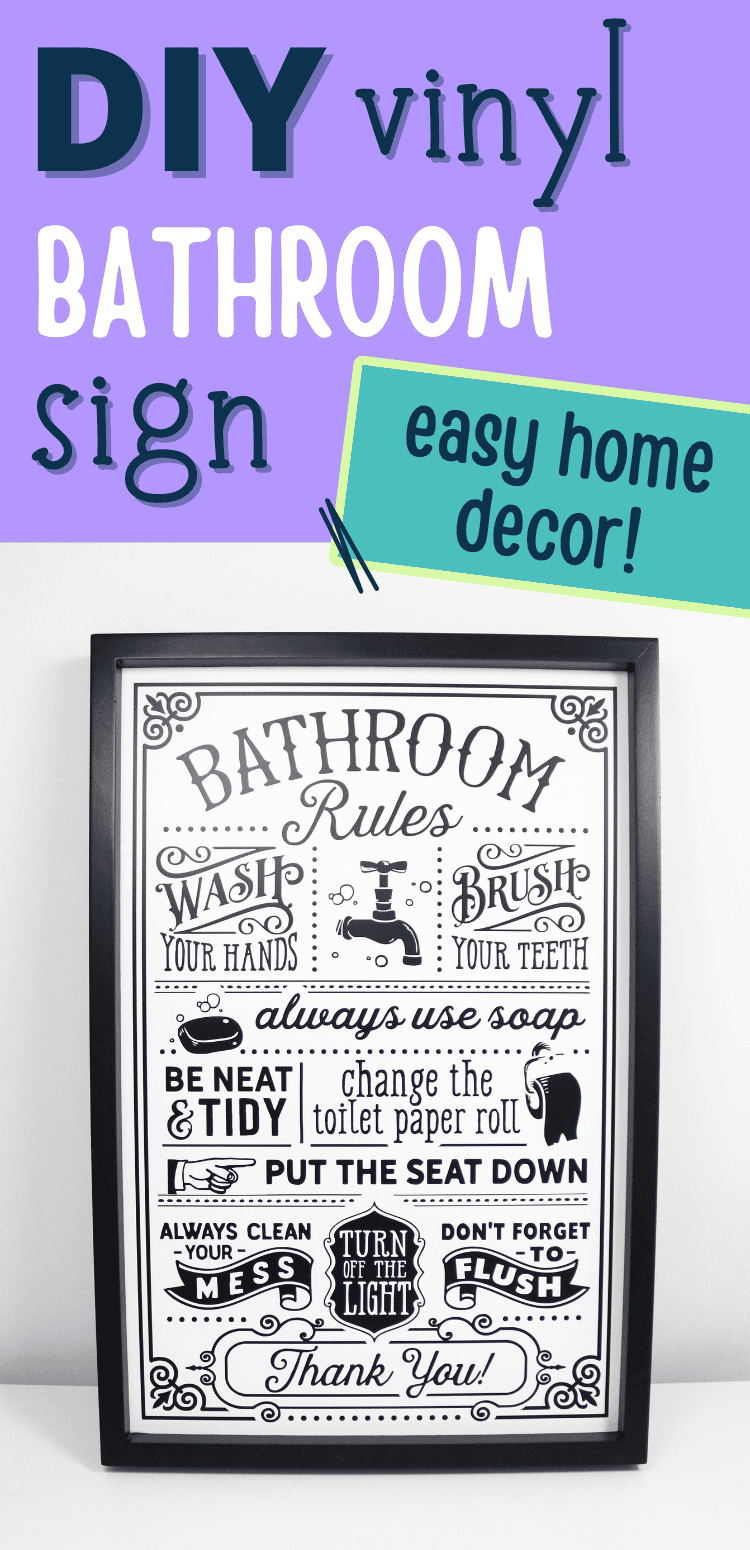
How to make a wood sign with vinyl for your bathroom! So many fun bathroom sign images in Cricut Design Space to choose from!
I’m slowly working my way through decorating our new house. My son’s bathroom has been especially bare, so it was time to make some wall art! I love how easy it is to create custom decor with a Cricut machine and some vinyl! And I especially love having a Cricut Access subscription so I never have to search very long for the perfect design—totally worth it!
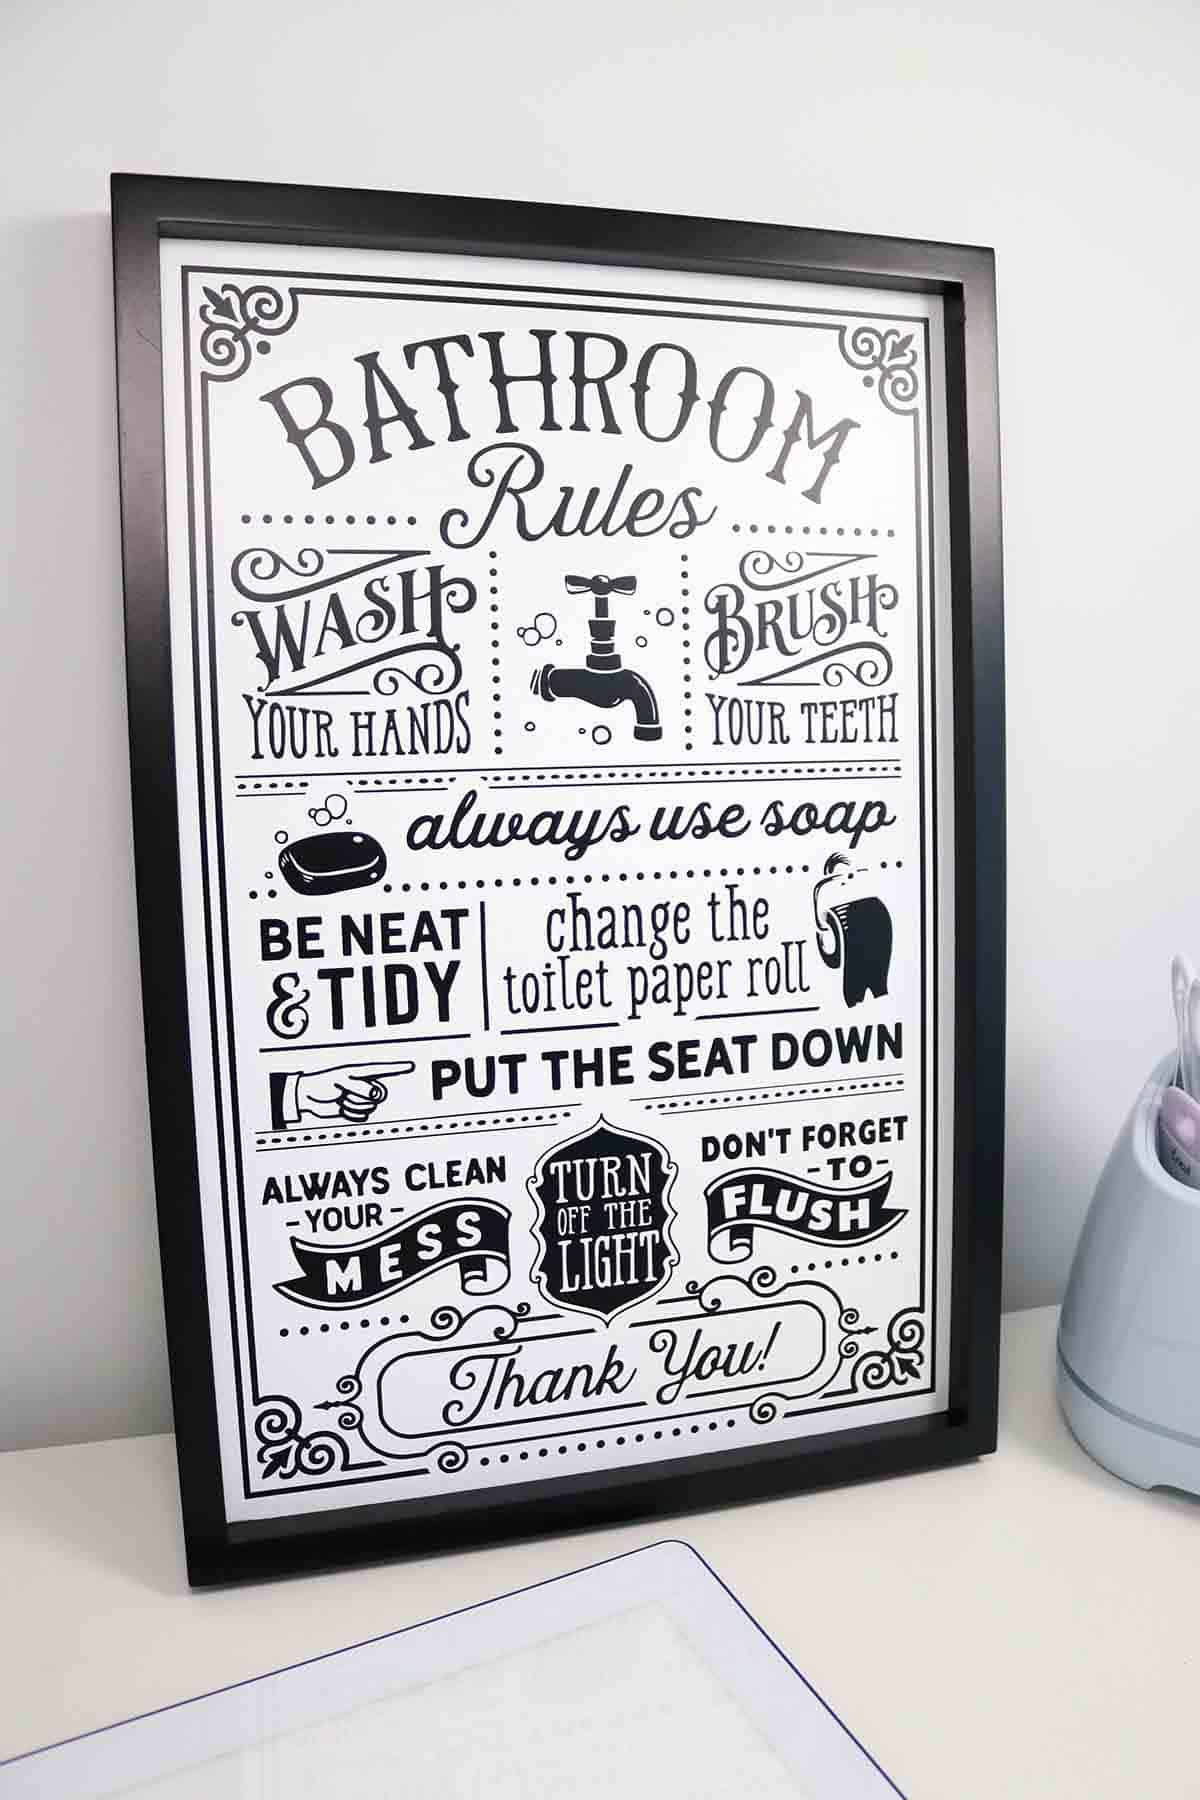
Isn’t this sign awesome?! And I bet you’d never guess it was handmade! I’m so proud of it. 😁
This post contains affiliate links. For more information, see my disclosures here.
What you need to make a bathroom sign
- Wood sign blank: I purchased this one from Hobby Lobby when it was 40% off
- Permanent vinyl: I used Cricut smart vinyl but I think next time I would just use regular permanent vinyl (the smart vinyl is so awesome for weeding, but it’s not so great at sticking to transfer tape, especially with this intricate of a design)
- Transfer tape
- Parchment paper
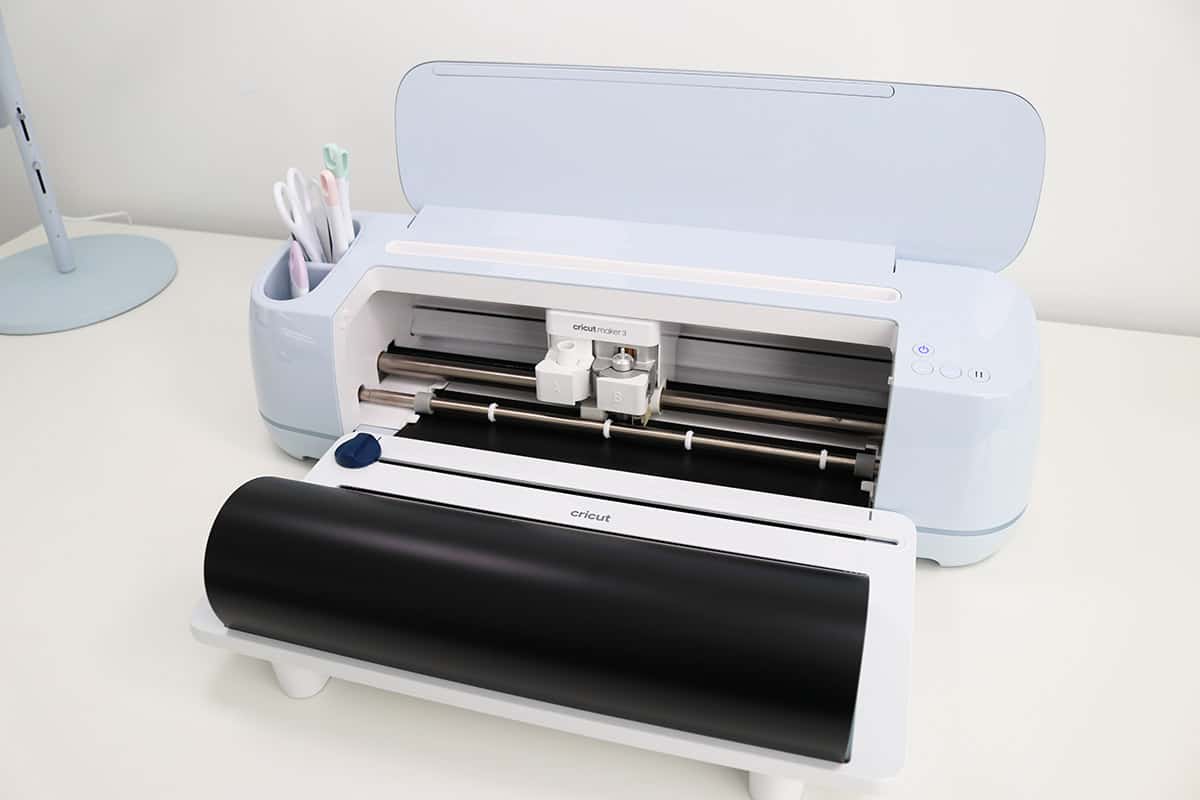
- Cricut machine: I love my original Cricut Maker, but for this project I used my Cricut Maker 3 so I could cut the smart vinyl without a mat—so convenient! I also love my vinyl roll holder to keep the vinyl from rolling off my table while cutting.
- Cricut BrightPad Go: not a requirement, but this makes weeding so much easier
- Cricut Bright 360 Lamp: bright lighting is so helpful when weeding and centering your vinyl on the sign
Save $10 on any Cricut machine or heat press with the coupon code AUBREE-10
If you want to learn more about the Cricut BrightPad and see which one is right for you, check out this post:
Is the Cricut BrightPad Worth It?
Can you make wall art with a Cricut?
Yes, you can make all kinds of DIY wall art with a Cricut! This wood bathroom sign is just one example. You can make wall art with Cricut using wood blanks (like this project), canvases, glass frames, fabric wall hangings, decals that you apply directly to the wall, 3-D paper art, and so much more. Seriously, the sky is the limit with Cricut.
Can Cricut cut intricate designs?
Yes! This bathroom sign is maybe my most intricate cut yet, and my Cricut Maker 3 cut it almost flawlessly! (I only lost the tiny slivers around the word “tidy”—they actually still cut, they just got lost when I was weeding and I decided not to worry about them because you could barely see them.)
I was also amazed at how quickly my machine cut this image (the Cricut Maker 3 can cut twice as fast when cutting smart materials!).
Keep in mind that with super intricate designs with tiny elements, sizing your image larger will help your machine cut it more accurately, and you’ll also have an easier time weeding it (I sized this image fairly large at 11×17″). I also recommend using svgs and images specifically designed for cutting with Cricut—don’t always trust random images you find online or from Etsy sellers as they might be unrealistic for a cut image.
If your Cricut machine is struggling to cut an intricate design cleanly, it may not actually be your machine’s fault but another issue: try using a new mat (and use a brayer to adhere the vinyl or paper to the mat really well), clean your blade first or use a new one, and make sure your cut settings are correct for the material you’re using. You can also try changing the pressure setting to “more” (on the last screen before you go to cut).
How do you weed intricate designs?
Weeding intricate designs can be a little tricky, but hopefully these tips help:
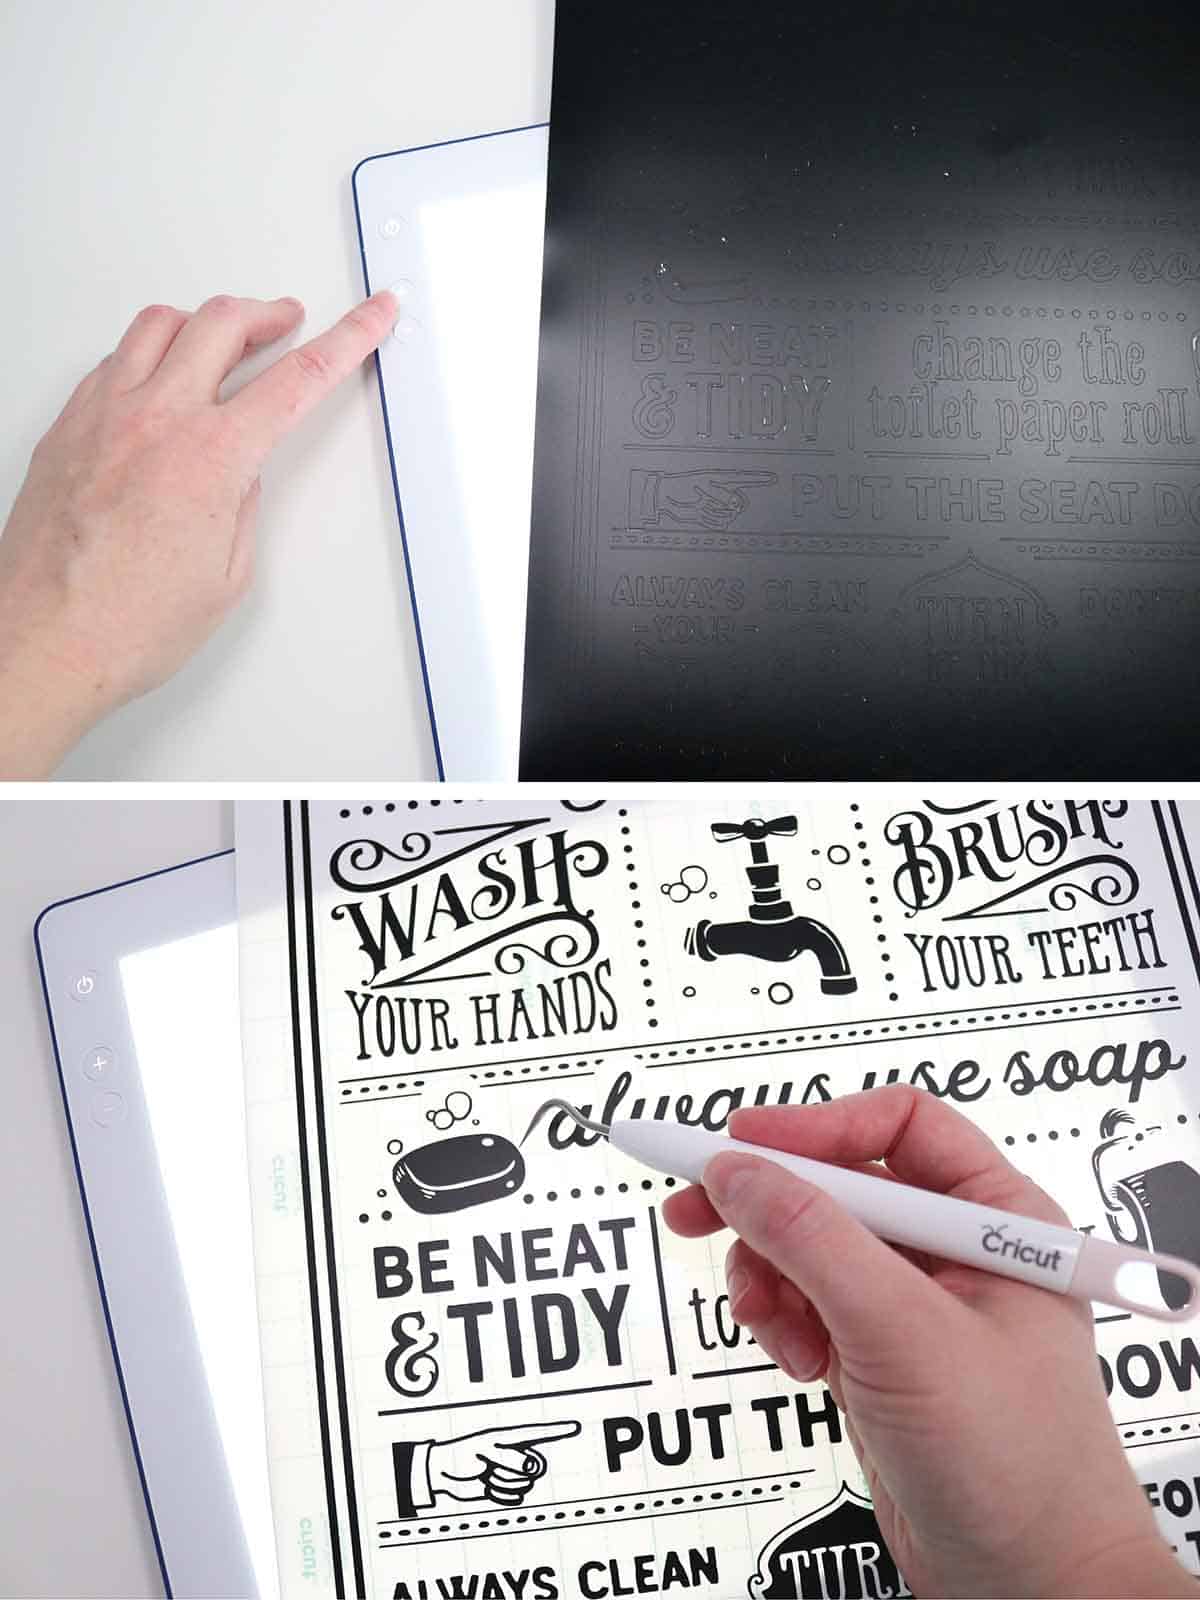
- Use good lighting, especially if your vinyl also happens to be a dark color. My Cricut Bright 360 lamps illuminate my work surface so well (I’m super lucky, thanks to the generosity of Cricut, to have both a table lamp and a floor lamp and they’re currently set up on both sides of my craft table so I get light from both directions). You might also want to consider using a light pad like the Cricut BrightPad Go to illuminate your vinyl from underneath—it makes weeding so much easier and really helps you see which areas to keep and which to weed out. Another perk of the BrightPad is that it’s also scratch-resistant, making it a great surface to weed on.
- Refer back to the original image as often as needed to make sure you’re weeding the correct parts. I usually just leave the Design Space image up on my computer screen to look back at.
- Weed from the outside in: remove the very outer piece that you know is a scrap, then work your way to the middle, removing every other touching piece.
- Use sharp/fine point weeding tools. I would suggest investing in this weeding tool set.
- Keep scissors close by so you can cut away scraps as you go so they don’t stick to the rest of your design.
- Go slow! Take your time and make sure you’re not losing any tiny pieces—you may have to backtrack and use a weeding tool (I like the tweezers) to stick small pieces back to the backing that accidentally pull up with the scraps. If you tilt your design so the backing catches the light, sometimes you can see a faint indent where the pieces were cut so you know where to put them back.
- Don’t throw away your scraps yet! When I was working on this design, I lost several pieces with the scraps and didn’t realize it until a little later. Luckily, I was able to search through my scraps and salvage the pieces, carefully sticking them back on the backing with my tweezers. (You might not always be able to find them, so if you lose a crucial piece, instead of re-cutting the entire image, make a copy of it in Design Space and use a shape to slice out just that part to cut again.)
- Be kind to yourself and don’t beat yourself up if you lose a couple super tiny pieces here or there. Weeding takes practice, but even the best of us lose the tiniest of pieces!
- If you’re really struggling, you could also try reverse weeding: this is where you apply transfer tape to the entire design (before weeding), remove the backing of the transfer tape, and then weed out the parts you don’t want from the transfer tape. That way you don’t lose any little pieces and can’t mess up their positions because they’re already stuck to the transfer tape.
- If your design isn’t weeding well because the vinyl didn’t cut all the way through, you may have to adjust your settings and cut it again. Always do a small test cut if it’s your first time cutting a new material!
How to make a bathroom sign with Cricut
For a quick overview of the steps below, you can check out this video pin on Pinterest:
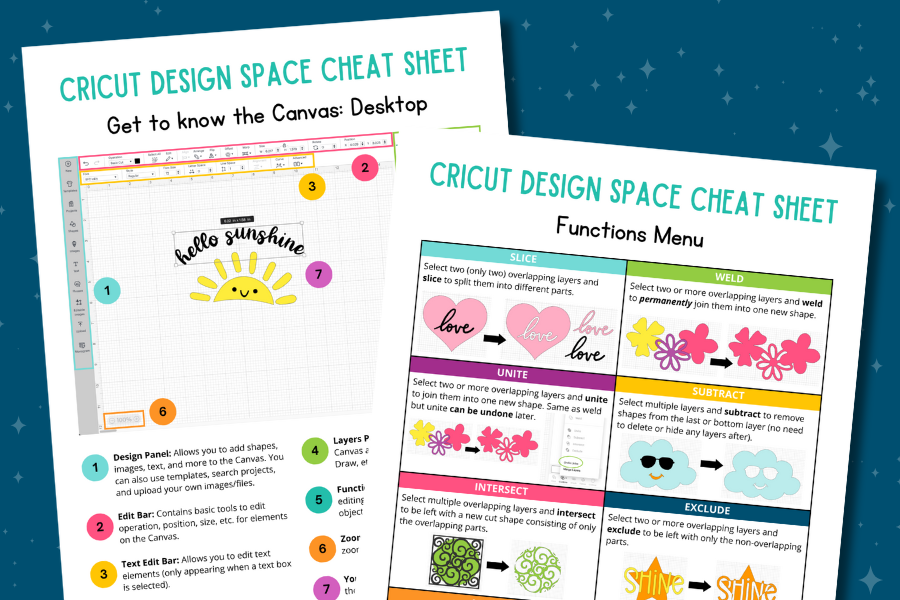
Choose an image in Cricut Design Space
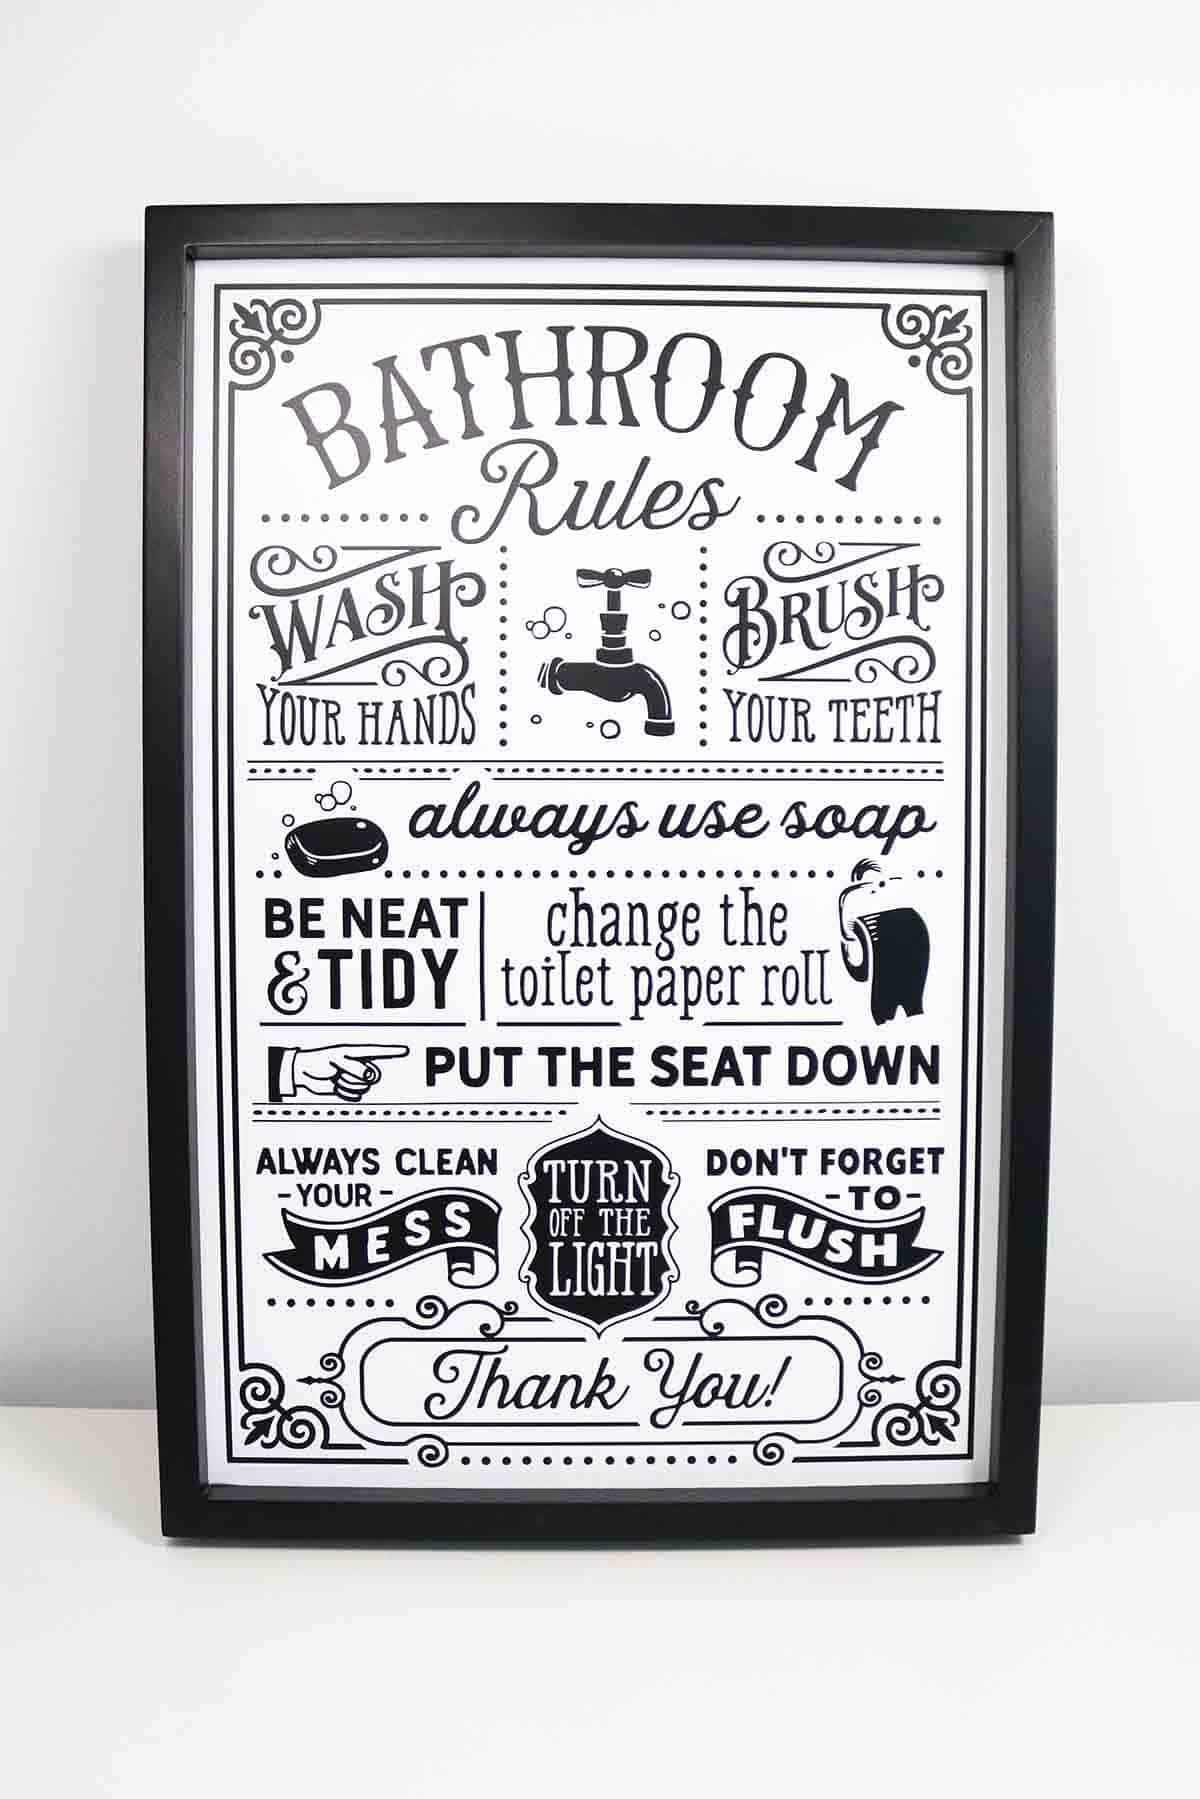
In the Cricut Design Space image library, try searching “funny bathroom” or “bathroom sign” and tons of options will come up! This BlackCatsSVG Funny Bathroom image set* is where I found my “Bathroom Rules” image. You can also just search “bathroom rules” or #M27ADD7E6 and it will come up.
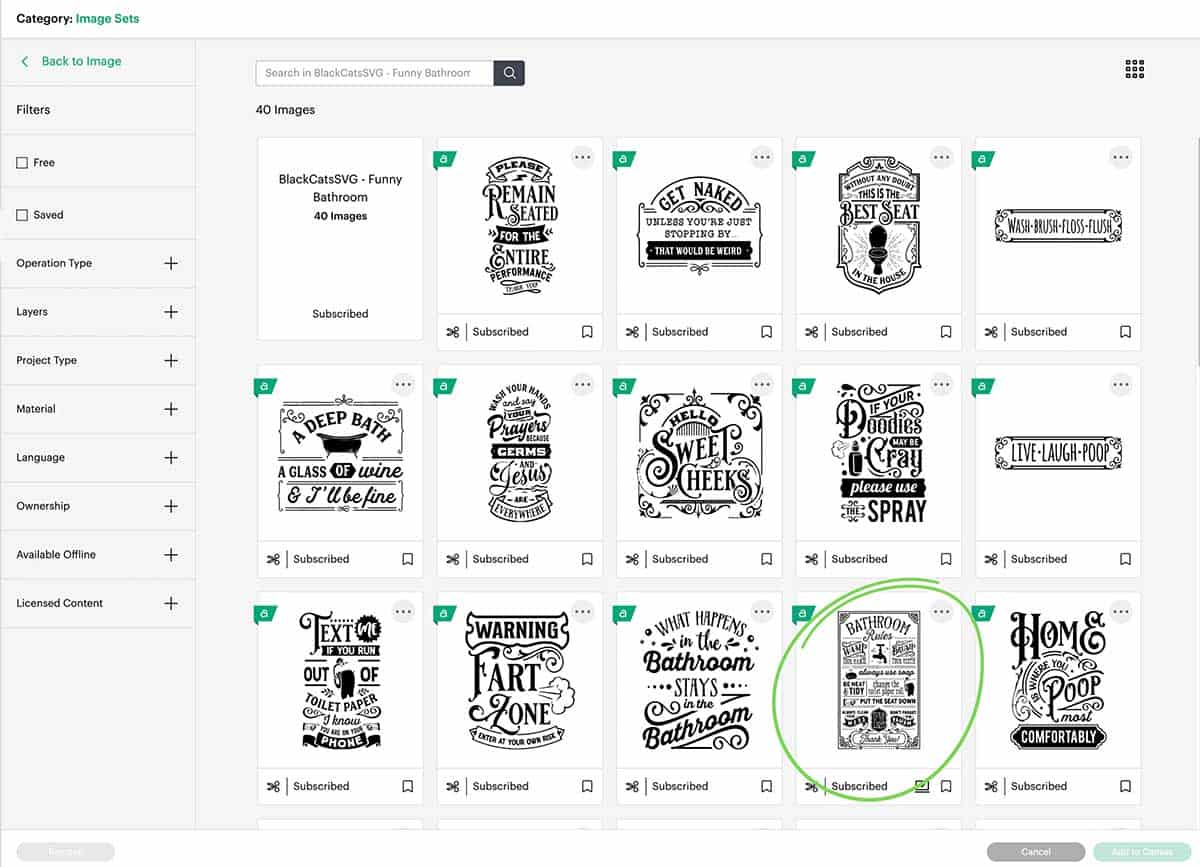
*to see a complete image set (if an image is part of one), click the three dots in the upper right of an image and click “View Image Sets”. Image sets usually contain multiple images from the same artist/style/category so you can see similar coordinating designs.
Once you’ve selected an image, add it to the canvas.
Resize and cut your image
Measure your sign blank to see how wide and/or tall you want your image to be. I resized my image to be 11×17″ (I only adjusted the width to 11 and let the length automatically adjust, it was just barely over 17) which fit perfectly on my board.
Follow the prompts in Design Space to cut your image, selecting your mat preferences and material settings. Load your material onto a mat, roll it with a brayer to make sure it sticks really well, and load the mat into your machine (or don’t do any of those steps if you’re using smart materials and a new machine like the Maker 3 or Explore 3 because they don’t require a mat!).
Once your image is cut, remove it from the mat by laying it upside down on your table and peeling the mat away from the material (it seems backwards but it actually helps keep your material from curling or stretching weird, so it’s something I’ve gotten in the habit of doing).
Weed your image
Weed your image—be sure to follow my weeding tips above! Again, I love my BrightPad Go for this!
Apply transfer tape and burnish well
Okay…this is where the smart vinyl did not shine, unfortunately. It did NOT want to stick to the transfer tape at all. I considered trying StrongGrip transfer tape but then I was nervous I wouldn’t be able to peel the transfer tape off after burnishing the vinyl to my board. So I stuck with my regular transfer tape and burnished SUPER well from the front…and also from the back…and then I got out my hairdryer thanks to some tips on the Cricut Facebook group, but even the heat didn’t help it peel away.
Ultimately, I just had to go really slow, pulling the backing away from the transfer tape and manually sticking pieces to the transfer tape or re-burnishing with my fingers as I went. I won’t lie, this was my least favorite part of this project. Note to self: don’t use smart vinyl on huge intricate designs. 😜
Usually, you won’t have this hard of a time getting the transfer tape to stick so I don’t want this to intimidate you from trying intricate designs! With almost any other vinyl, you should be able to peel your design away from the backing after burnishing just the front really well, and it doesn’t hurt to flip it over and burnish from the back too. I promise, it was the smart vinyl that was the problem here, not the intricacy of the design.
Prep your sign blank
I only mention this as a step because some wood may be dusty or have a powdery surface that you might need to lint roll before applying vinyl (or you could use transfer tape to remove the powdery residue too). This particular sign didn’t have that issue but I’ve heard others from Hobby Lobby are that way and it might prevent your vinyl from sticking well.
To see how I prep signs for outdoor use, check out my custom wreath signs post.
Use parchment paper to position
I almost always use the parchment paper method to position vinyl—it’s the same way I layer vinyl, too.
Cut a piece of parchment paper that’s about the same size as your transfer tape image. Peel the vinyl backing away from the transfer tape (if you haven’t already) and lay your transfer tape image on top of the parchment paper. Align both to your sign, centering the image.
My sign was a little tricky since it had a raised frame around the edge. Once I got it centered, I pressed it down so it was flat to the board. Without shifting the positioning, I then lifted a corner of the transfer tape image away from the parchment paper, folded the parchment paper under, creased it, then adhered that corner of vinyl to the board. Once you have a small section of the vinyl secured, you can carefully lift the transfer tape image and roll the parchment paper away from underneath, pressing the vinyl down as you go.
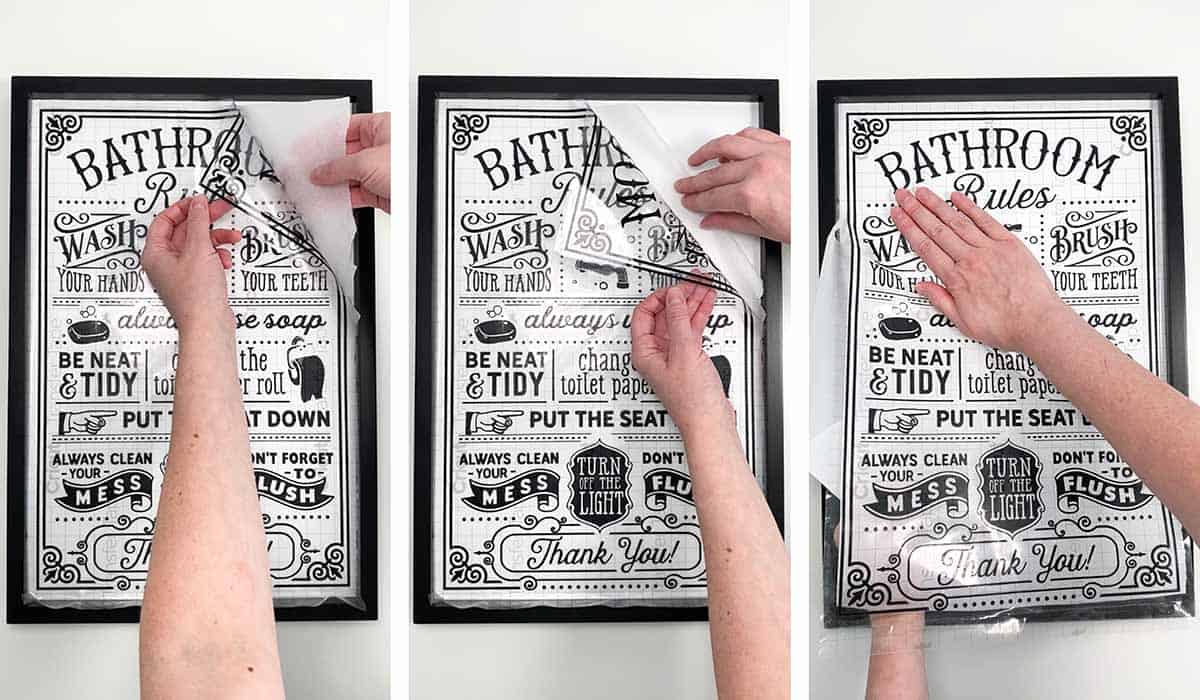
Burnish the vinyl super well and remove the transfer tape.
How to make a wood bathroom sign with Cricut
And there you go! I love how this bathroom sign turned out—it looks even better than I expected! Don’t be alarmed if you visit my house and I drag you into my son’s bathroom to show it off to you first thing…it’s what any normal Cricut crafter does, right? 🤣
Let me know how your DIY bathroom sign goes or if you have any questions in the comments!

Don’t forget to pin and save for later!