Make an Easy Gratitude Jar–plus a Free Printable!
Start a family gratitude jar with this upcycled DIY idea and free printable! Perfect for the month of November. Collect them all month long and read at Thanksgiving dinner.
I can’t believe Halloween is over! That came and went way too fast. And then I kind of forgot that November comes the very next day. So this post is a day late…oops. (And I was so tempted to just start on Christmas crafts, but…we can’t neglect November. Poor November, always sandwiched between two amazing months–it just gets overlooked. I’m sorry November. I’ll do better.)
A gratitude jar is a great way to appreciate this month and the Thanksgiving holiday. I admire the people who are able to keep gratitude jars or journals year-round. I think there are some amazing health benefits to expressing gratitude, but it’s something I often forget to do. I’ll be excited to report back at the end of the month about my experience!
This post contains affiliate links. For more information, see my disclosures here.
More posts you’ll like:
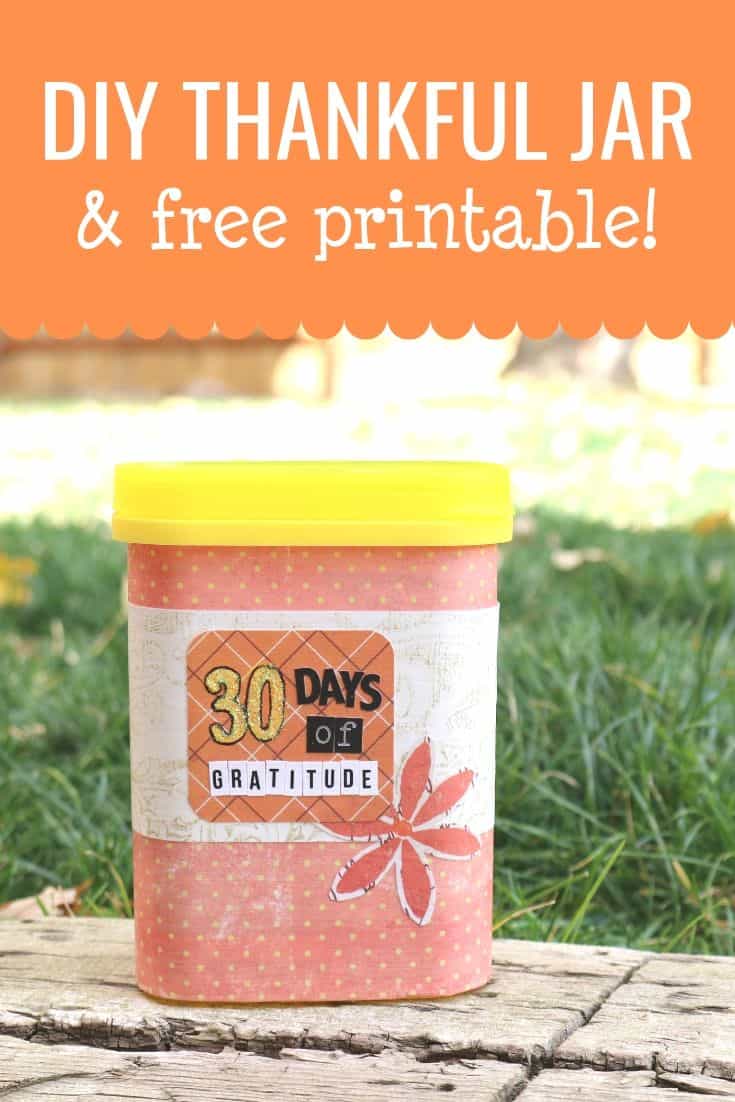
How to Make a DIY Gratitude Jar
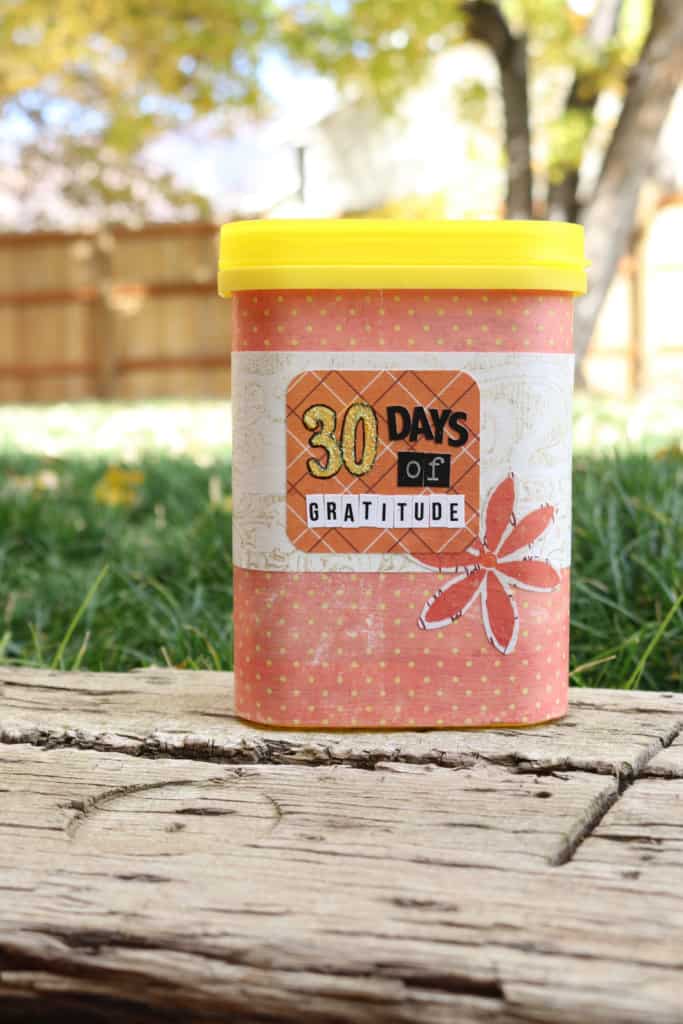
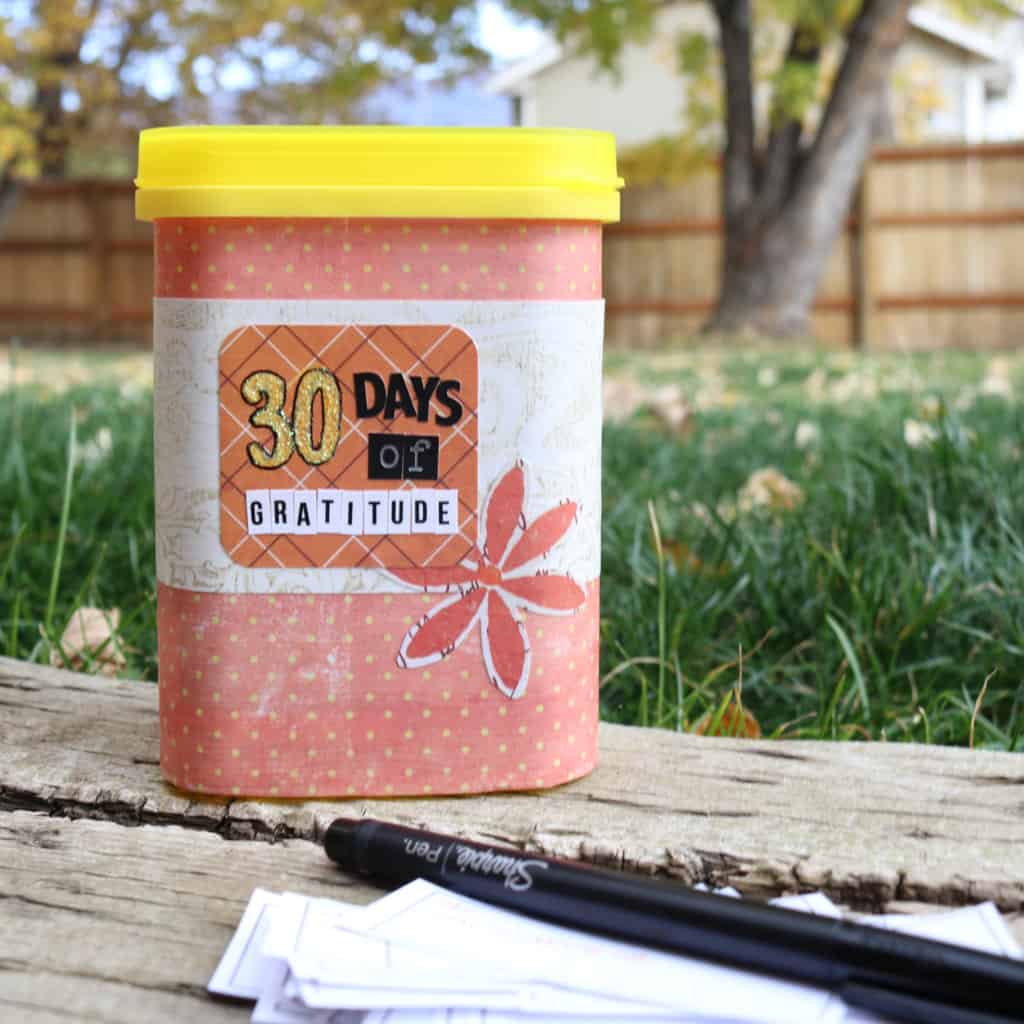
This DIY gratitude “jar” was super easy. Yes, mine’s not so much a jar as it is a container. An old Nesquik container, to be exact. (Random containers are one of the many things I hoard in my craft room closets.)
I love Mod-Podging containers and giving them a new life–and bonus points for recycling! You could do this with any smallish container you have on hand–oatmeal, baby formula, and baking powder all come in great-sized cans–but a simple mason jar would be fine too. There are endless decorating possibilities with scrapbook paper, stickers, and a few embellishments.
Supplies
- Container
- Mod Podge–I always go with matte!
- foam brush–this value pack here is a great option
- paper trimmer–I’ve been using this one for the past few years and love it, but there are less expensive options on Amazon (but definitely get a guillotine-style, they last so much longer!)
- scrapbook paper
- stickers
- other embellishments (glitter glue, gems, flowers, ribbon, etc.)
Process (it’s super easy!)
- Wash and dry your container.
- Measure and trim your paper to fit the container. Leave enough paper for a little overlap when wrapping it around your container.
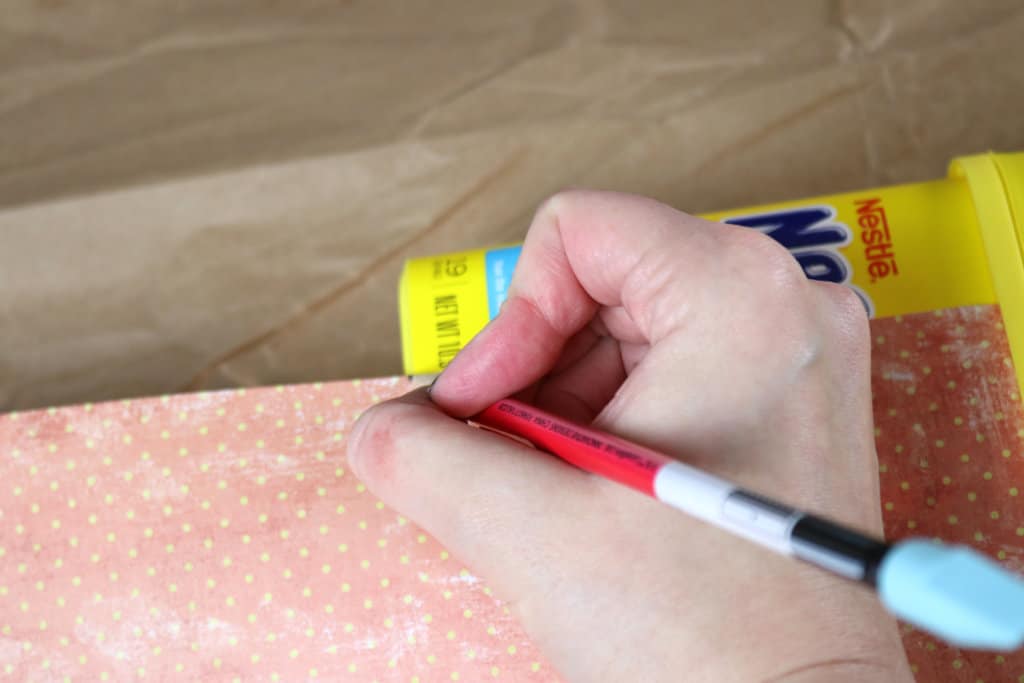
- Apply Mod Podge to the paper. Make sure to use enough Mod Podge: if you apply it too thin, it’ll dry before you get a chance to adhere it to the container and you’ll get air bubbles.

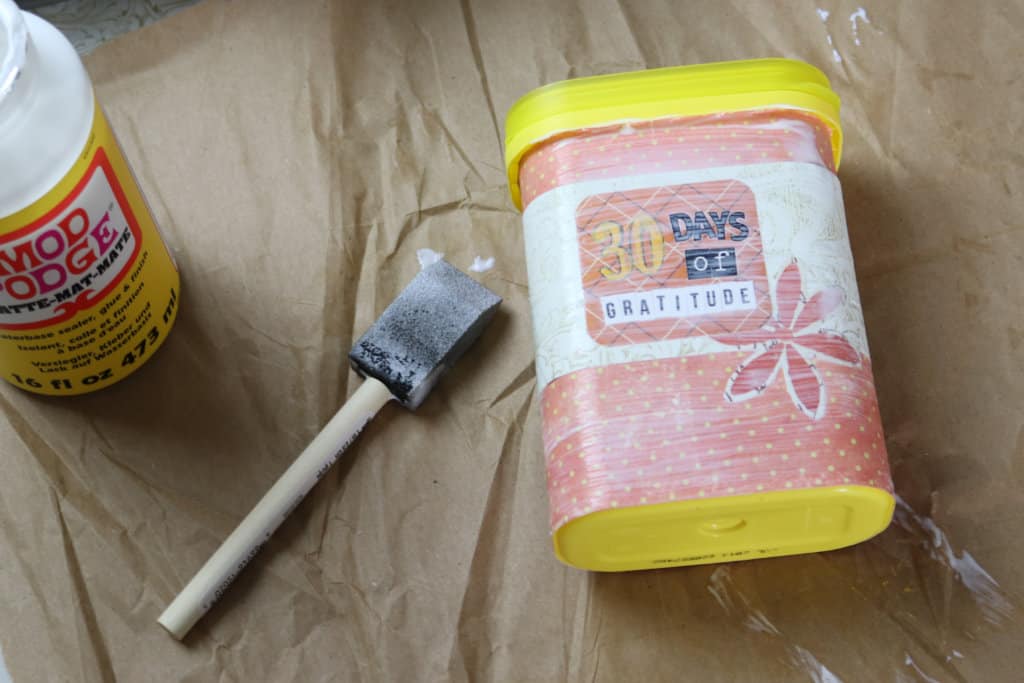
- Cover your container, pressing and smoothing the paper down as you go. Wipe up excess Mod Podge as needed.
- Glue any flat paper elements to your container with Mod Podge in the same way as step 4. I added the extra strip of paper, the flower, and my text box. I applied stickers before moving onto the next step.
- Optional: apply a top coat of Mod Podge for a finished look and protection. I like to do this especially when I have letter stickers that might peel up or fall off.
- Adhere any dimensional embellishments after the top coat of Mod Podge has dried. This is when I applied the glitter to my “30.”
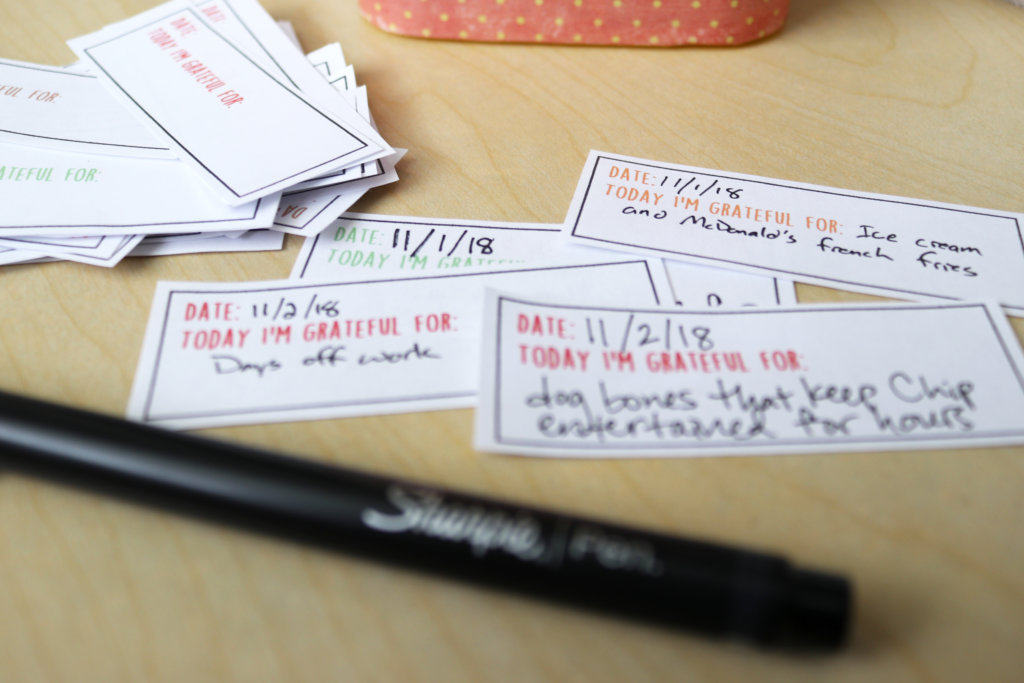
- Fill your container with whatever you’d like–in this case, a whole bunch of gratitudes!
Free Printable Gratitude Slips
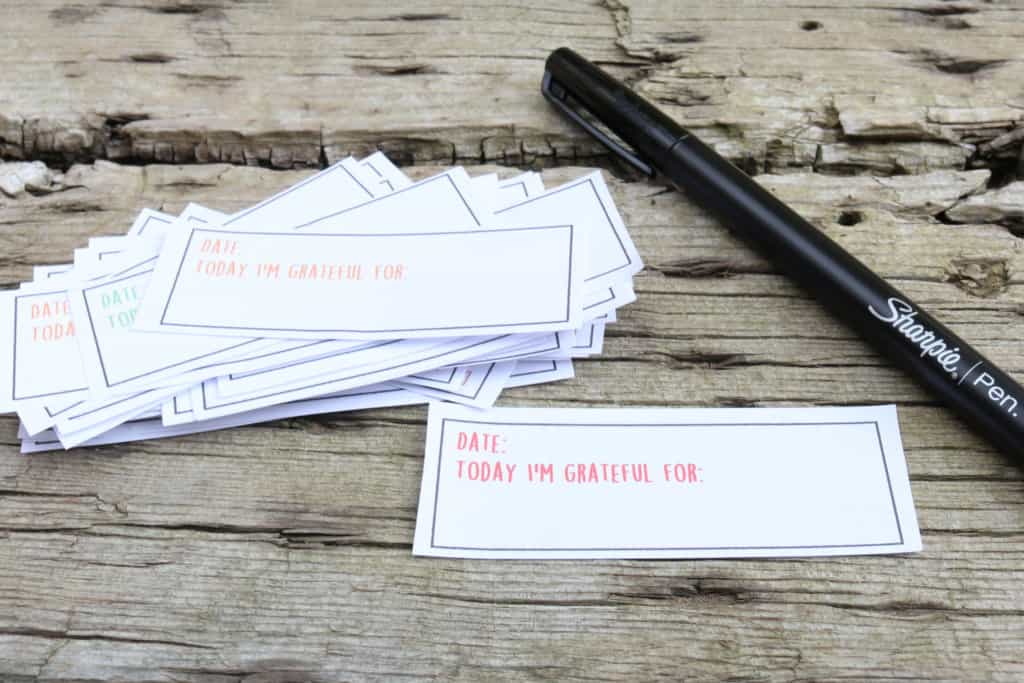
I created a free printable to make filling your gratitude jar even easier. Simply print two sheets per family member, cut out, and you’ll have enough slips of paper for daily gratitudes during the month of November. (Okay, gratitudes might not be a word, but I’ve used it a couple times now, so…it’s a word.)

Download your FREE gratitude jar printable HERE
I have plans to save the gratitudes in a scrapbook layout at the end of each November–because I’m totally making this a tradition, and that would make for a fun scrapbook to look back on later, especially if you have little kids who are participating.
30-day Gratitude Photo Challenge
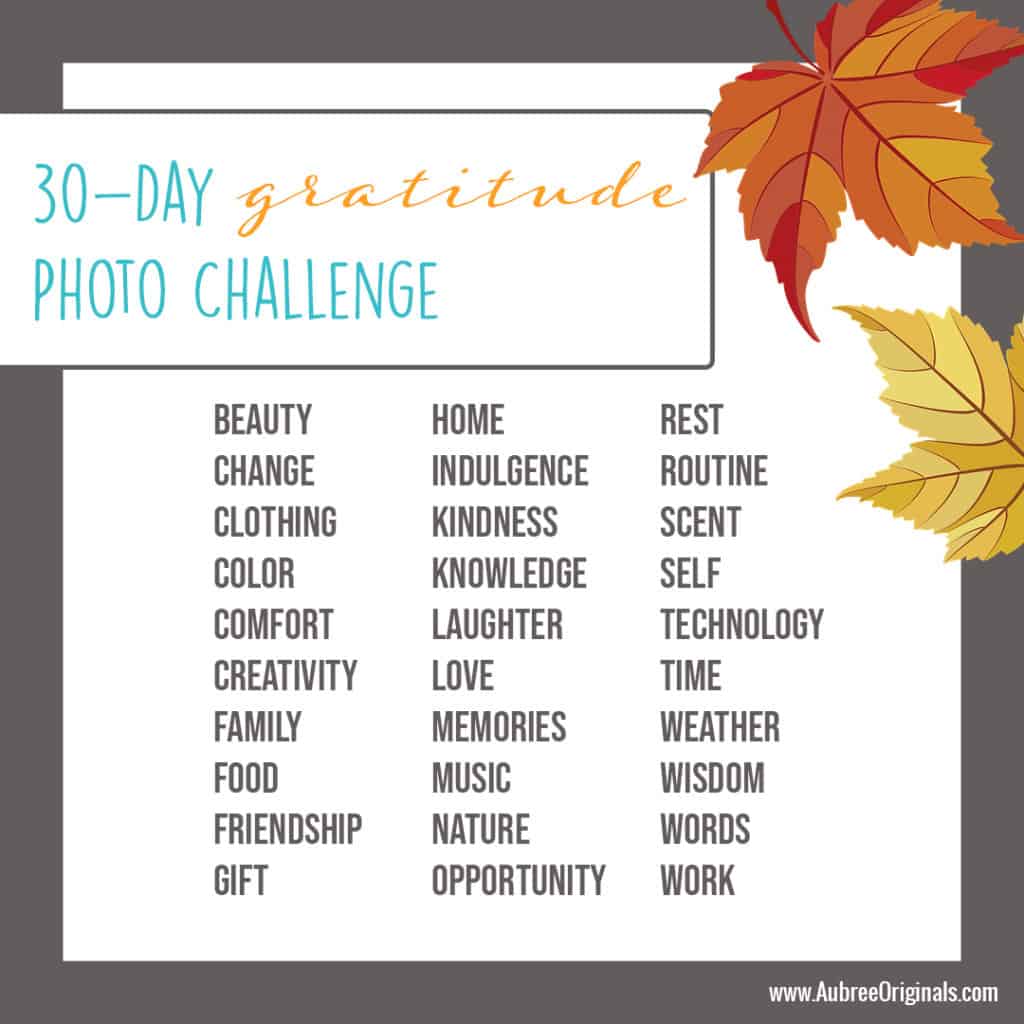
If you’re interested in more gratitude ideas for November, I’m also going to do a 30-day gratitude photo challenge on Instagram. I’ve seen several different ones floating around, but I decided to make my own list of word prompts. I decided I wanted to be able to choose which prompt to do each day, so my list is just in alphabetical order. Maybe that’s cheating and makes this less of a challenge, I don’t know. But I’ll still be expressing gratitude and I think that’s the important part!
If you’ve never done one of these challenges before and want to join in, save this image on your phone or print it out (or follow me on Instagram) so you have the list of words. Then, for the next 30 days, take or find a picture that corresponds to one of the word prompts and post it on social media. If you’re not a fan of social media, you could compile your pictures in a photo album or journal instead.
The prompts can be interpreted in any way you like. If you use my prompts, I’d love to see your “gratitudes,” so leave a comment here or tag me on Instagram! Feel free to start the challenge any time and go at your own pace–clearly being a day late isn’t stopping me from participating. 😂
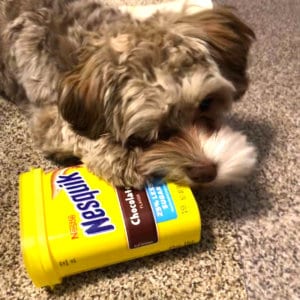
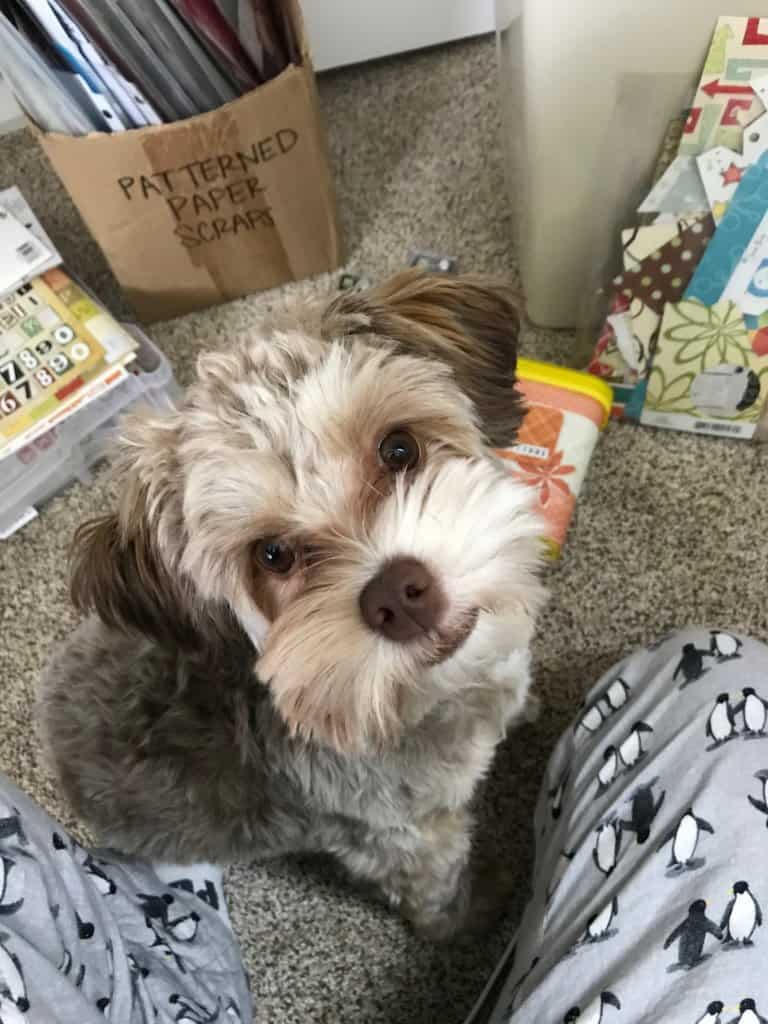
And if you were wondering what it’s like to craft with a puppy who just wants to be right next to you all the time, here you go:

Don’t forget to pin and save for later!
Im unable to print the daily gratitudes for the family! It has the “FREE PRINTABLE For a Family gratitude Jar http://www.aubreeoriginals.com” written on the pic. When I go to print it, that is written across the jpg.
Hi Kelly, I’m sorry, the link to the download is underneath the image (but it was kind of small so I enlarged it). I also updated the image to link directly to the download as well. Let me know if that doesn’t work for some reason!
I agree! I agree