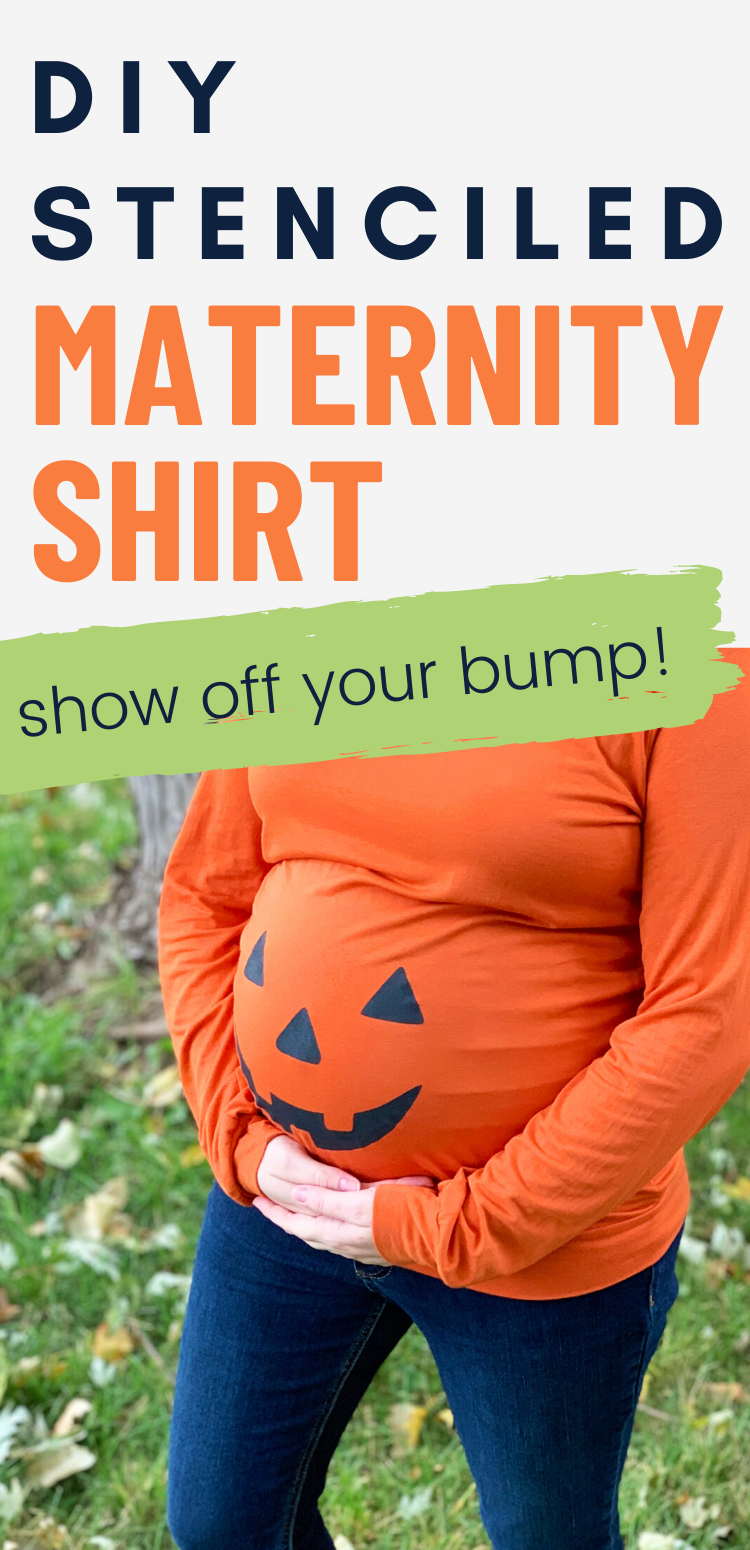
DIY Jack-O-Lantern Maternity Shirt
Show off your pregnant belly with this adorable DIY jack-o-lantern shirt! It can be part of an easy Halloween costume, or just a fun everyday Halloween maternity shirt!
One of my favorite things about being pregnant is showing off my giant belly! (And my “outie” belly button, which I think is very amusing for some reason.)
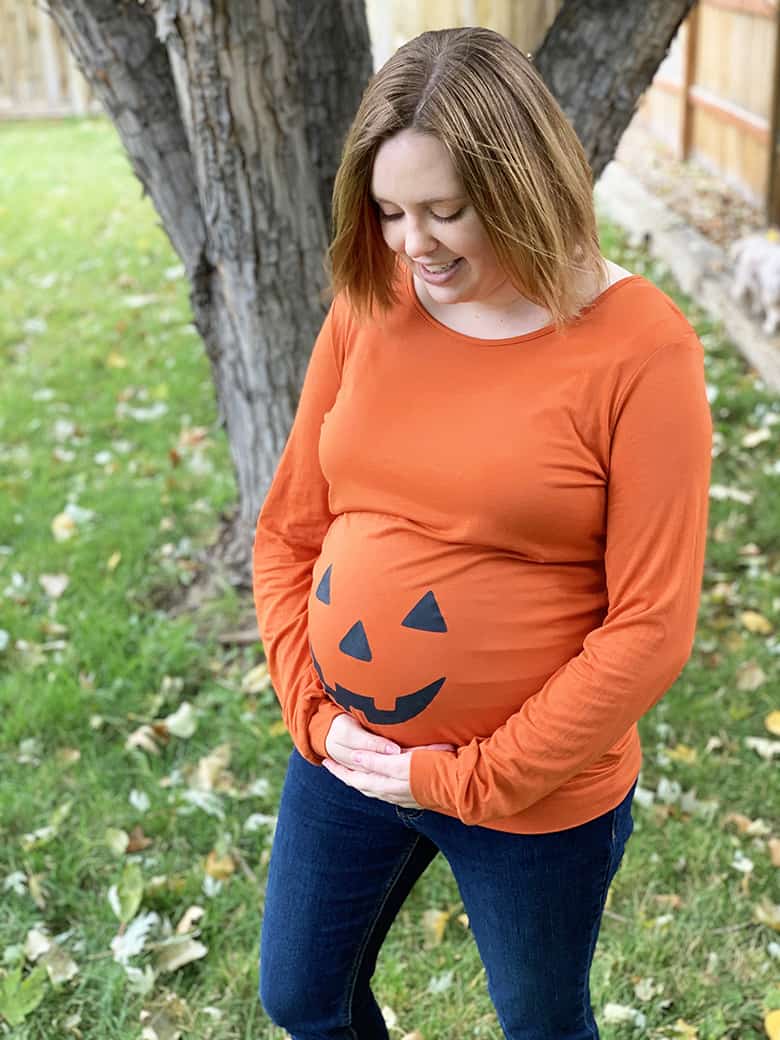
I saw a really cute jack-o-lantern maternity shirt at Target a few weeks ago and almost bought it. But, in true Aubree fashion, I decided I could make it for cheaper. And I’m glad I did, because this one fits me (and my bump) perfectly!
This post contains affiliate links. For more information, see my disclosures here.
What you need to make a DIY pumpkin maternity shirt
an orange shirt
This is the exact shirt I purchased from Amazon. An XL fit me perfectly (at 37 weeks pregnant), even after washing it (I definitely recommend pre-washing your shirt before painting it). Hopefully they restock soon, because I’m only seeing the XXL available now!
Here are some other Amazon options you could try (I’m actually kind of bummed I didn’t see the pullover top first, it looks so comfy!):
And if none of those options look great to you, you can always check Walmart or craft stores!
black fabric paint
This is my favorite fabric paint for clothing!
freezer paper
If you need to, you can check out this tutorial for freezer paper stencils that goes into a little bit more detail than this post.
a paint brush
All you need is a simple foam paint brush–it works great for stenciling.
How to make a jack-o-lantern freezer paper stencil
Print a jack-o-lantern face
Google “jack-o-lantern face” and find an image that you want to duplicate. Save the image and use an editing program (Canva, Microsoft Word, etc.) to blow it up to the right dimensions (for reference, my jack-o-lantern face was 7.5 inches wide). Print the image on regular printer paper.
(Generally, jack-o-lantern faces are pretty simple so don’t worry about the edges being blurry, we’re just using the image as a guide and you can easily smooth any blurry lines when tracing it later.)
Alternatively, you could also draw your own design directly onto freezer paper and skip the next step!
Trace your design onto freezer paper
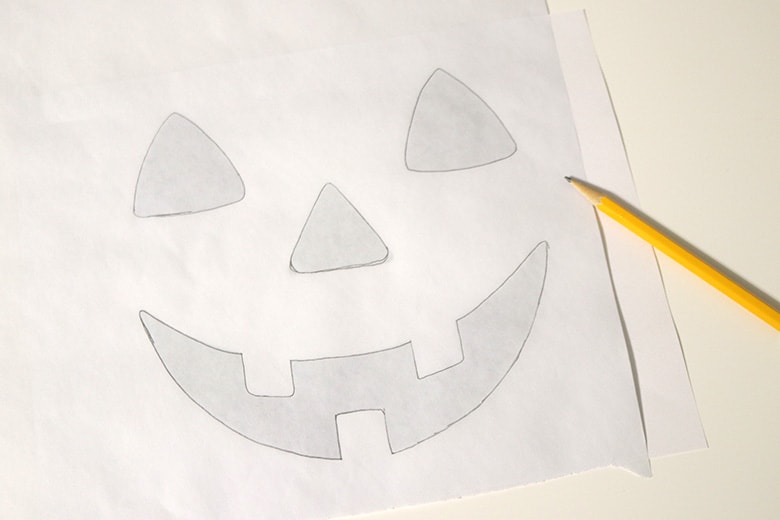
Trace your jack-o-lantern face onto the papery side of freezer paper (not the waxy side).
Cut out your freezer paper stencil
Cut out the jack-o-lantern’s face by carefully poking a hole in the eyes, nose, and mouth and cutting out (you want to leave the surrounding paper intact). I use these scissors for all my fine paper cutting projects like this!
Cut off any excess freezer paper, leaving about a 1 or 2 inch border around the jack-o-lantern face.
How to paint a jack-o-lantern face using a freezer paper stencil
Iron the freezer paper stencil to your shirt
I recommend taping or pinning the stencil to your shirt first and trying it on to make sure it’s in the right spot. If your shirt seams are even, you can also measure the distance from each side seam to the corner of each mouth to make sure your design is centered.
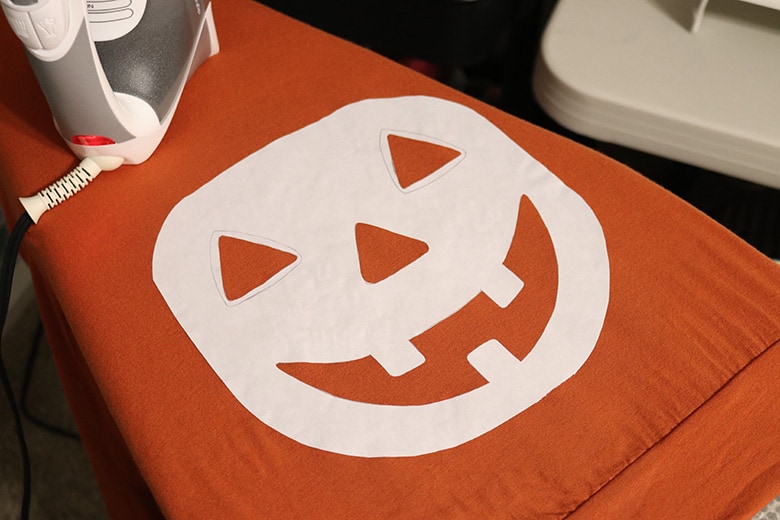
Press the stencil to your shirt with a dry iron, making sure that the freezer paper is sticking well, especially around the jack-o-lantern’s facial features.
Paint the jack-o-lantern face
Slide a scrap of cardboard into your shirt so that the paint doesn’t soak through the back of the shirt.
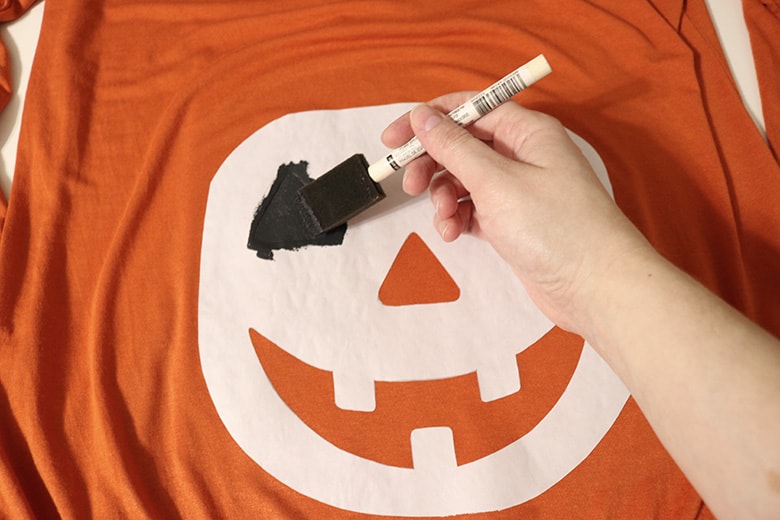
Pour a small amount of fabric paint into a tray. Using the foam brush, carefully dab the paint into the eyes, nose, and mouth. Make sure you can’t see any of the original shirt material through the paint, but also don’t get too much paint on the edges as it can seep under the stencil and ruin your clean lines.
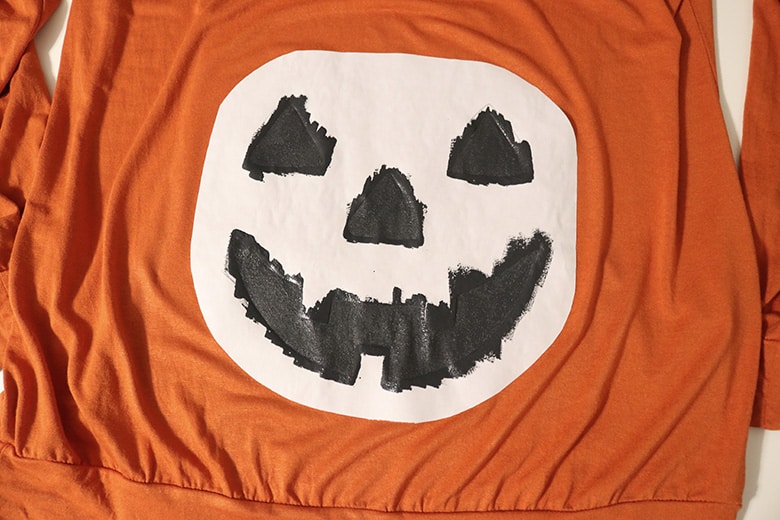
Follow the instructions of your fabric paint for drying and washing times. For mine, I dried my shirt flat for at least 4 hours and won’t wash it for at least 72 hours.

And how cute is that?! I love my jack-o-lantern belly!

Don’t forget to pin and save for later!