Easy Hand Lettered Pumpkin using a Font
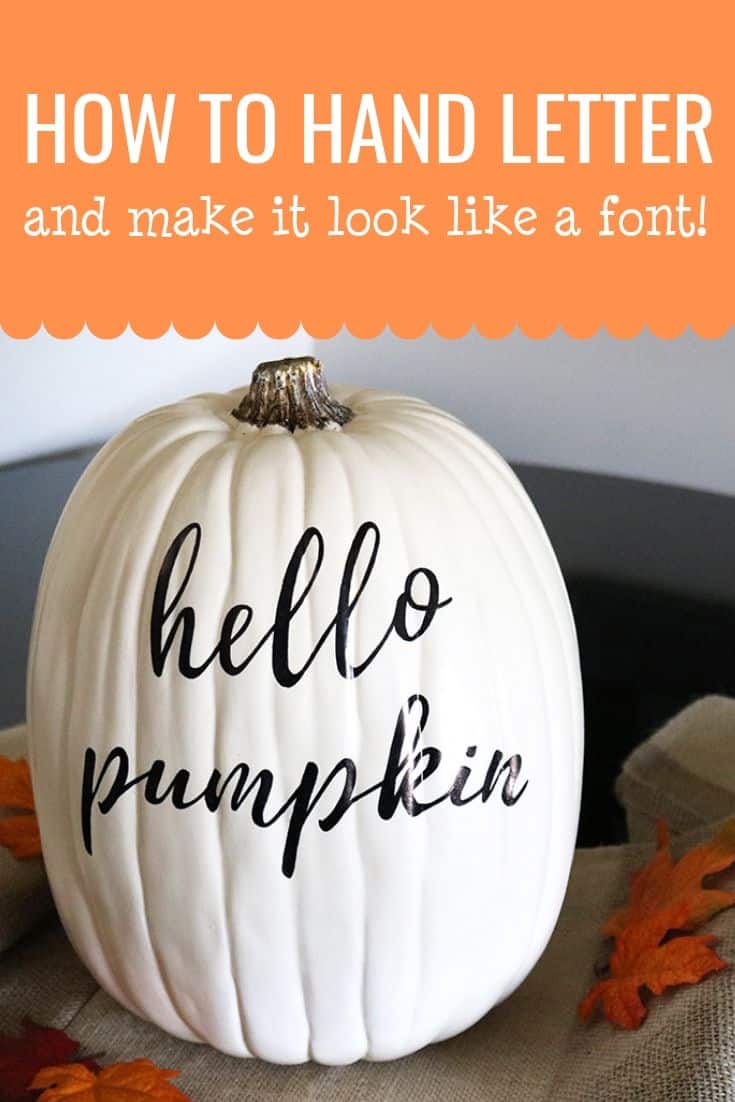
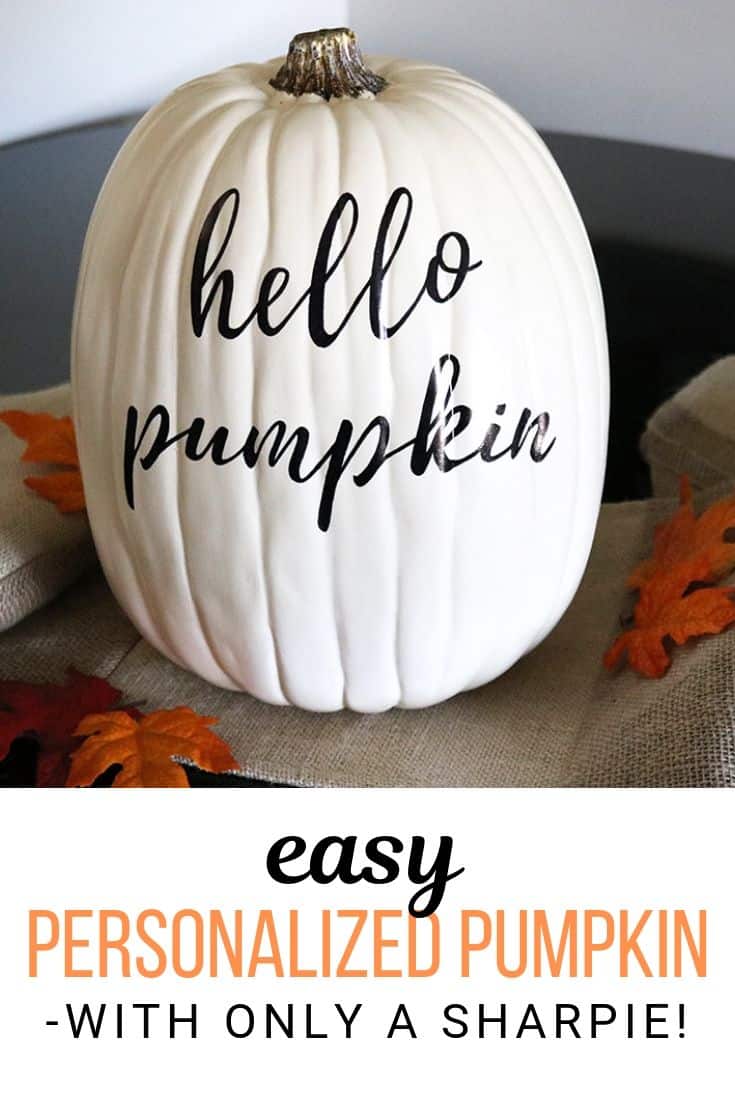
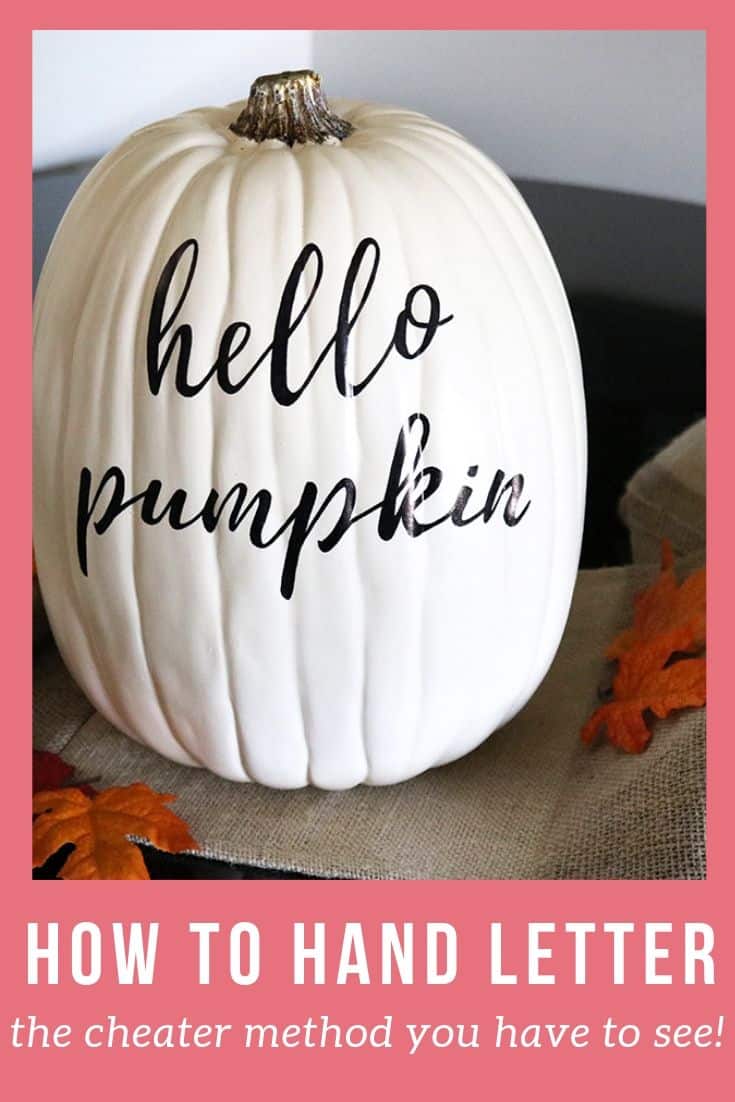
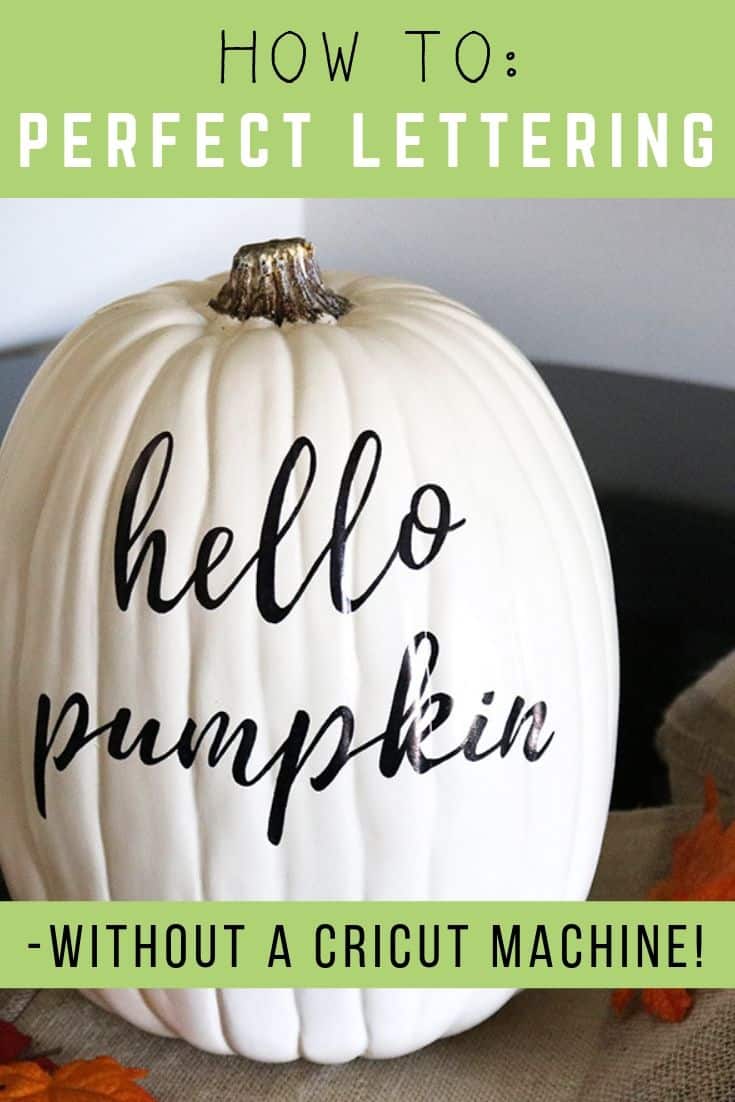
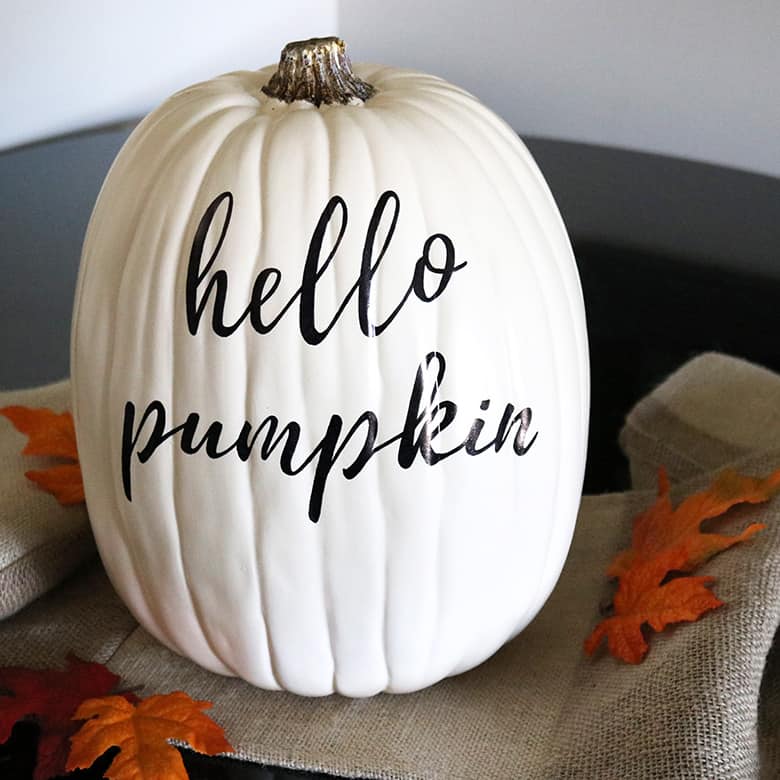
Hand lettering a pumpkin can be super easy with the help of a printed font! This cheater method is great for beginners and yields professional results!
I purchased a plastic craft pumpkin at Michaels a couple years ago, and it’s just been sitting in my craft room ever since…yeah…I have a lot of craft supplies like that…
The original plan was to make a Stranger Things pumpkin with a black-painted alphabet and mini Christmas lights. But…I’m kind of over Stranger Things now. Plus, I decided I wanted something that could double as fall decor, not just Halloween. So I whipped up this super easy hand lettered “hello pumpkin”…and I’m in love!
This post contains affiliate links. For more information, see my disclosures here.
This is one of the easiest fall crafts I’ve made, and yet the results are so professional! If your hand lettering skills are lacking (mine definitely are!), this tutorial is for you! This is also a great option for us non-Cricut owners. (Obviously, if you have a vinyl machine, this project just got even easier for you!)
What you need to hand letter a pumpkin
- craft pumpkin
- Sharpie, preferably new, and you may want to have more than one on hand just in case
- sharp scissors: these are my favorite for cutting paper!
- pencil, eraser, double-sided tape, printer and paper
How to hand letter a pumpkin and make it look like a font
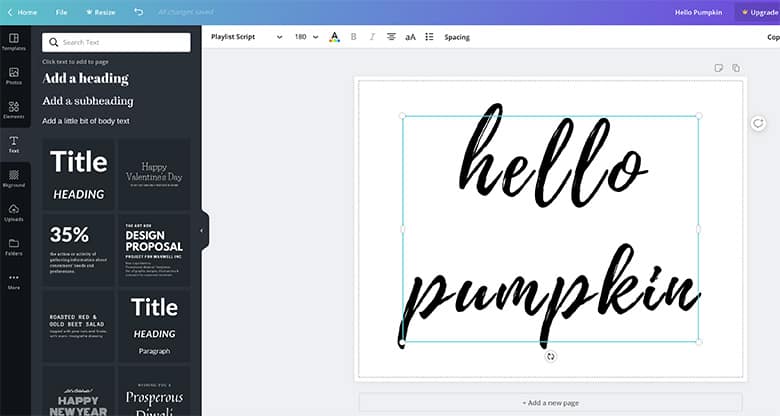
1. Type and print your phrase in a script font of your choice. I used Canva for this (the free version works great!). Be sure to measure your pumpkin and choose an appropriate font size. Print your design exactly as you want it to be on your pumpkin.
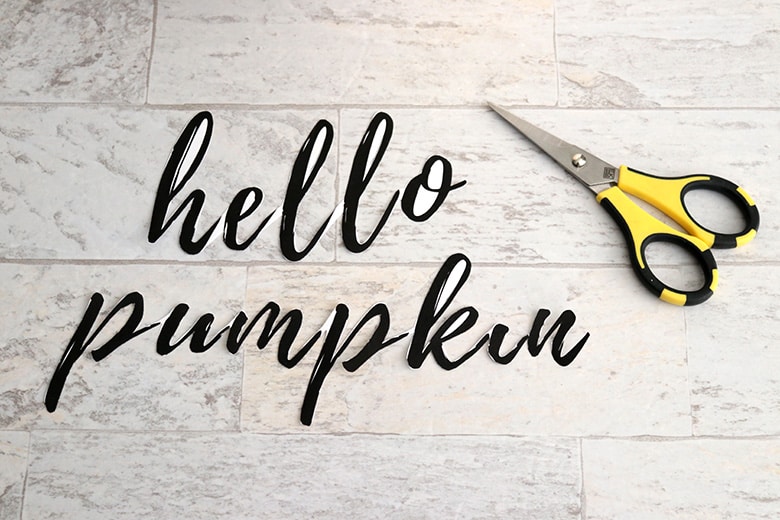
2. Using sharp scissors, carefully cut around your printed letters. If you feel it would help, you may also cut out the inside of the letters, but I left mine intact.
3. Using tiny pieces of double-sided tape, tape your phrase to the pumpkin. Use just a few pieces of tape so you can adjust and straighten the phrase easily.
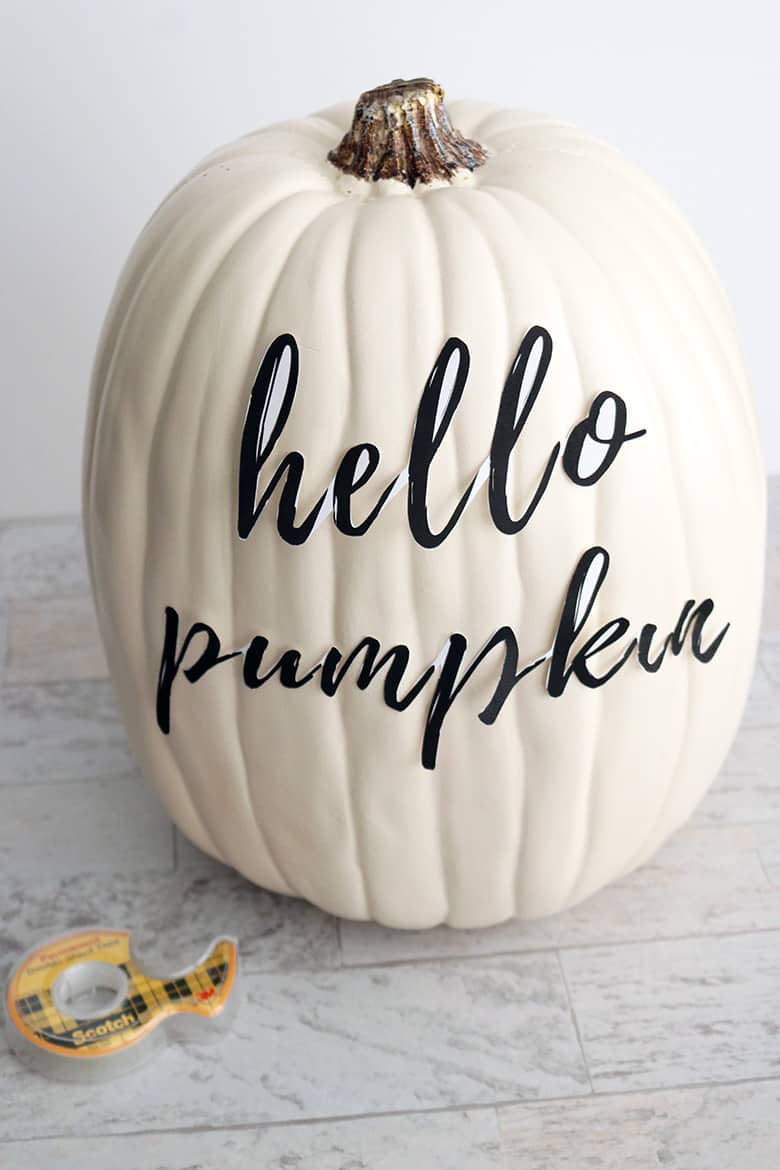
4. Before tracing your phrase, test the pencil on the bottom of the pumpkin (where it won’t be seen) to make sure the pencil lines can be erased afterwards.
Lightly trace the phrase by outlining all the letters. Remove the phrase and pencil in any parts you missed.
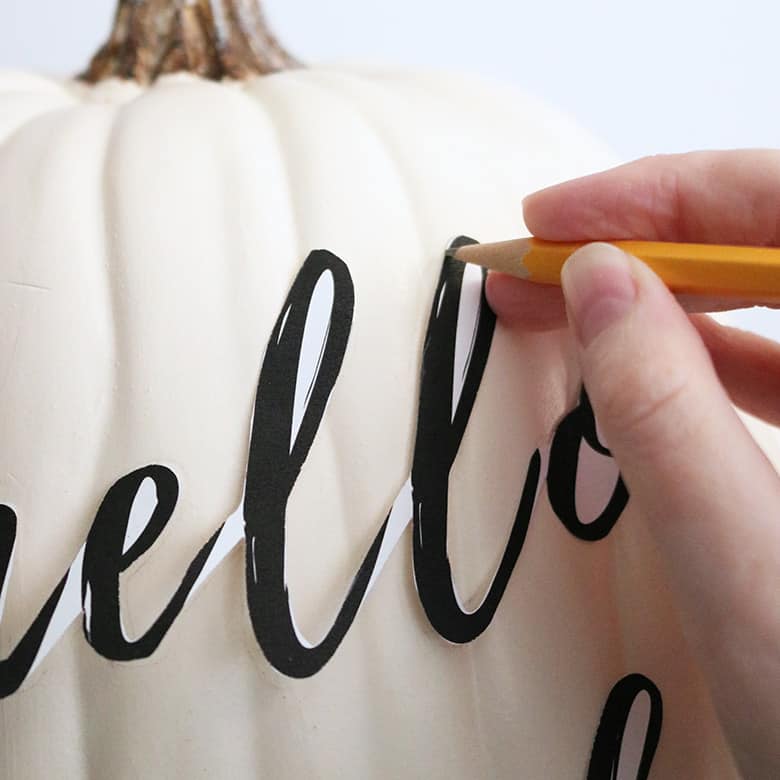
The tracing doesn’t have to be perfect, just create enough of a guide to be able to fill it in with Sharpie!
5. Fill in your traced outline with Sharpie, going slowly until your hand lettering is complete! Carefully erase any leftover pencil lines.
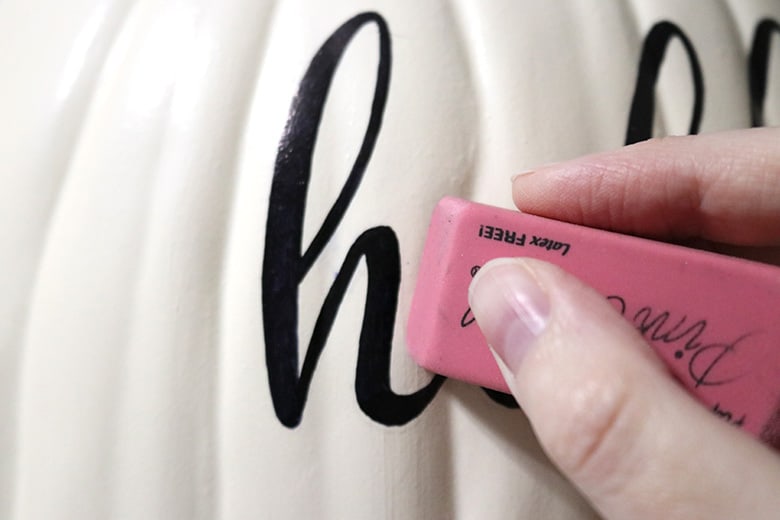
Some tips for hand lettering with Sharpie
- Use your body, a table, and the side of your writing hand to stabilize the pumpkin as you fill in the letters. (I totally used my pregnant belly and baby boy kicked the pumpkin a couple times!)
- Go slowly!
- Start with thin lines–you can always add more weight to the letters later.
- I found it easiest to outline the thicker parts of the letters first, fill those in, and then go back and add the thin connecting lines between letters.
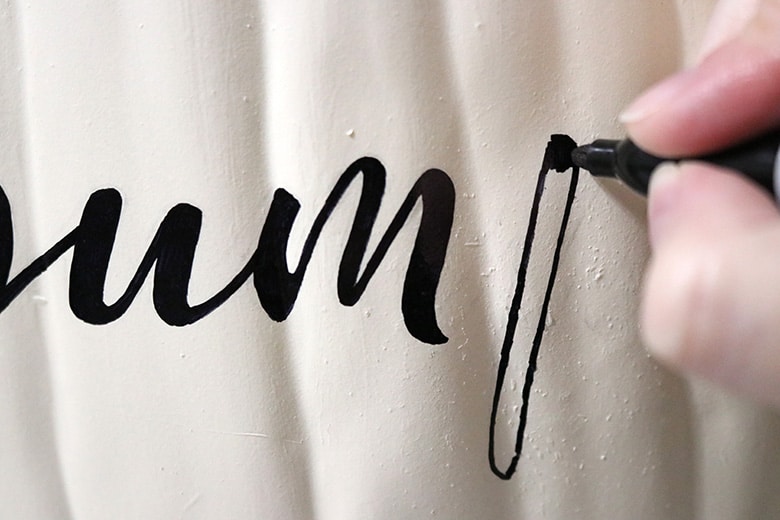
If you’re having a hard time getting your Sharpie to “color” cleanly, here are a couple tips:
- Color slowly, in small sections, in a back-and-forth motion until the Sharpie ink transfers without streaking (when I say “streaking” I mean the appearance that your Sharpie is dying–even though it might not be).
- Use a lighter touch. Sometimes, pressing too hard with the felt tip doesn’t allow enough of the ink to flow and you’ll end up with streaks.
- Give your Sharpie a break and scribble on some scratch paper to get the ink flowing smoothly again.
- If none of the above work, get a fresh Sharpie! There’s no point in struggling with a dull, damaged, or dead marker!
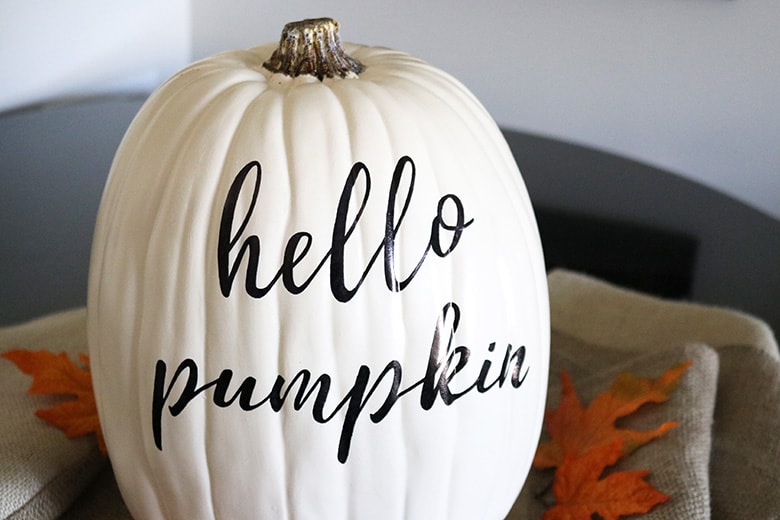
Ah, I am so in love with how this turned out! You would totally think I’m amazing at hand lettering…when really I just cheated and faked it! But no one has to know. 😉

Don’t forget to pin and save for later!
