Magnet Board Refresh: A Thrifty Birthday Gift
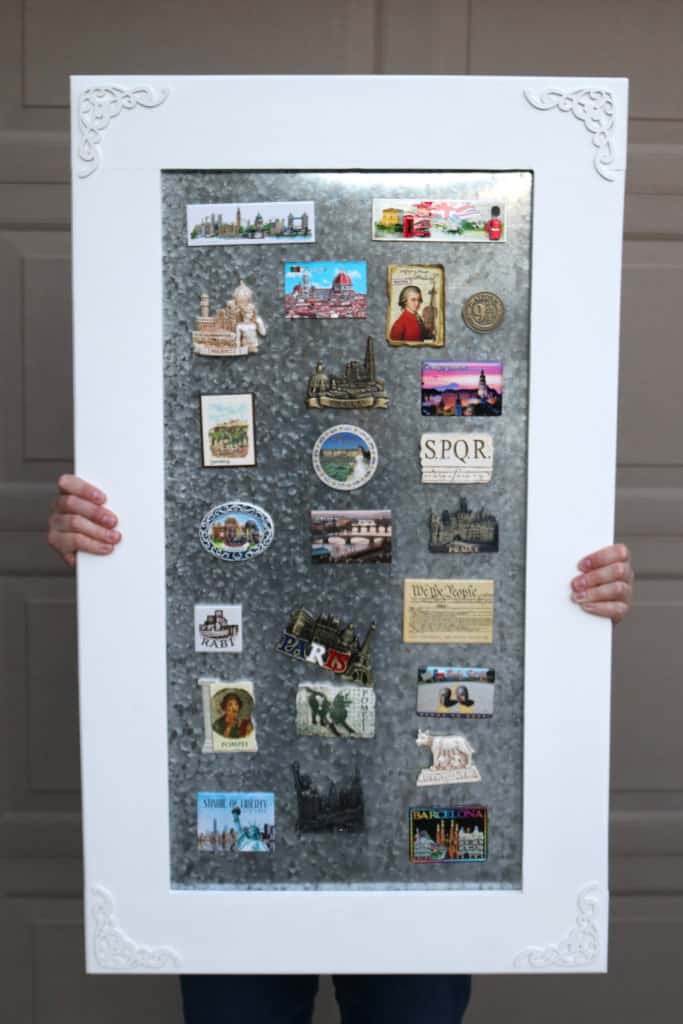
My sister, Emily, may have a thing for magnets–it tends to be her souvenir of choice everywhere she goes. She has been in desperate need of a magnet board to house her miniature skylines, so when she decided to have a birthday this year, I refreshed this old magnet board with a little elbow grease, chalk paint, and wax. (I’m totally kidding! Jared did the elbow-grease part.)
This magnet board hung in my old craft room for years, but I’d grown tired of the color scheme, so I was excited to refresh it and pass it on. (One of these days when I get organized, I’m going to do a craft room reveal of my glorious new craft room–the biggest of our two spare rooms, because Jared spoils me conceded that I have more crap. Stay tuned!)
If you know me very well, I love giving gifts, especially when they’re handmade (and thrifty!). But, if you know me, chances are I’ll give you an “I-O-U” on your actual birthday and take another month before completing said gift. But not this time–there’s a first for everything! It helps that chalk paint dries super fast.
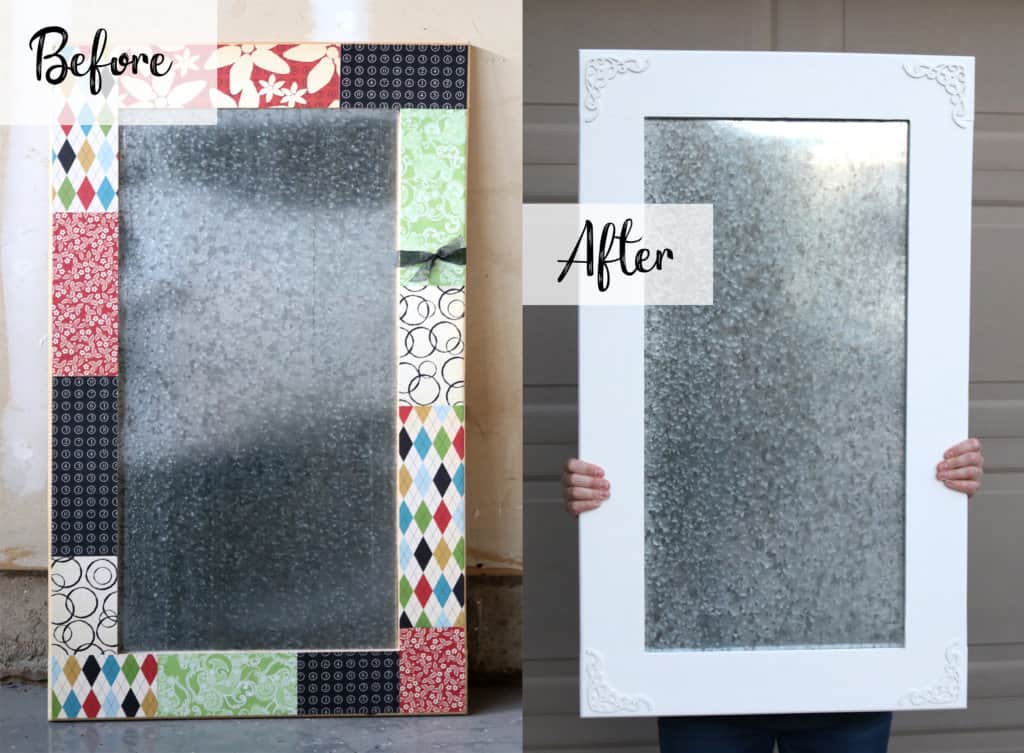
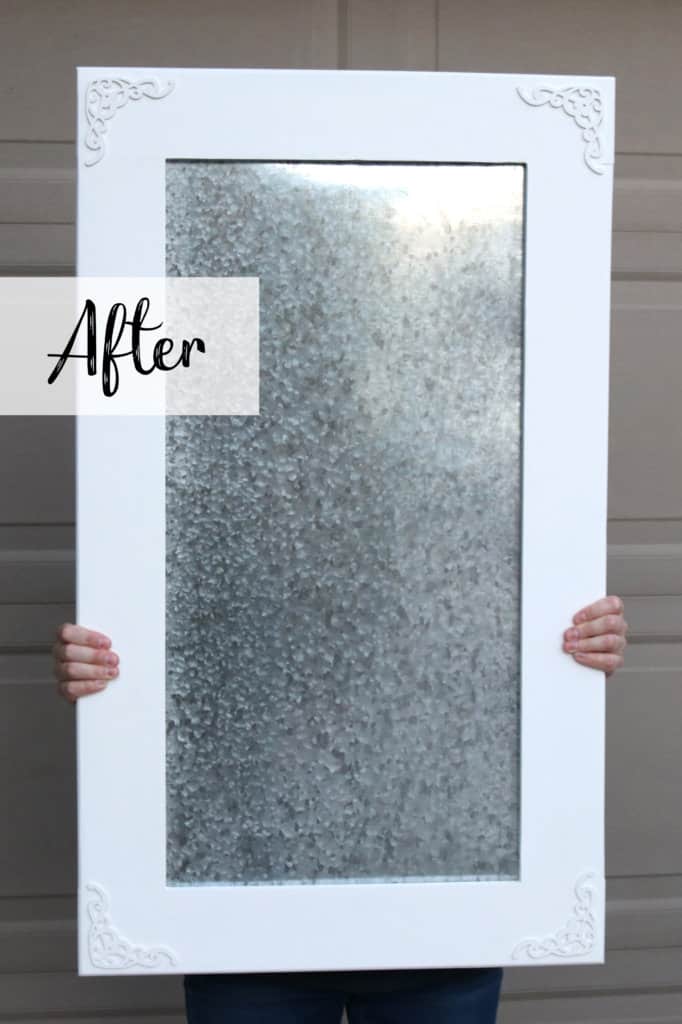
You know those times when you see a “before and after” photo on Pinterest, and you actually prefer the before? Well, it’s okay if you feel that way here. (I’ll still take it as a compliment, because I made the “before” too.) I personally love how this turned out. With all Emily’s brightly-colored magnets (not to mention her green bedroom walls), she needed a neutral board. The chalk paint and wax I used left a really nice sheen and I love it. (But I agree, I chose some cute scrapbook paper in the “before.” 😉 )
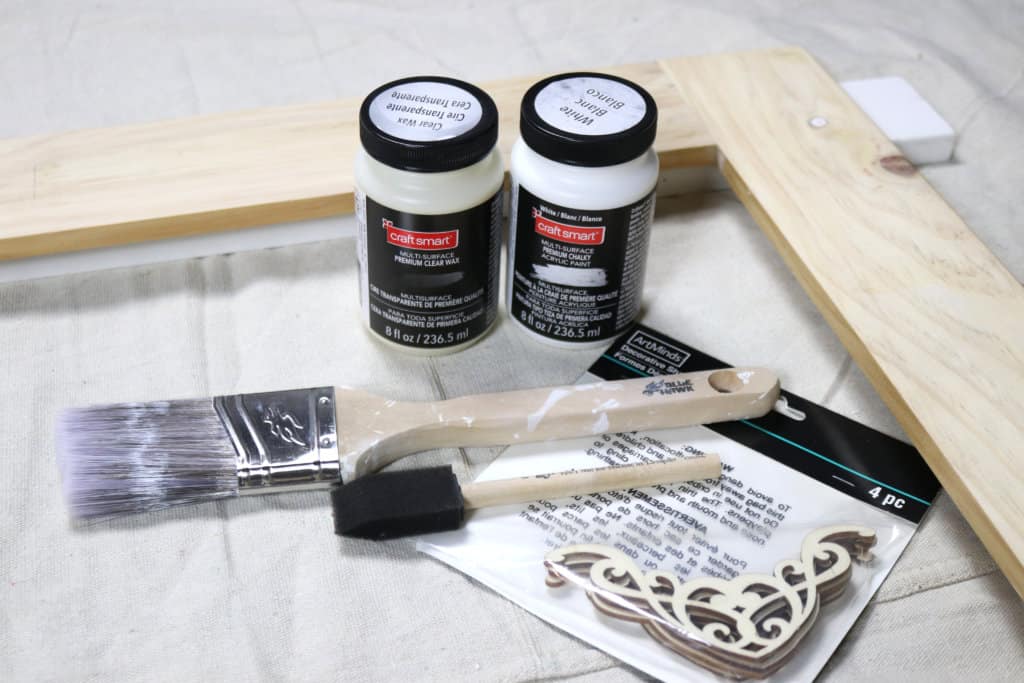
Supplies
- magnet board (this was purchased years ago, made by Provo Craft)
- scraper or palm sander
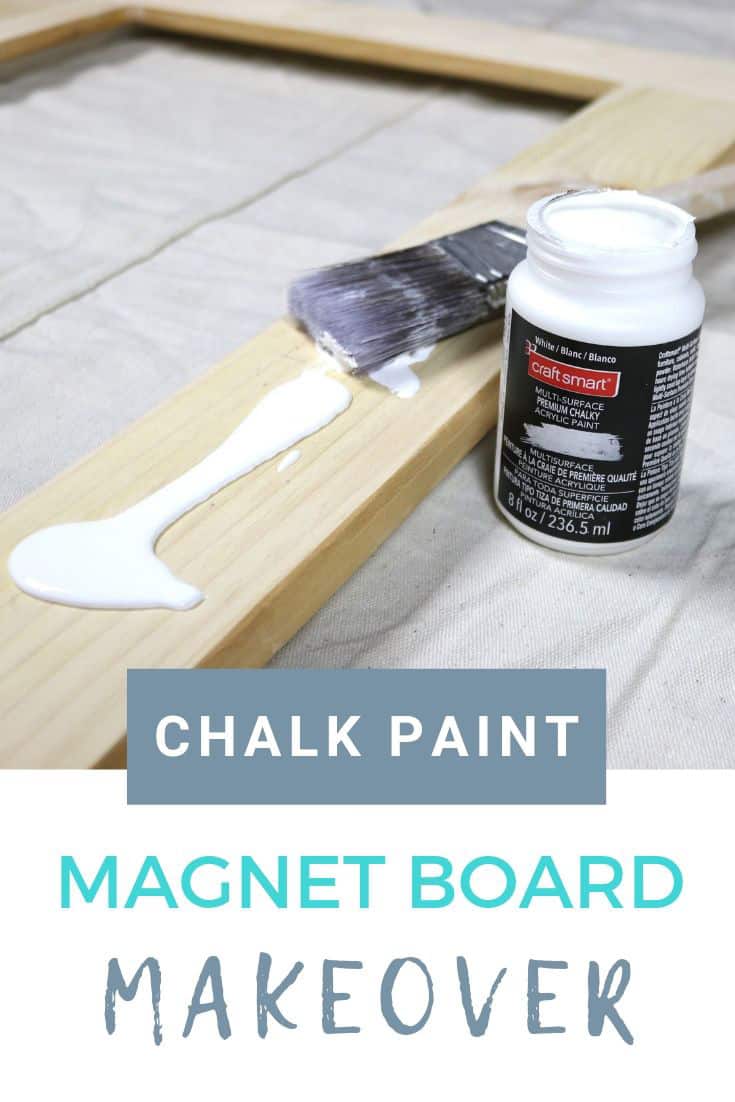
- chalk paint, brushes (next time, I would buy this at Lowe’s, but I was one-stop-shopping at Michael’s that particular night)
- wax, clean cloth
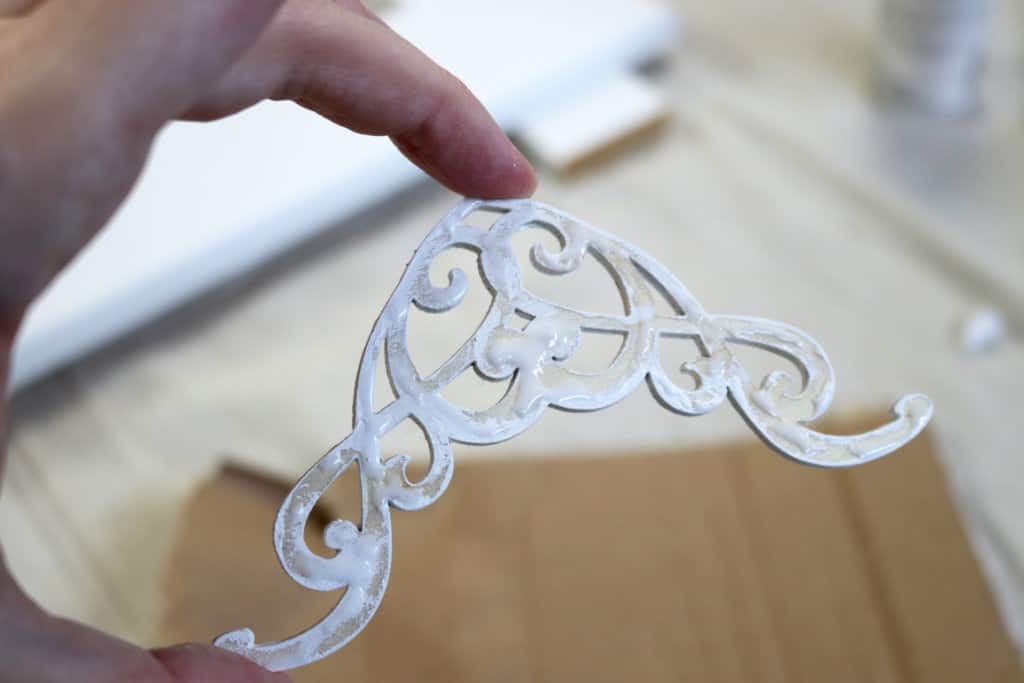
- decorative wood pieces
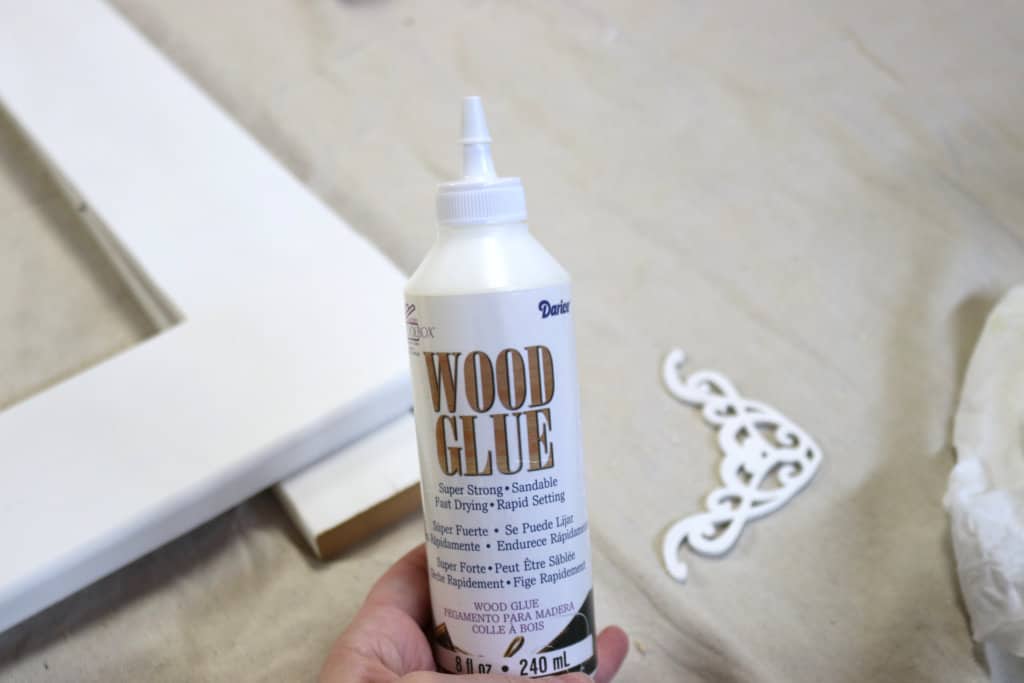
- wood glue
Steps
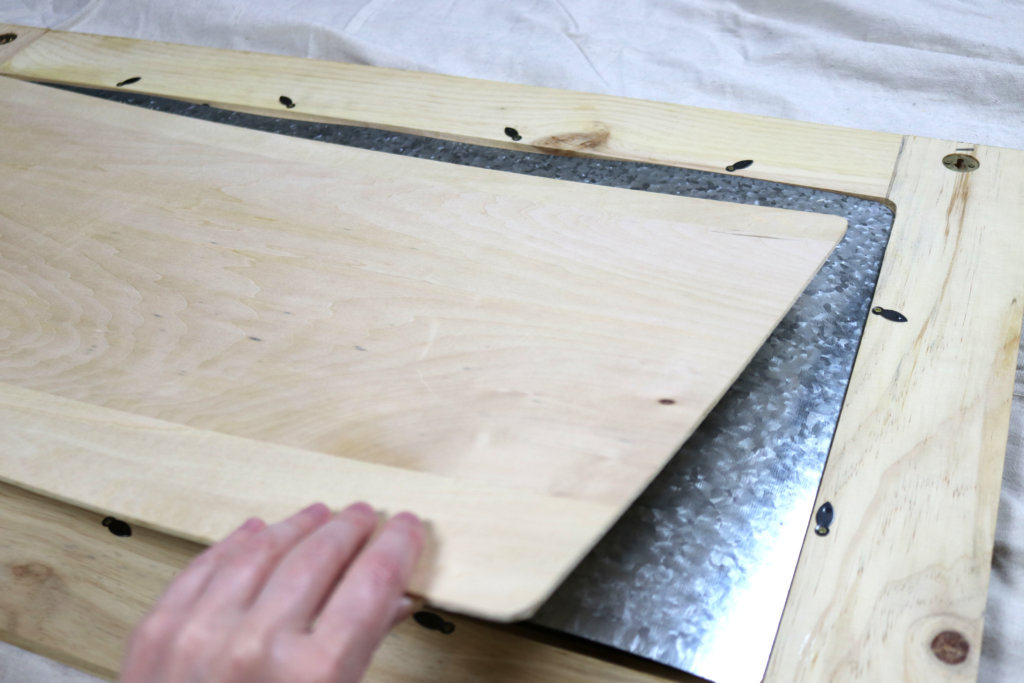
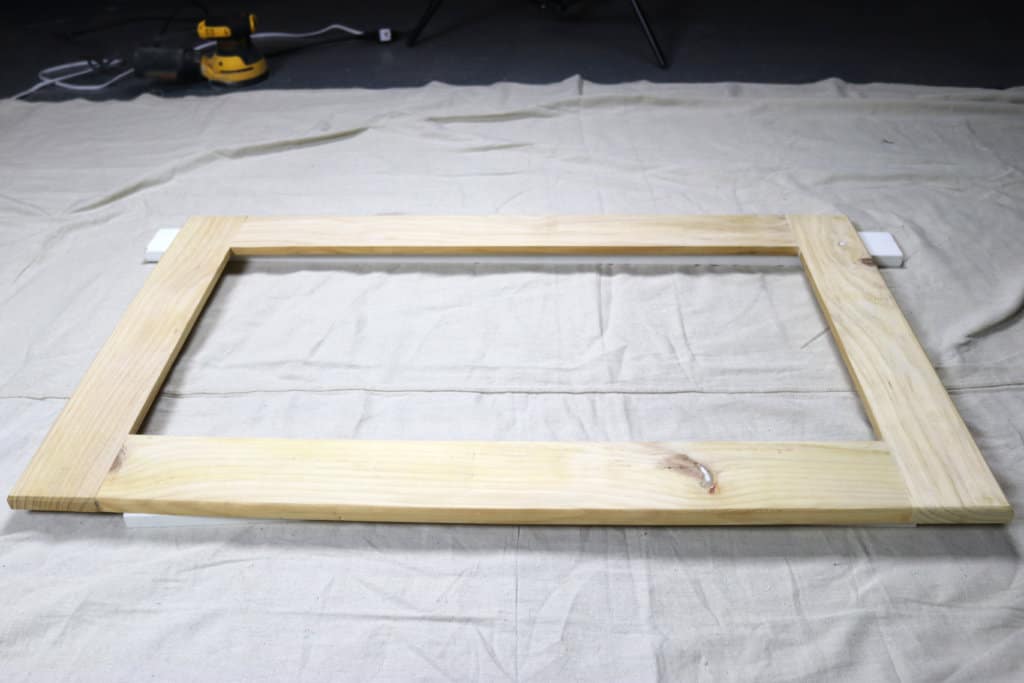
- If possible, remove the magnetic board from the wood frame (or tape off anything that you don’t want painted).
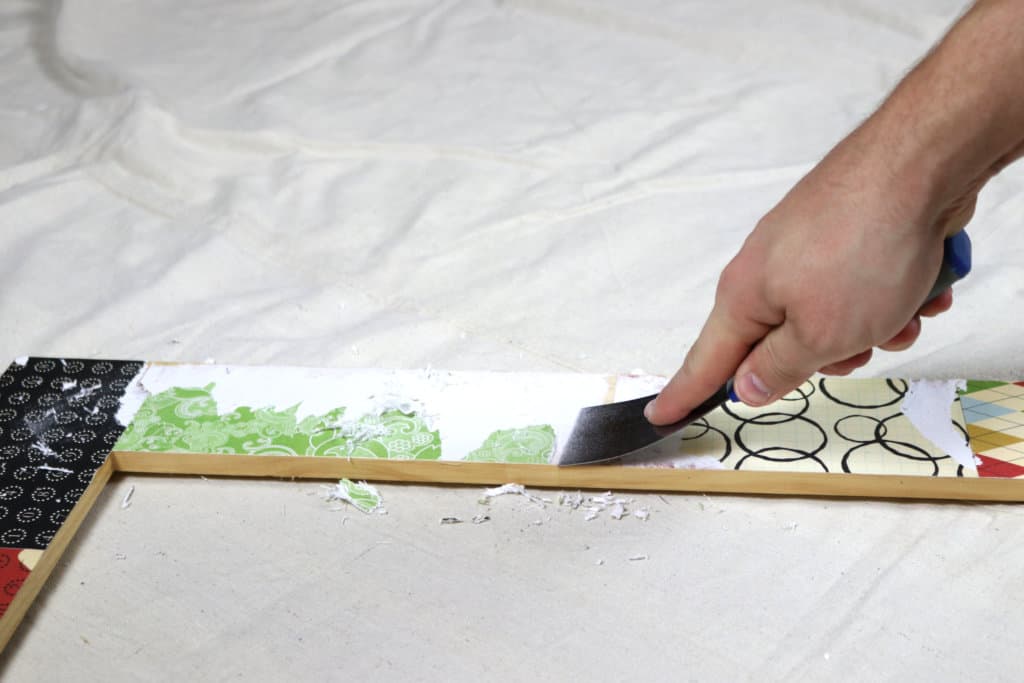
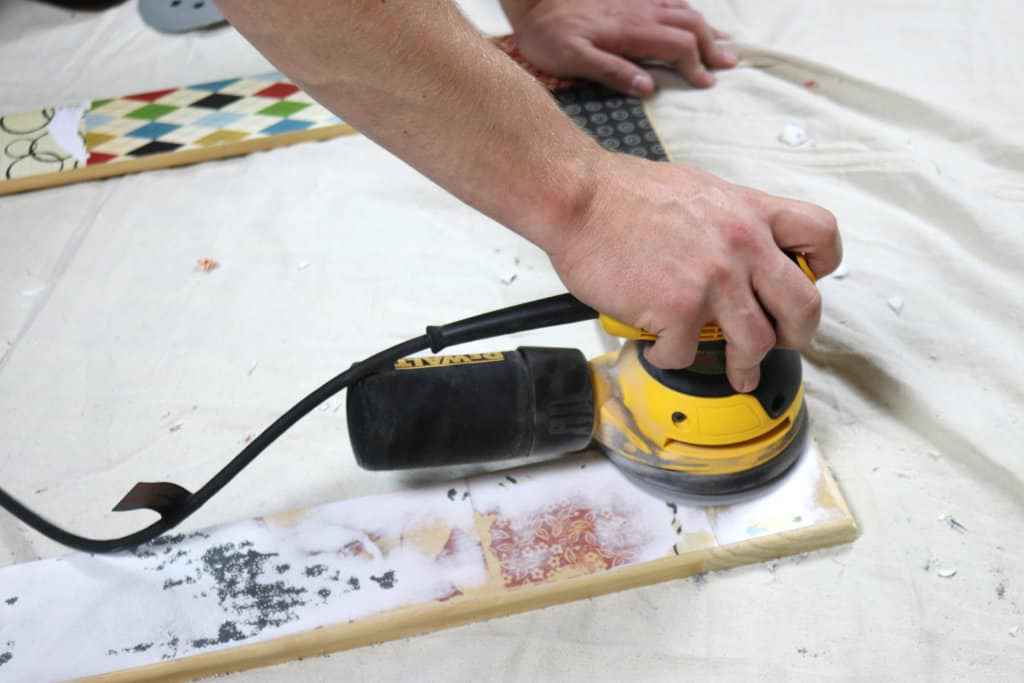
2. Scrape and sand off paper. I had originally decorated this board with Mod-Podged scrapbook paper. Well, guess what? Mod Podge is surprisingly strong. That paper wasn’t going anywhere without a fight. The palm sander took a little bit of time, but it was so much easier than scraping (or so said Jared). Beware, though, because paper dust goes everywhere.
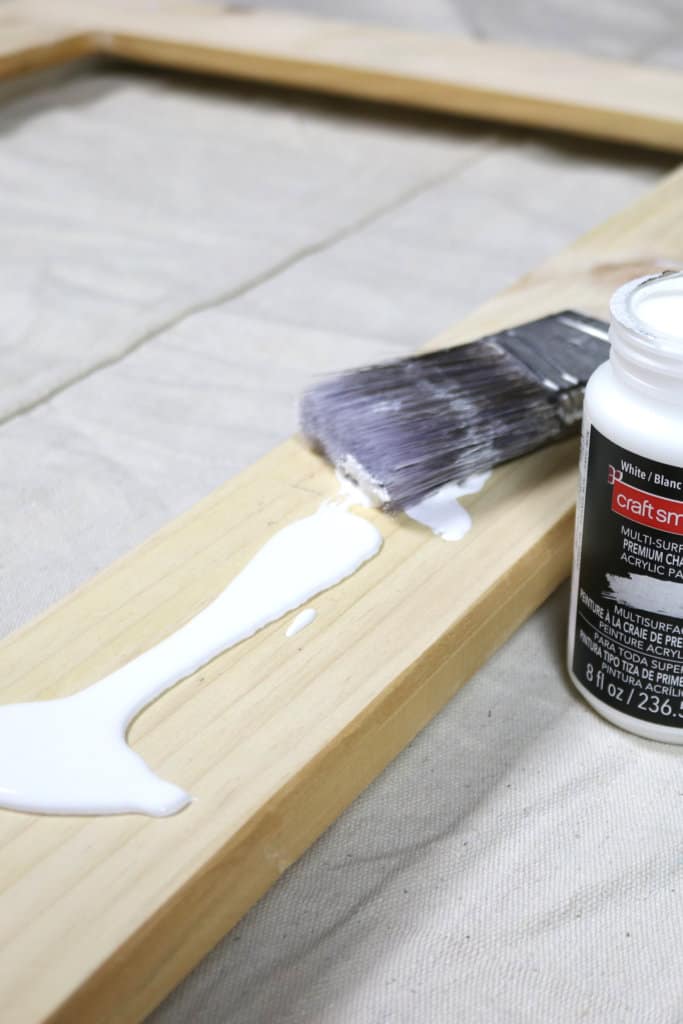
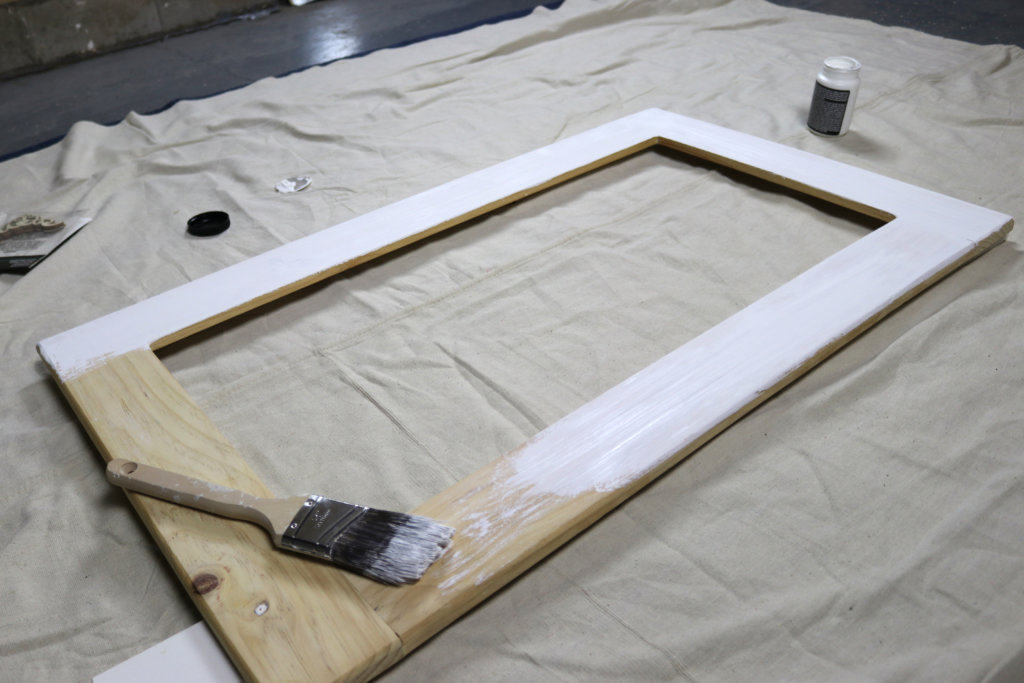
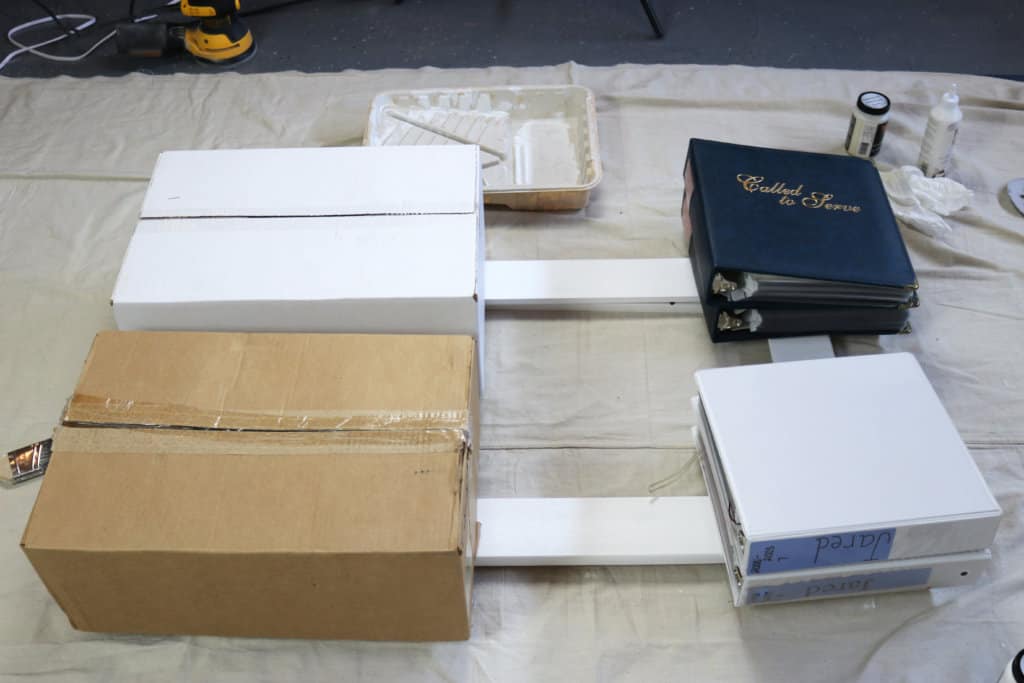
3. Paint with chalk paint. To make it easier to paint the edges, I lifted the board on some small scraps of wood. I poured a little bit of paint at a time, either directly onto the board or onto my paintbrush–you could also use a paint tray. Work quickly, because chalk paint dries a lot faster than latex paint. Keep a smooth line to limit the amount of brushstrokes, and don’t overwork it. Let dry, apply a second coat if needed, and let dry again.
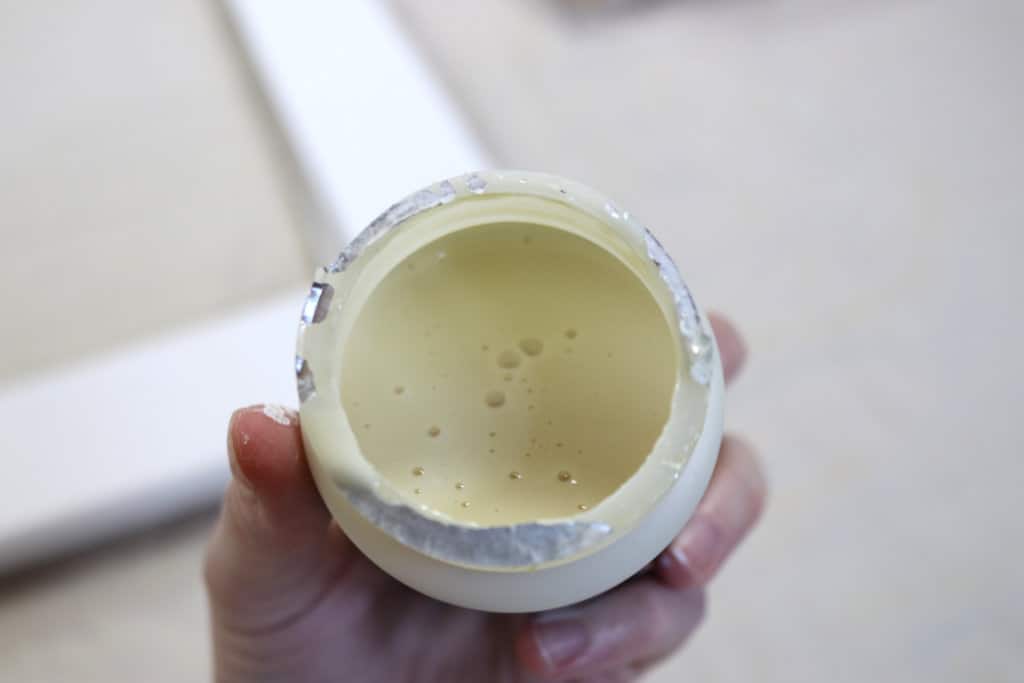
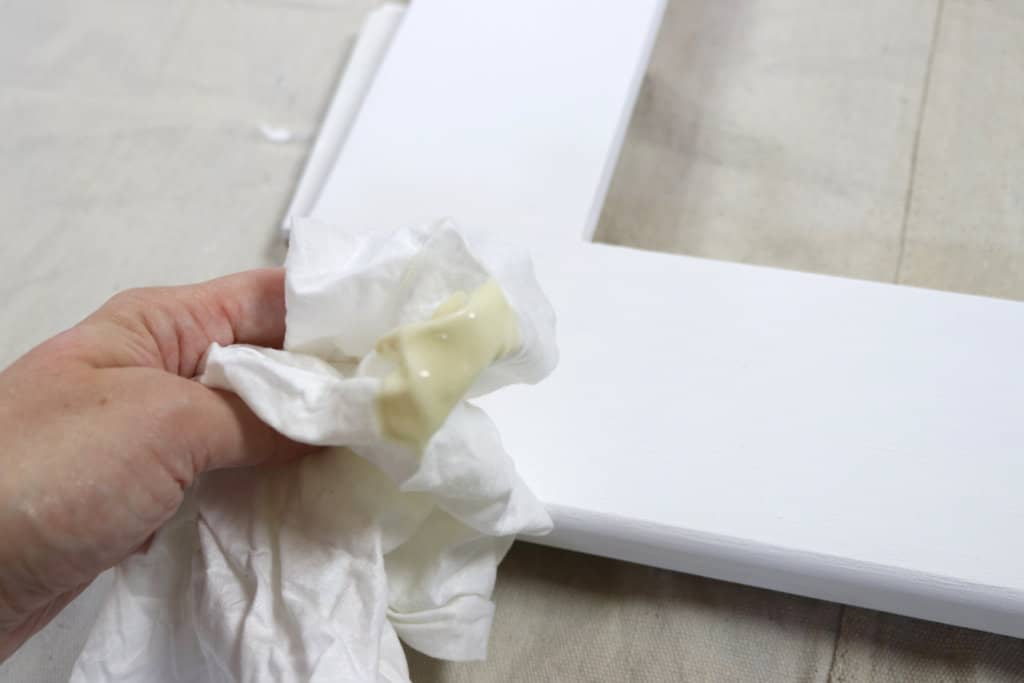
4. Apply wax with a clean cloth. I used those disposable white cloths found in the painting section of Lowe’s, but anything will do (as long as it’s lint-free). The wax was a lot more fluid than I was expecting, but it made it so easy to apply. You can apply as much or as little as you want. Follow the directions on the label for best results with your brand of wax.
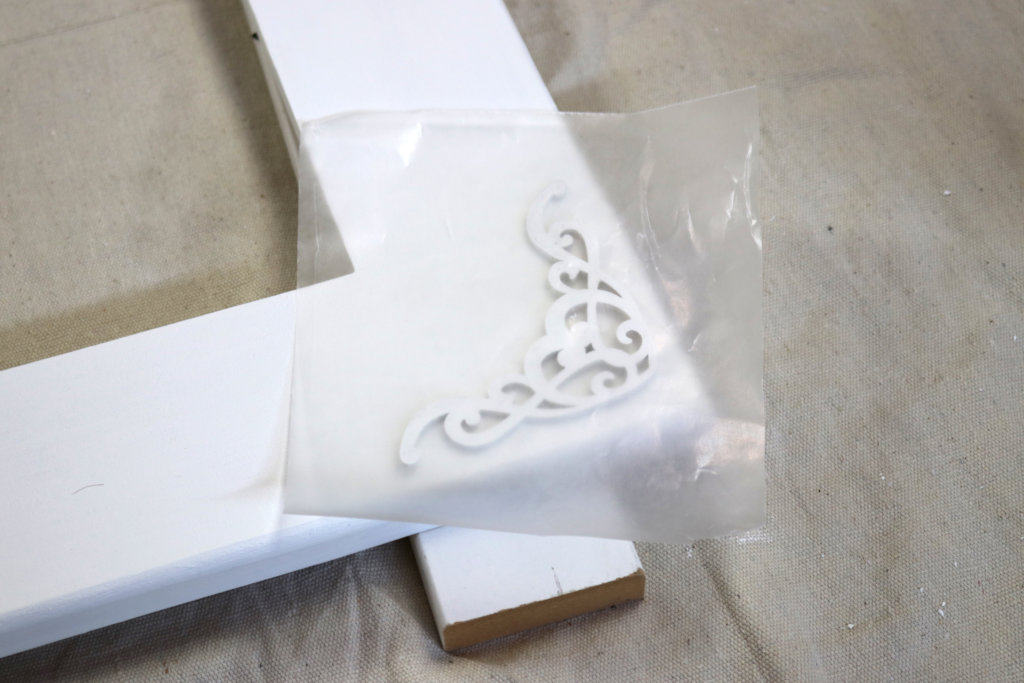
5. Glue decorative pieces with wood glue. Apply a small amount so it won’t ooze out too much. Clamp or apply weights for at least 30 minutes. Only use your husband’s scrapbooks for weights if he doesn’t know about it (it’s ok, I put some wax paper in between so I didn’t get any glue on the books).
And there you go. You’re all done! A super easy refresh and an inexpensive gift.
What are your favorite uses for chalk paint?

how to you secure the galvanized metal to the frame?
It has tabs like the back of a picture frame, it just came that way when I bought it.