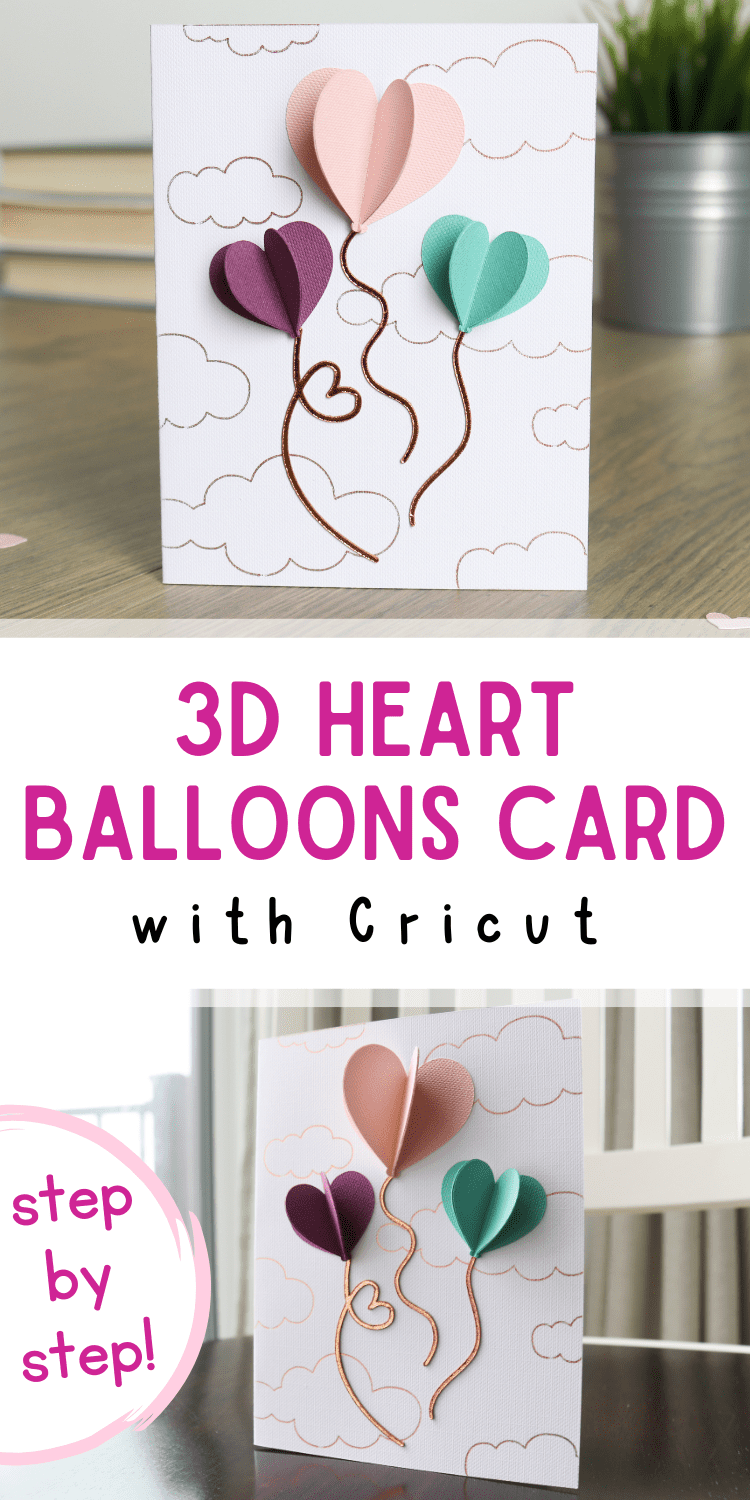
DIY 3D Heart Balloons Cricut Valentine’s Card
This whimsical papercrafted card with 3D paper hearts is sure to bring a smile to your Valentine! Learn how to make this with your Cricut, step by step!
I’ve been crazy busy designing fun Valentine’s projects, mostly with my Cricut machine, and I feel like I can’t get to the next one fast enough! Or maybe that’s my jumpy mom brain talking. 🙈
I love that handmade cards are like mini canvases—the creative possibilities are endless! And it’s not hard to get inspired with all the great images in Design Space, either.
This card is pretty simple, but the 3D heart balloons make it so fun and unique! I also think it’s worth the extra step to foil the clouds—that extra shine adds a lot. I’ll tell you how to do all of that below!
This post contains affiliate links. For more information, see my disclosures here.
What you need to make this 3D heart balloons card
- Cricut machine
- Cricut Access subscription: This project uses Access images and fonts. If you’re not sure if Access is right for you, check out this post all about Cricut Access. (You’re going to love how convenient it is to have all those cute images at your fingertips!)
- white cardstock
- 3 contrasting colors of cardstock for the heart balloons (or I suppose you could make them all the same color)
- metallic kraft board, optional (this is what I used for the balloon “strings” but you could also use regular cardstock)
- Cricut foil transfer tool
- foil transfer sheets: the smaller size sheets are just slightly too small to cover the front of the card, so you’ll want the larger ones and you can trim them down a bit
- Cricut pen, optional (in case you’d rather draw the clouds instead of using the foil transfer)
- LightGrip mat (the blue one, I use this for the cardstock)
- StandardGrip mat (the green one, I use this for the kraft board)
- craft glue: I love this glue, especially for the super fine point tip—you’re going to want that for the balloon “strings”!
How to make a 3D heart balloons Valentine’s card
Customize in Cricut Design Space
Open my 3D Heart Balloons Valentine’s Card project in Cricut Design Space. If you want to make any changes, choose Customize. You’ll probably want to adjust the colors of the hearts to match the cardstock you’re using. Also, if you’d rather draw the clouds versus foil them, be sure to change the operation type for the cloud layer (it’s the layer currently labeled “foil”, close to the bottom of the layers panel). Then adjust the pen size and color by clicking on the little square next to the Operation drop-down.
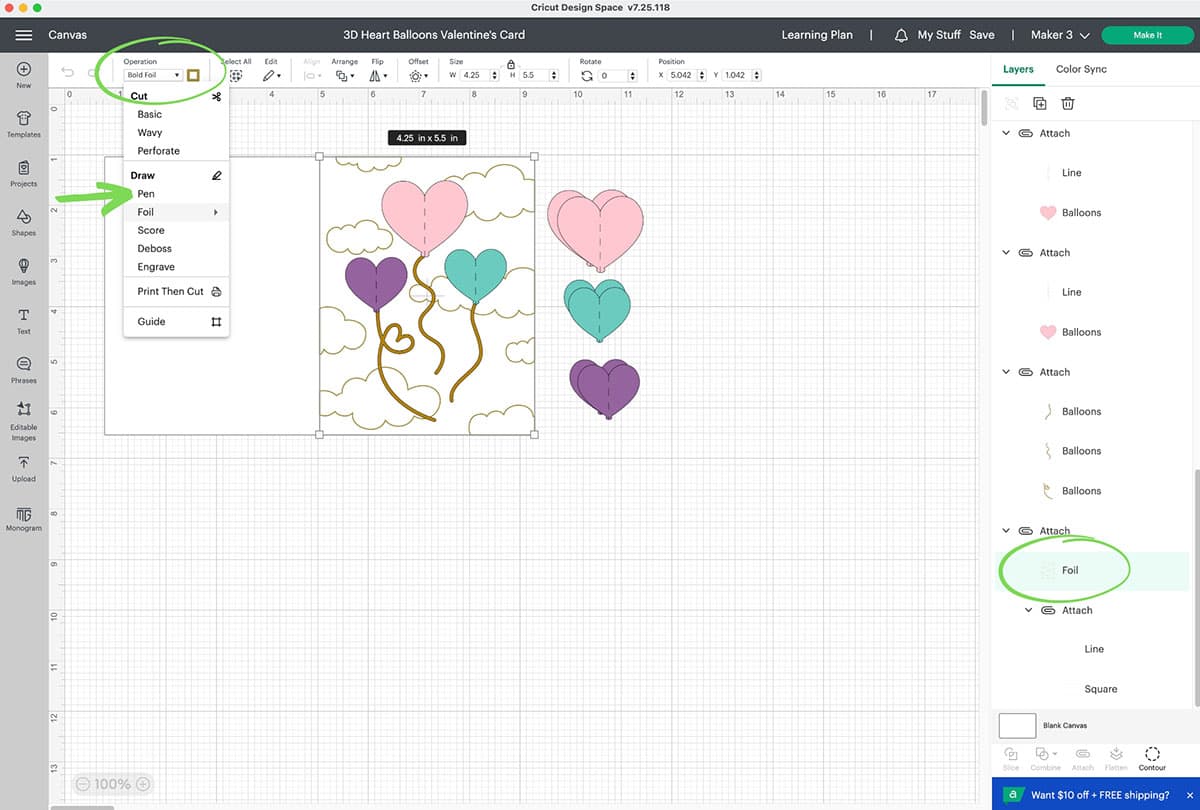
This project makes an A2 size card (4.25″ x 5.5″).
Cut with your Cricut machine
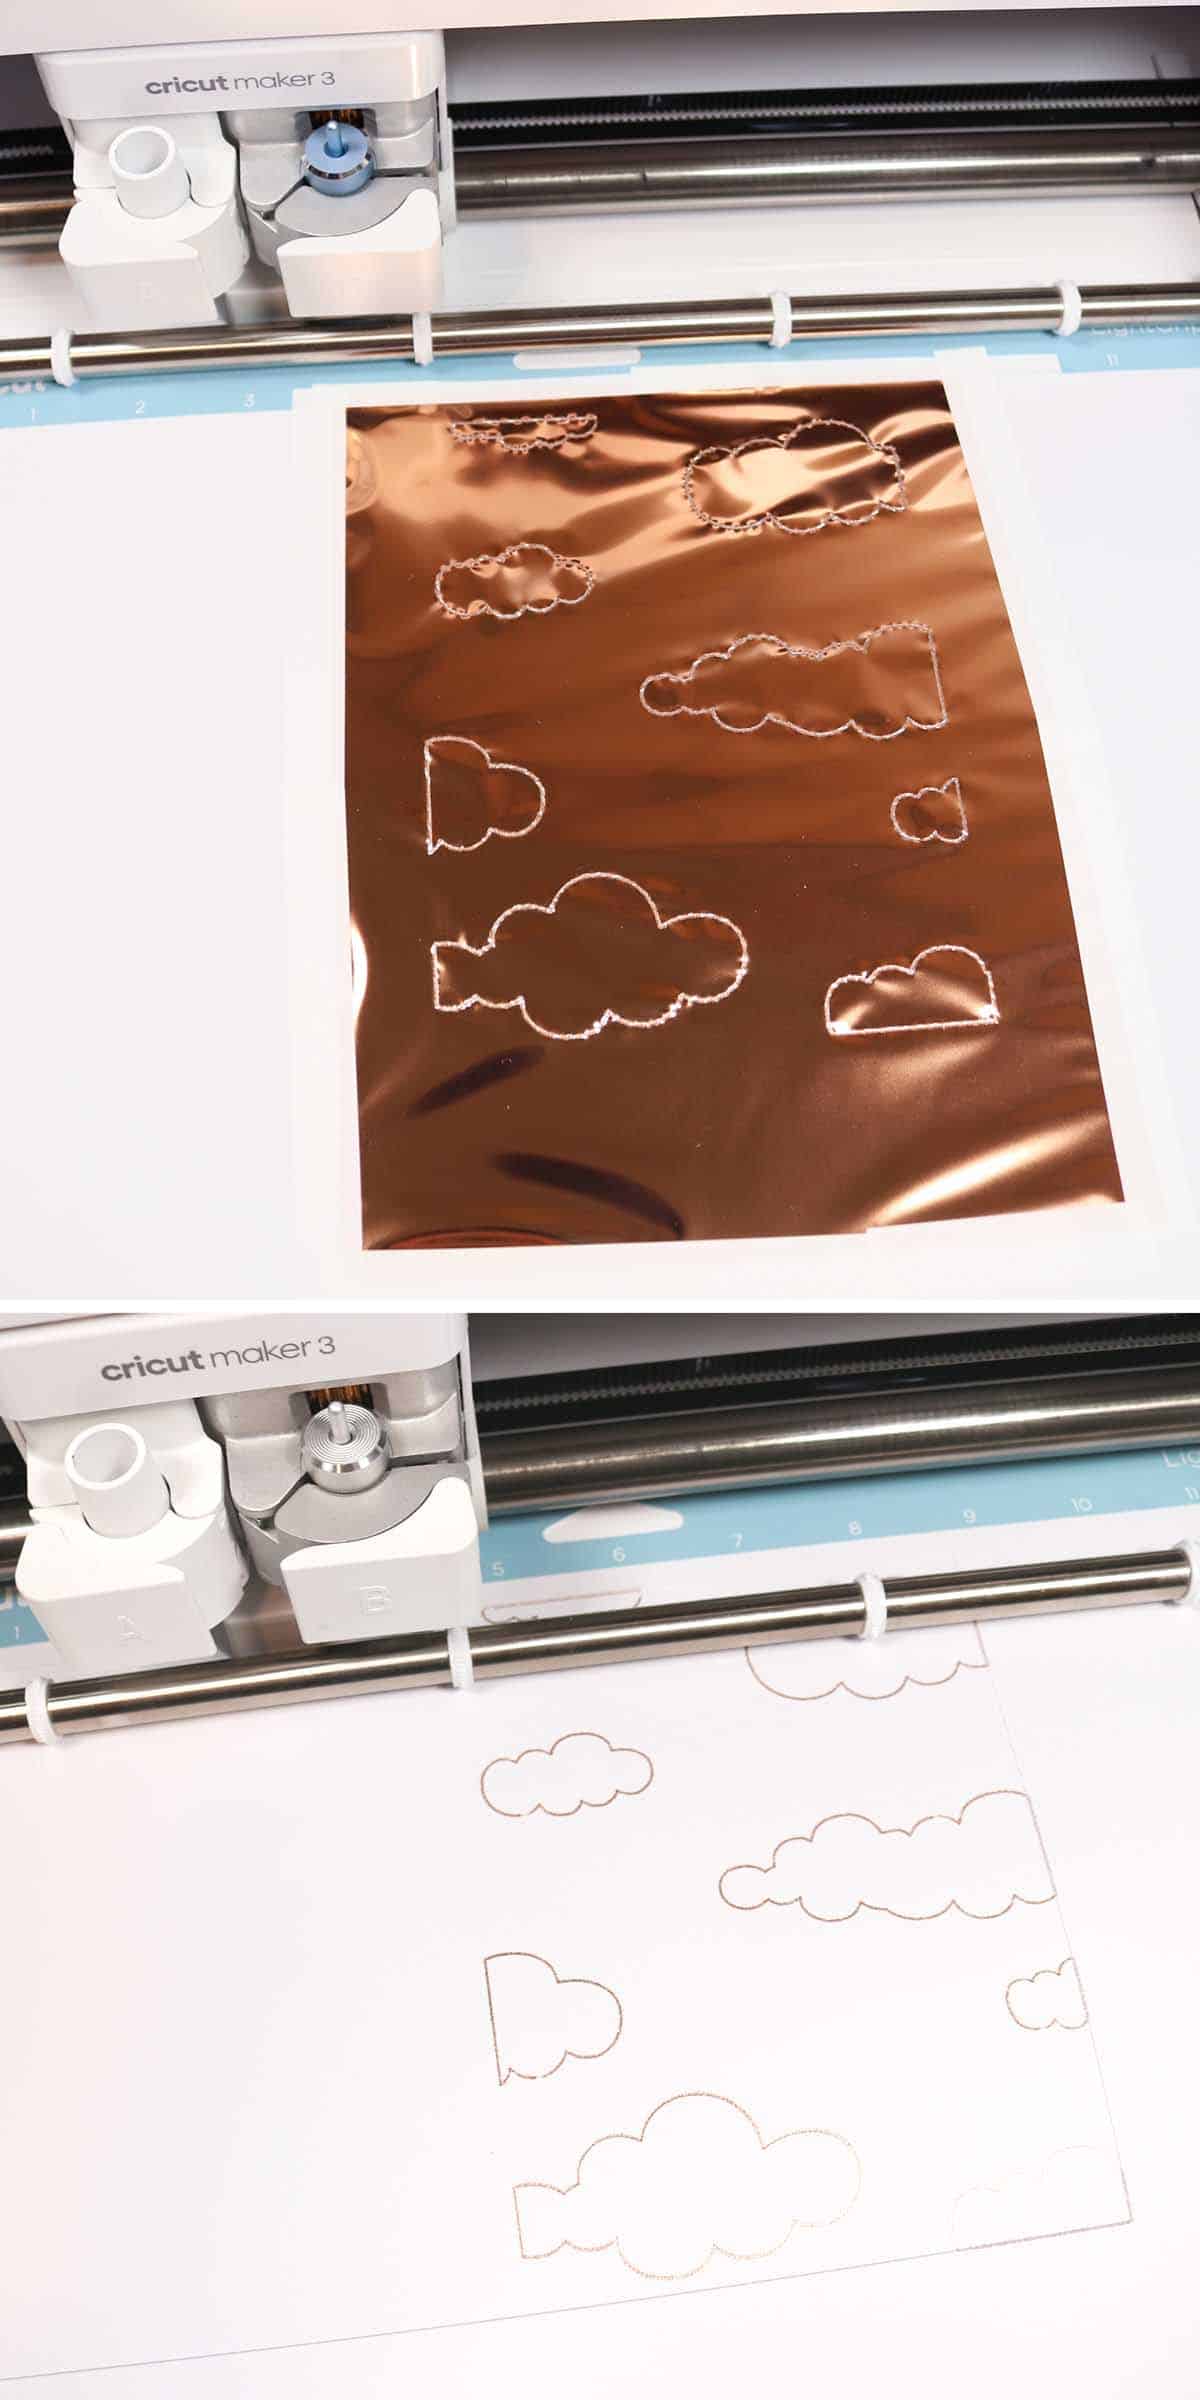
Click Make It. Choose your mat preferences. Set your base material to Medium Cardstock if using Cricut cardstock. For the card mat (the white cardstock), if you’re foiling, you’ll load the single scoring wheel into Clamp B first. When your machine’s done scoring, you’ll load the foil transfer tool into Clamp B. Cover the front side of the card completely with a foil transfer sheet (you can use the score line as a gauge for where to place this, it will foil to the right of the score line).
For the best foiling results:
- Make sure your foil sheet is plenty big. If it’s too small or only just barely covers where the foil elements are, your machine may catch on the tape and pull the foil back, ruining the design (ask me how I know this).
- Make sure you pull the foil taut and tape all the way around the perimeter of the sheet. But also make sure that the tape doesn’t overlap where the foil elements on the card are.
When your machine’s done foiling, remove the foil from the cardstock and switch the foil transfer tool for the fine-point blade. Finish the cuts. (And don’t remove the mat from the machine until the very end! You don’t want to remove it in between these steps or you’ll lose your placement!)
If you choose to draw instead of foil, then you’ll load the pen* into Clamp A and the scoring wheel into Clamp B. When that’s done, replace the scoring wheel with the fine-point blade. Follow the Design Space prompts to finish cutting the card, as well as scoring and cutting all the heart pieces.
*For best results, prime your pen before loading it into your machine—just scribble on a scrap piece of paper for a second until the ink is flowing.
Assemble 3D hearts
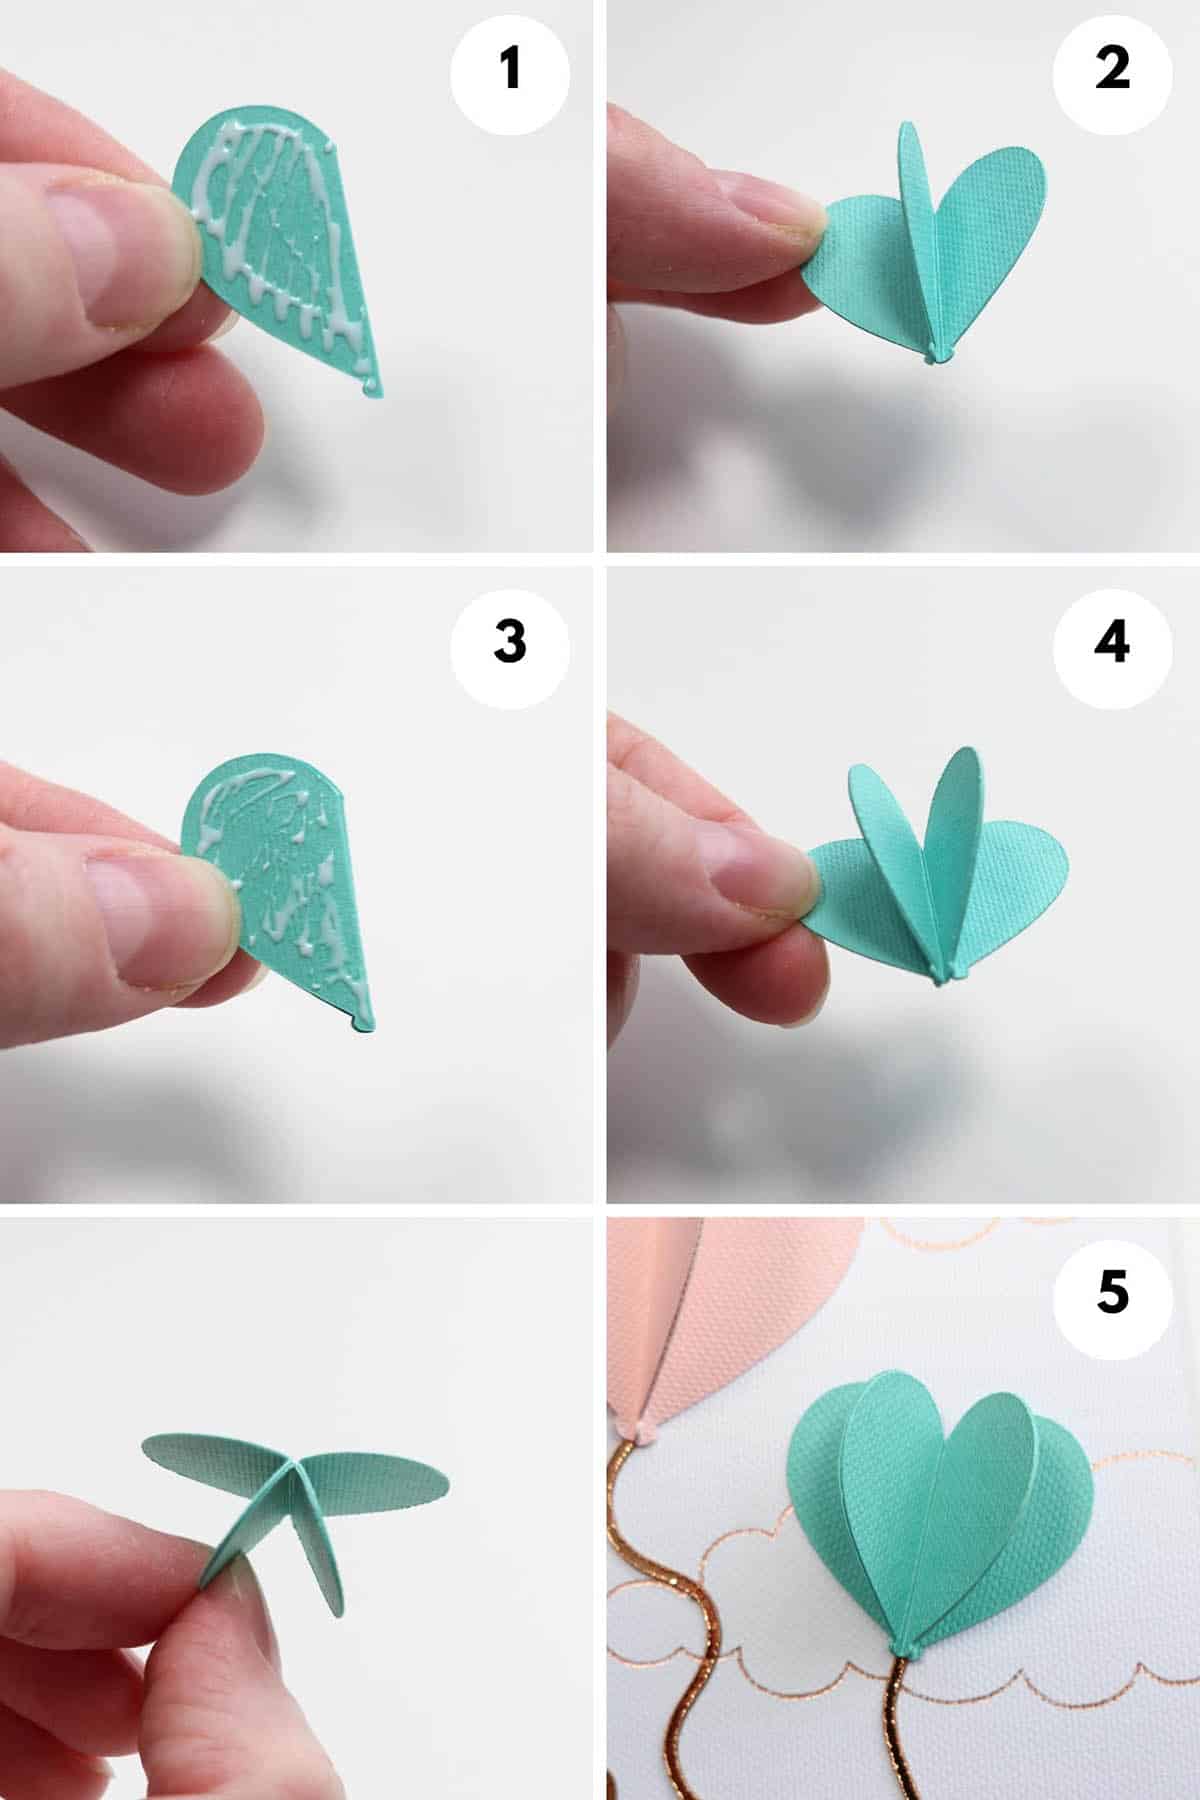
Fold your hearts on the score lines. Take the first heart and apply glue to the back of the right flap. Press the back of the left flap of a second heart to this and glue together. Apply glue to the back flap of the second heart and glue your third heart to it. You should have three hearts glued together now, accordion-style with the second heart sandwiched between the first and third.
Repeat this process for the other two heart balloons.
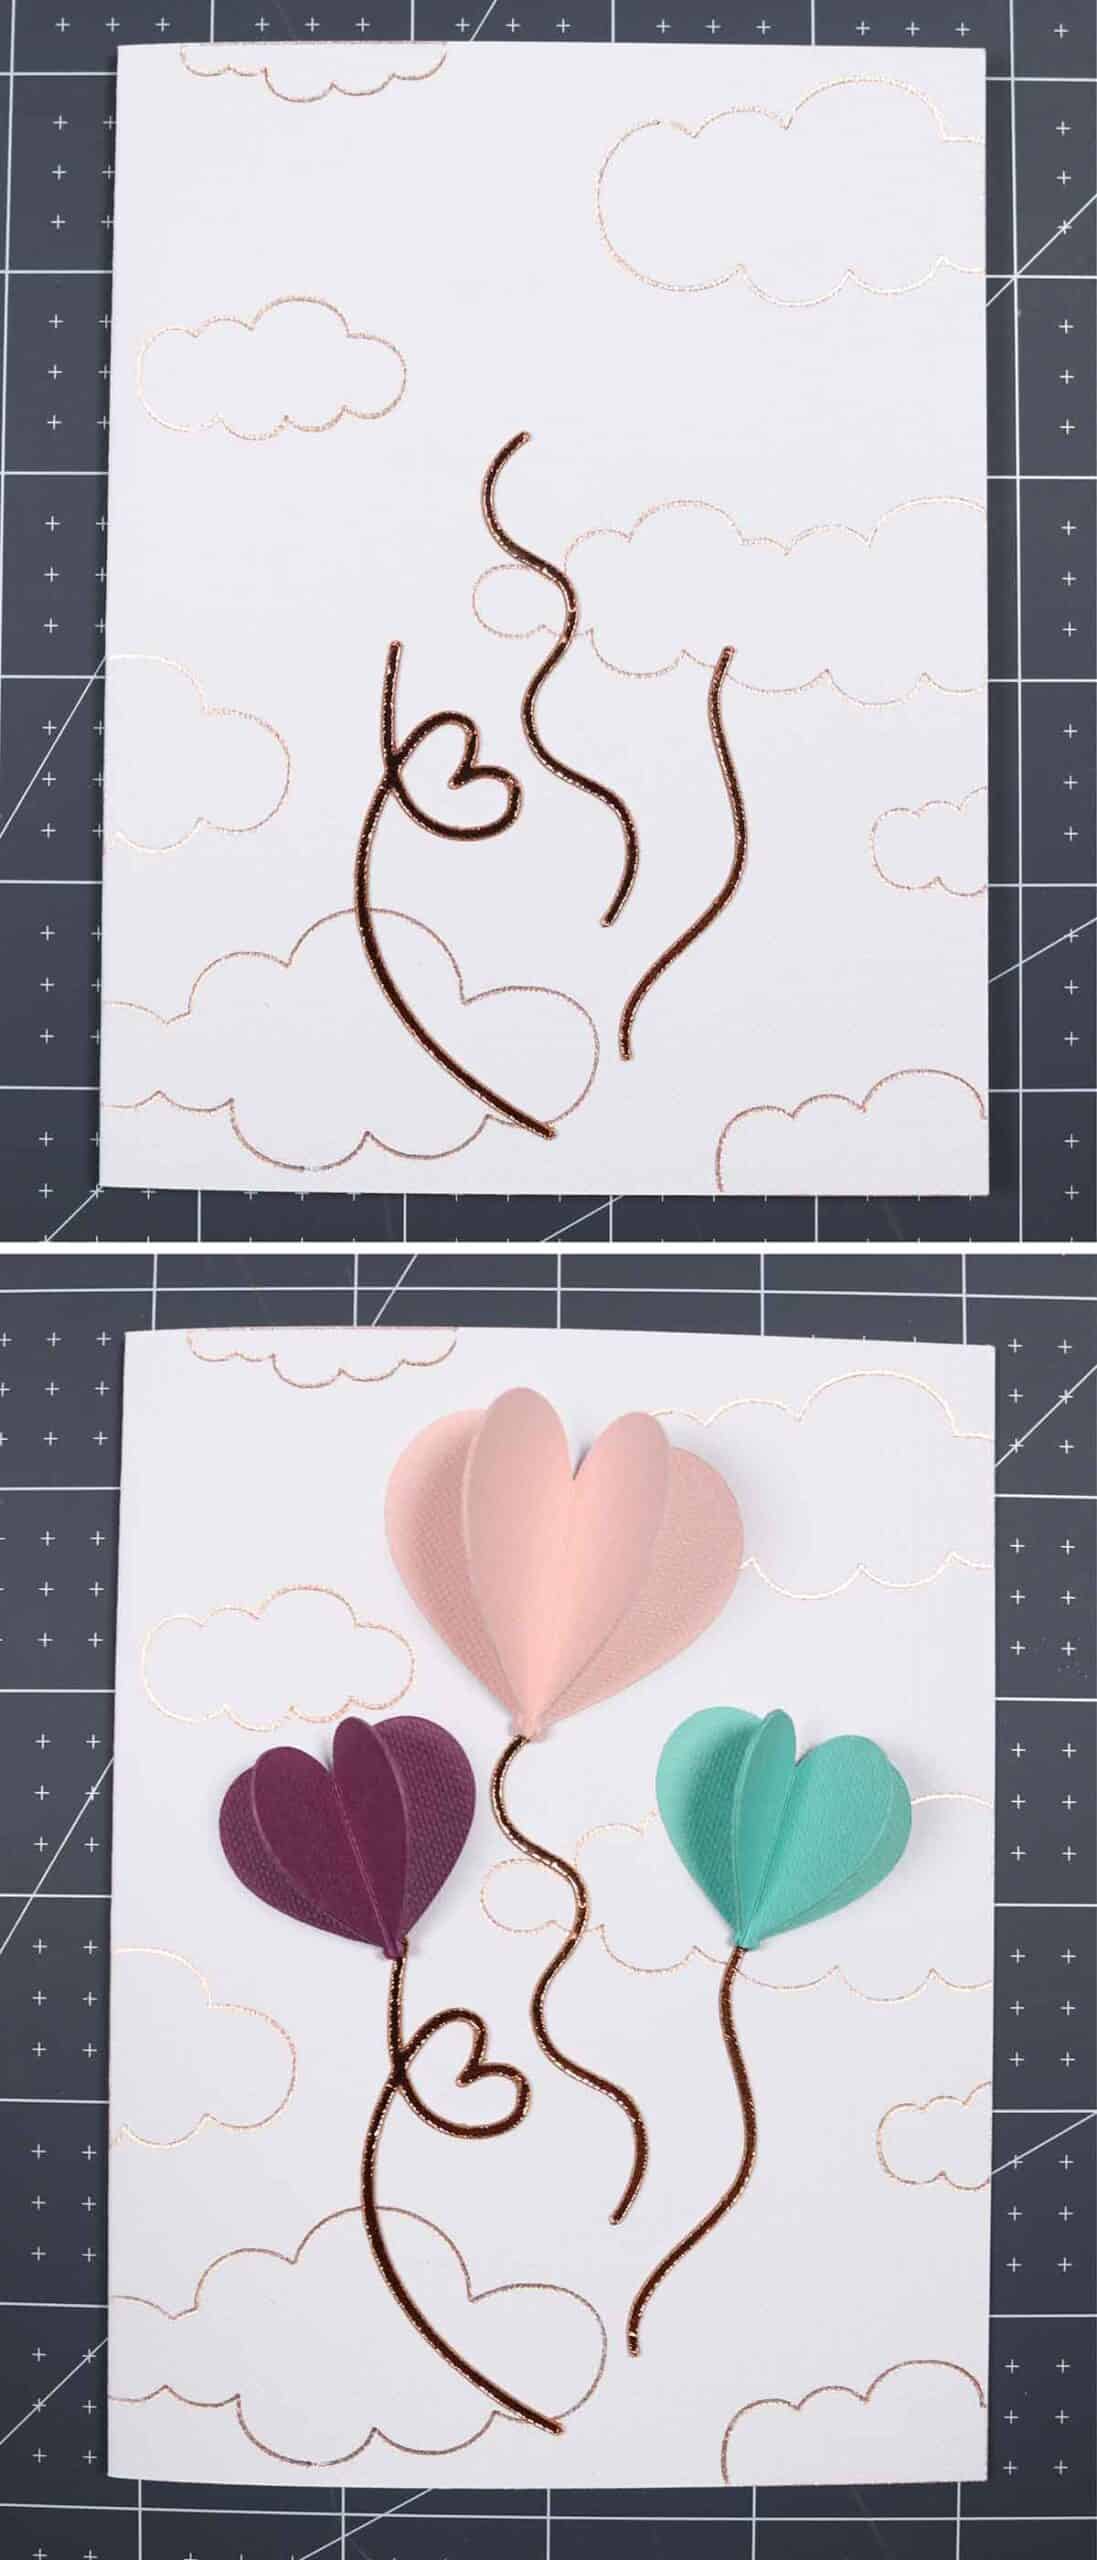
Assemble card
Carefully fold the white card on the score line (be sure to line up the corners so it folds straight!).
Lay the 3D hearts and their “strings” on the card and get them in position. Glue the string pieces down first. Glue the 3D hearts down next, slightly overlapping the strings.
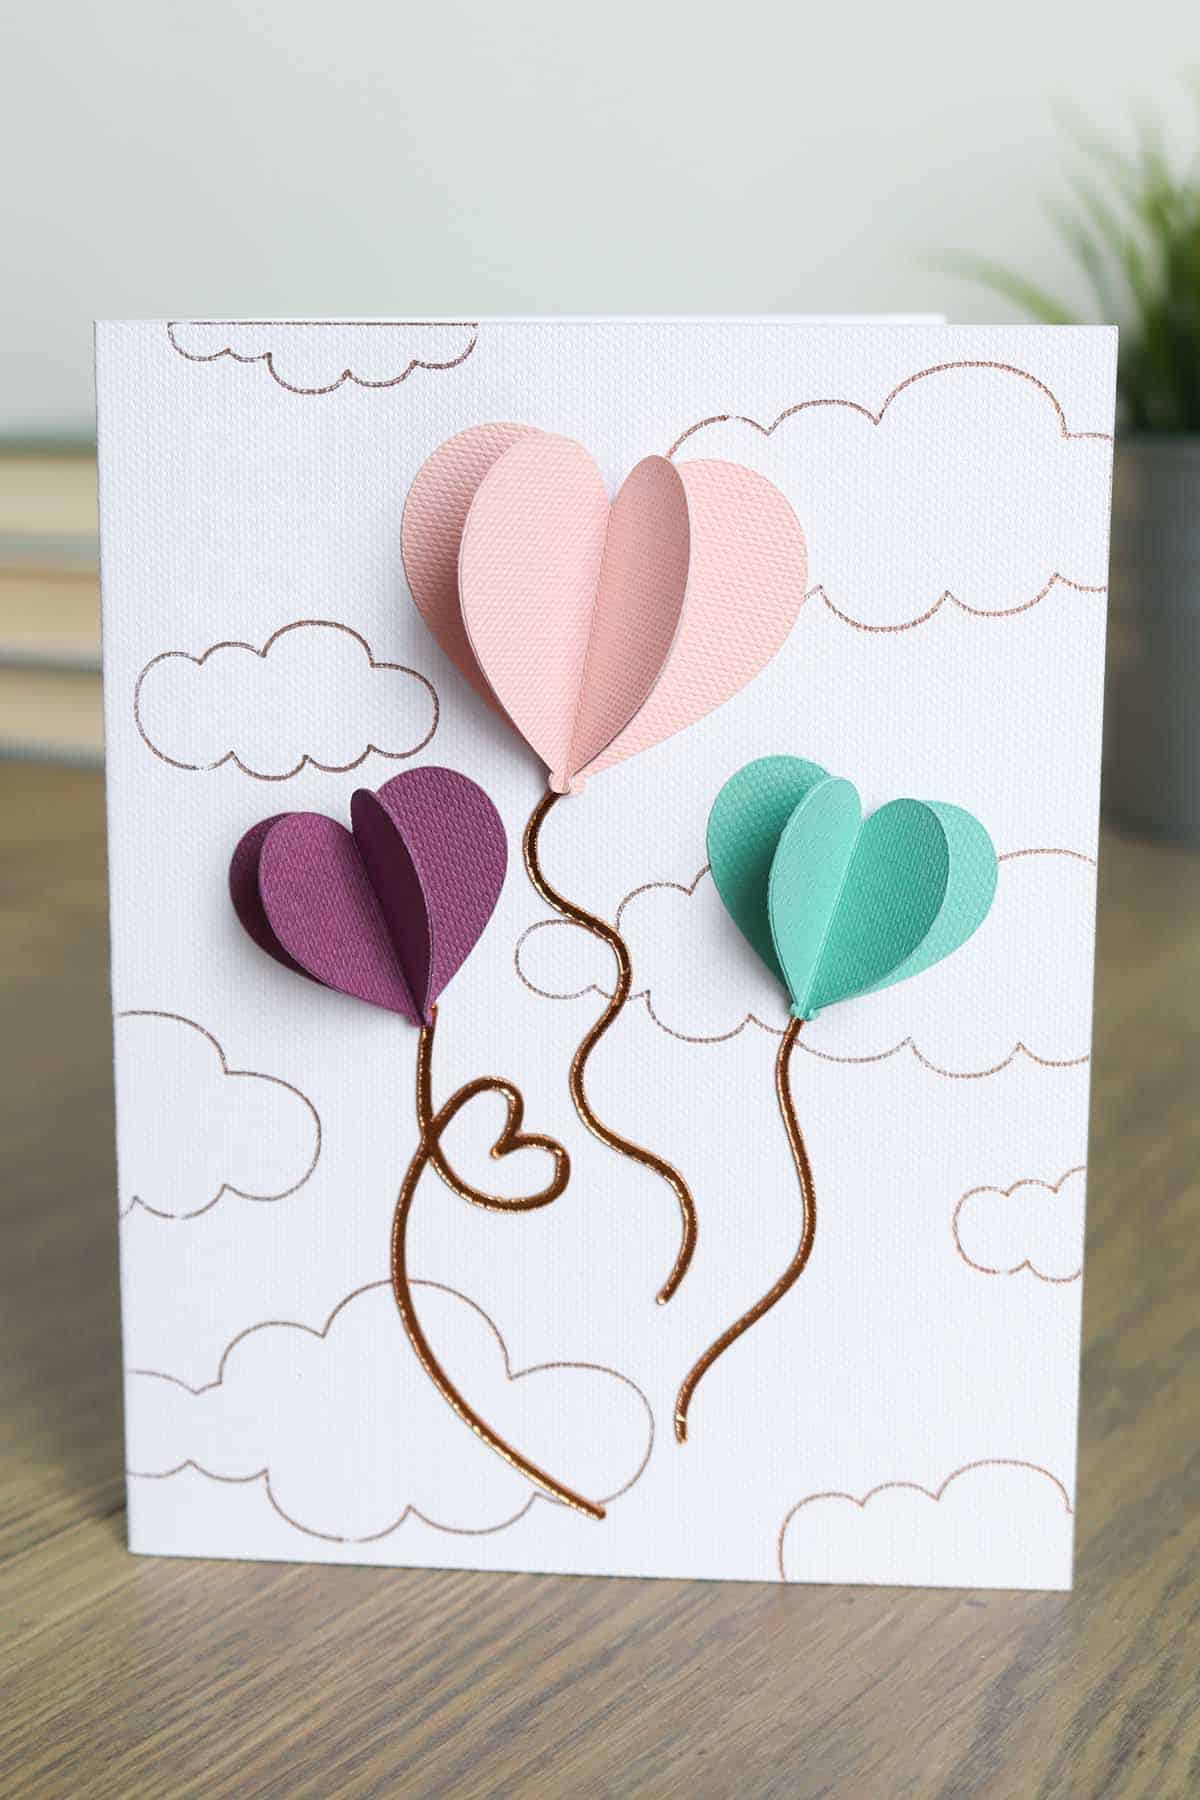
DIY 3D Hearts Paper Craft Card
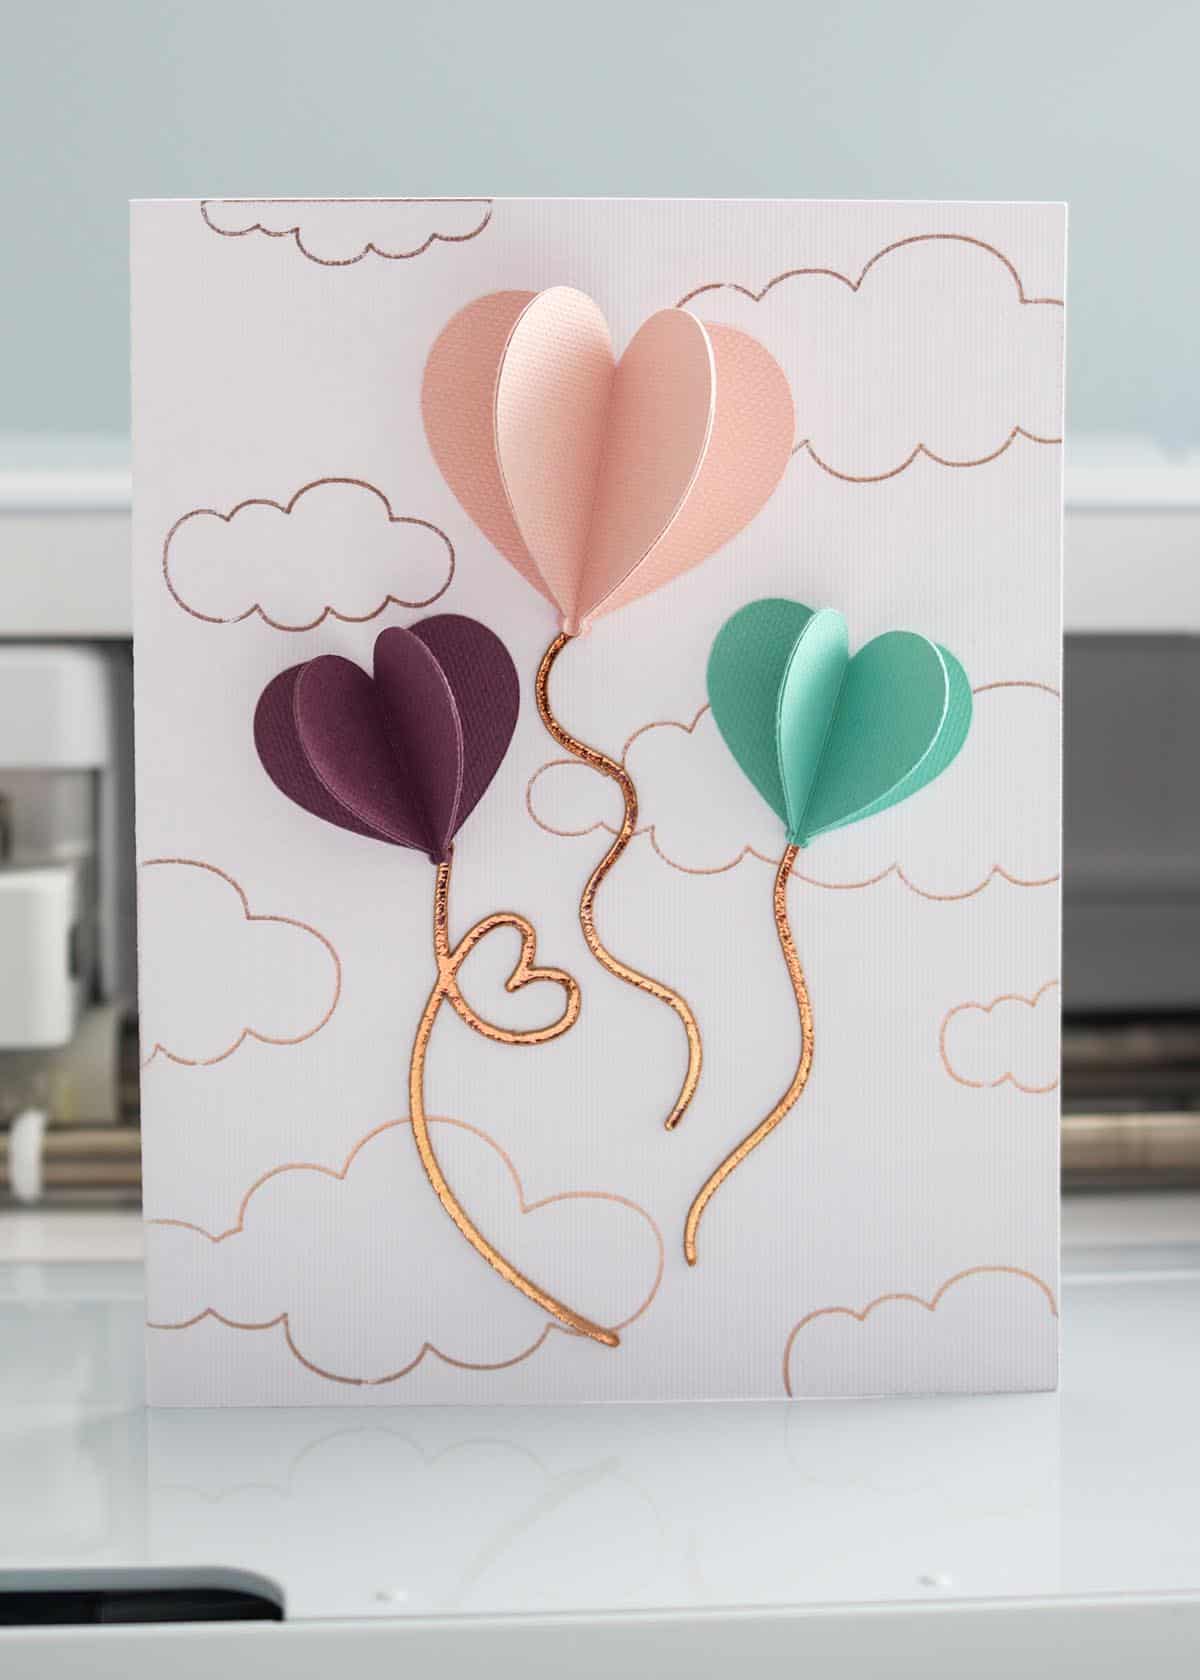
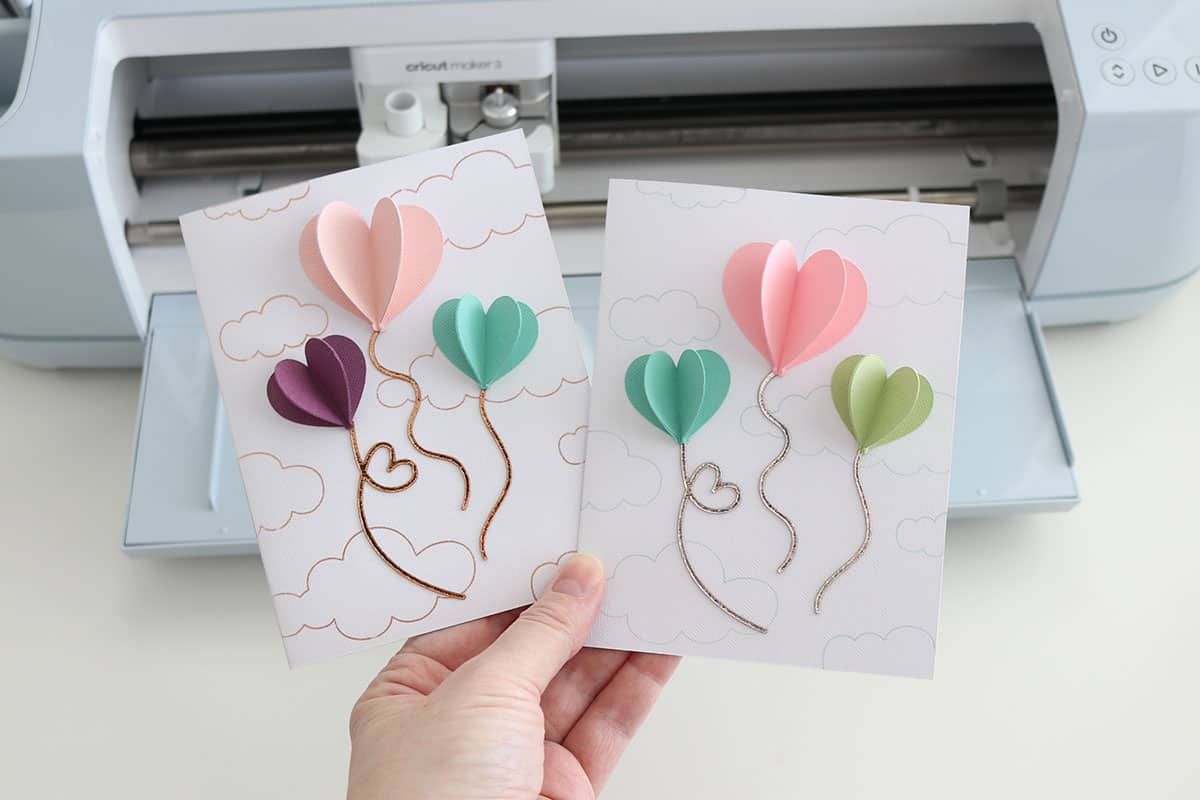
I love these 3D hearts Valentine’s cards! I think the foil clouds make it super special, but my pen version turned out nice too—a little more subtle.
I hope this tutorial was helpful! Let me know if you have any questions in the comments.
Happy card-making!

Don’t forget to pin and save for later!