DIY Chalk Painted Dollar Tree Pumpkins
Transform dollar store pumpkins with chalk paint in this simple tutorial! Learn how to make your own pastel chalk paint colors for cute fall pumpkin decor.
I’m so ready for fall! This Dollar Tree pumpkin craft is the perfect way to get ready for the season, and it’s an inexpensive way to add some pumpkin decor to your home.
Dollar Tree has some surprisingly good fall decorations and craft items. You just kind of have to walk around with the crafty eye, saying “ok, how hard would this be to transform and make it look less dollar-y?”
And the answer for these cute pumpkin clips is “not hard at all!” You could always use them as is, but a quick coat of paint elevates their look so much! Keep reading for the easy tutorial—plus how to tint your own chalk paint!
This post contains affiliate links. For more information, see my disclosures here.
More pumpkin crafts you’ll love
DIY Buffalo Plaid Dollar Tree Pumpkin
DIY Black & White Geometric Painted Pumpkins
What you need to chalk paint pumpkins
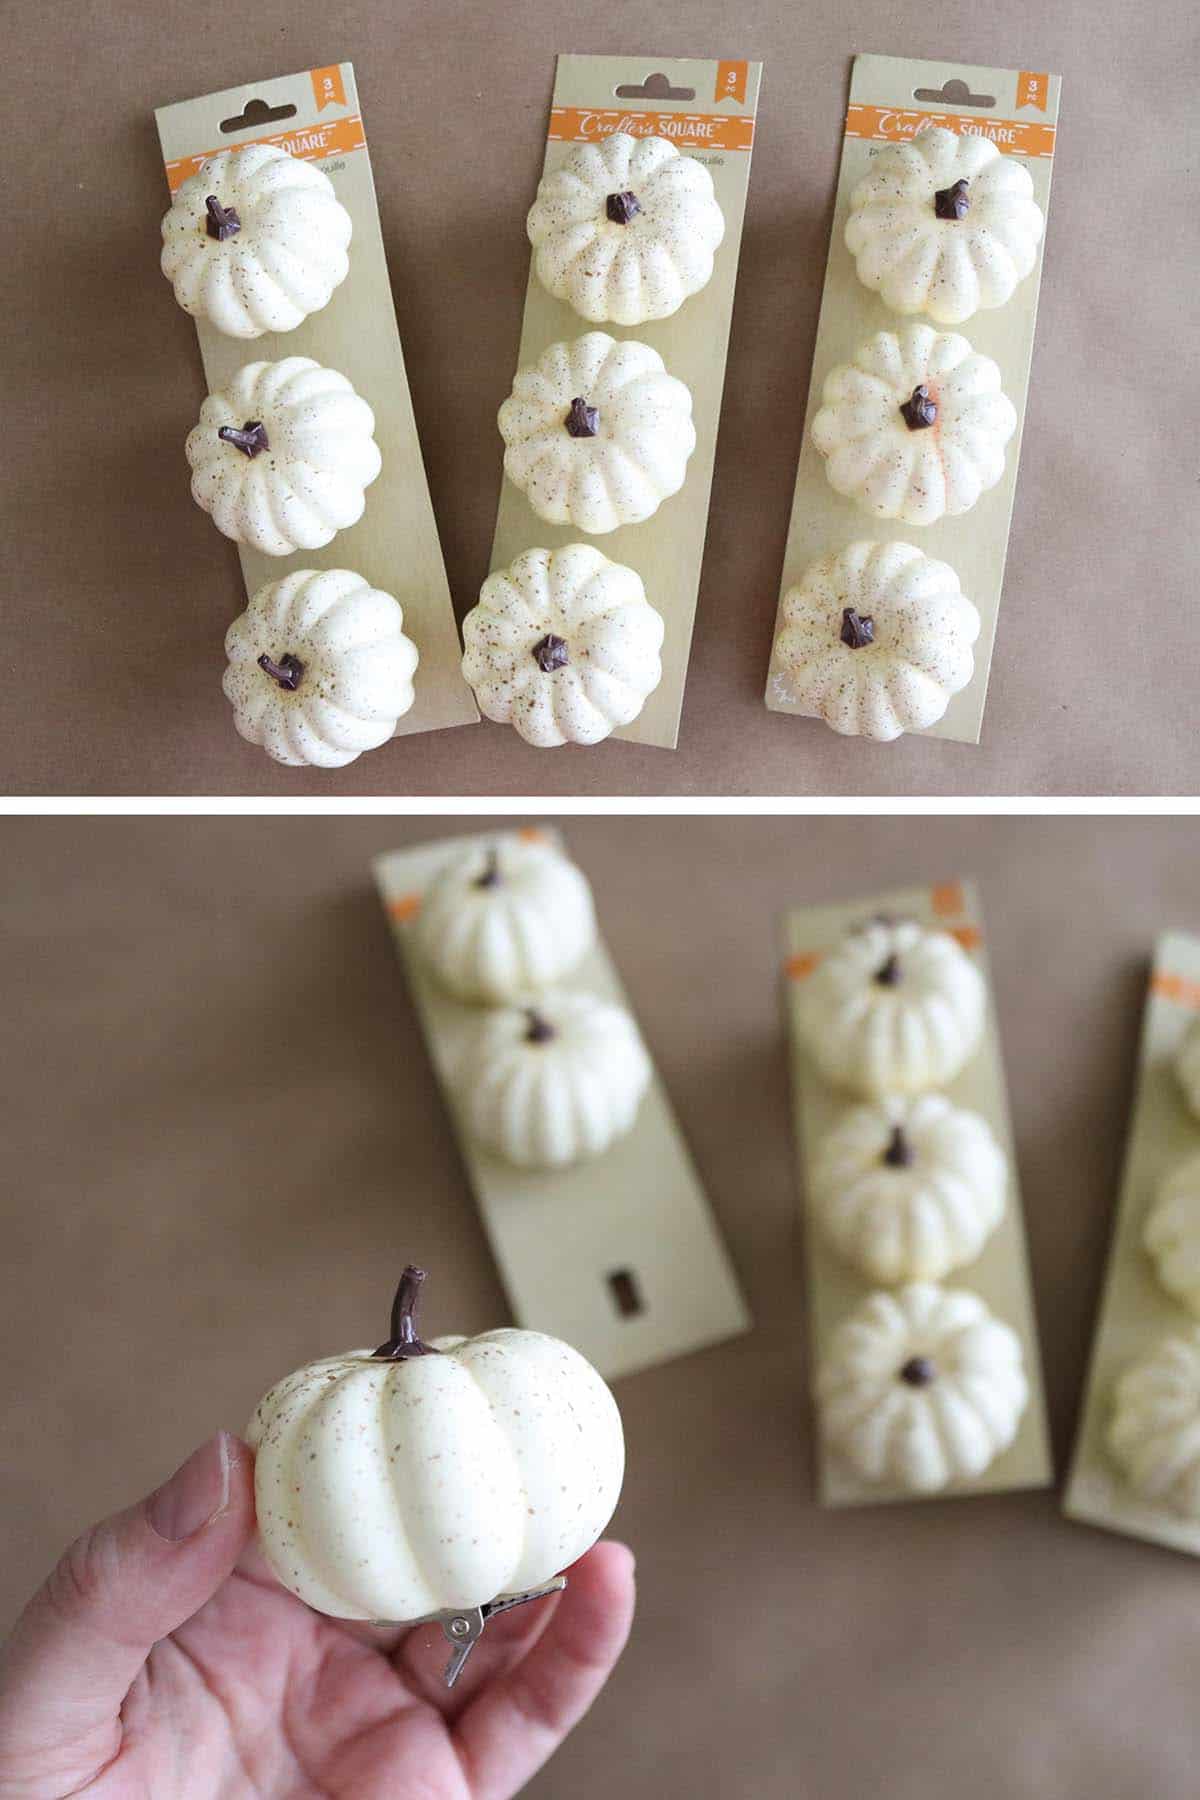
- craft pumpkins from Dollar Tree: you can use the plastic mini clip pumpkins like I’m using here, larger plastic pumpkins, or styrofoam pumpkins
- white chalk paint: this is the kind I used and it’s going to last for tons of future projects!
- acrylic paint in various dark colors
- paint brushes
- paint palette for mixing
- a cardboard box to clip the pumpkins to while they dry
Can you tint chalk paint with acrylic paint?
Yes! You absolutely can! This is the best way to keep costs low when you need multiple chalk paint colors for a project, like this one. Instead of buying each chalk paint color individually, you can buy a large can of white chalk paint and then mix it with acrylic paint until you get the color you want.
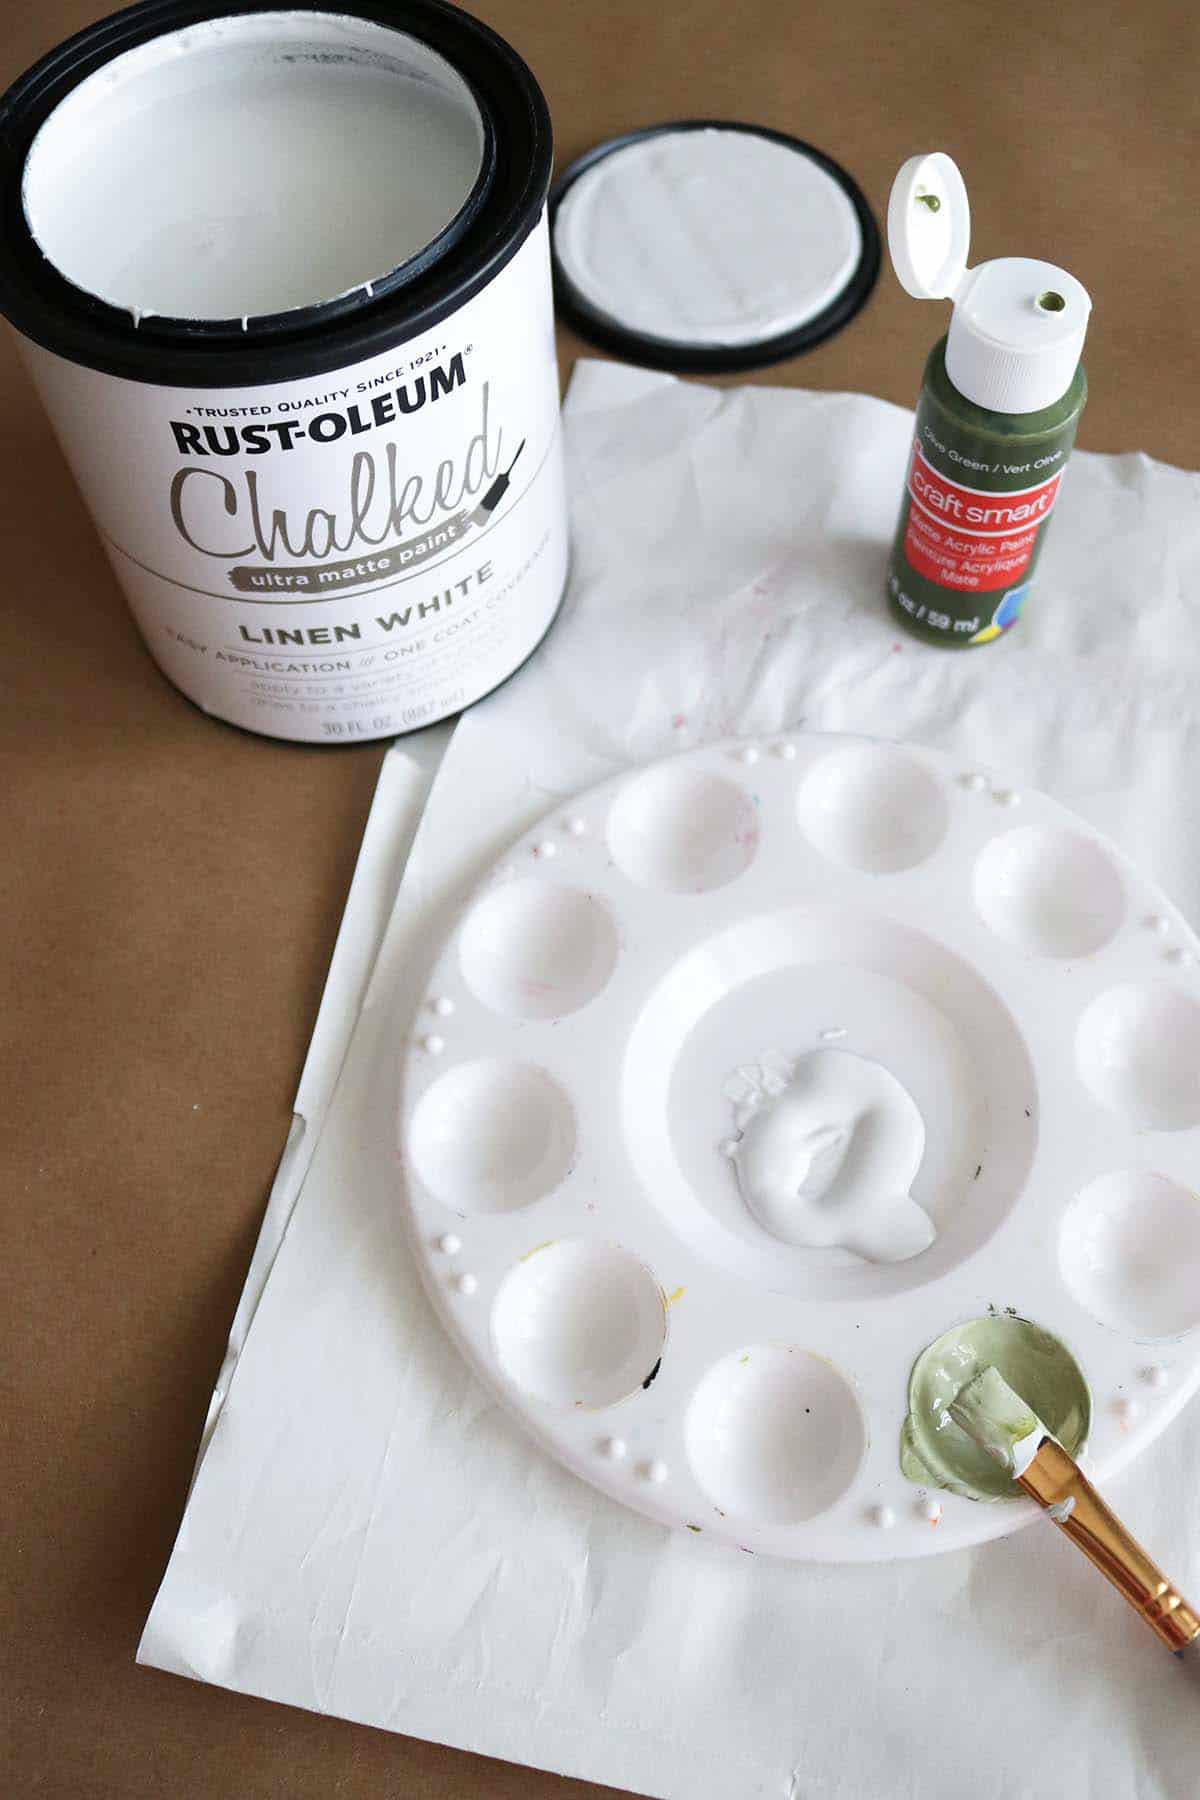
To retain the benefits of the chalk paint (being able to cover a variety of surfaces easily without chipping), I’d recommend about a 50/50 ratio (though, depending on your surface, you may be able to get away with less chalk paint if you need a darker color). And of course, you can go as light as you want by mixing in more of the white chalk paint.
How to chalk paint pumpkins
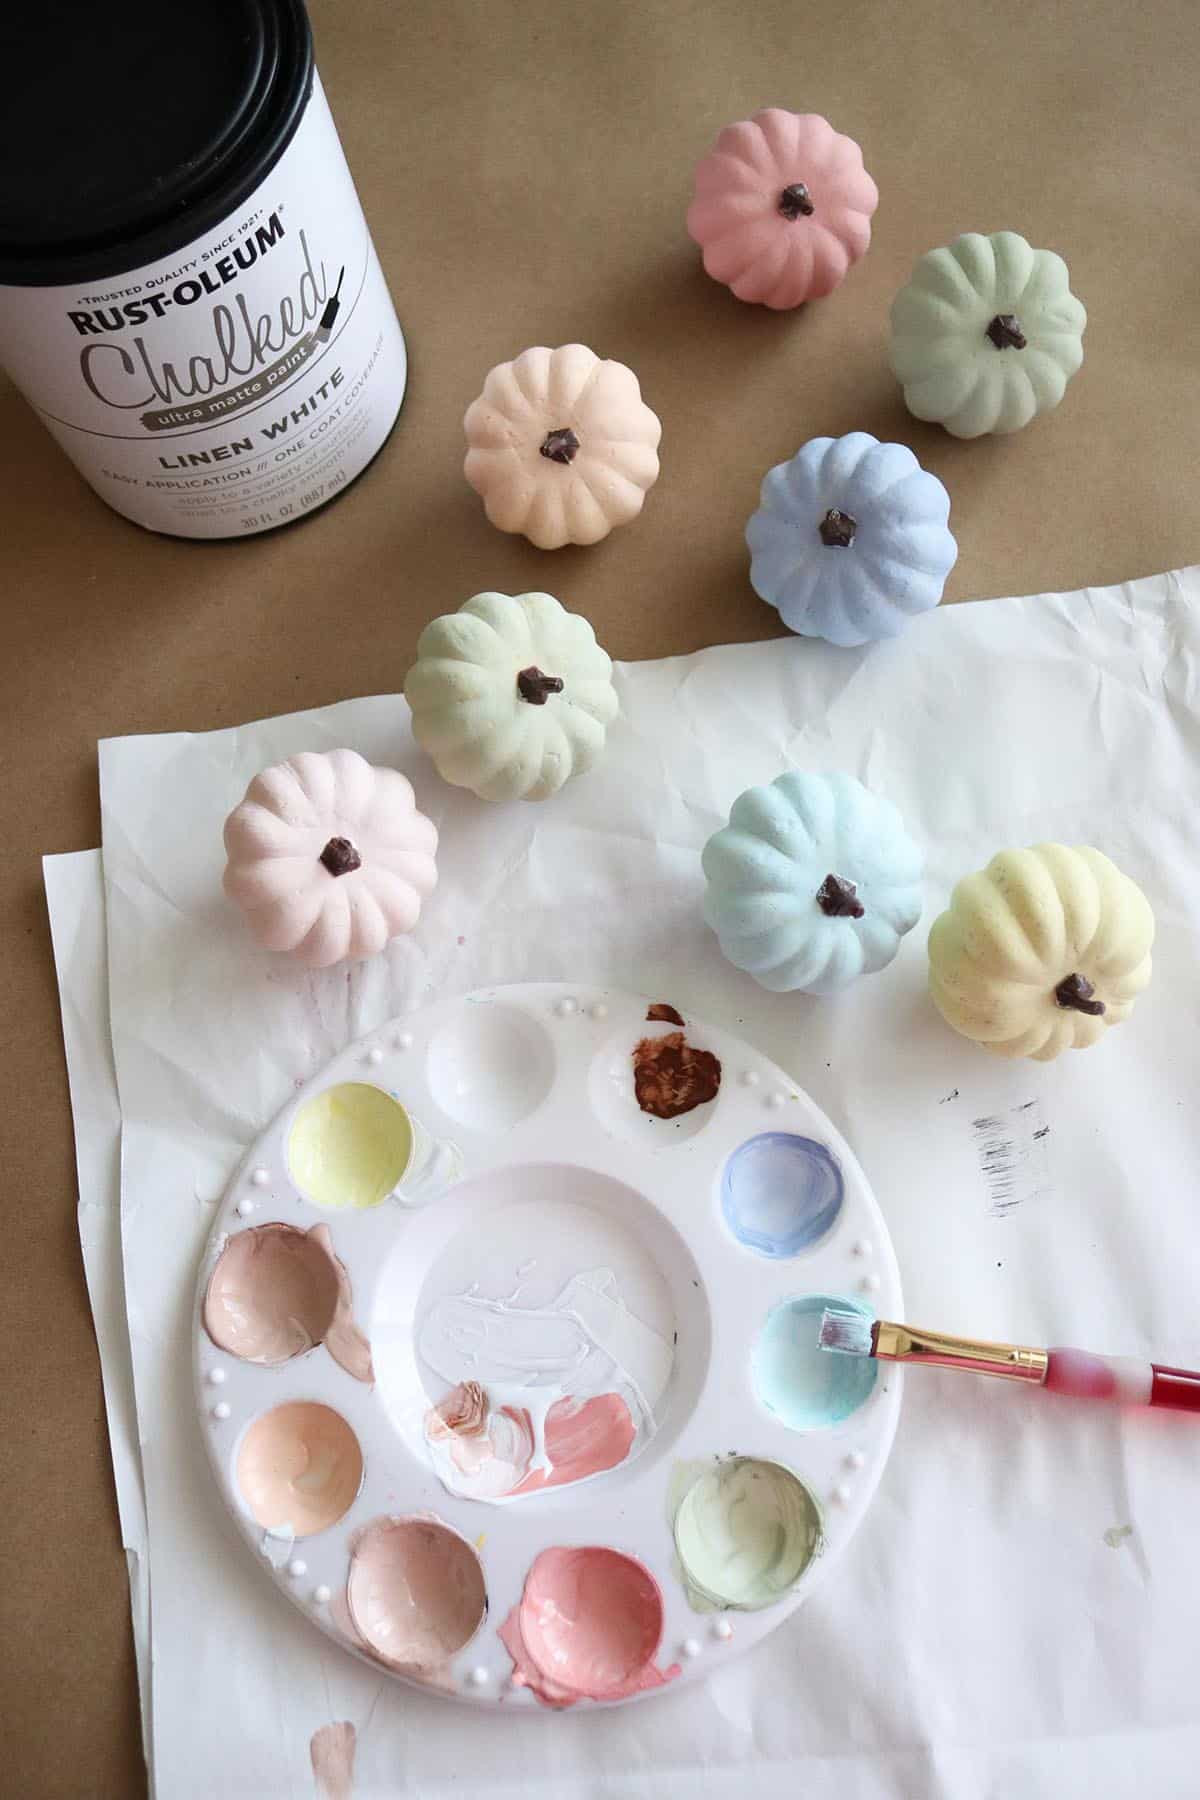
First, make your chalk paint colors by mixing colored acrylic paint with the white chalk paint until you reach the shade you want (just mix small amounts in your paint palette, pulling in more chalk paint as you need).
You can remove the pumpkin stems before painting, but they actually make great little hand holds while painting the pumpkins and the paint wipes off easily afterwards.
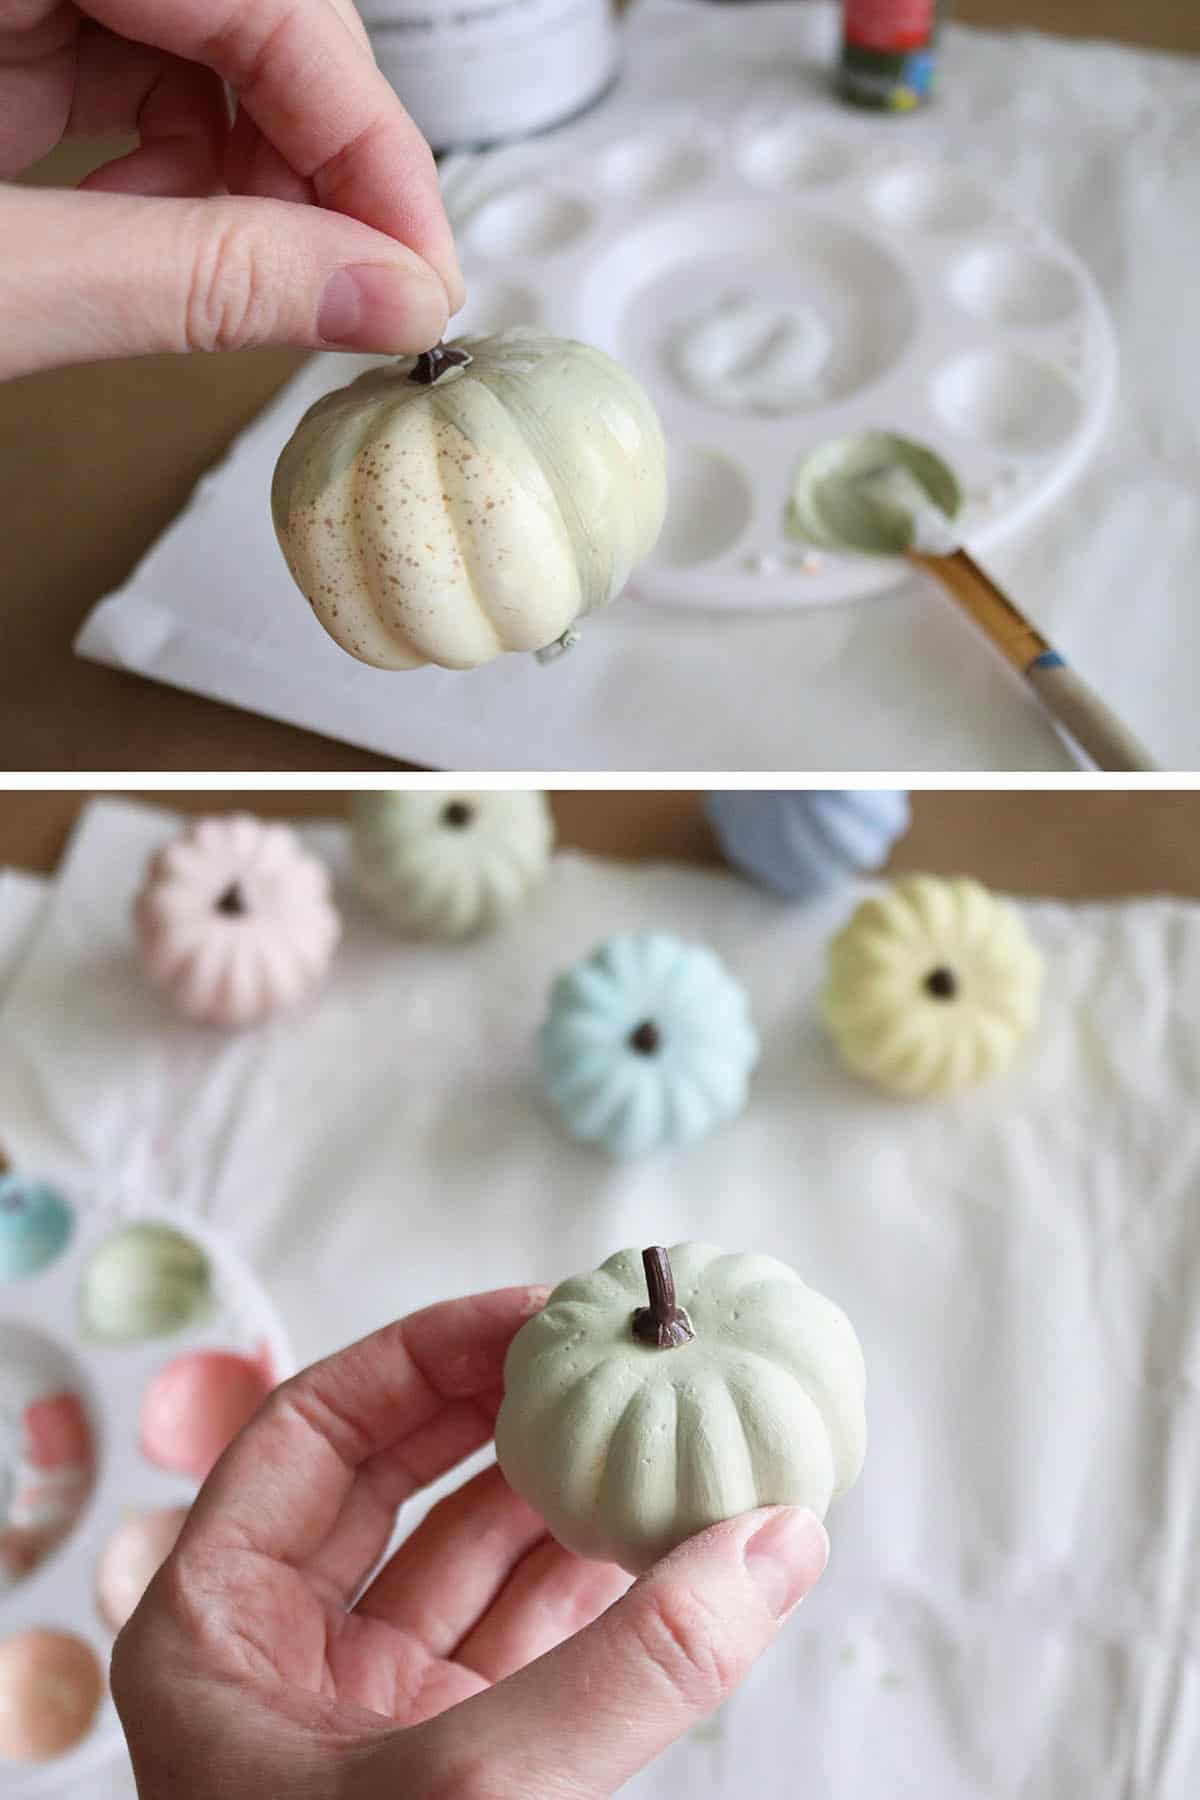
Paint one or two coats (depending on the coverage you want), letting the paint dry completely in between. I found that clipping the pumpkins to the edge of a cardboard box was the easiest way to dry them without smudging the paint.
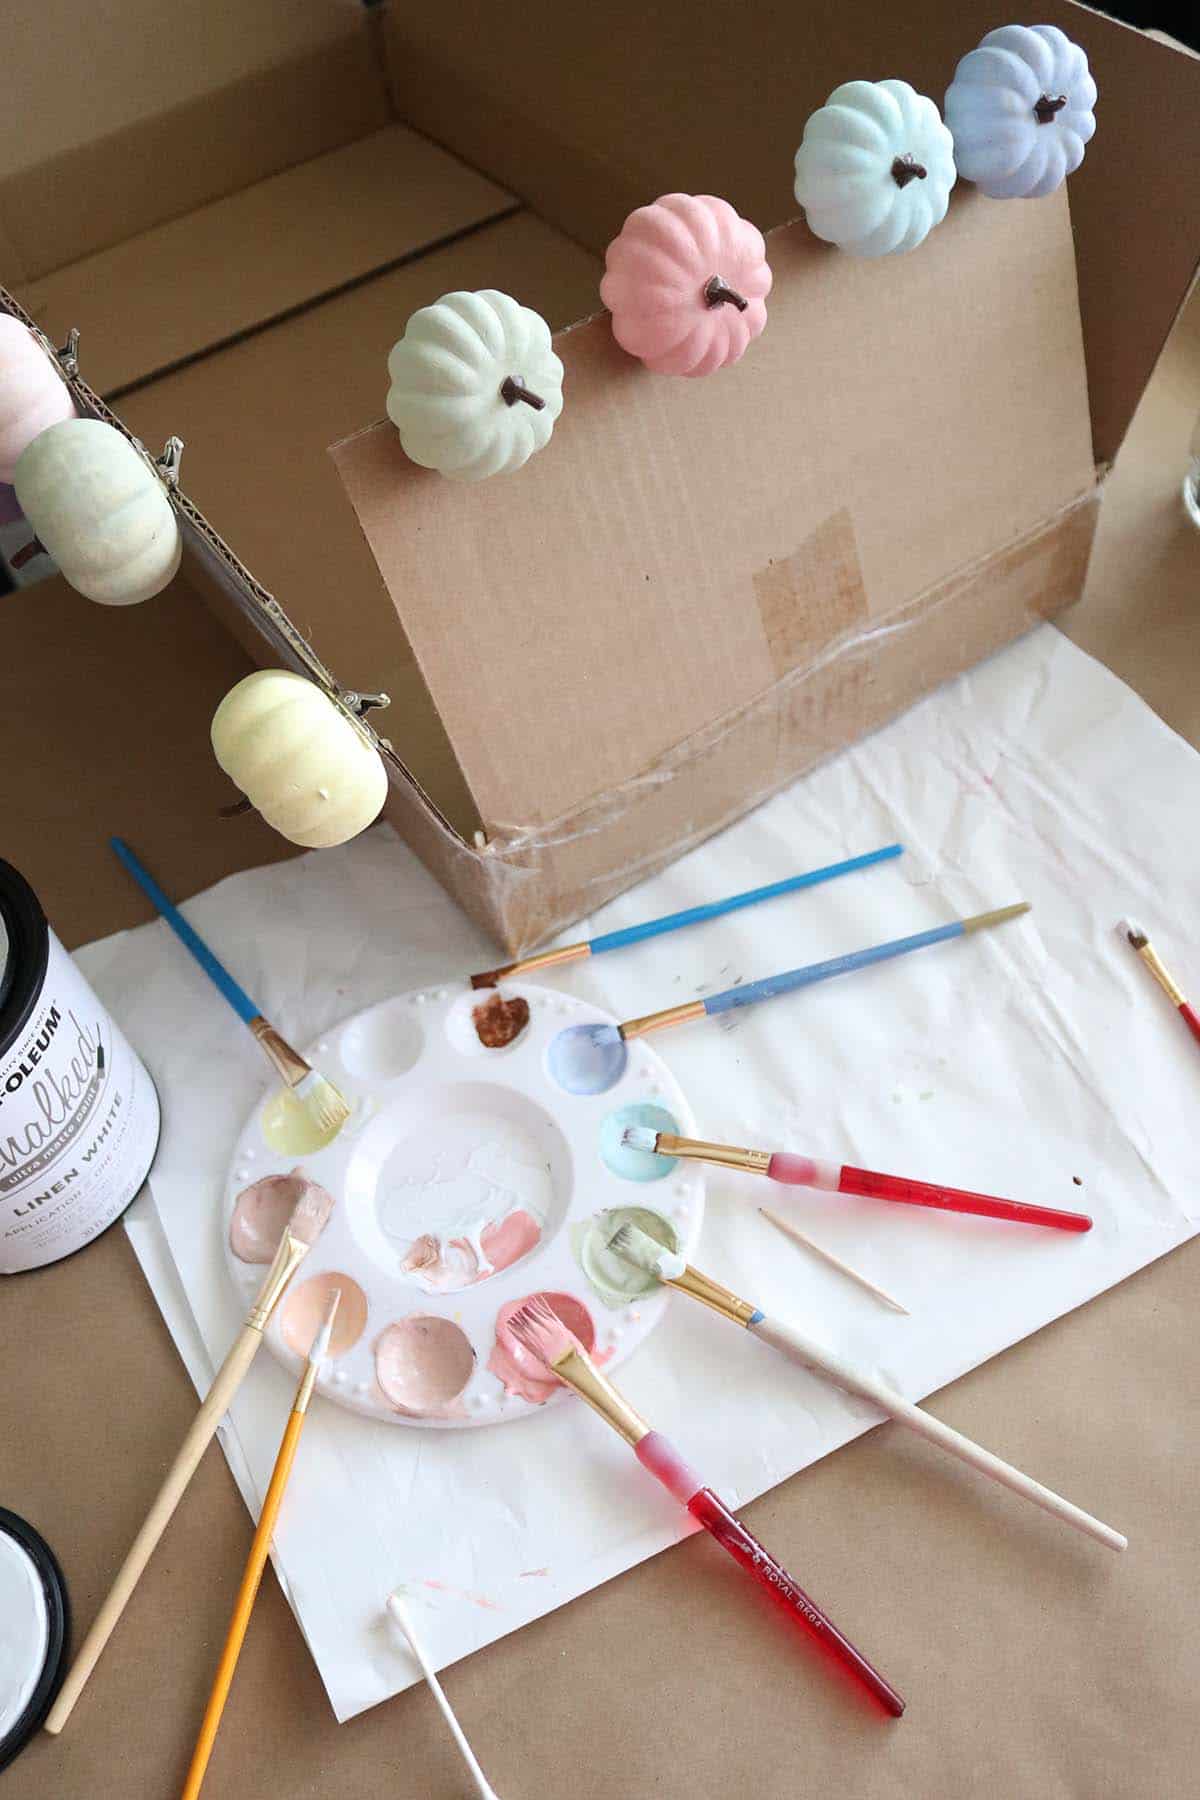
The clips are great if you plan on using your pumpkins in a garland or something similar, but you can also remove them—I’d probably wait until the pumpkins were mostly painted, clip them to dry, then remove the clip and touch up the underside.
And that’s it! Now your pumpkins are ready to be displayed with your fall decor!
DIY pastel Dollar Tree pumpkins with chalk paint
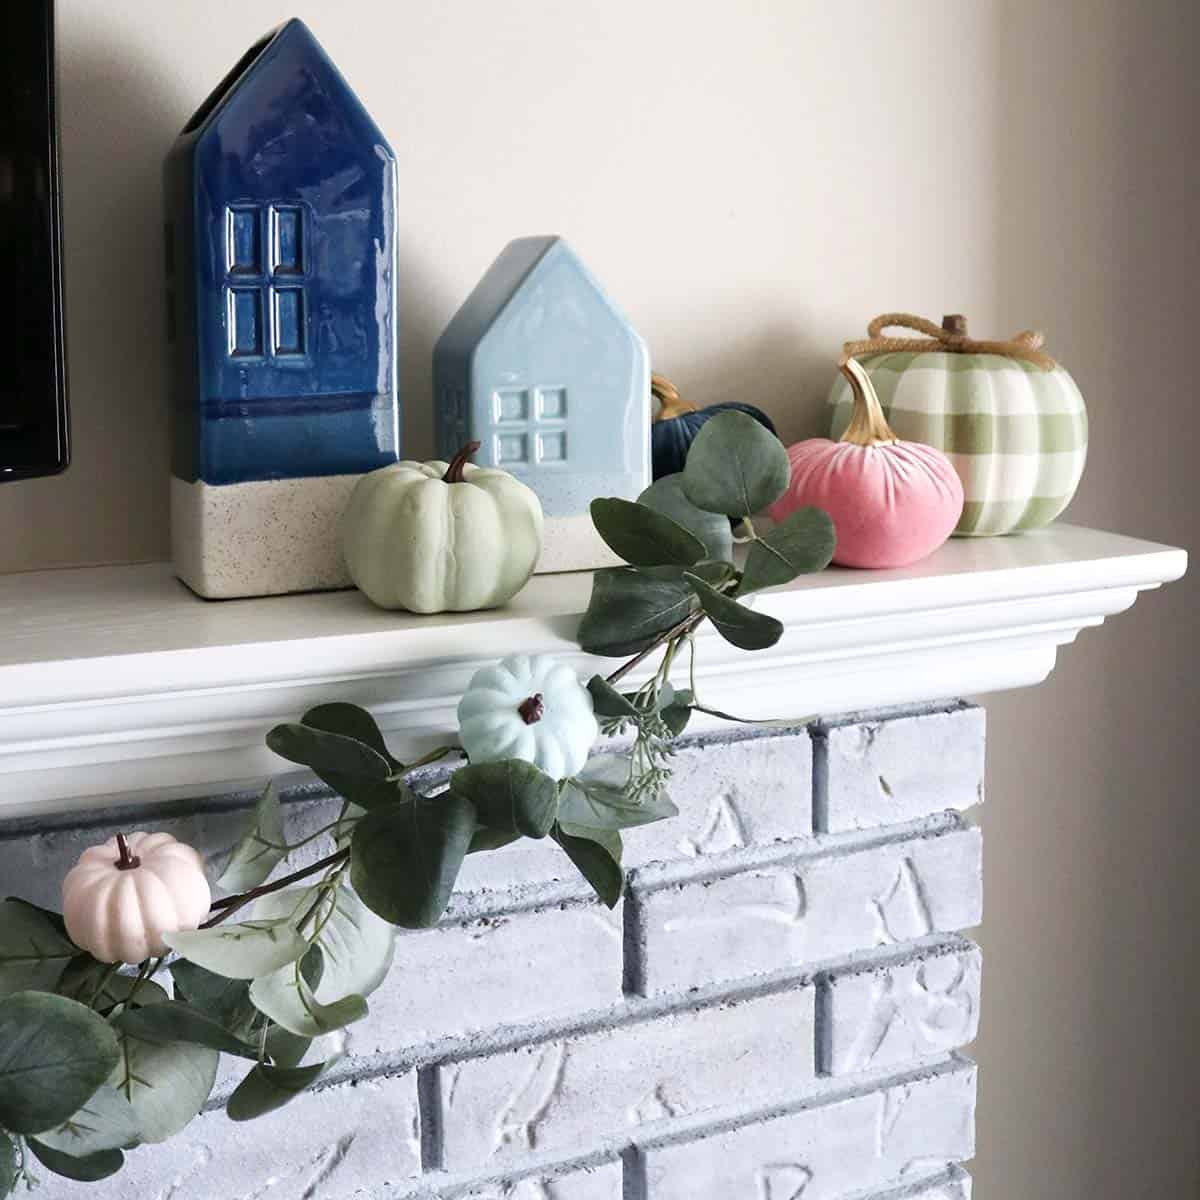
I love my little pastel painted pumpkins! They look so good on my eucalyptus garland I picked up at Michaels (this is a similar one).
Don’t forget to check out how I painted my buffalo plaid pumpkin (pictured on the end of the mantel) here!

Don’t forget to pin and save for later!
