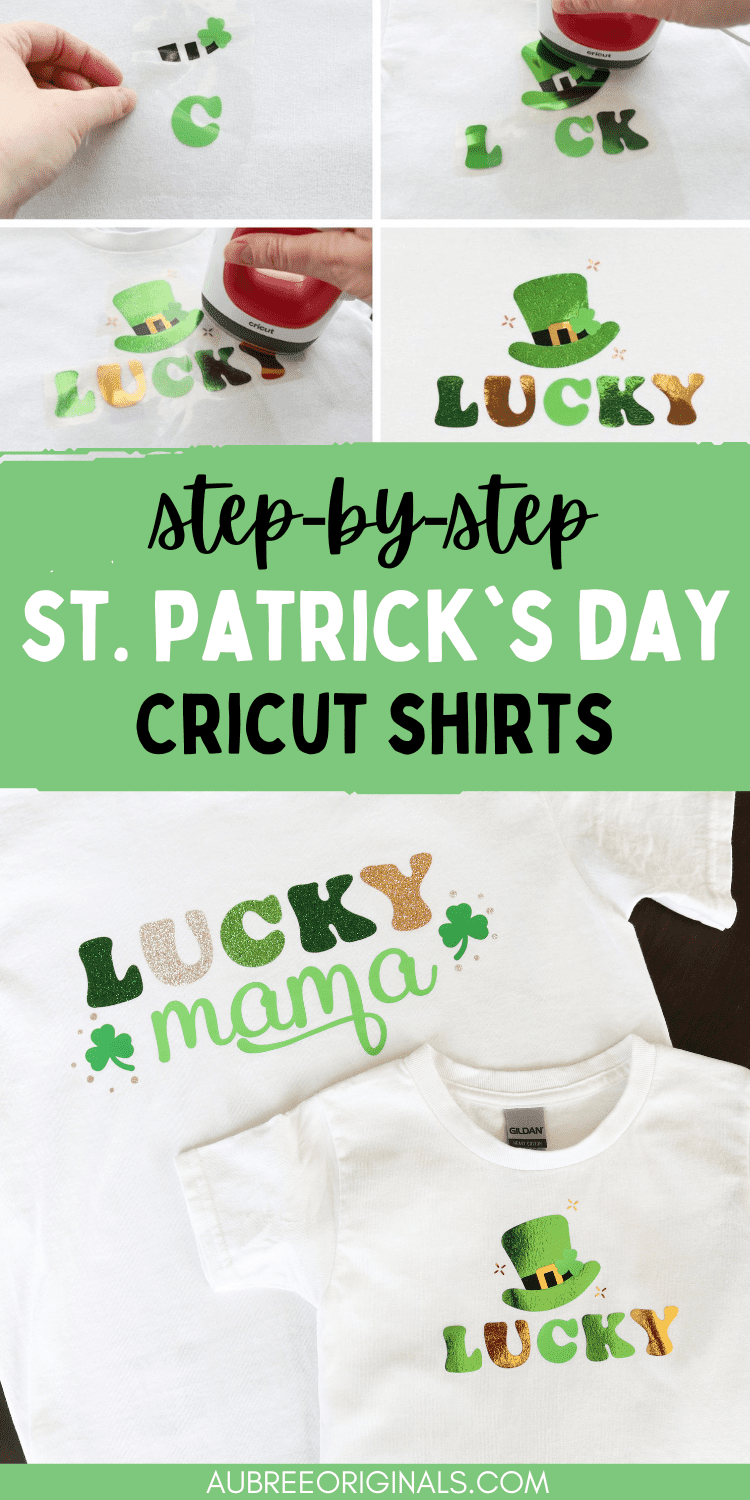
Cricut DIY “Lucky Mama” & Matching Kids St. Patrick’s Day Shirts
These fun St. Patrick’s Day shirts are made with several types of heat transfer vinyl and are the cutest custom shirts for moms and kids to wear on St. Patrick’s Day!
It seems like I always get to St. Patrick’s Day and I’m scrambling to find something green to wear to be pinch-proof. St. Patrick’s Day is just one of those holidays that sneaks up on you (and my family doesn’t do a whole lot to acknowledge the day, usually, so there’s that).
If you’re in the same boat and not sure what to wear for St. Patrick’s Day, this “Lucky Mama” DIY shirt is perfect! And, bonus, you can match with your kids with the included kids “Lucky” shirt designs!
I’ll walk you through how to make them with your Cricut, step by step!

This post contains affiliate links. For more information, see my disclosures here.
What you need to make a St. Patrick’s Day shirt for Mom or kids
- Cricut machine
- StandardGrip cutting mat and fine-point blade
- Cricut EasyPress: these shirts could all be done with the EasyPress Mini, but I personally love having all the sizes available! Sometimes you want a small press so you’re not overlapping the other pieces and overheating them, but sometimes a larger one is nice (like for the “mama” piece).
- Iron-on vinyl (HTV)*: for the “Lucky Mama” shirt I used Cricut glitter iron-on in Kiwi (if I remember correctly) and Gold, Siser Glitter HTV in Grass Green and Champagne, and Siser EasyWeed in Green Apple
- Foil iron-on vinyl : I used Cricut foil iron-on in Emerald Green and Gold for my son’s “Lucky” shirt (in addition to Siser EasyWeed Green Apple and black Cricut Everyday iron-on)
- Weeding tool
- Brayer (optional, but I love it for pressing the iron-on down smoothly on the cutting mat)
- Cricut BrightPad (optional, but it can be so helpful for seeing the cut lines with certain colors of glitter iron-on! Check out my honest review of the Cricut BrightPad for more.)
- Blank t-shirts
- Cardstock to make a placement template for the mom shirt (optional)
- Heat tape
Heat press settings to use for these shirts
You can always quickly access Cricut’s Heat Guide to see recommended heat press settings, but here are the settings I used for my Lucky Mama and toddler shirts, both made of 100% cotton (see notes below too!):
Cricut glitter iron-on: Preheat 5 seconds, 330 °F for 30 seconds, firm pressure, cool peel. (EasyPress Mini: Preheat 5 seconds, medium setting for 25 seconds, constant movement and firm pressure, flip and press for 15 seconds, cool peel.)
Siser glitter HTV: Preheat 2-3 seconds, 320° F for 15-20 seconds, medium pressure warm peel.
Siser EasyWeed: Preheat 2-3 seconds, 305°F for 10-15 seconds, medium pressure, hot or cool peel.
Cricut Everyday iron-on (if using): Preheat 5 seconds, 315 °F for 30 seconds, firm pressure, cool peel. (EasyPress Mini: same as for Cricut glitter iron-on.)
*Siser doesn’t have recommendations for the EasyPress Mini, so I just use the same setting Cricut recommends and a little less time.
Important pressing notes
Make sure any vinyl that comes into contact with the heat press is covered by a carrier sheet at all times, otherwise it can melt. You never want direct heat! I usually keep my carrier sheet scraps to cover previously-pressed pieces or sometimes keep a larger carrier sheet on hand from previous projects to cover the entire image before I press a new layer.
Because of the spacing on the Lucky Mama shirt, I was able to press everything individually but never overlapped previously-pressed pieces.
The toddler images will be different and you’ll want to use “layering” techniques for pressing: you’ll tack down the first layers just enough to get them to adhere to the shirt but won’t go the full time (also, I don’t recommend the full heat either: I would subtract 30° or so and go to the low setting for the EasyPress Mini). Once the layer is tacked, follow the directions for warm or cool peel and move onto the next layer.
On the final layer, you can increase the temperature and go the full time (or a little less). This will hopefully keep the lower layers from getting overheated and wrinkly. It’s not an exact science, unfortunately, and takes practice (and it’s even harder when you’re using two different brands of vinyl).
How to make a glitter iron-on or foil iron-on St. Patrick’s Day shirt
Customize in Cricut Design Space
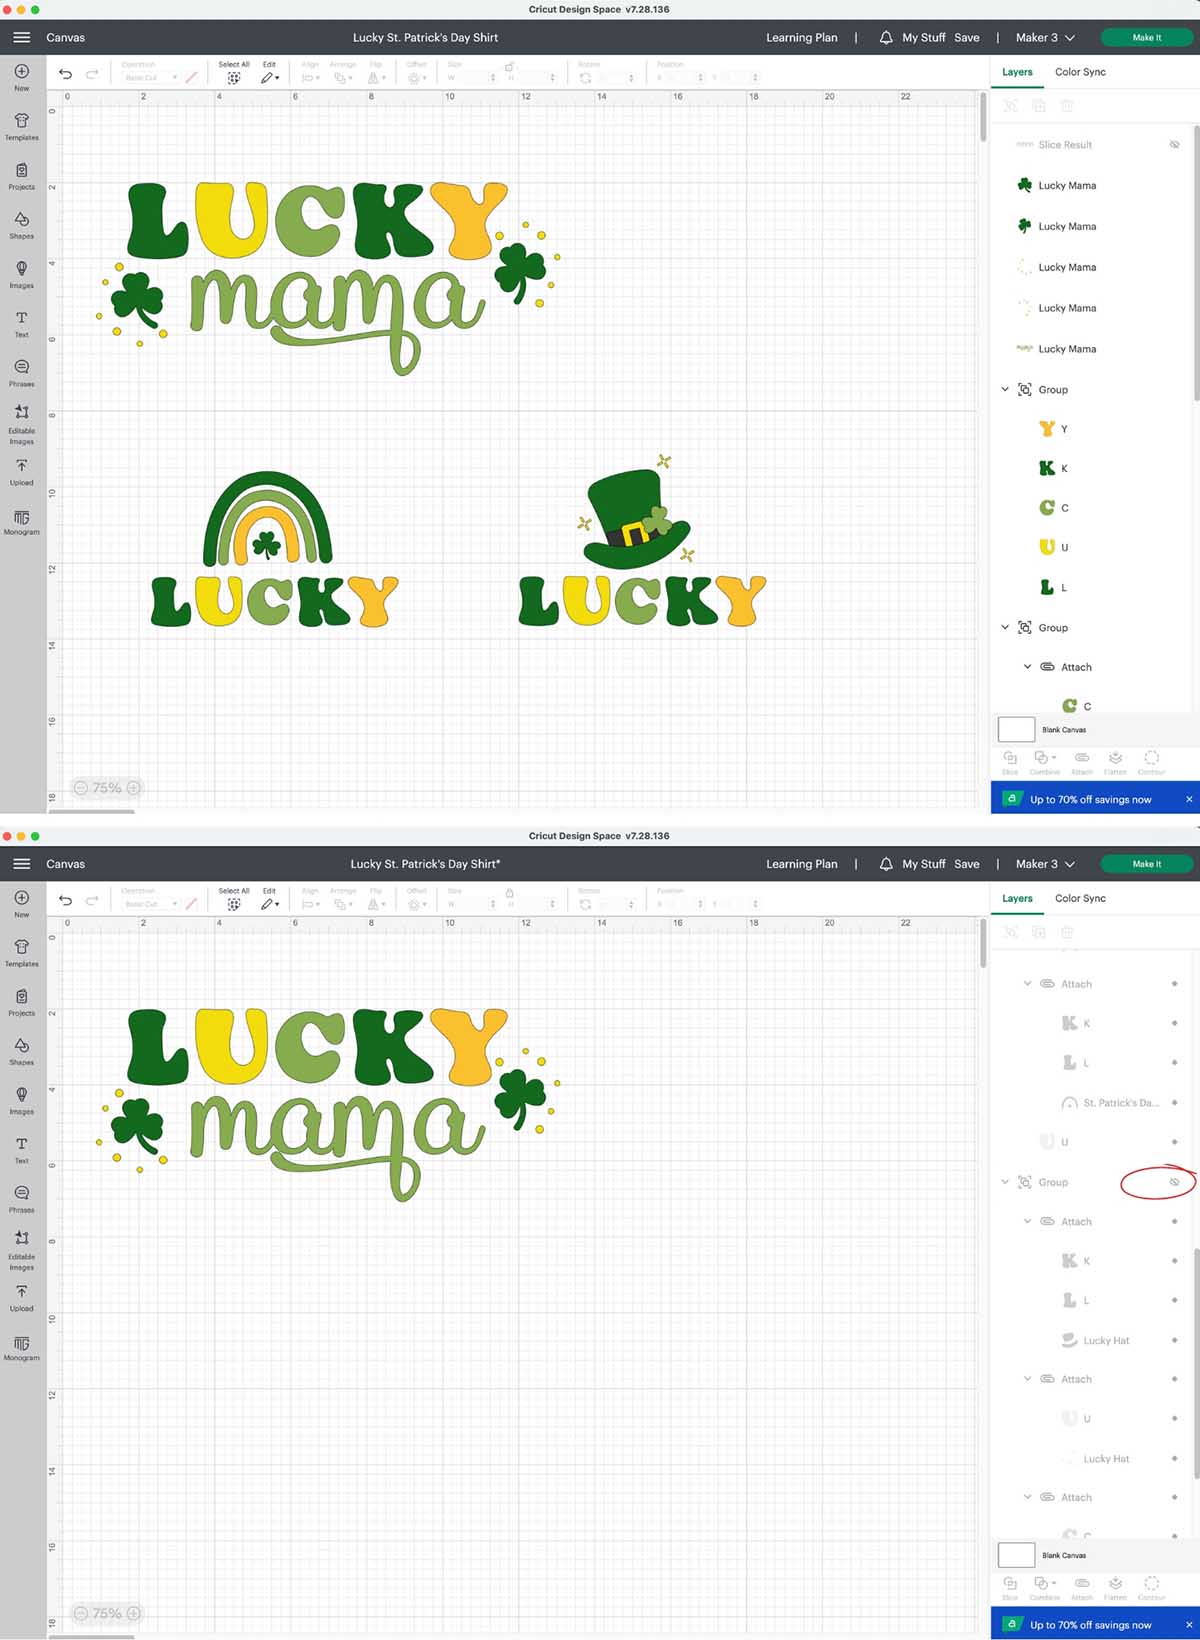
Open my Lucky St. Patrick’s Day Shirts project in Cricut Design Space. If you want to make any changes, choose Customize.
The “Lucky Mama” image is already sized for an adult t-shirt, but feel free to adjust.
I chose to leave everything unattached so it would be easiest to press each piece individually (so nothing got pressed more than once), but you can also choose to attach same colors together for easier placement (just select the layers you want to attach in the right hand panel using your shift key and select Attach).
You’ll notice at the top of the layers panel is a hidden “slice result” layer: this is a placement template that you can cut from cardstock to help with positioning the “lucky” text on the mom shirt—totally optional. If you want to cut this, toggle the eye icon.
There are also two images for matching toddler/child shirts (one with a rainbow and one with a leprechaun hat). I sized these at 6″ wide which is what I thought looked good for my toddler’s shirt, but definitely measure and resize before cutting to make sure it’s the right size for your child! To resize, select the image as a whole and type in the new width (W) in the top toolbar.
I did choose to attach like colors in these images because layering the iron-on was already going to be unavoidable, so this was just easier. If you’re using different colors of vinyl than me, you can adjust them and then re-attach the layers you want to be cut together (ungroup the image before trying to re-attach the layers).
If you only want to make one of these shirts, you can hide or delete the other images before cutting (toggle the eye icons in the layers panel, or select around the whole image and delete).
Cut with your Cricut machine
Once you’re ready to cut, click Make It. Select On Mat as your loading preference. On the prepare screen, go down the side and select Mirror for all the iron-on layers (which is all of them unless you’re cutting the cardstock “lucky” template). DON’T FORGET TO MIRROR! You can also reposition any pieces to make it easier for cutting them apart later (or just be sure to pay attention to which pieces should remain attached).
Click continue and select your materials settings: either Glitter Iron-On (works for both Cricut and Siser) or Everyday Iron-On (also works for the Siser EasyWeed) or Foil Iron-On.

Load your first iron-on material on your mat (shiny carrier sheet side DOWN–matte side UP). Use your brayer tool to press it firmly to the mat, especially if you mat is less sticky. Load your mat into your Cricut machine and press Go. Once finished, unload the mat and remove the material from the mat (I always like to lay my mat upside down on the table and peel the mat away from the material, keeping the material flat).
Continue to follow the Design Space prompts to cut the rest of the mats.
Weed your iron-on vinyl
Before weeding the vinyl, I like to cut the pieces out separately to save as much iron-on material as possible for future projects, BUT don’t cut apart any pieces that are attached—you want them to stay together on a single piece of the carrier sheet so you preserve their positioning.
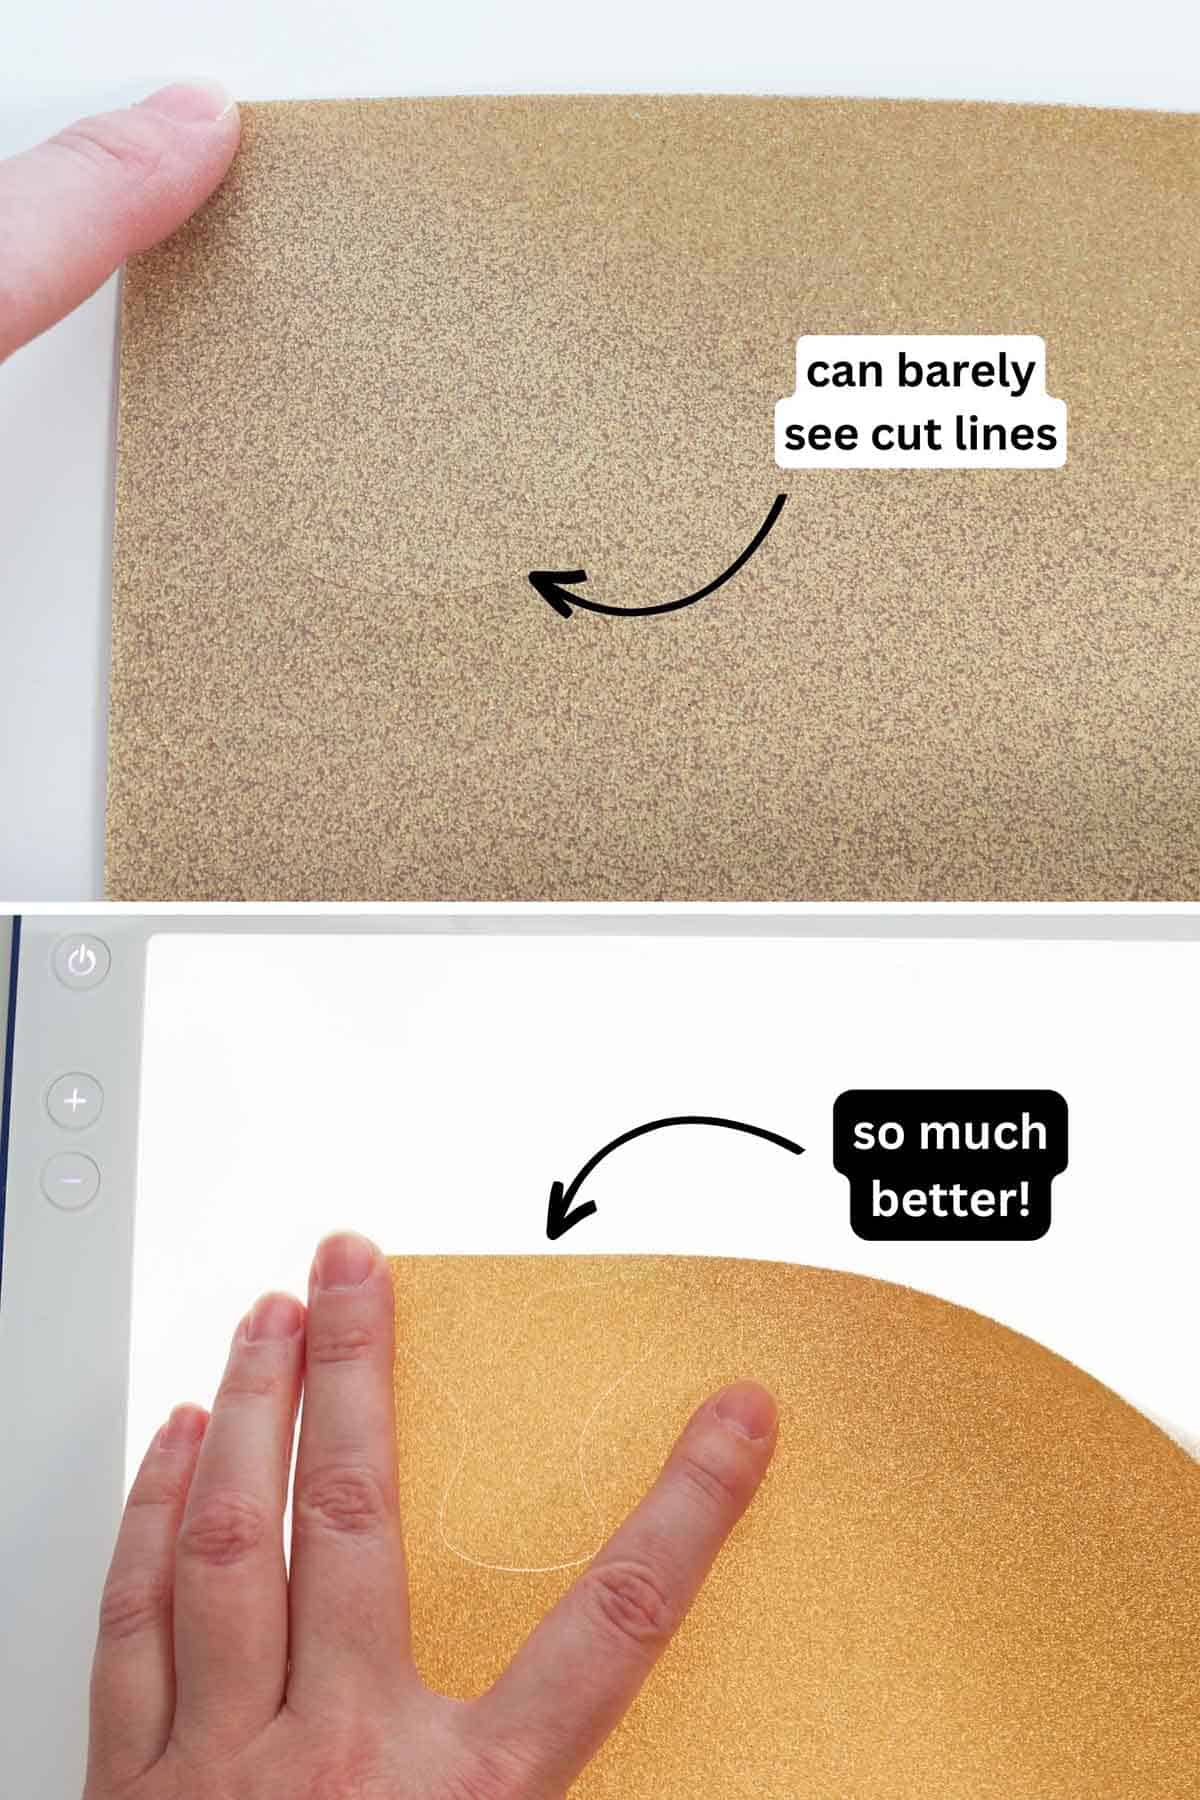
Use your weeding tool (and Cricut BrightPad if you have one!) to weed all the pieces, removing the excess vinyl from the carrier sheet.
Now that you can easily see your designs, trim close to the edges of the iron-on so you’ll have as little overlap of the carrier sheets as possible (the carrier sheet can leave indentations on previously-pressed layers).
Check out the contrast in the next image from trying to weed without the BrightPad to using the BrightPad: definitely helpful to have that backlight!
Position your iron-on vinyl & press
“Lucky Mama” Shirt
If you cut out the cardstock “lucky” template, position that on your shirt. I like to go about 3″ down from the neckline. Position your iron-on letters underneath the template, using heat tape to hold them down if needed.
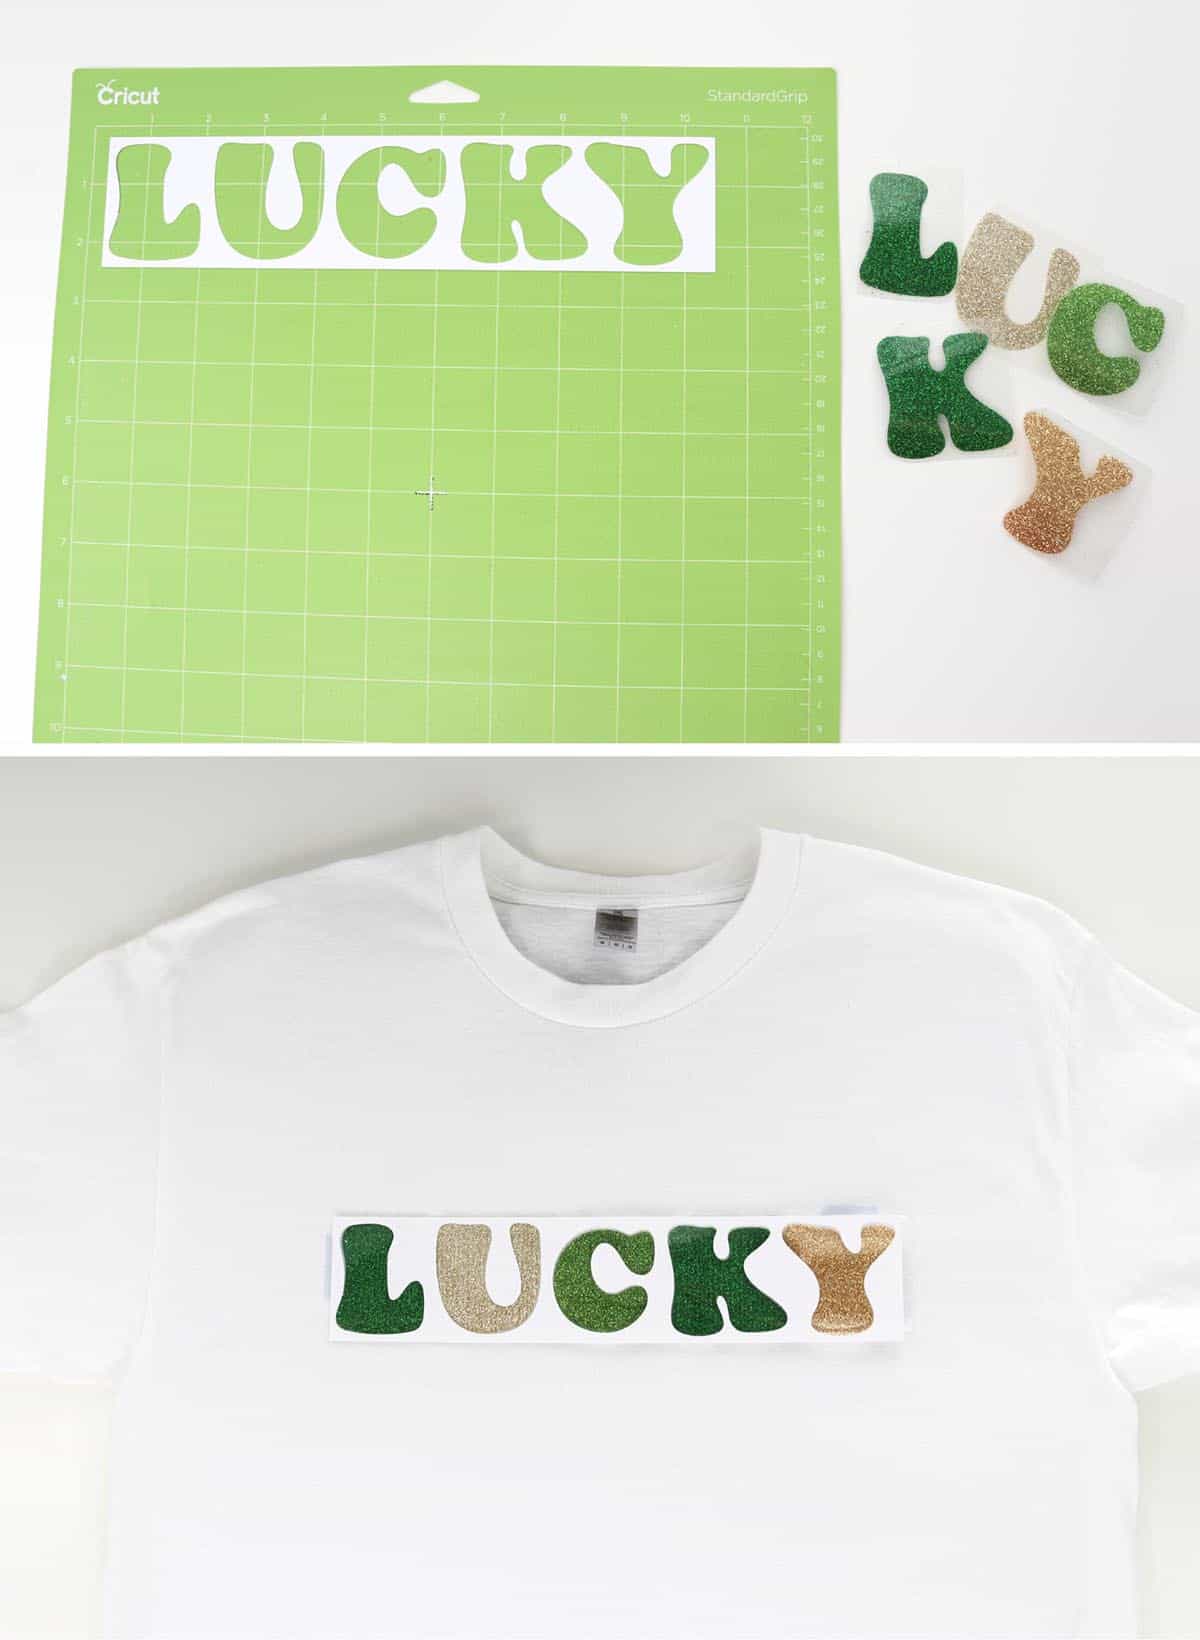
Once in place, I then peeled up the middle letters, only leaving the “L” and “Y” so I would know where to position the others later.
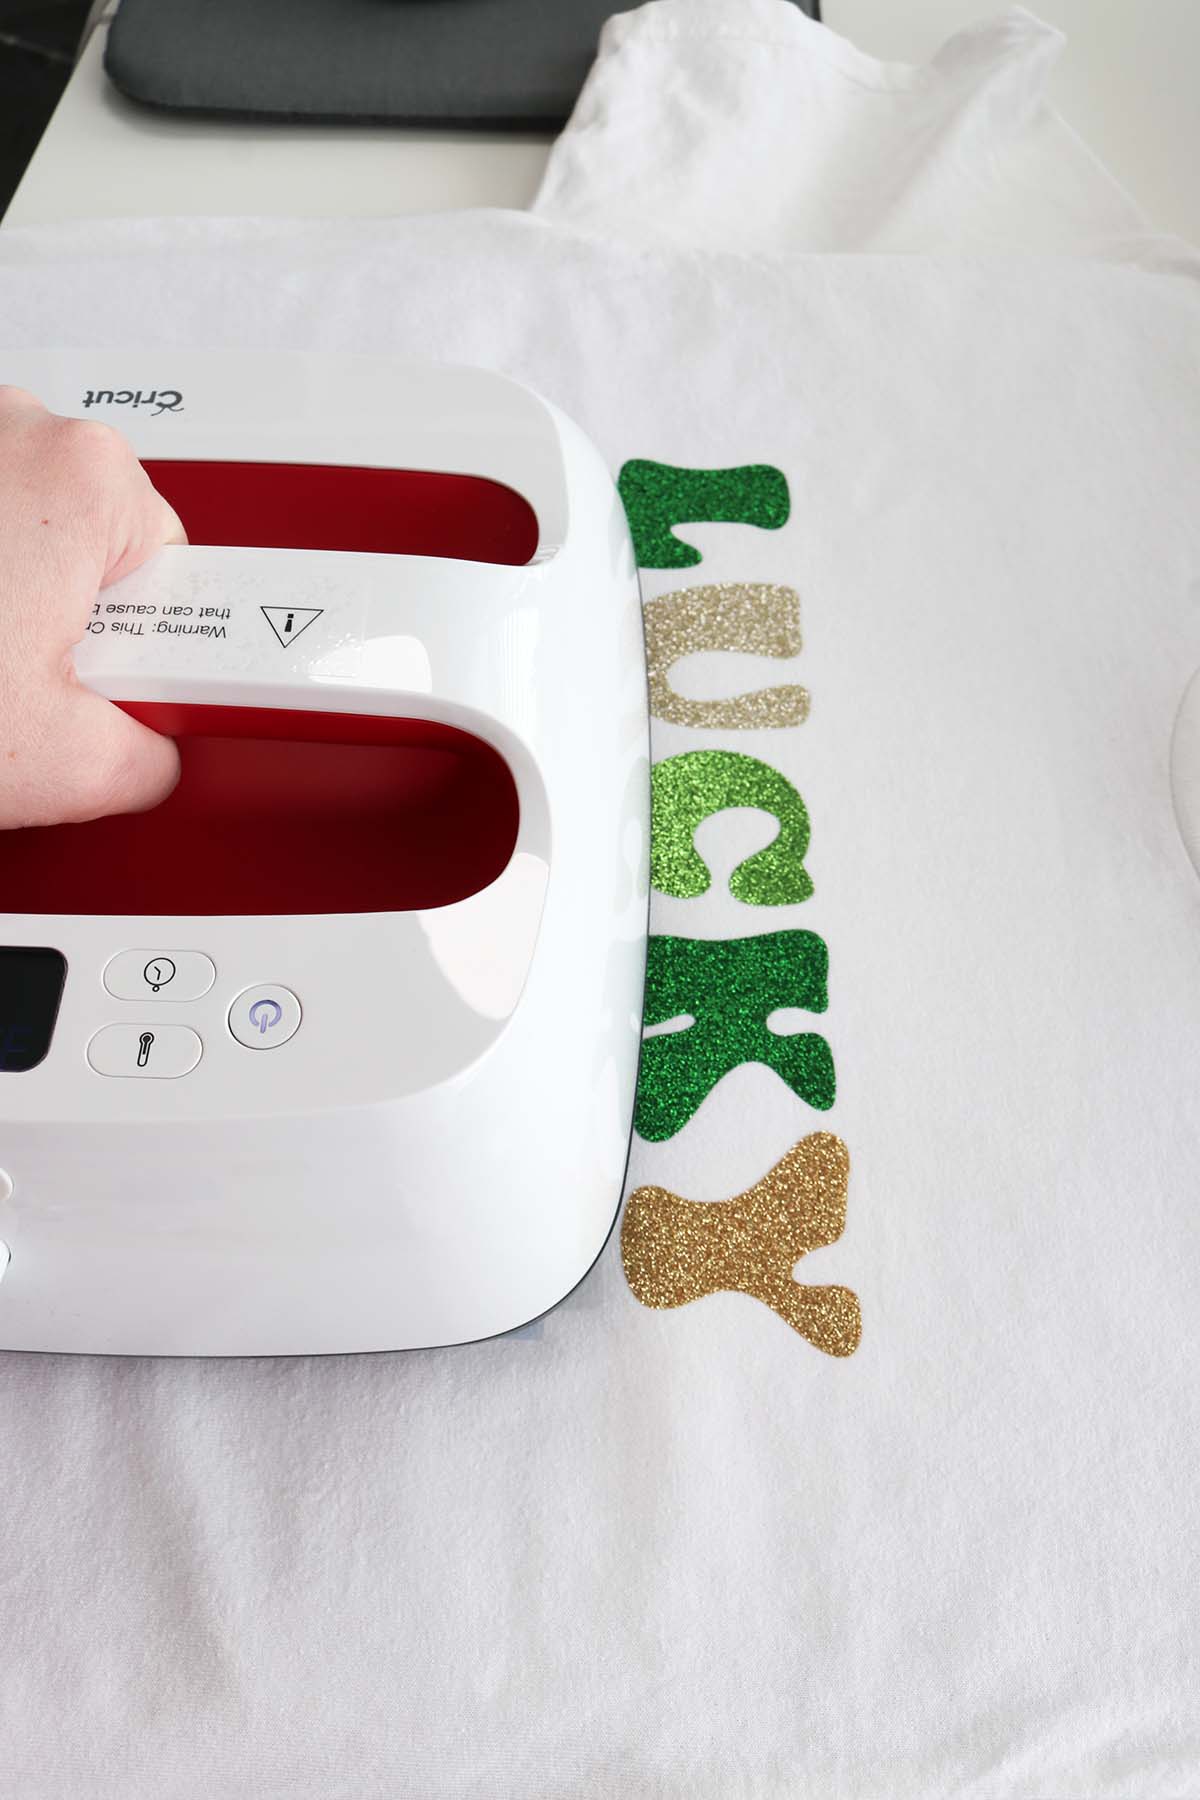
Following the recommended heat settings for your material, press the “L” to the shirt. If you’ve trimmed the carrier sheet close enough to the vinyl, you can actually just leave it until you’re completely finished pressing. Otherwise, follow the brand’s directions to peel it warm or cold.
Position the next letter using the template as a guide. Remove the template and press. Once you have several letters in place, you can remove the “Y” so you can press the “K” without it being in the way.

Once the “lucky” letters are pressed, you can move onto “mama” (I used the template again as a guide to line up “mama”, making sure it was straight). Press. (I used my larger heat press for this, but you can see below that the heat plate still didn’t overlap the “lucky” letters.)
Next, use the EasyPress Mini to press the shamrocks. Once those are in place, press the gold dots. (If you trimmed the carrier sheets close enough around the vinyl, you may be able to press the shamrock and gold dots at the same time.)
“Lucky” Leprechaun Hat Shirt
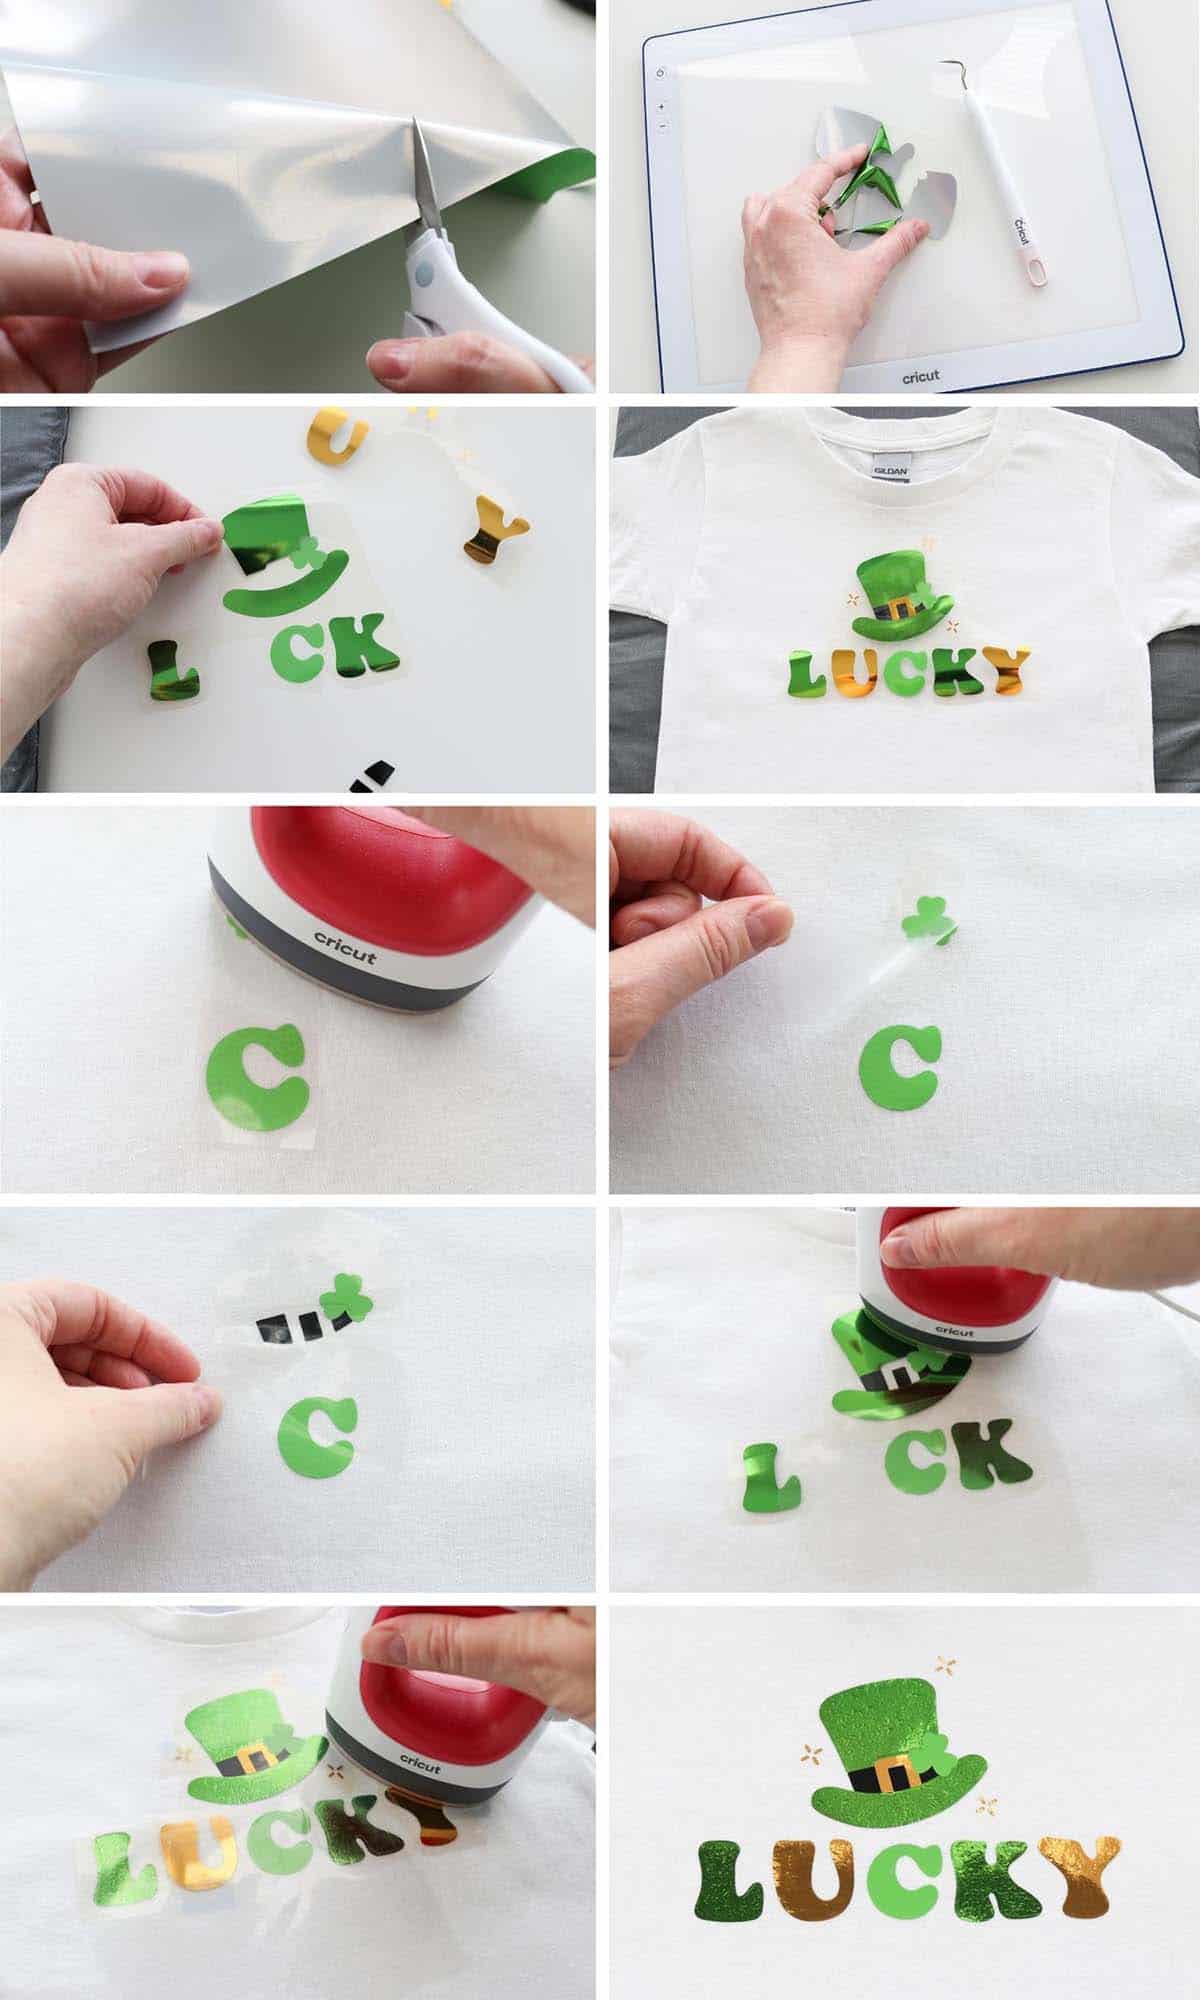
For the toddler shirt, I found it helpful to layer the HTV pieces in the order that I’d be pressing them (first one on the bottom) and position them together. Then lay the entire image on the shirt to position it. Carefully peel the top layers away, leaving the bottom layer stuck on the shirt (use heat tape if needed). Press this layer for just a few seconds to tack it (or as long as needed for the Cricut iron-on, which usually takes a bit longer—see recommended settings above).
Move onto the next layers, continuing to tack them just long enough to get them to adhere to the shirt (and be sure to cover up previously-pressed pieces with carrier sheets again so they don’t melt).
I chose to layer the leprechaun hat image in this order, leaving the foil pieces for last: light green C/shamrock, black hat piece, dark green L/K/hat, and then the gold pieces. This image is actually really easy to layer with it’s cutout design (technically, the vinyl isn’t actually layered on top of each other)!
If the recommendations are to wait until cool to peel (like for the foil iron-on) then WAIT UNTIL IT’S COOL TO PEEL. I was, erm, impatient, and my foil iron-on wrinkled when I pulled the carrier sheet away too soon (not a big deal, and actually all of the foil eventually wrinkled in the wash later so it probably didn’t matter too much…but still…next time I’ll be patient).
Keep pressing until all the layers are completed. You can increase the temperature to the full temperature and press for the full time on the last layer (I probably do just slightly less though).
“Lucky” Rainbow Shirt
If you choose to make the rainbow shirt, refer to the leprechaun hat shirt above as the process will be very similar!
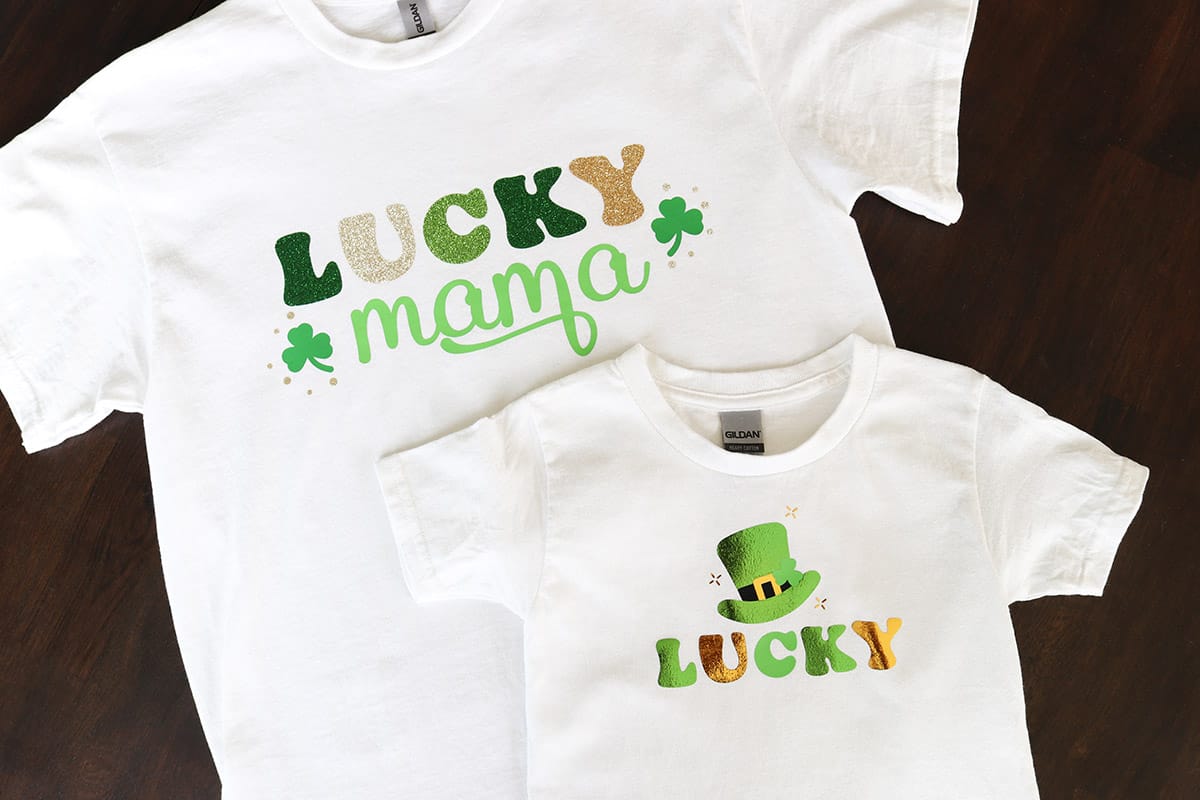
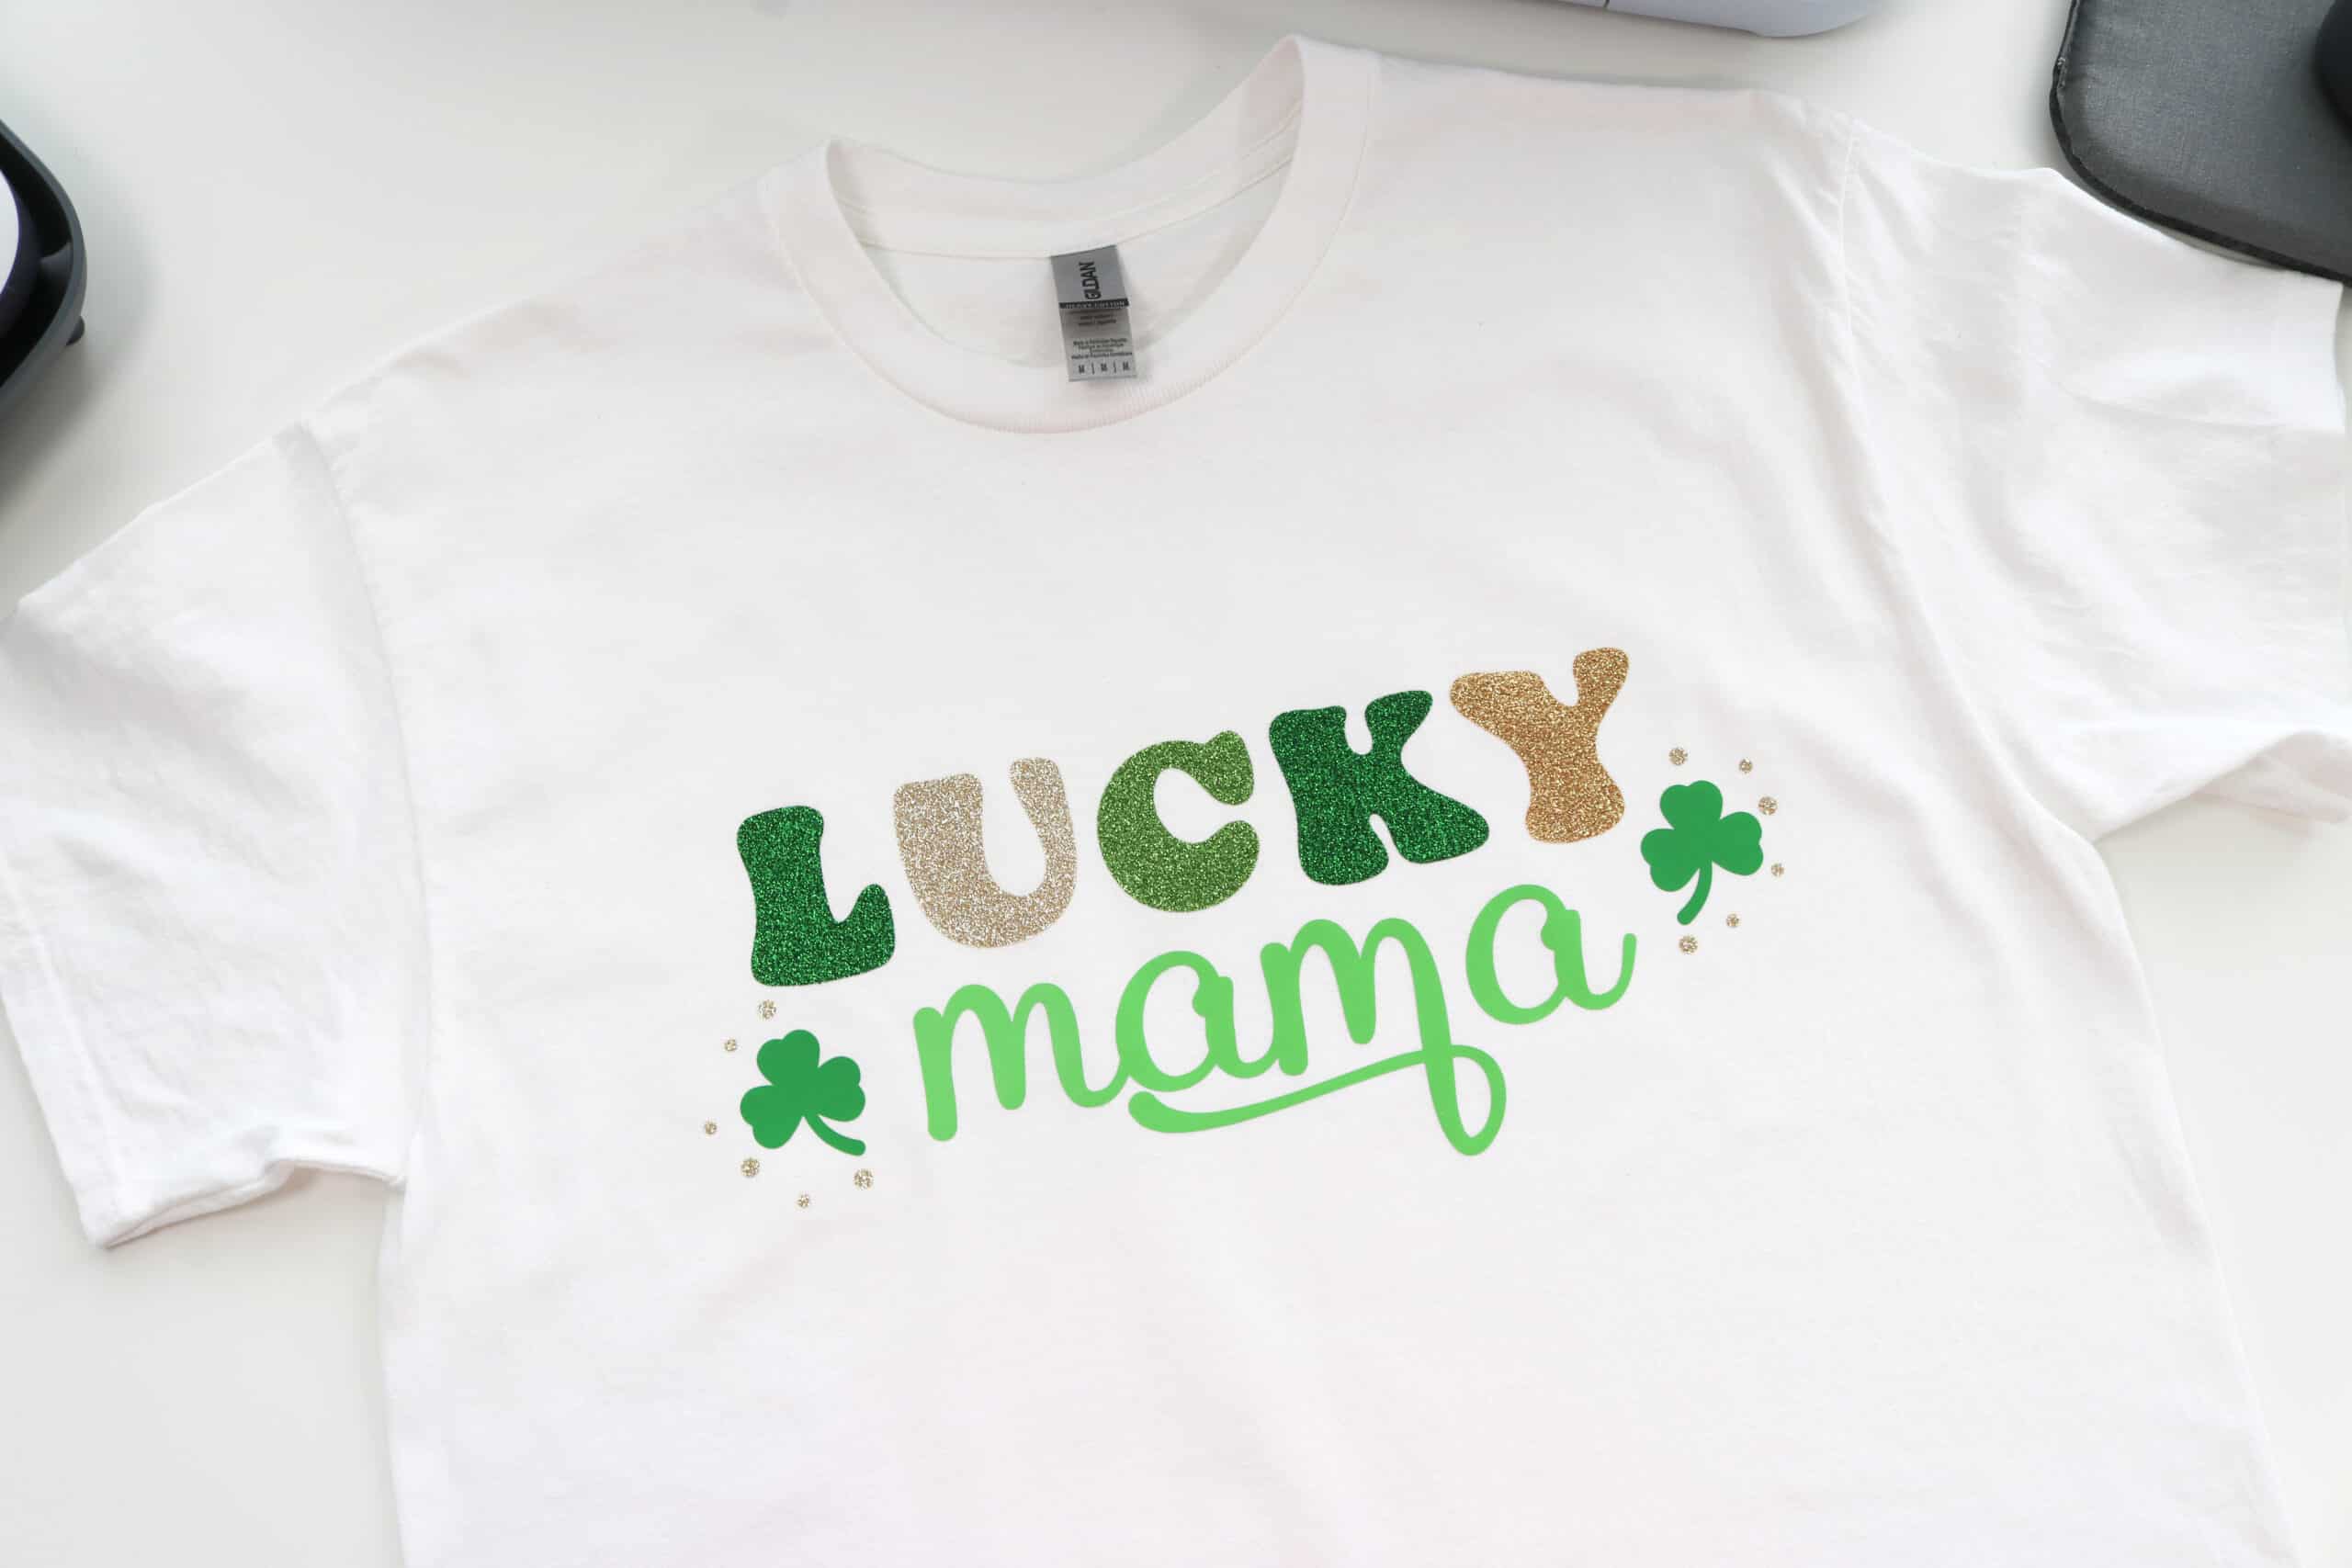
DIY St. Patrick’s Day “Lucky” Shirts
And there you go: last-minute St. Patrick’s Day shirts with just the right amount of green, gold, glitter, and foil! Yay for being pinch-proof!
And here’s how my post-crafting photoshoot went. Oh well, I tried. 😆

Don’t forget to pin and save for later!