How to Make DIY Fabric Pumpkins (from Scrap Fabric!)
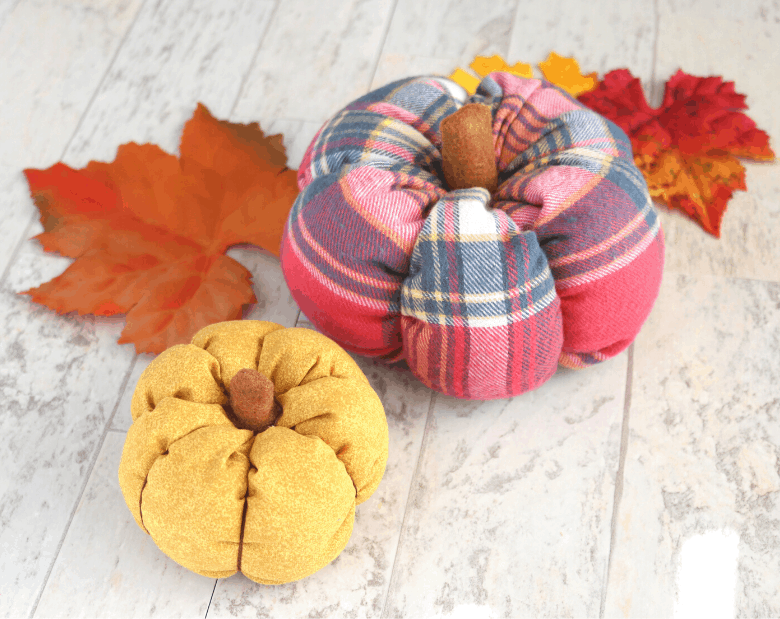
Learn how to make simple fabric pumpkins from scrap fabric! These make the cutest fall decor. Plus, they’re incredibly cheap!
Eeeep! I’ve been so excited for this post. Because fall is my favorite time of year. And these pumpkins are the perfect DIY decoration to welcome the season.
And, bonus, depending on the fabric you choose, these pumpkins can be displayed all the way through November!
This post contains affiliate links. For more information, see my disclosures here.
What You Need to Make Fabric Pumpkins
- fabric of your choice: I used some scraps in my stash, but you could use old flannel shirts or velvet from thrifted clothes–which I’m dying to try next!
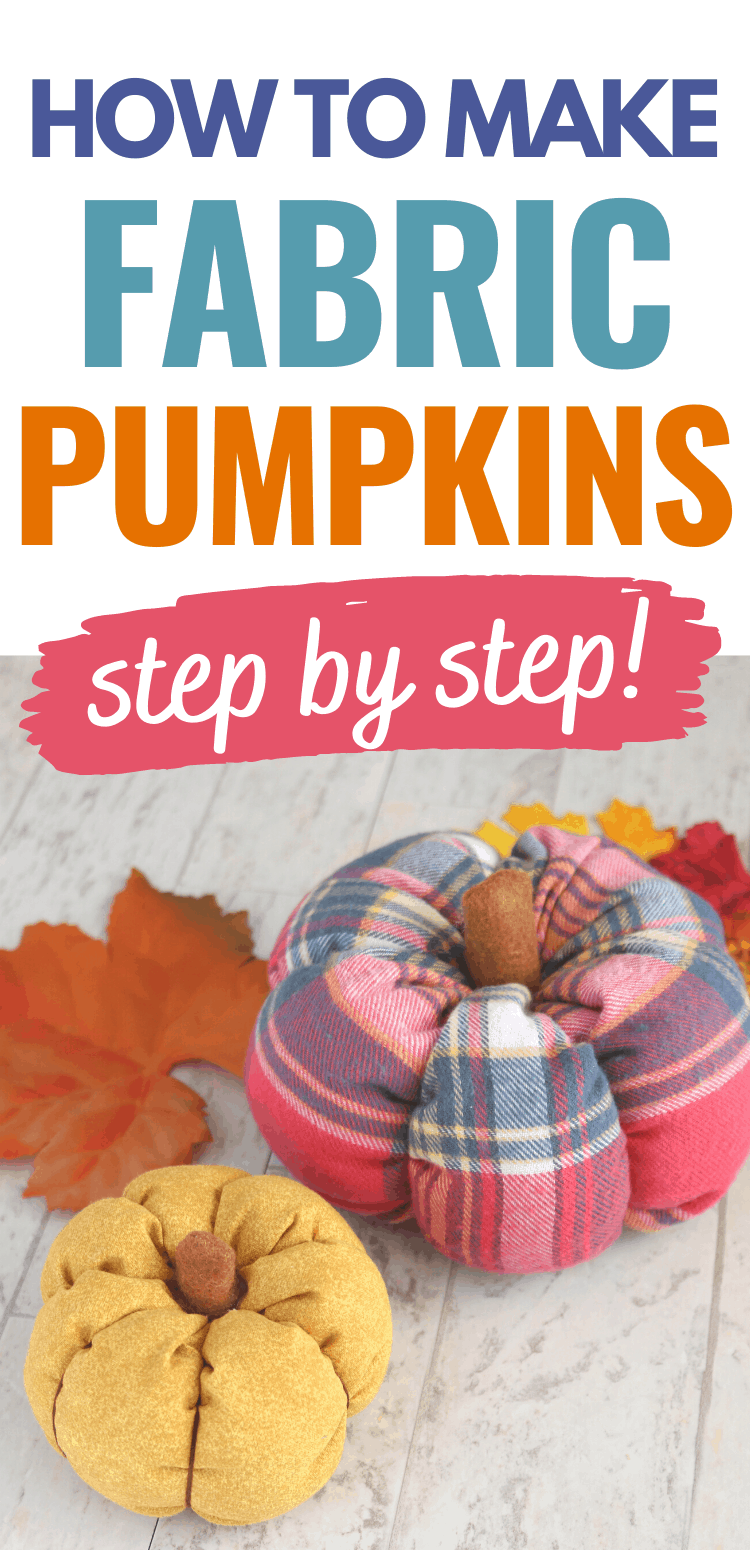
- for reference, my large pumpkin (the pink plaid one) used a piece of fabric 8″ x 20″
- my small pumpkin (the gold one) used a piece of fabric 6.5″ x 12.5″
- needle and thread
- embroidery floss (or yarn or crochet thread)
- a tapestry needle (long and strong enough to go through the center of the pumpkin)
- stems: you can use felt, wooden dowel cut in pieces, or small branches
- fiber fill stuffing
- my 3 favorite quilting tools (optional, but super handy anytime you’re cutting fabric!)
- hot glue gun
- sewing machine (preferred, but not necessary as you’ll only sew one seam with the machine and it could easily be done by hand…or even hot glued if you want)
How to Make Easy Fabric Pumpkins
Step 1: Press and Cut Your Fabric
Press your fabric to remove any wrinkles if needed.
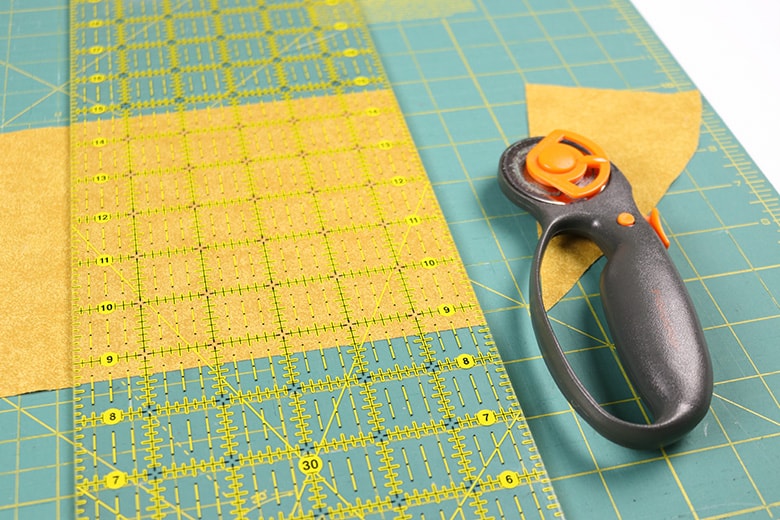
Cut your fabric into a rectangle with its length approximately twice its width. (The measurements for these pumpkins are not really exact, so you have some wiggle room if your piece of fabric isn’t a perfect size.) To get a taller pumpkin, increase the width. To get a wider pumpkin, increase the length.
(Again, I highly recommend investing in a rotary cutter, ruler, and mat! It’ll change your life!)
Step 2: Sew a Seam Down One Side
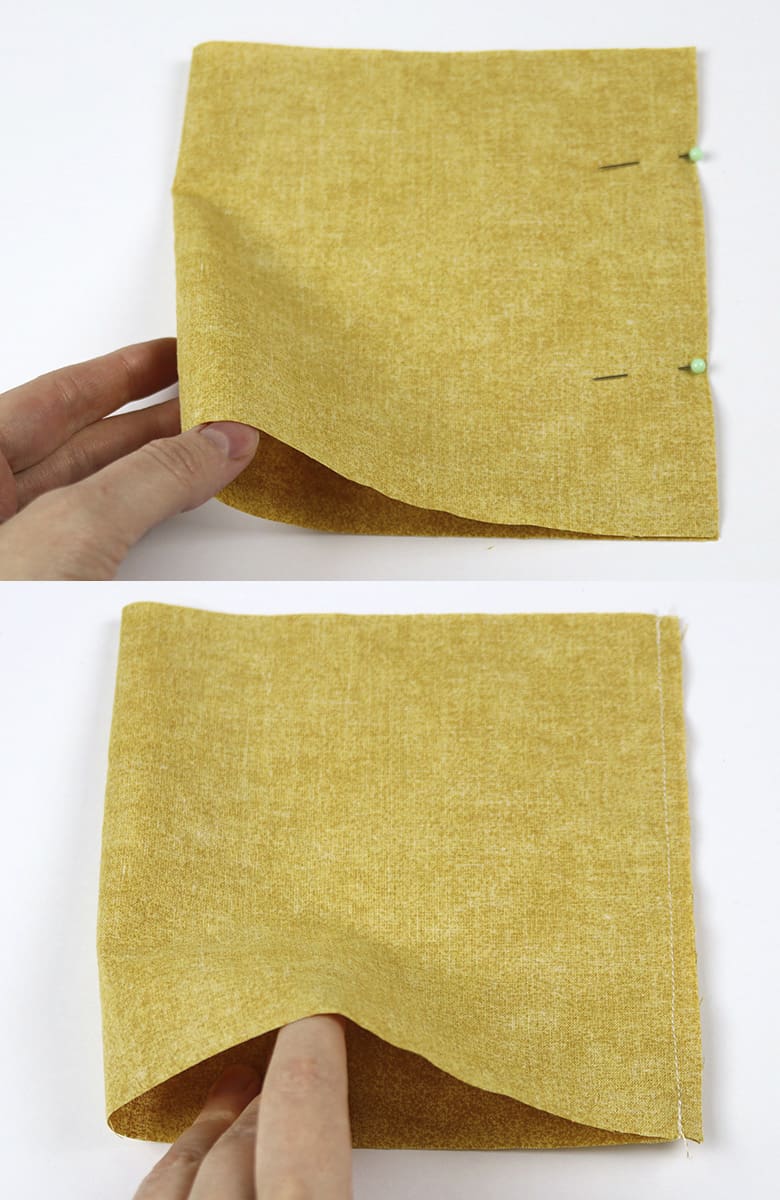
Once you have your rectangle of fabric, fold it in half, with right sides together so you roughly have a square (I’m pretty sure that fold is called hamburger style).
Pin the edges together and sew a 1/4″ seam down the side opposite the fold.
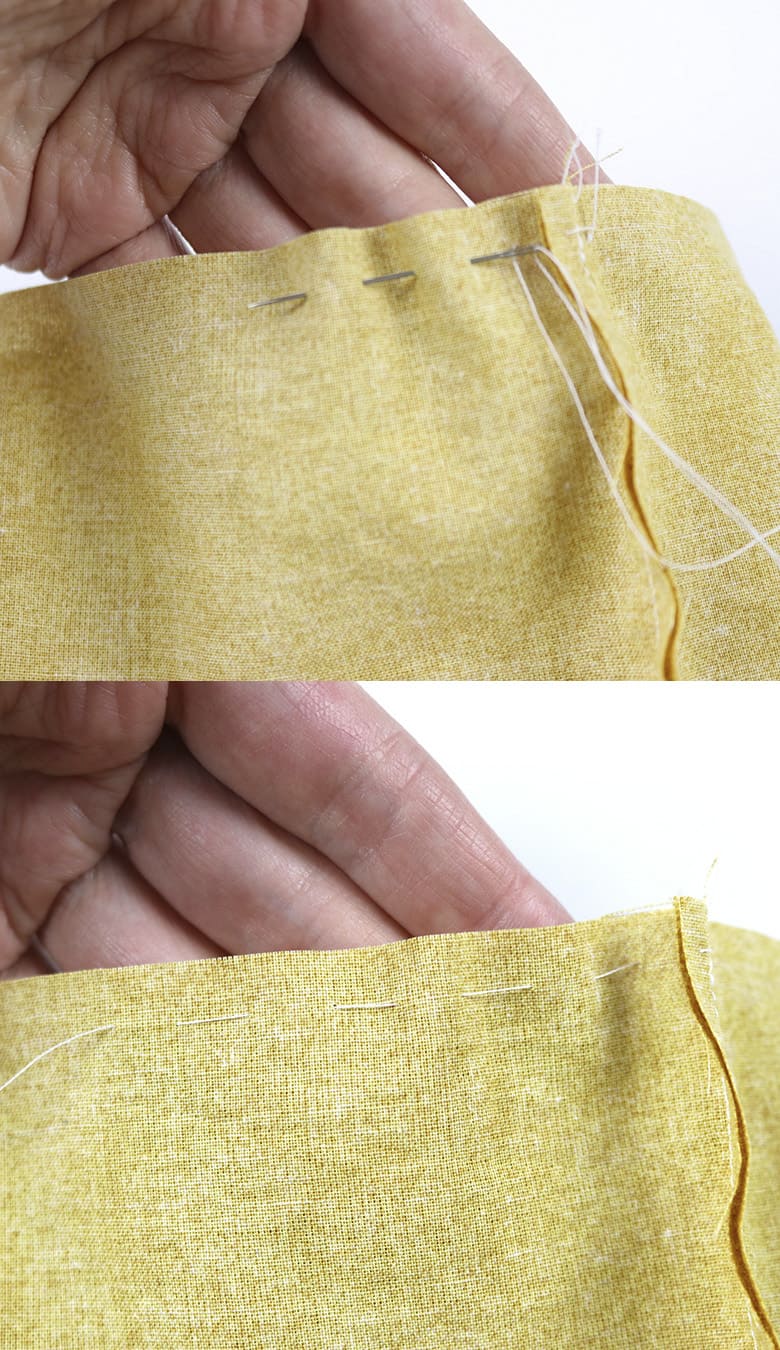
Step 3: Hand-Sew a Gathering Stitch Around One Opening
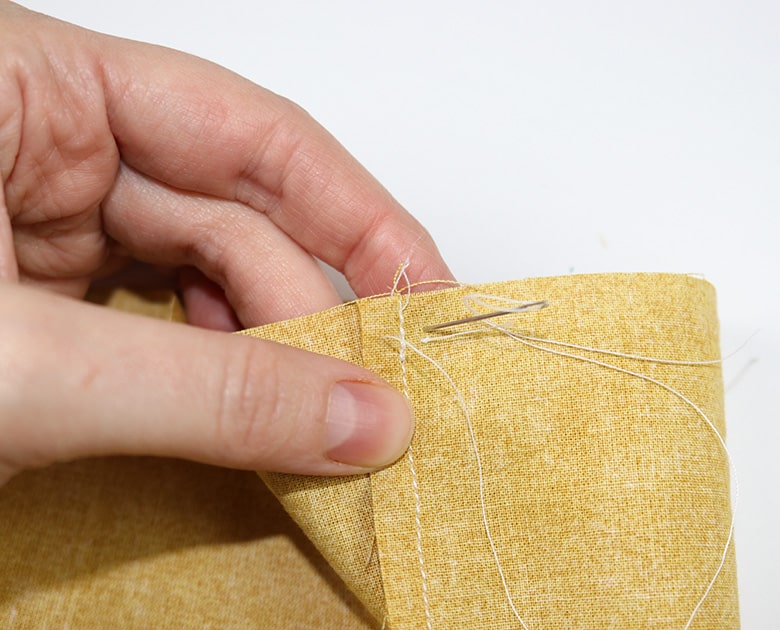
Now you’re going to sew a gathering stitch around what will be the bottom of the pumpkin. Leave the fabric inside out.
Thread your needle with about a foot of thread and tie a big knot on one end (depending on your fabric, you may want a stronger weight thread or you can double up your thread).
Push the needle through the wrong side of the fabric first (so your knot will end up on the inside), 1/4″ from the edge. (You’re only sewing through one side of the fabric “tube” so don’t go through the opposite side.) For a little extra reinforcement (in case the knot is small and tries to pull through the fabric later), I like to pull my needle back through the right side and then go back down where I originally placed the knot.
Start sewing a gathering stitch all the way around the outside, maintaining that 1/4″ seam allowance. (I always want to call this a purse string stitch, but that’s a surgical term–medical terms will forever be seared into my brain from a previous life).
If you don’t know what a gathering stitch is, it’s essentially an in-and-out stitch. So, go down one side and up the other, down one side, up the other…and keep repeating.
Step 4: Cinch the Opening Closed and Tie Off Your Thread
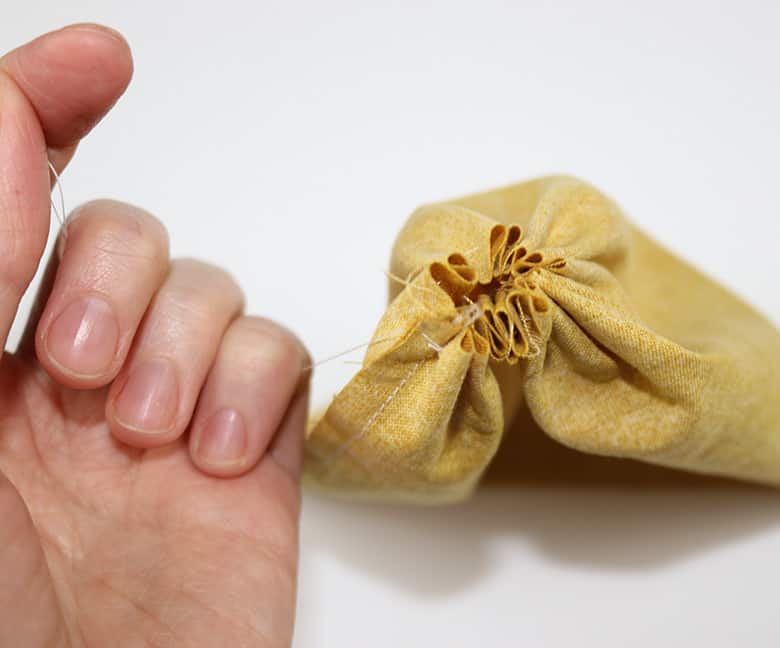
Once you’ve gone all the way around the edge, pull the thread to cinch the pumpkin closed. As you hold the thread tightly with one hand, stick your needle back through some of the gathers. Do this a few times in different directions, picking up different gathers–this is mostly for more reinforcement.
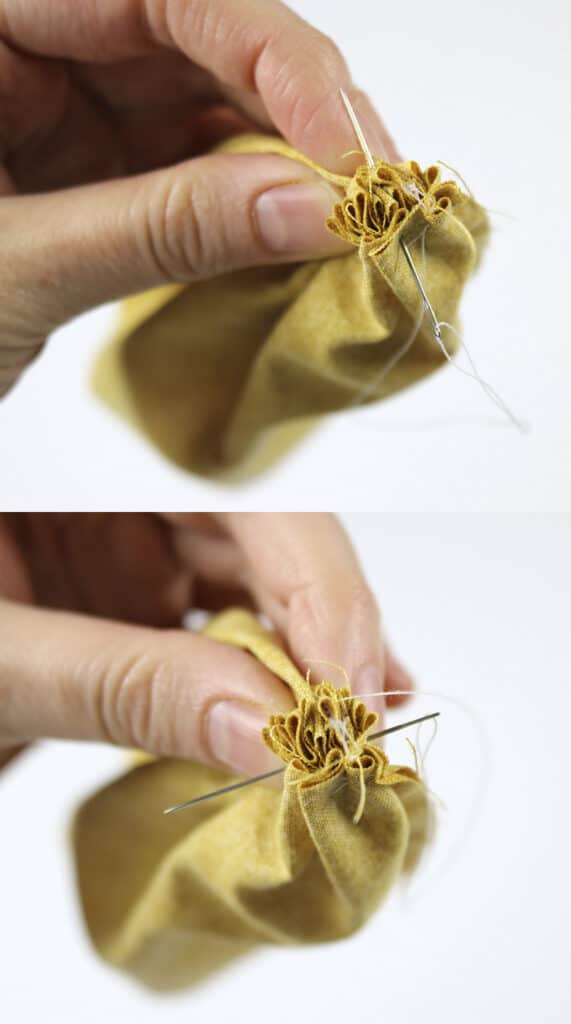
At this point, make a knot, stick the needle back through the gathers a few times and then trim the thread. (I might be a little paranoid of the thread popping, and probably should have just used a stronger thread to begin with…)
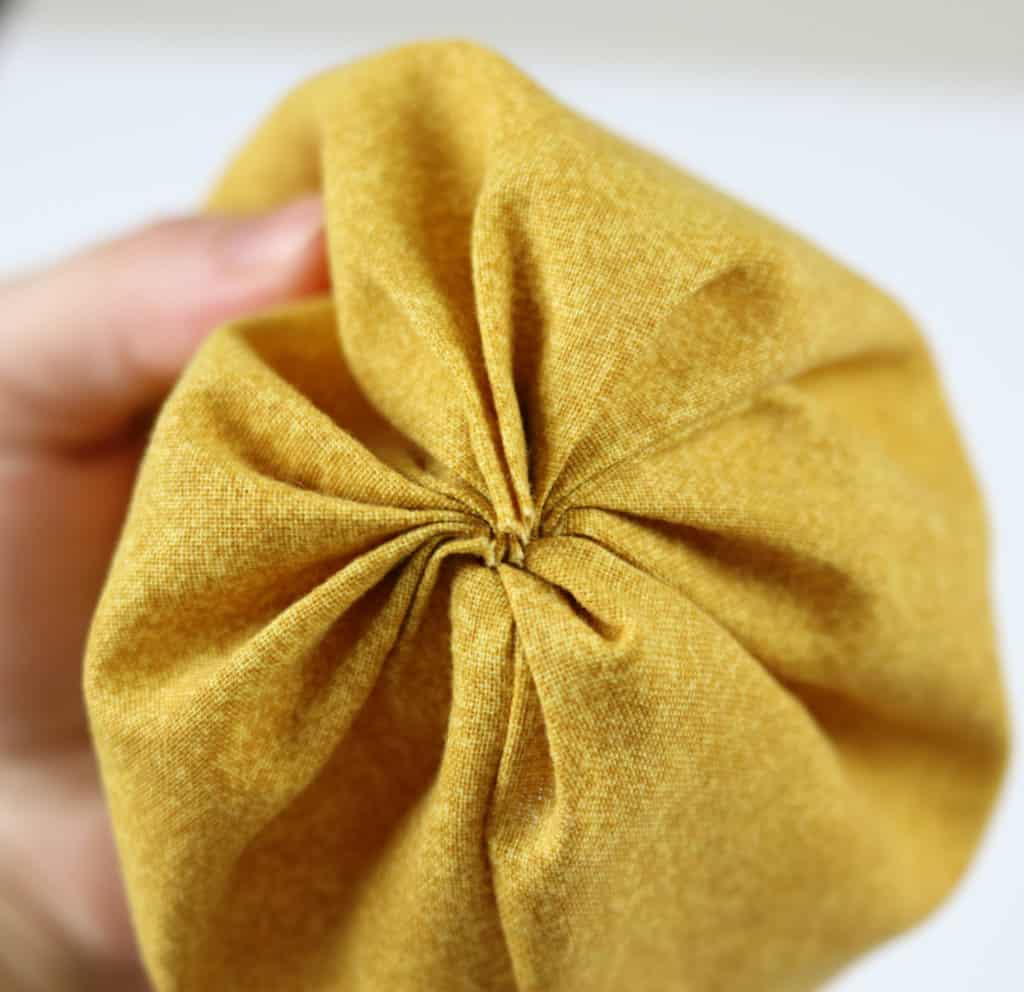
It’s okay if the bottom of your pumpkin looks like the above photo where some of the gathers are poking out. When we get to the end, we’ll glue a circle of felt to cover this, and since it’s on the bottom, it shouldn’t matter anyway.
Step 5: Fill with Fiber Fill and Sew Another Gathering Stitch to Close the Top
Fill your pumpkin with fiber fill until it’s “comfortably full”–you don’t want it jam-packed or it will be really hard to do the next steps. And I personally like my pumpkins to still have some squish to them.
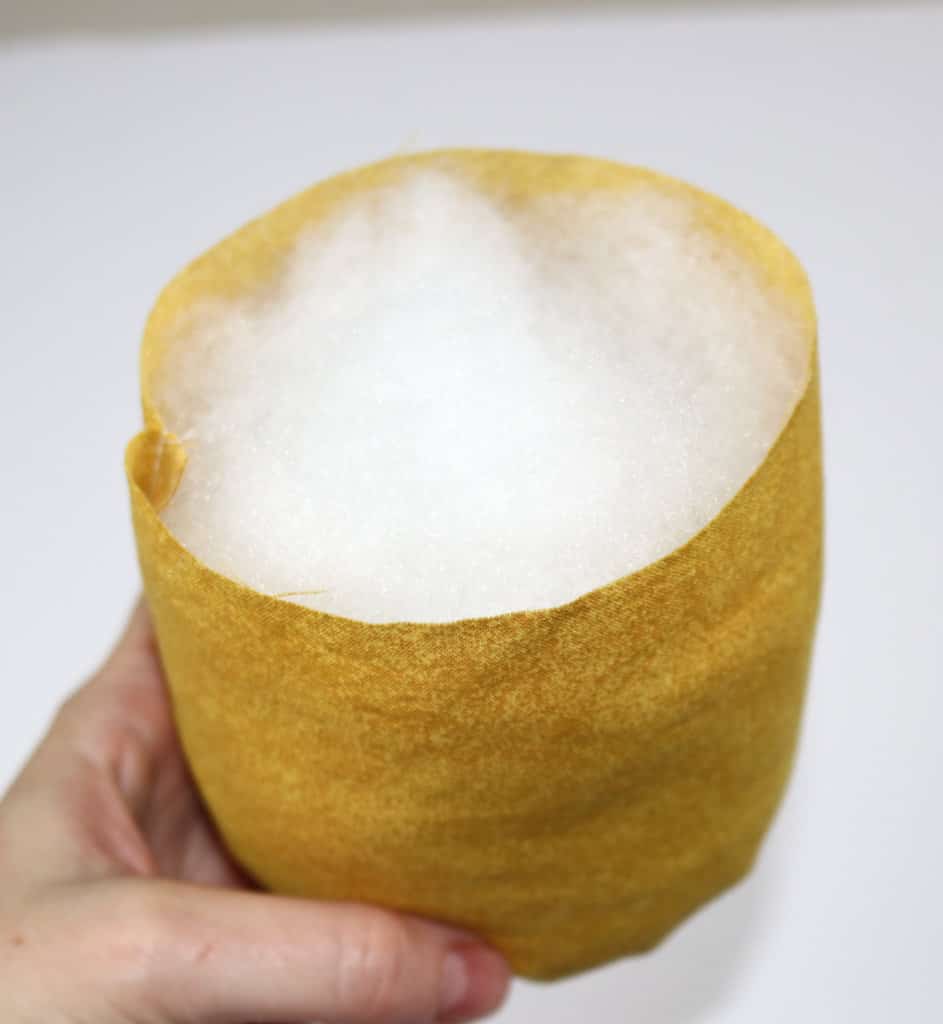
Once it’s filled, sew another gathering stitch to close the top. Repeat the same process from the previous step to reinforce and close.
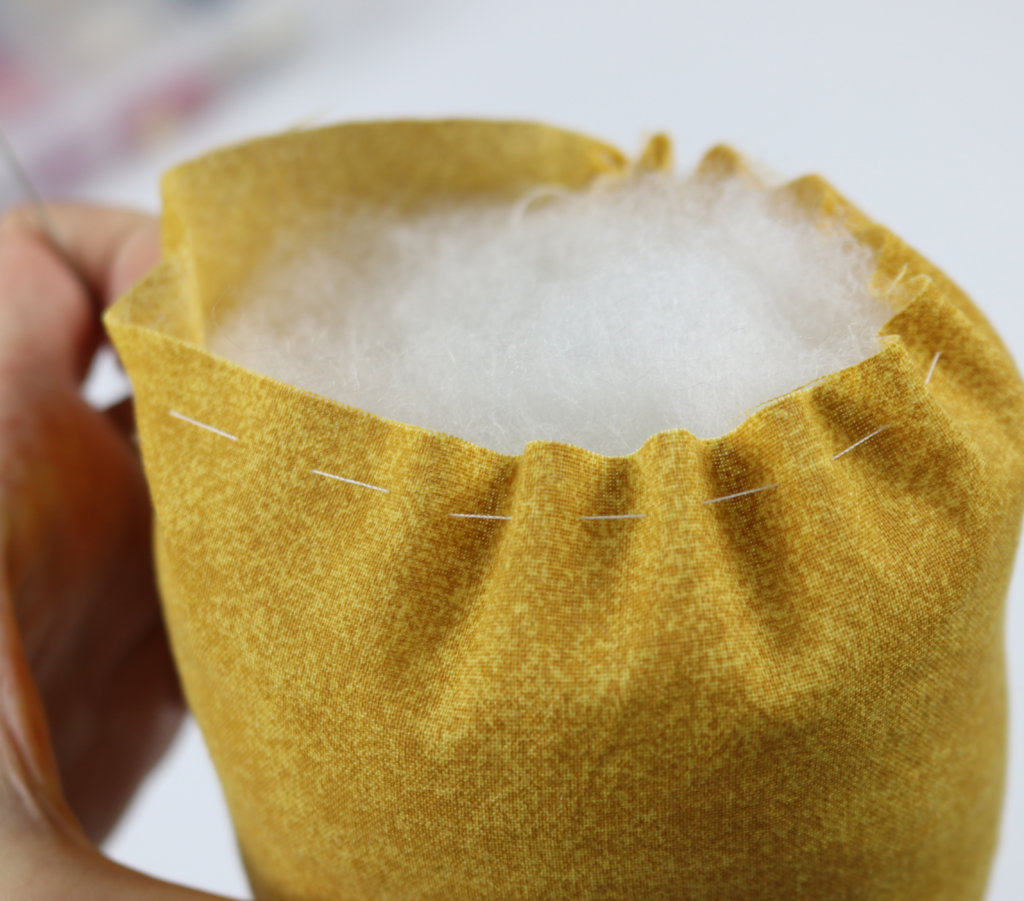
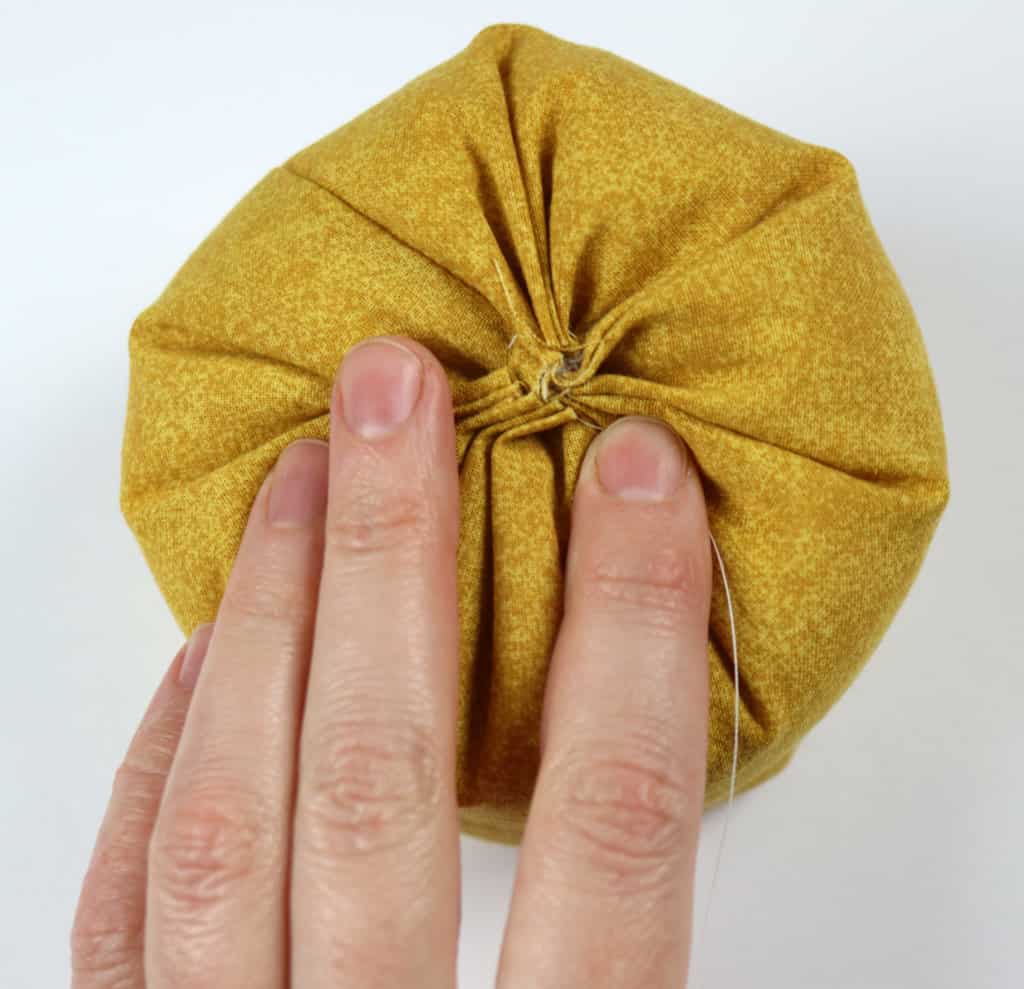
Step 6: Use Embroidery Floss and a Tapestry Needle to Give the Pumpkin “Grooves”
Thread your tapestry needle (or any large, long needle) with embroidery floss or a similarly-strong thread. I chose a contrasting color which helps give a little extra definition. Tie a strong knot on one end, making it larger than you would normally so it doesn’t pull through the pumpkin.
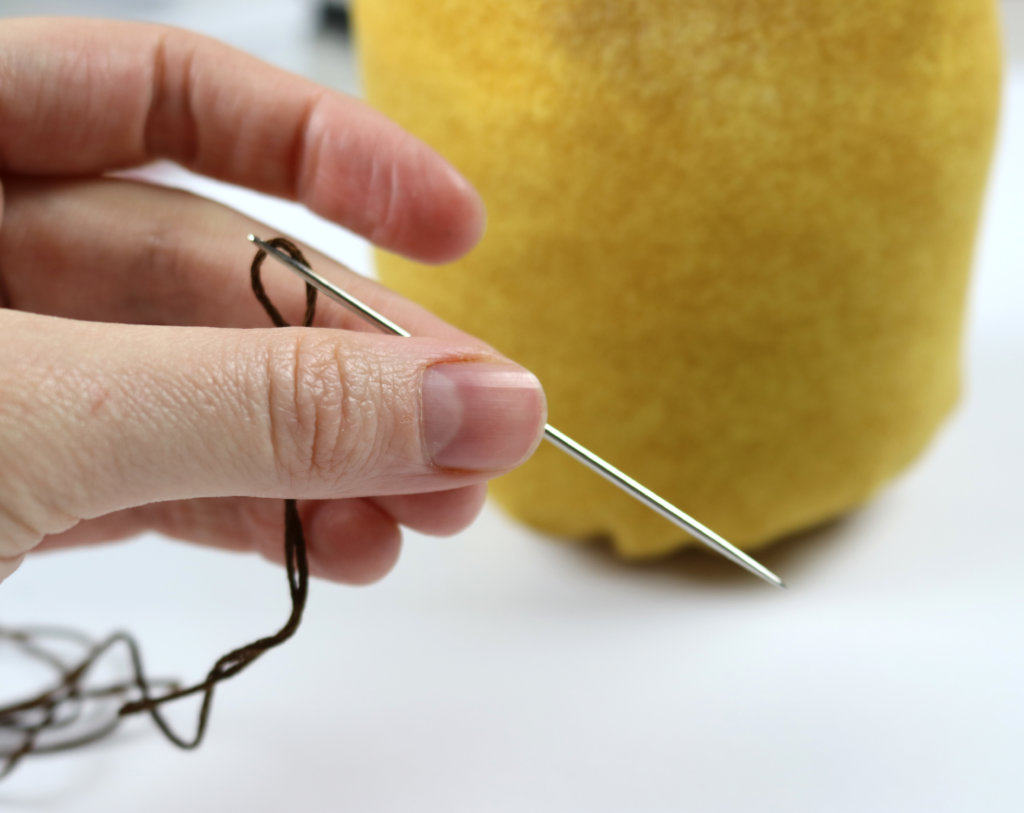
Starting from the bottom, push your needle all the way through to the center.
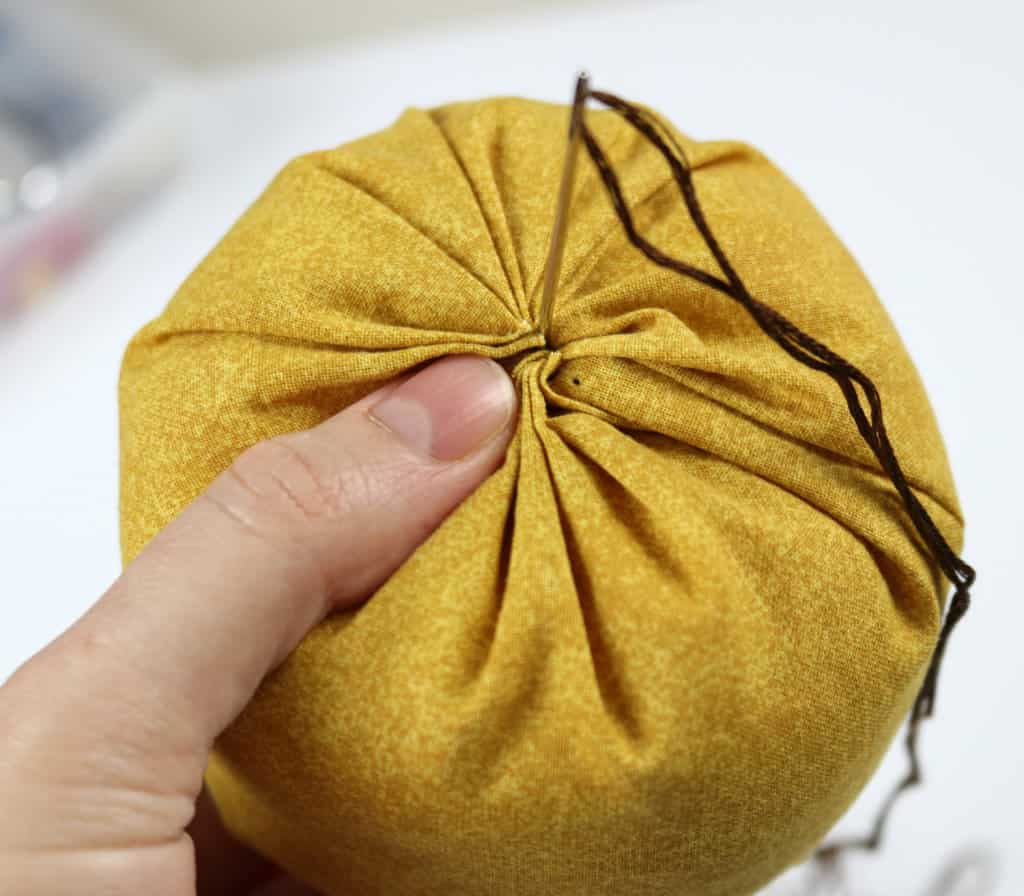
My knot started to slip through, so I moved over a centimeter and pushed the needle back down to the bottom. Then, I pulled my knot away from the edge a little and tied the strands together in a knot…hopefully that makes sense (see the image below just before I’m about to tie the two pieces together).
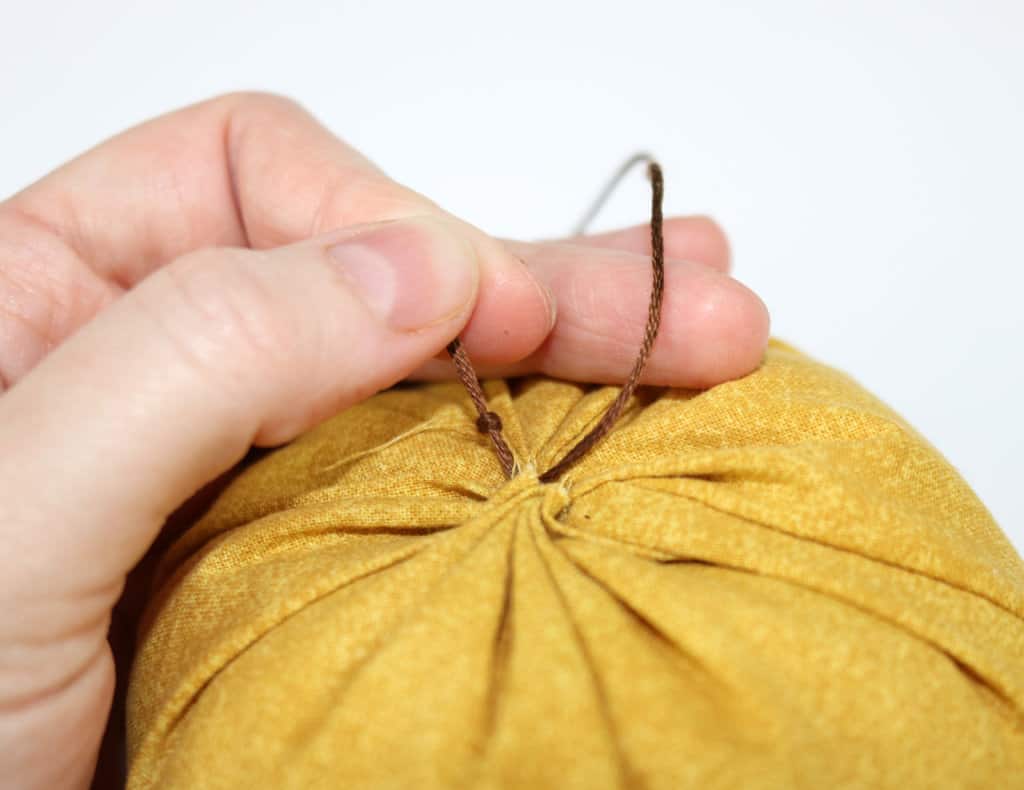
Once your thread is secure, make your first “groove” along the seam in order to hide it: pull the thread along the seam (on the outside of the pumpkin) and push the needle down the center of the top (all the way to the bottom) and pull tight.
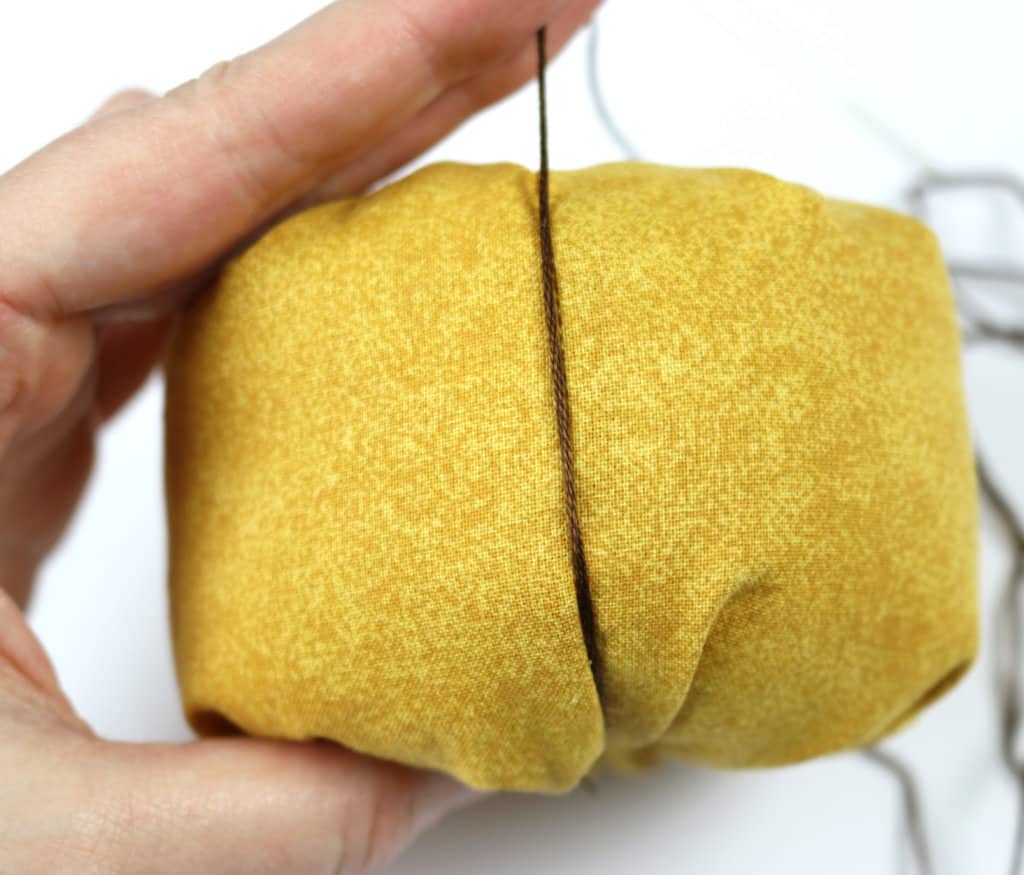
Keep making grooves every couple inches (I just eyeballed it as I went along) by pulling your needle through the center of the pumpkin, laying the thread against the outside, and pushing your needle back down the center.
You will need to keep holding the thread tight for each groove (if it slips, just adjust the tightness after you make the next groove).
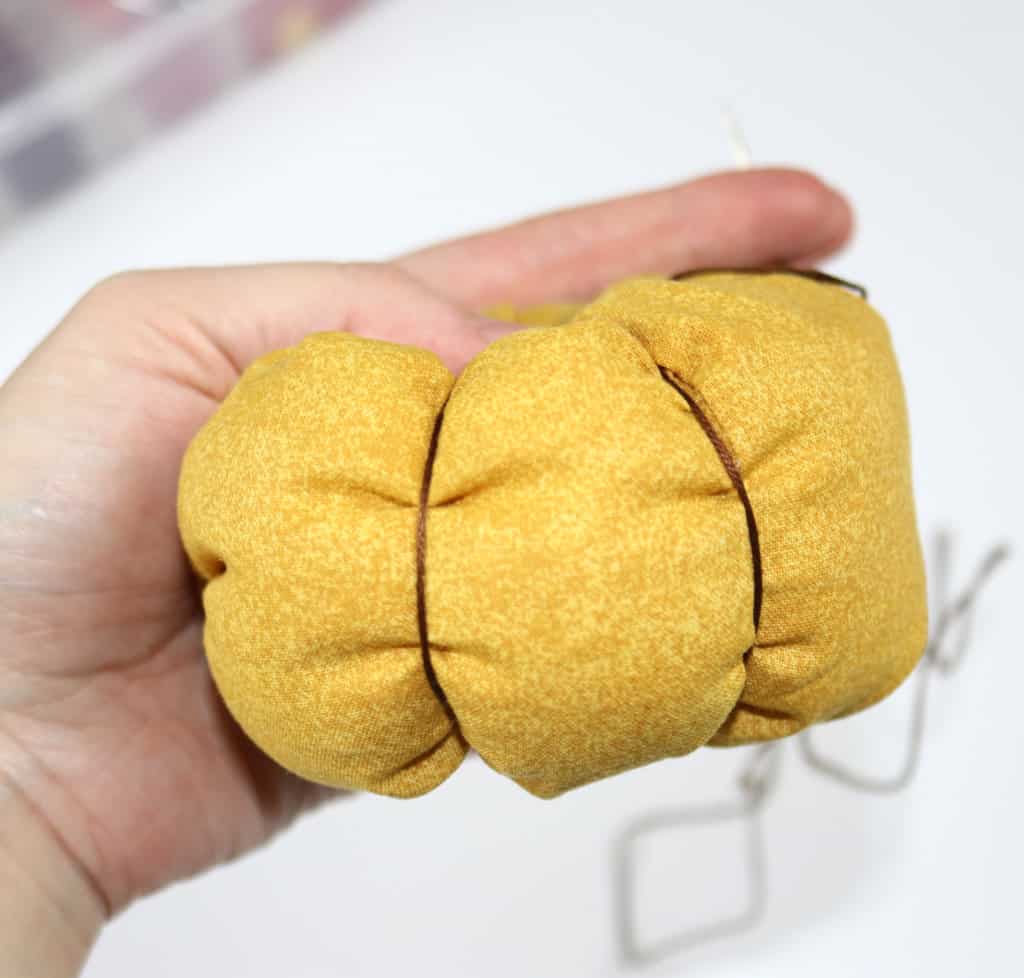
Once you’ve made your last groove, make a large knot to secure the thread.
Step 7: Make a Stem and Hot Glue it to Your Pumpkin
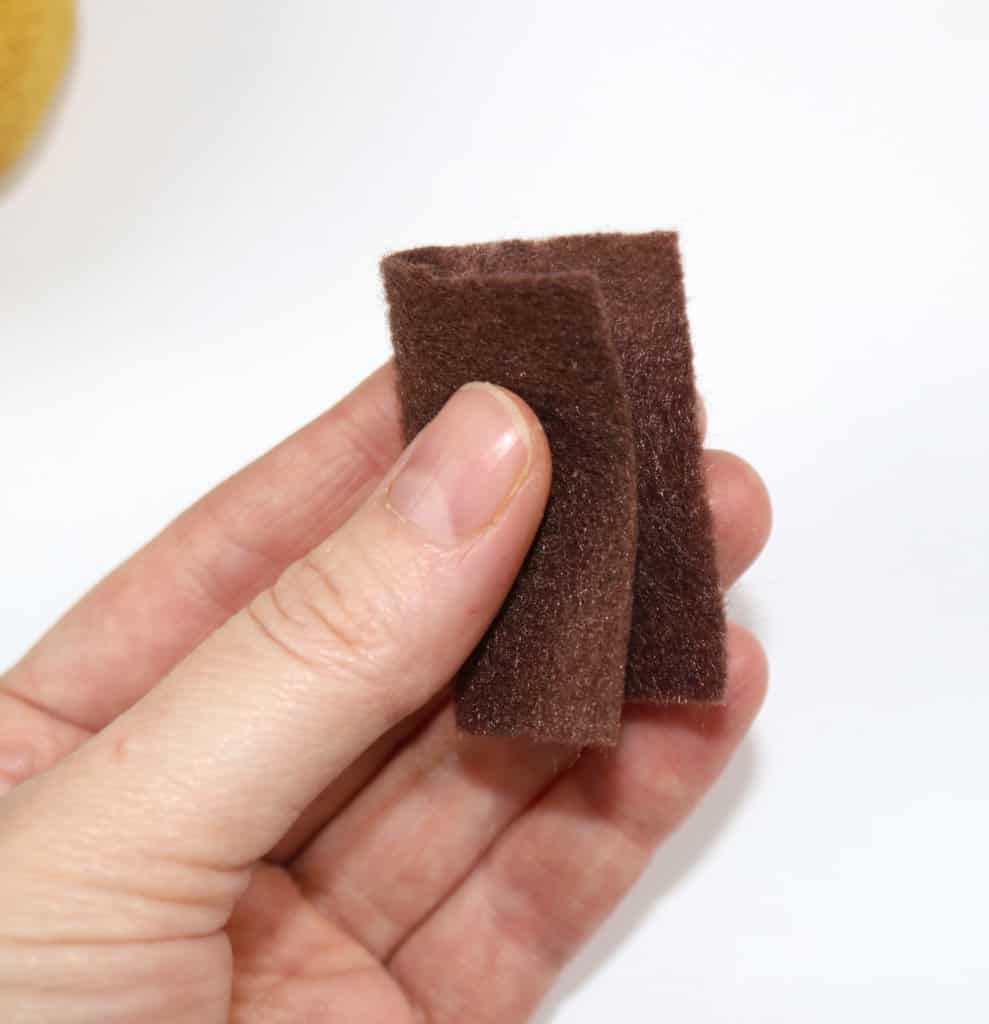
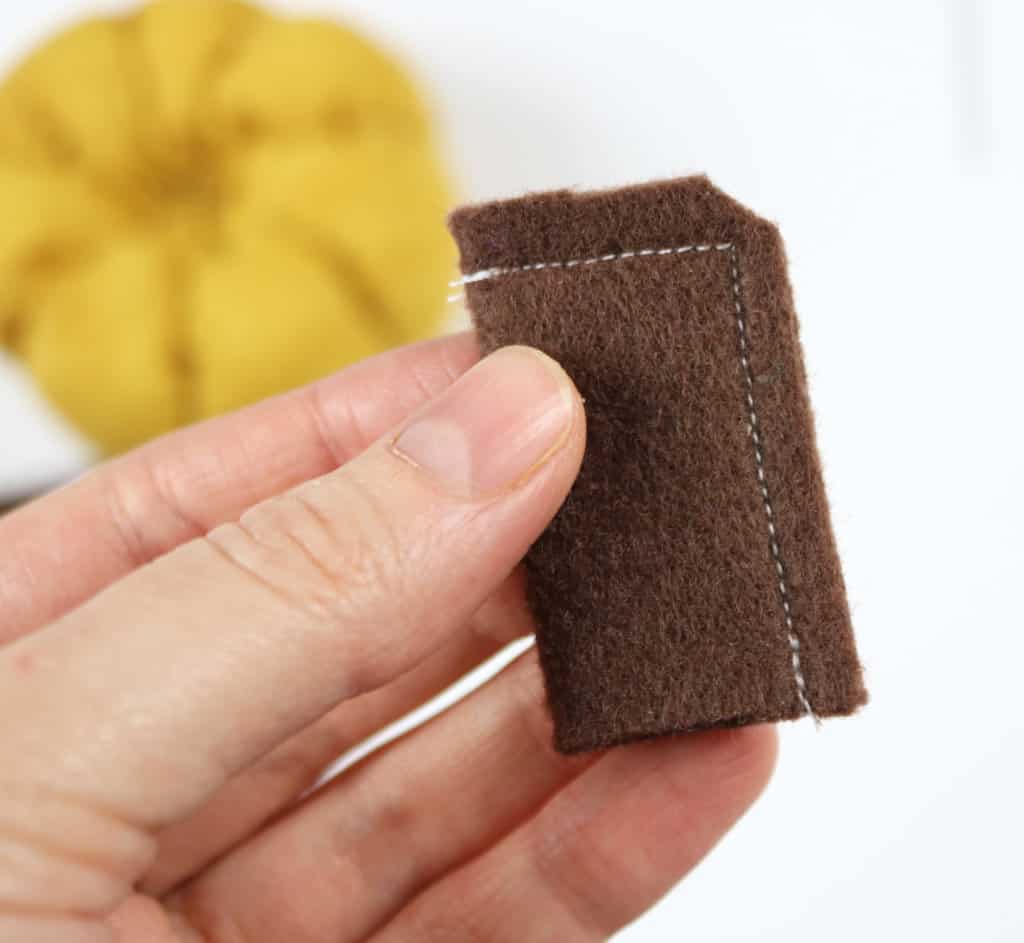
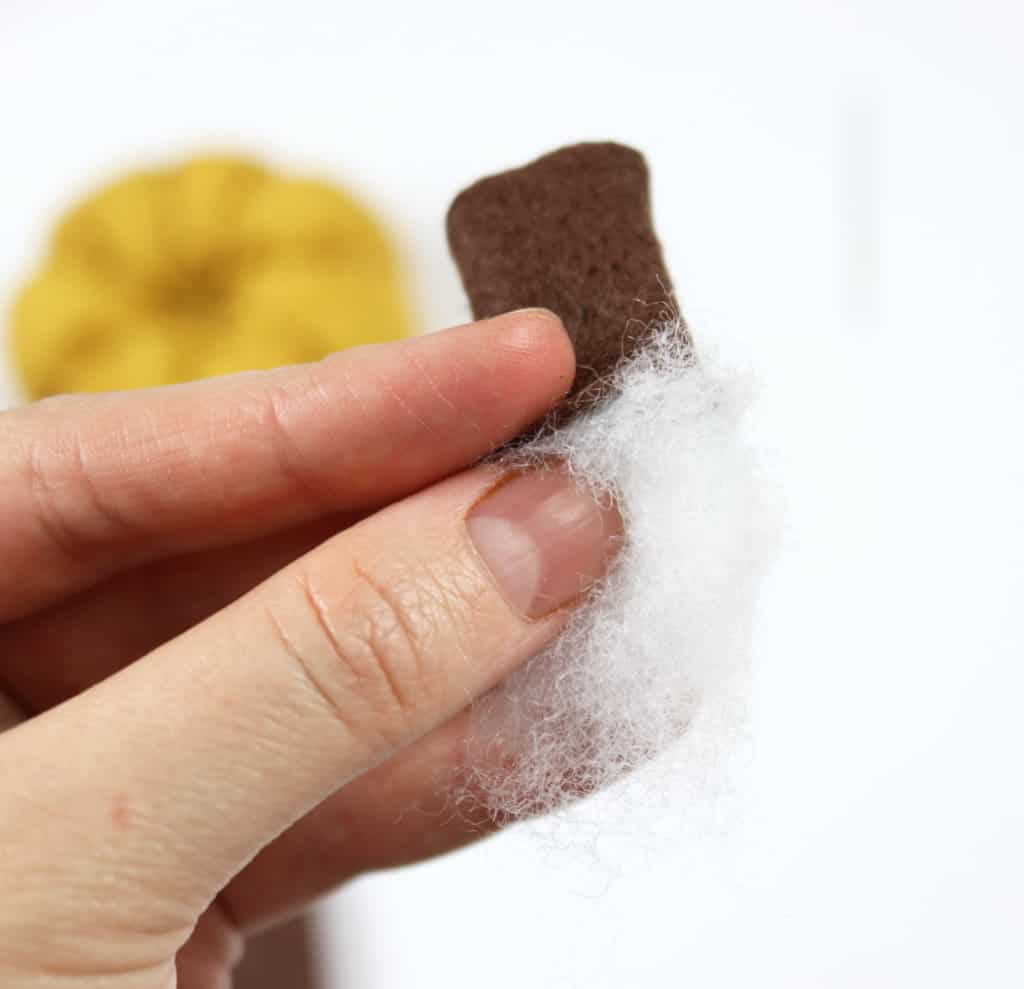
You have several different options for stems: you can hot glue a small branch or wooden dowel to the top, or I’ve also seen stems made out of strips of rolled felt–which seemed like the easiest method of all.
Or you can do what I did (which involves slightly more sewing). I made a small tube from felt, left it open on one side, then turned it inside out and filled it with fiber fill:
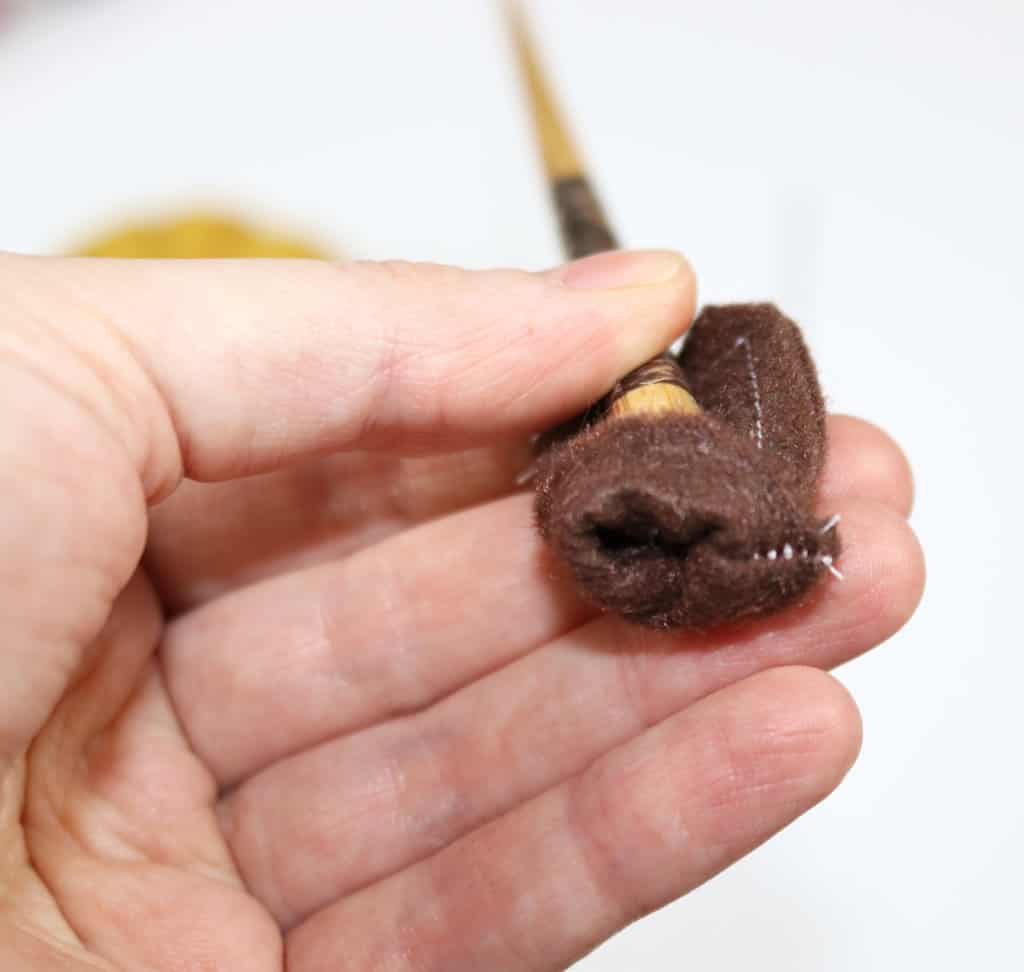
Whatever stem you decide on, I think the easiest way to attach it to your pumpkin will be with hot glue. If you use my method, make sure to put hot glue around the felt at the base (and not just the fiber fill) or it won’t stay.
Step 8: Cover the Bottom of the Pumpkin with Felt
Next, cut out a small circle of felt to glue to the bottom of the pumpkin where the gathers and threads show.
Be super careful when using hot glue since it can still burn through felt (ask me how I know)–I used the end of a pen to push it down.
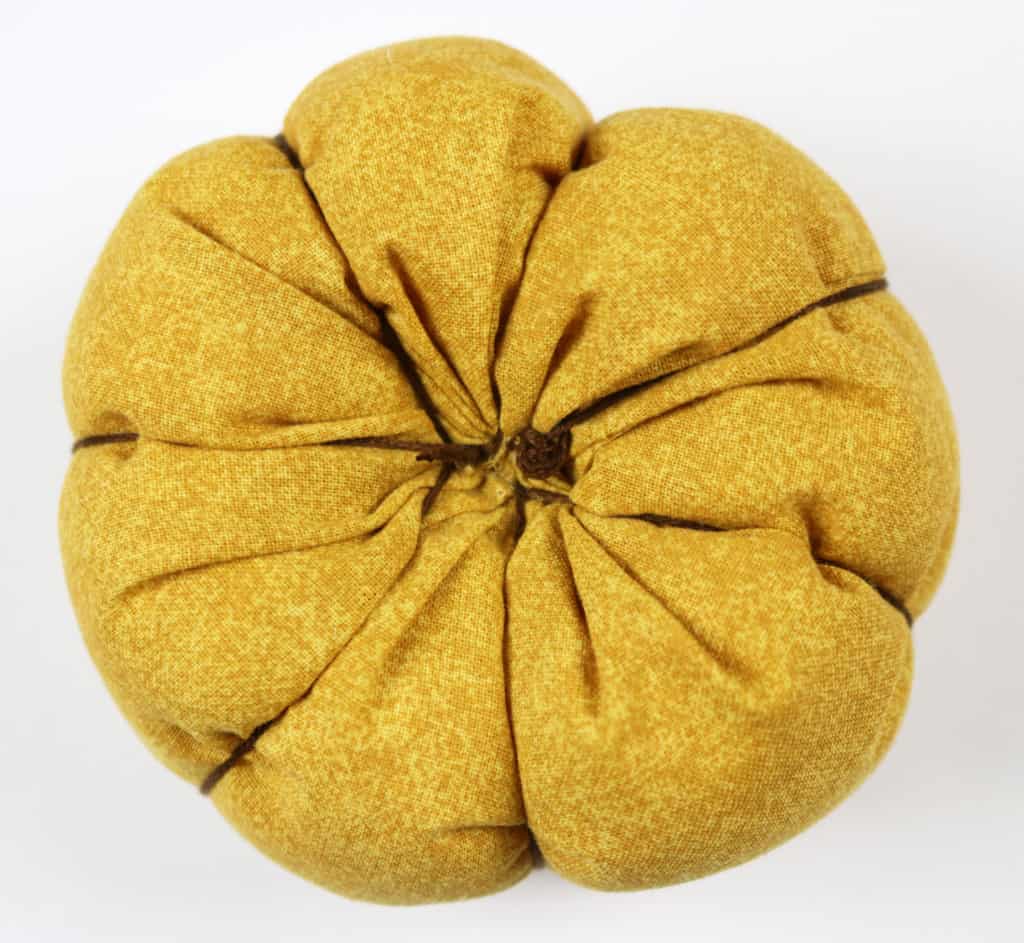
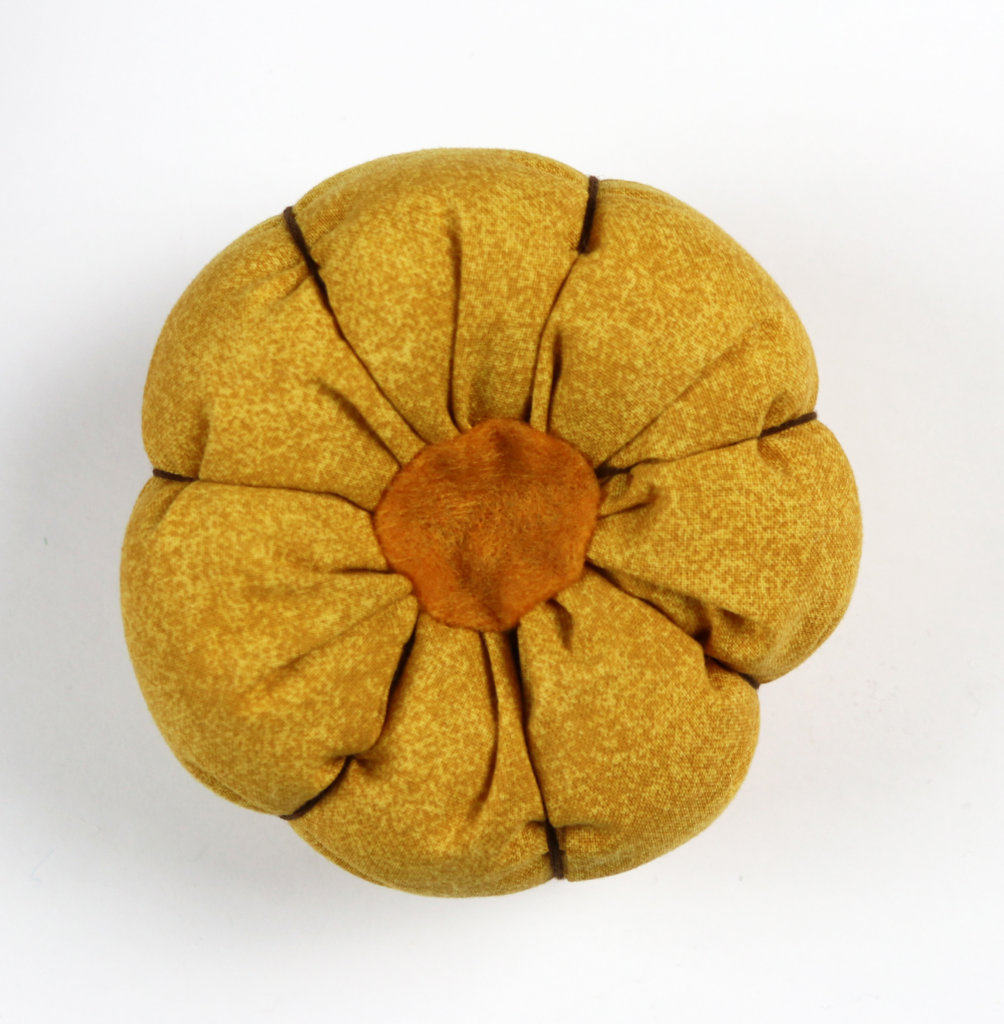
How to Make DIY Pumpkins from Scrap Fabric
And, voila! You’re done!
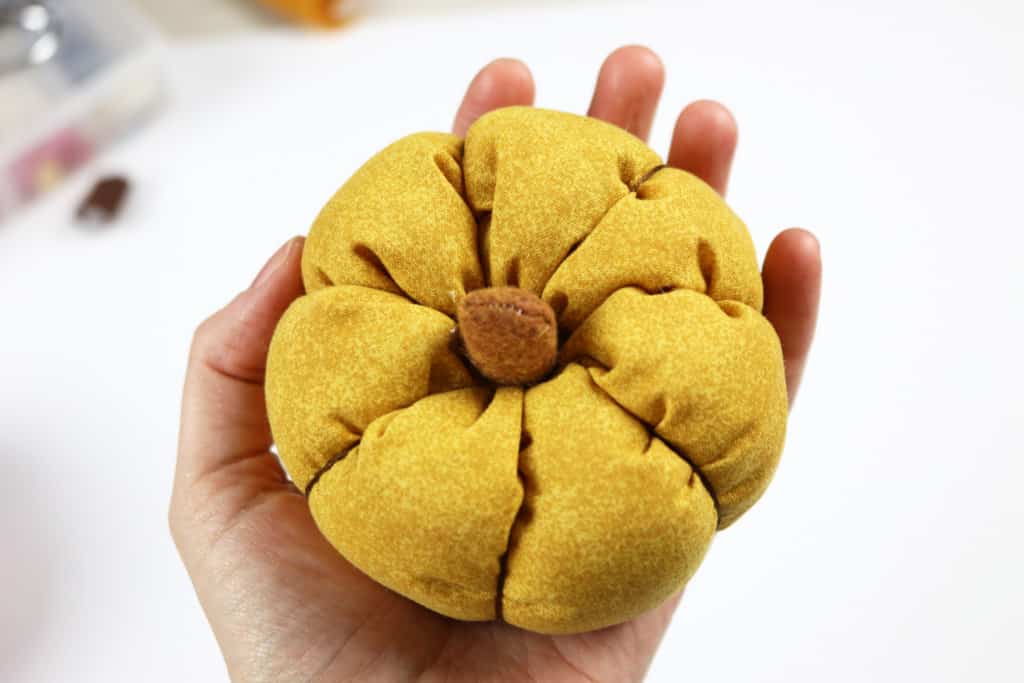
Aw, it’s such a cute lil’ guy!
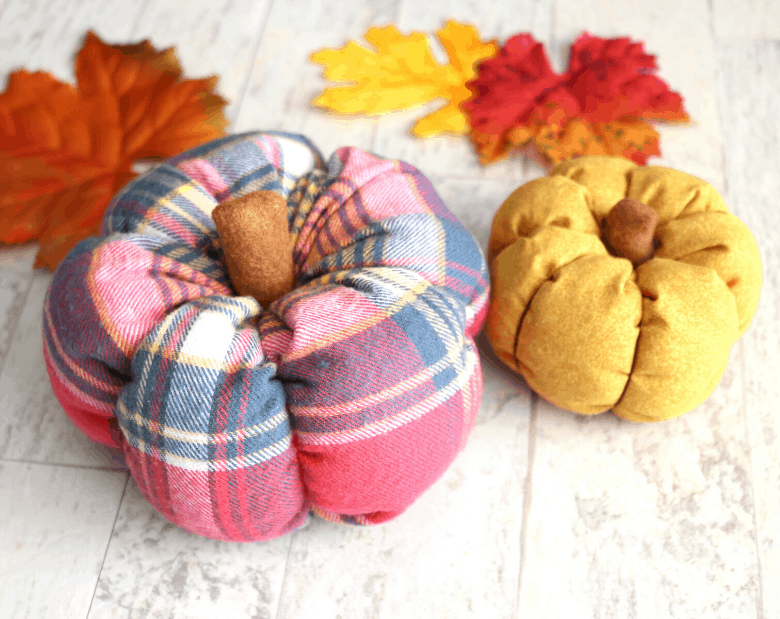
I can’t wait to knock out a few more of these and have a whole collection! I hope you try this out!

Don’t forget to pin and save for later!

Love these DIY pumpkins. I will definitely make them love craft and need to get a darning needle never had one. Can I get from Walmart? Thanks for your instructions
Hi Tina! Yes, I believe Walmart should have them. If not, any craft store. Have fun!
I’ve made these before(awhile back) and do so appreciate the very good instructions. Very easy to follow, thanks. Will use this pattern for making little pumpkins at Thanksgiving dinner. Use them for place setting with peoples names on them and they take them home. I use a piece of a real branch for stem. Just cut it with pruning shears to the length you want.
Thanks for reading, Susan! I love the idea of using them as place settings that guests can take home!
Thanks for reading, Chris! I appreciate the feedback. Happy crafting! 🙂
Thank you- easy to follow instructions.
Thank you so much for the detailed instructions. I’m definitely going to make a few! First, I have to. Get a darning needle 😆!
Thanks for reading Viola, have fun crafting! 🙂