Easy Cutout Hearts “Love You” Cricut Card
This DIY Valentine’s card with a fun cutout heart design is simple and fun to make! Get the project in Cricut Design Space!
I used to make handmade cards all the time but it’s been awhile—I’ve been distracted with lots of other types of crafts. I’m starting to use my Cricut more to make cards and I’m loving it! A Cricut machine is seriously your best friend if you like paper crafts and card making!
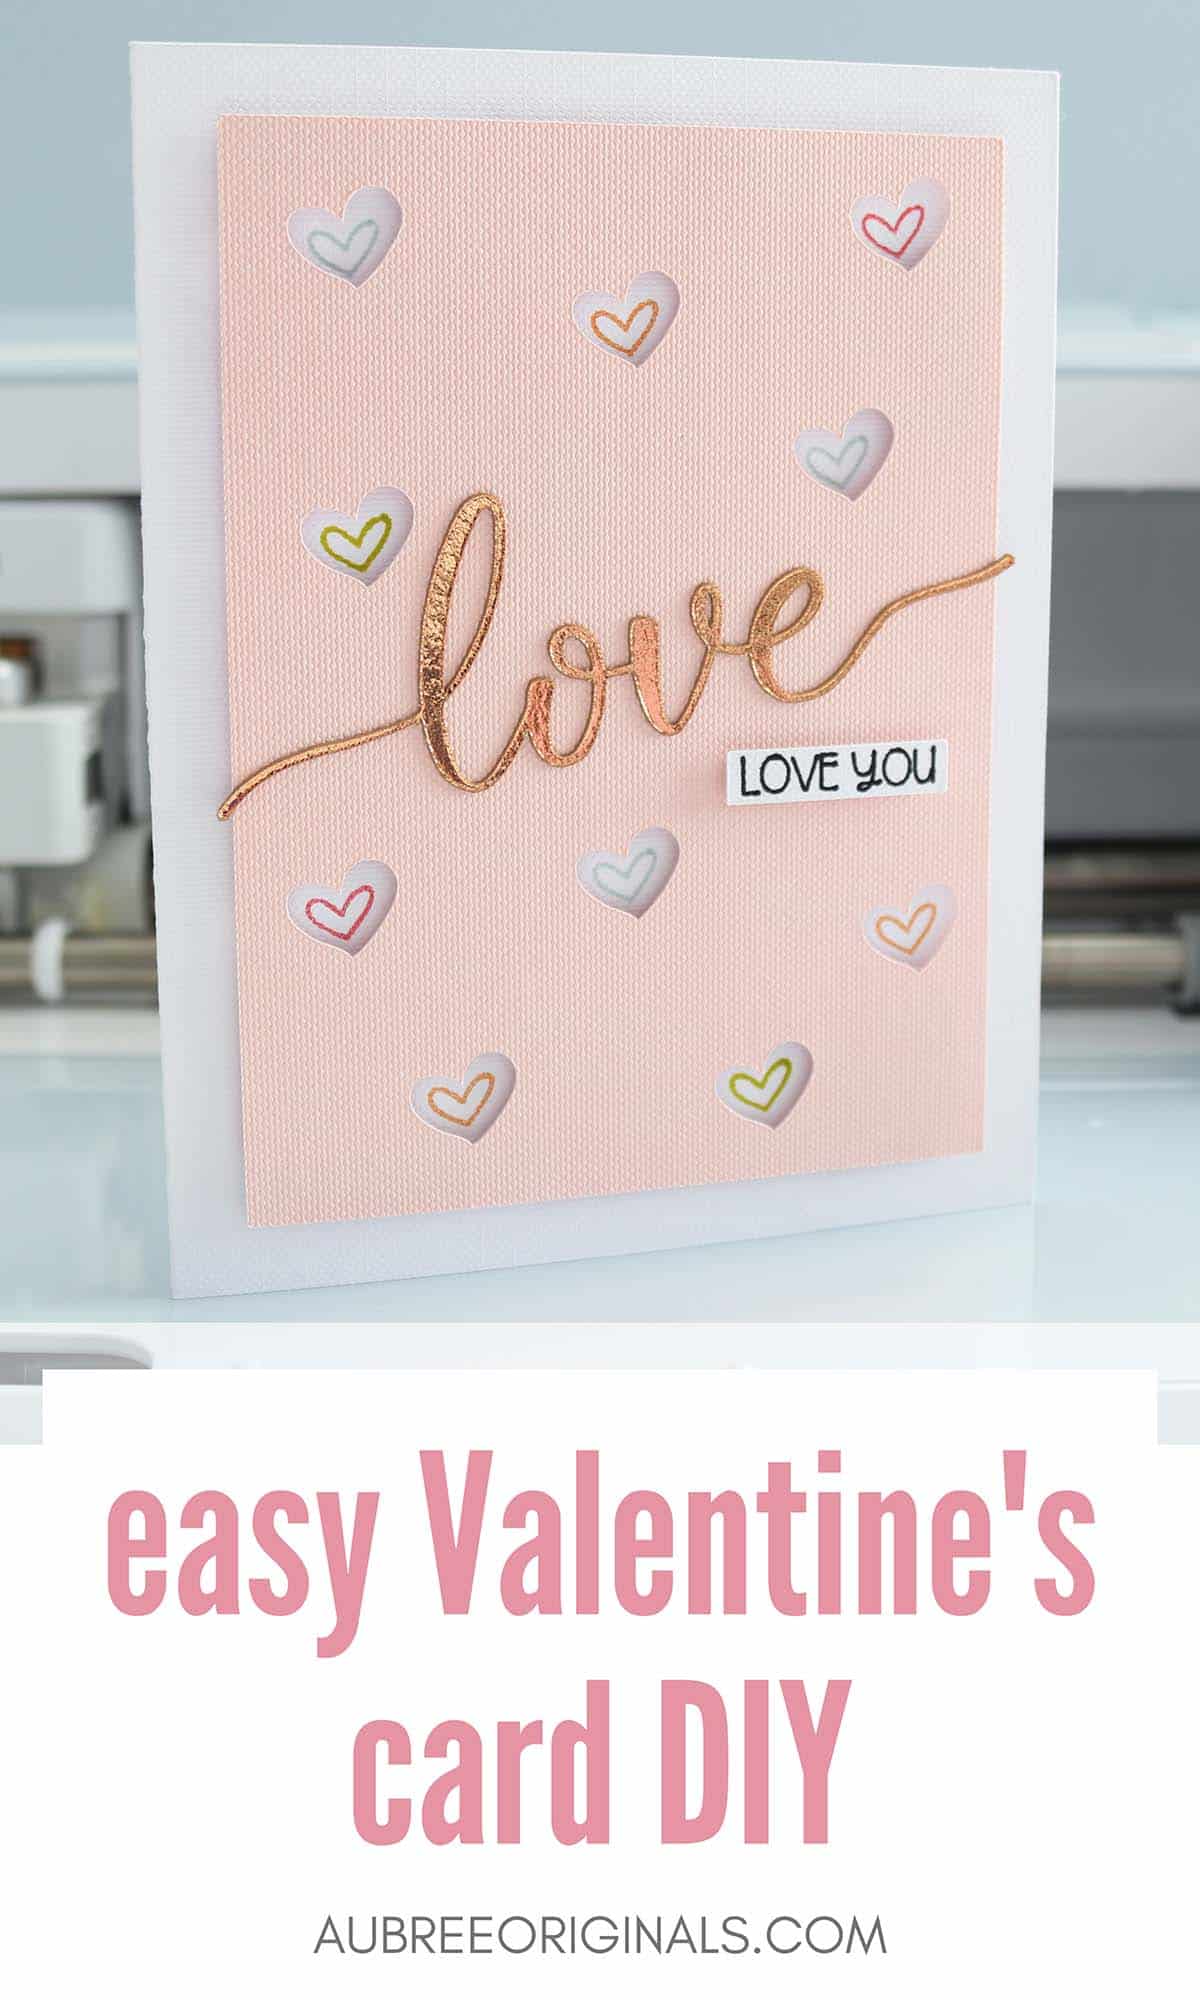
This cutout hearts card is perfect for Valentine’s or anytime you want to tell someone you love them. It looks fancy but it’s actually made of only a few simple elements.
Let’s learn how to make it!
This post contains affiliate links. For more information, see my disclosures here.
What you need to make this DIY valentine’s heart card

- Cricut machine
- Cricut Access subscription: This project uses Access images and fonts. If you’re not sure if Access is right for you, check out this post all about Cricut Access.
- white cardstock
- pale pink cardstock or another color of your choice
- metallic kraft board (I used a copperish/rose gold color)
- Cricut pens: 0.4 fine point Black, 1.0 gel pen Whispering Blue, 1.0 gel pen Lemongrass, 0.8 glitter gel pen Red, 0.8 glitter gel pen Orange (or other Cricut pens of your choice)
- LightGrip mat (the blue one, I use this for the cardstock)
- StandardGrip mat (the green one, I use this for the kraft board)
- foam tape: I love the foam tape from Dollar Tree! It’s super sticky and a great price. You just cut off what you need and can even cut it lengthwise if you need skinnier strips. Or try a variety pack like this one with precut squares.
- craft glue: I love this glue, especially for the super fine point tip—you’re going to want that for the “love” phrase!
How to make a cutout heart valentine’s card
Customize in Cricut Design Space
Open my Love You Hearts Card project in Cricut Design Space. If you want to make any changes, choose Customize (like if you want to change the pen colors so you know which pens to insert when your Cricut tells you—it will currently tell you the color names I’ve set in the project*). You can also change the cardstock colors (but remember these are all just for reference so it should be pretty easy to tell which cardstock to load on each mat, even if you choose something other than white and pink).
This project makes an A2 size card (4.25″ x 5.5″).
*Design Space doesn’t have options for all the pen color names so I just chose a color that matched close enough that I would be able to differentiate which one when prompted.
Cut with your Cricut machine
Click Make It. Choose your mat preferences. Set your base material to Medium Cardstock if using Cricut cardstock. Load the first pen in Clamp A** and the scoring wheel in Clamp B. Load your mat with your material and load it into your machine. Press start.
Continue following the Design Space prompts to switch out pens and the scoring wheel for the fine point blade when it’s time. Keep the mat loaded until your machine is completely finished (DON’T remove it when switching pens/tools).
Complete the rest of the cuts, setting the final mat material setting to Kraft Board. Don’t be alarmed if your machine cuts two passes for the kraft board—it’s thicker. Just let your machine do it’s thing. (It cuts so beautifully and looks so shiny sparkly! Who knew metallic kraft board would be so fun to accent cards?!)
**For best results, prime your pens before loading each one into your machine—just scribble on a scrap piece of paper for a second until the ink is flowing.
Assemble card
Carefully fold the white card on the score line (be sure to line up the corners so it folds straight!).
Glue the “love” phrase in the middle of the pink cutout cardstock (leave the very ends free of glue as the word extends a little past the pink cardstock).

Apply foam tape to the back of the “love you” (you may need to cut the foam tape lengthwise since it’s pretty narrow). Adhere this to the pink cardstock underneath the kraft board “love.”
Apply foam tape to the back of the pink cardstock, targeting corners, edges, and putting a couple squares in the center so the cardstock doesn’t collapse. Adhere to the white card front, centering the heart cutouts over the drawn hearts (I designed this so the pink cardstock should be perfectly centered on the card front).
DIY Valentine’s heart cutout card with Cricut

And there you go! This cute heart card is so simple and takes hardly any time to make, thanks to your handy Cricut machine. I love the subtle sparkle from both the glitter gel pens and the metallic kraft board. So fun!
Happy crafting!

Don’t forget to pin and save for later!
