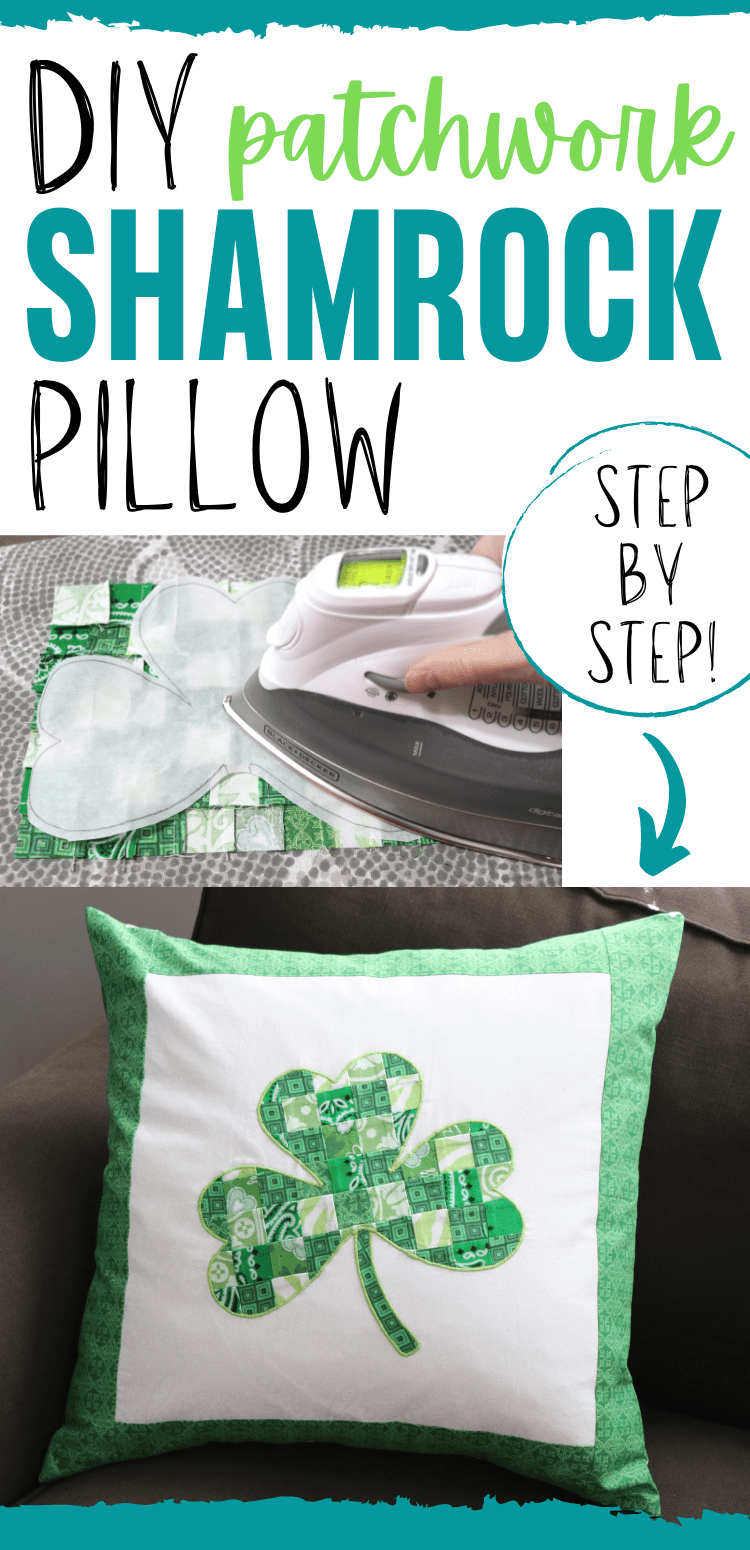
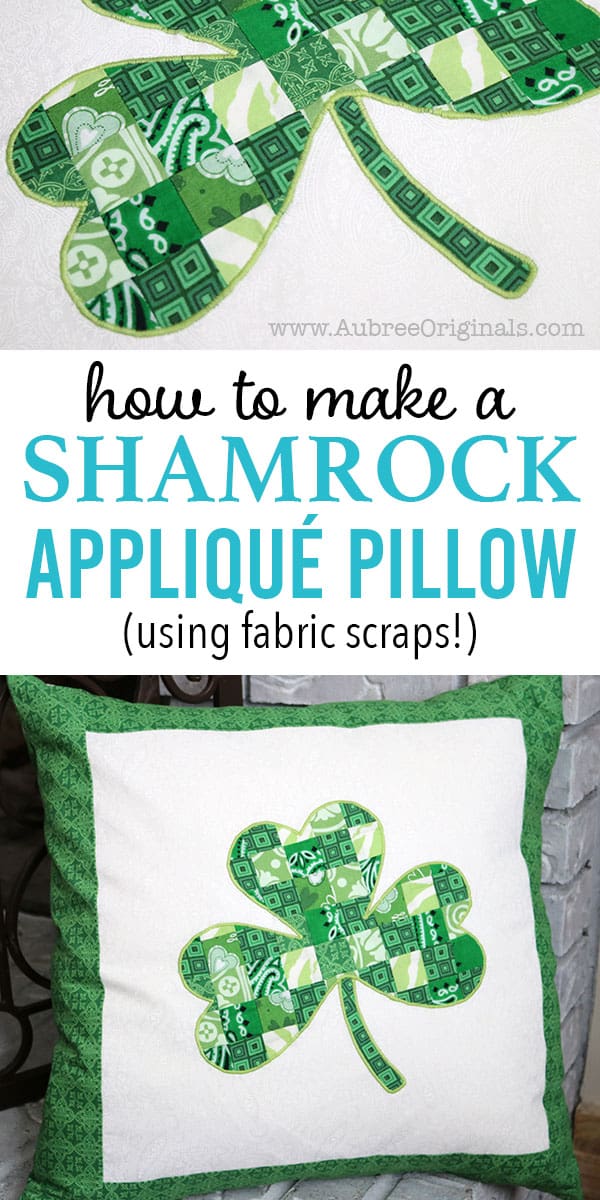
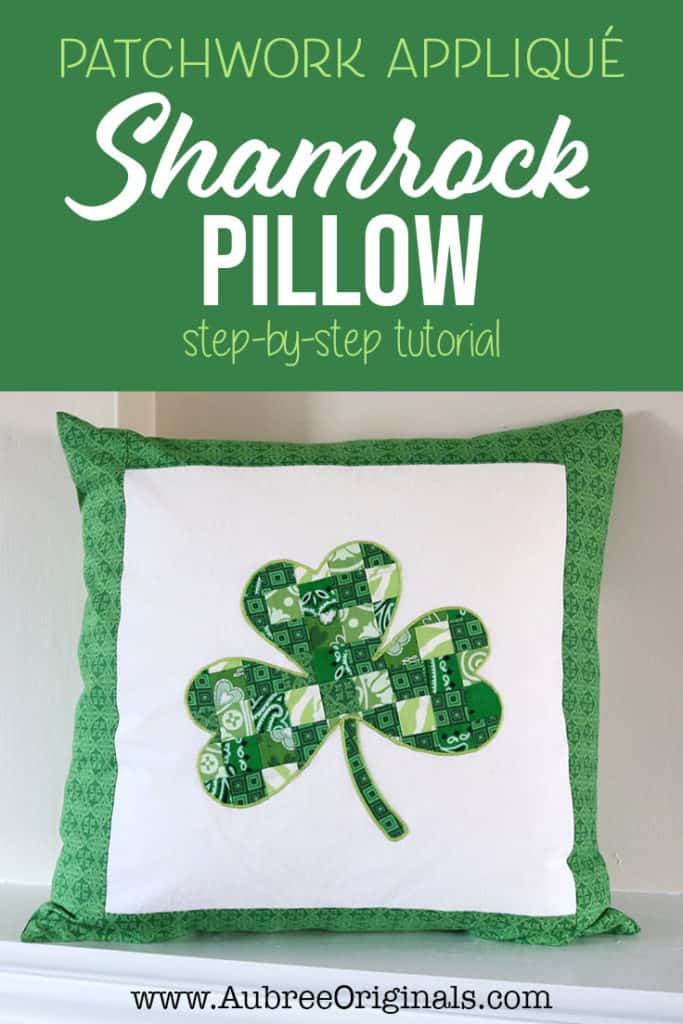
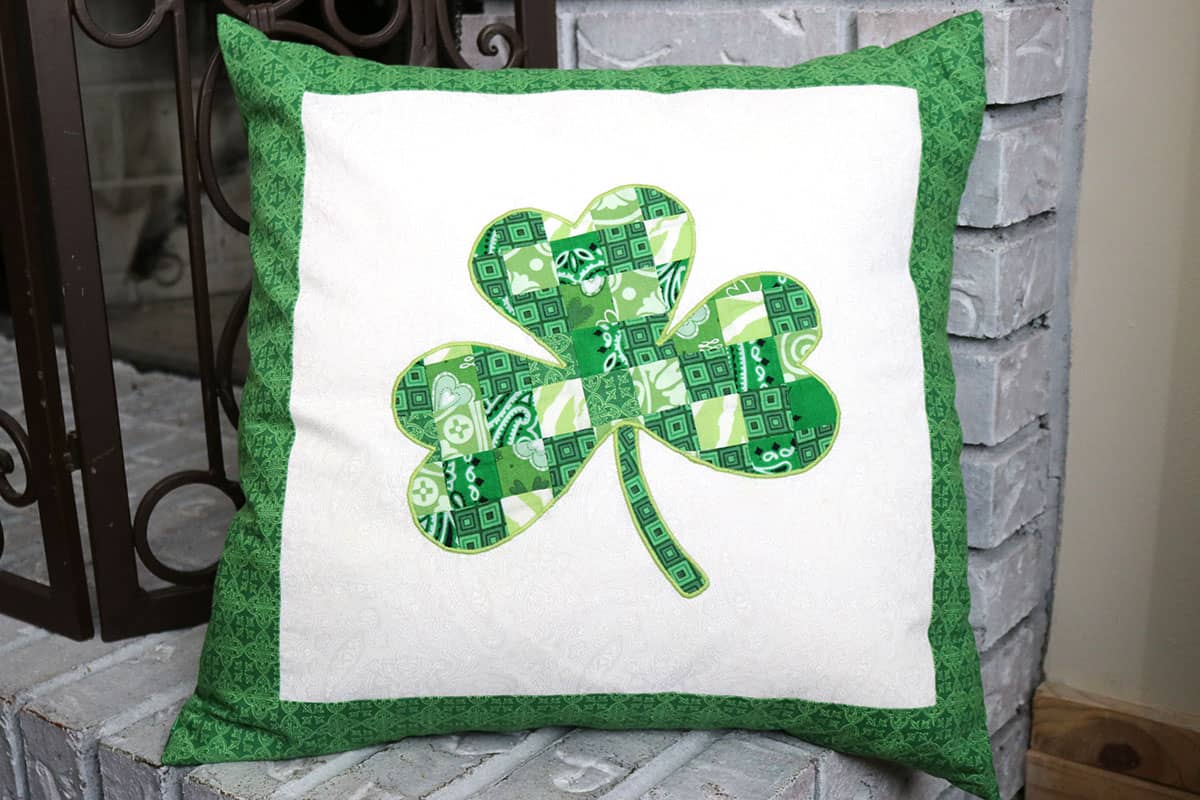
Shamrock Patchwork Appliqué Pillow for St. Patrick’s Day
Make this DIY shamrock patchwork appliqué pillow cover to spruce up your decor for St. Patrick’s Day. It’s easier than you’d think and makes a fun and festive addition to your holiday decor. Plus, it’s a great way to use up your green fabric scraps!
St. Patrick’s Day is one of those holidays that seems to come and go so quickly, without a lot of recognition. But I’ve made an honest effort this year to appreciate it by making some festive–and green–St. Patrick’s Day decorations.
One of the easiest ways to change up your holiday decor is with throw pillows. And better yet, save the pillow forms and just make some interchangeable pillow covers. And by making an easy envelope pillow cover, you could have new holiday throw pillows in under an hour!
However, for this tutorial, I decided to get a little fancier and made a patchwork shamrock that I appliquéd to the pillow cover. And I’ll be honest, it’s a little more time-consuming than some other pillows I’ve made…
But don’t let that scare you, because it’s also fairly simple to do. If you can cut and sew some squares together, you can do this.
This post contains affiliate links. For more information, see my disclosures here.
What you’ll need to make an appliquéd pillow cover
- pillow form (I used a 20″ pillow form from IKEA, but I actually prefer working with 16″ pillow forms)
- scrap fabric for the appliqué, plus enough fabric to make the envelope pillow cover (this depends on the size of your pillow form)
- cutting mat
- Omnigrid ruler
- rotary cutter
- sewing machine
- coordinating thread
- Wonder-Under Fusible Web interfacing or HeatnBond
- shamrock template (I will tell you my process for creating a template below)
- sharp sewing scissors
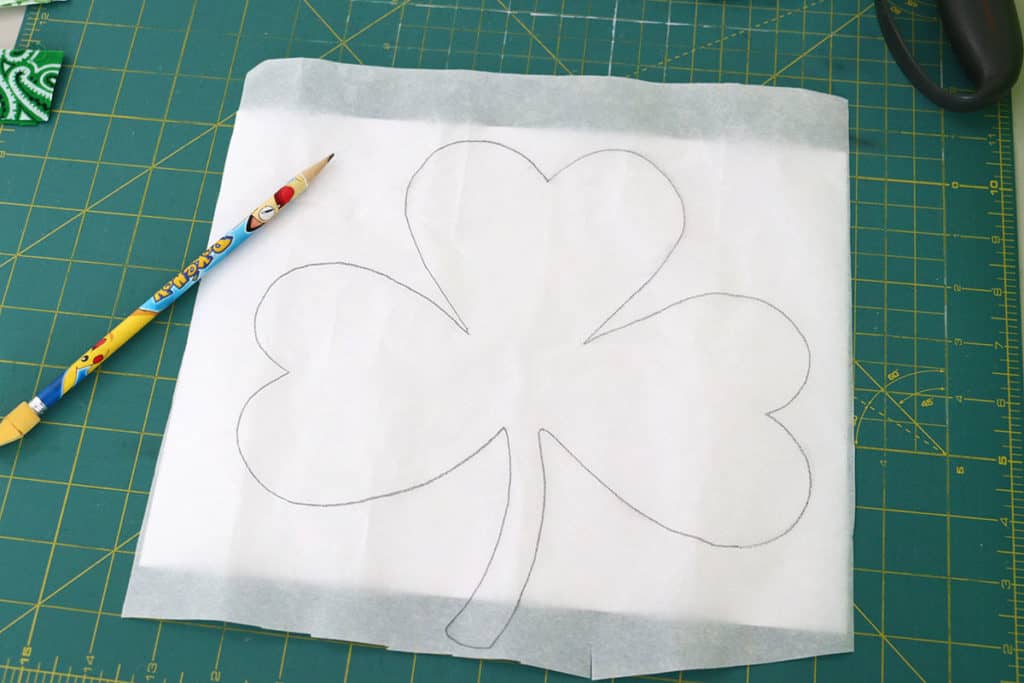
Step 1: Create a Shamrock Template
- Open up an internet browser and search for “shamrock outline.” Find the image you like the best, then copy and paste it into a new Microsoft Word document (you can also use Google Docs).
- Change the document page setup to landscape (if you’re going to be making a wider image). You can also adjust the document margins to allow for a larger image.
- Crop the image so that there’s minimal white space around the shamrock outline.
- Enlarge the image by dragging a corner until it’s the size you want (use the rulers at the top and bottom of the document to gauge size).
- And then print!
Step 2: Prepare your Shamrock Appliqué with Wonder-Under
Trace your shamrock outline onto Wonder-Under Fusible Web Interfacing. Remember, the rough side of the Wonder-Under gets ironed onto the wrong side of the fabric. So, if you’re tracing on the smooth side of the Wonder-Under (which I find easier), you’ll want to trace a reverse image.
Another way to do this is to cut out your shamrock before tracing, that way you can flip it either way and still easily see where to trace. (But…I usually skip this step to save time.)
Once you’ve finished tracing, cut out your shamrock, leaving about 1/4″ border. I find this is helpful later on when cutting out the appliqué after it’s been fused to the fabric.
Note: I decided to create a separate stem appliqué from solid fabric, so I trimmed my template at this point to only include the leaves/petals.
Step 3: Make a patchwork block
Cut squares for the patchwork block
My patchwork block is made up of 1.5″ squares sewn together. The number of squares depends on the size of your shamrock template. My shamrock measures 9.5″ wide and I ended up needing a 9 x 7 grid of squares (due to seam allowances, you’ll need a lot more squares than you think).
Holy cow, did I really cut out 63 squares? Yes, yes I did. Either it’ll be therapeutic for you or you’ll want to pull your hair out.
This is why I highly recommend investing in a cutting mat, ruler, and a rotary cutter.
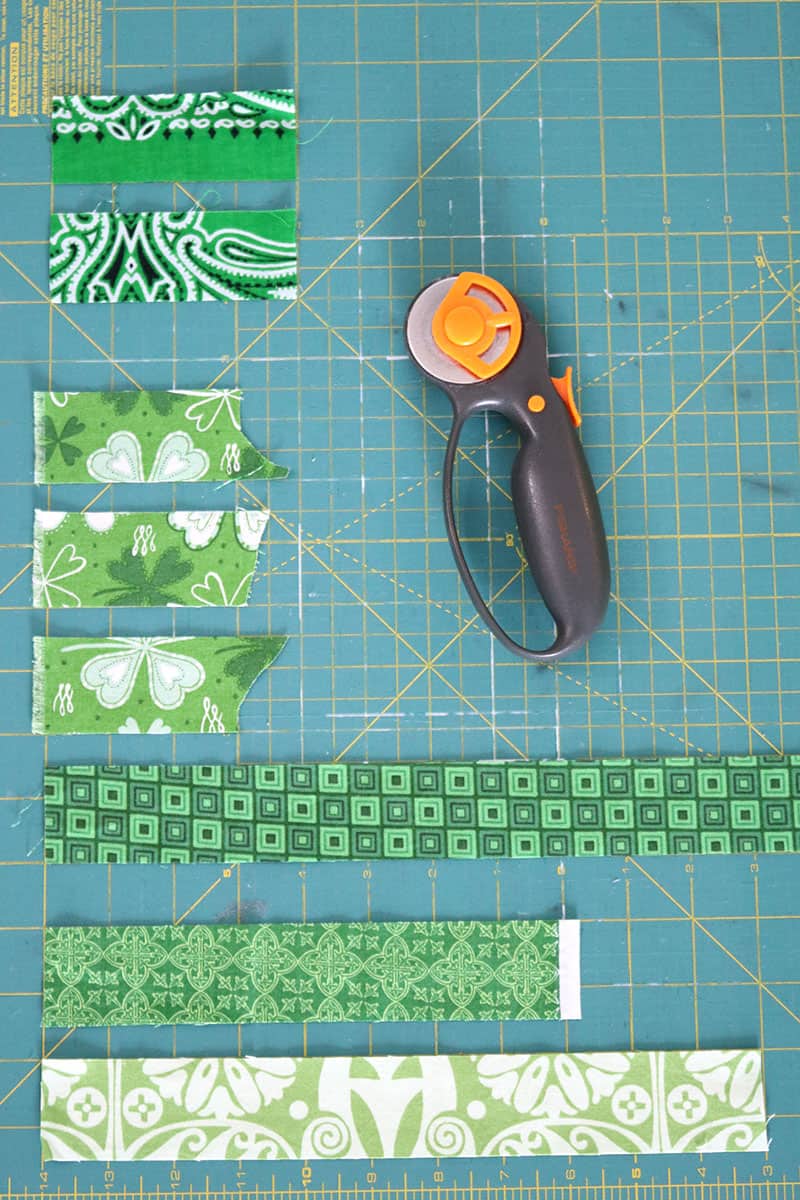
To cut your squares even faster, first cut a bunch of 1.5″ strips. Then line them up, lay your ruler on top of all of them, and cut them down to squares.
Tip: If you want to save time and still get a patchwork look, make your squares bigger and you won’t need as many!
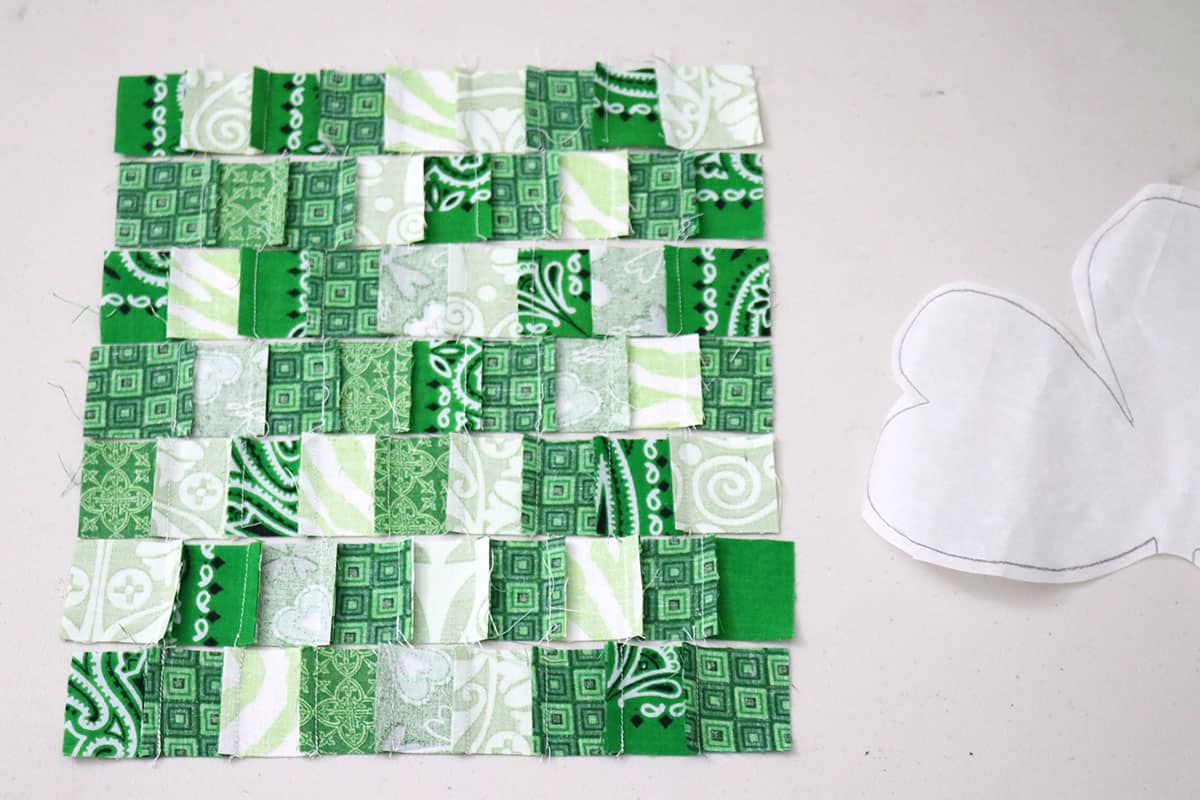
Lay out your block and determine how many more squares you need
Once you’ve cut a good amount of squares, begin laying out your block, arranging the squares in the pattern you want.
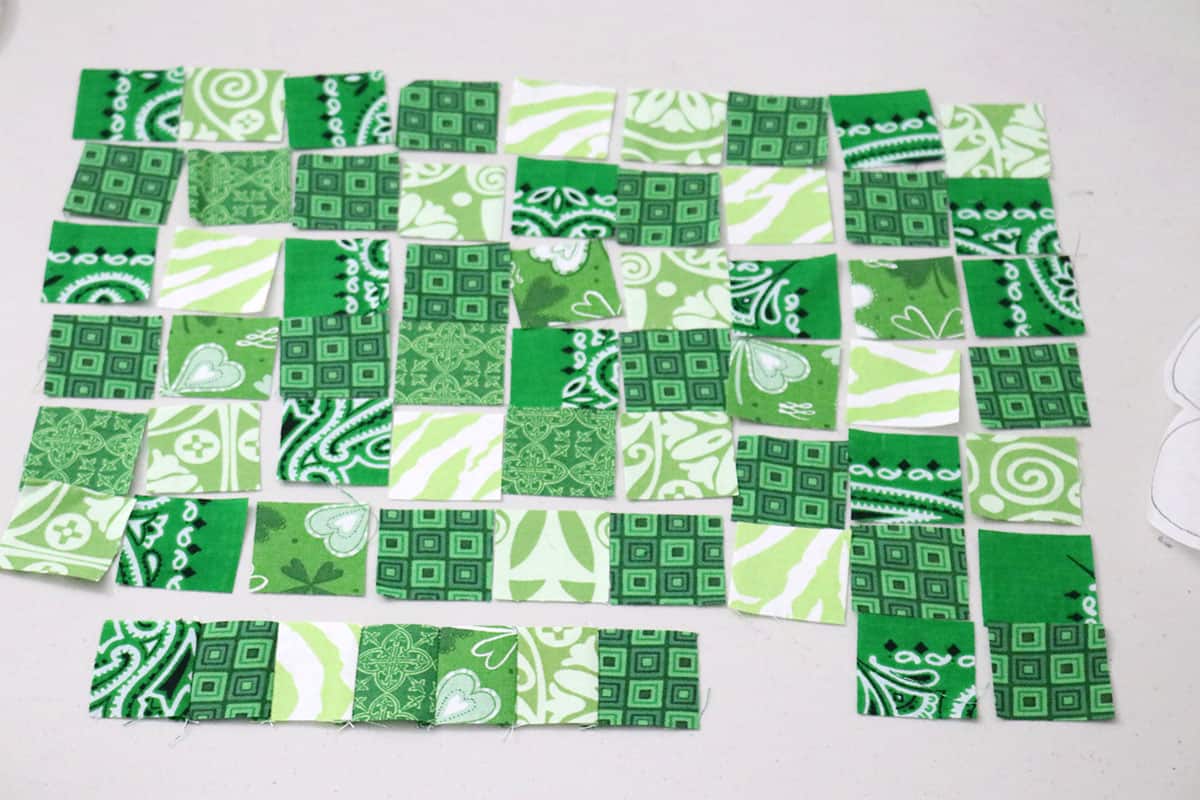
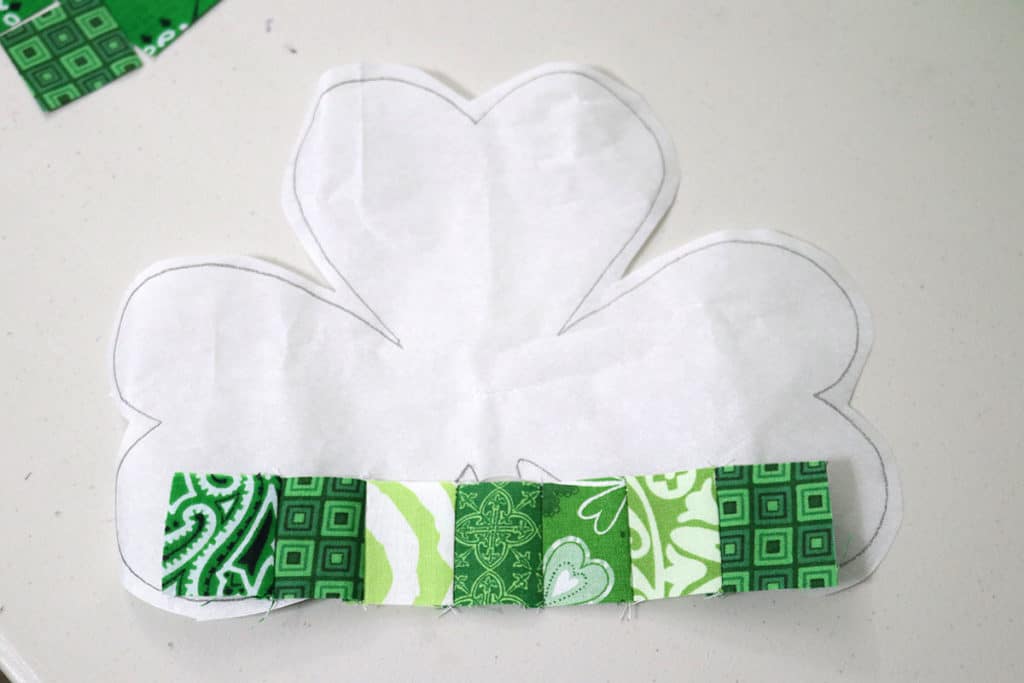
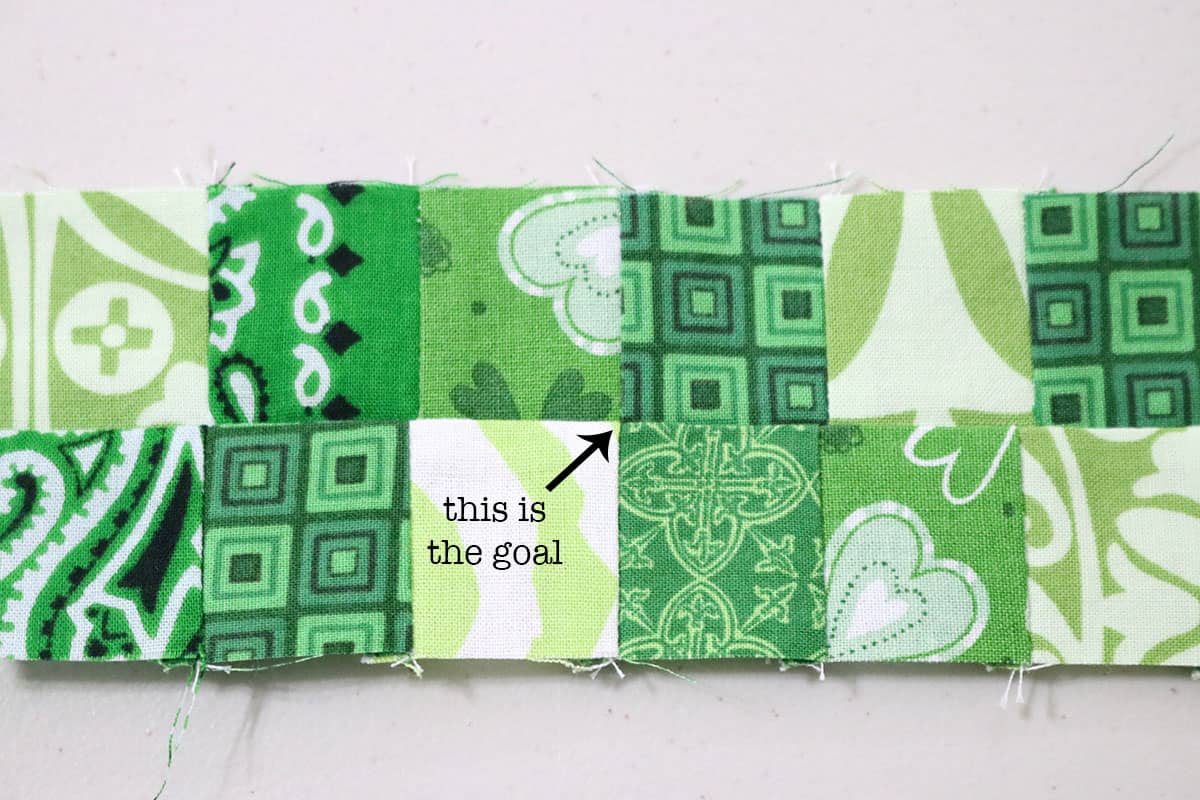
In the picture above, you can see that I’ve begun sewing the bottom row of squares. And then I realized how much they shrink with seam allowances.
So I took that sewn strip and laid it across my shamrock template (now cut out of Wonder-Under) to determine how many squares tall and wide the patchwork block needed to be.
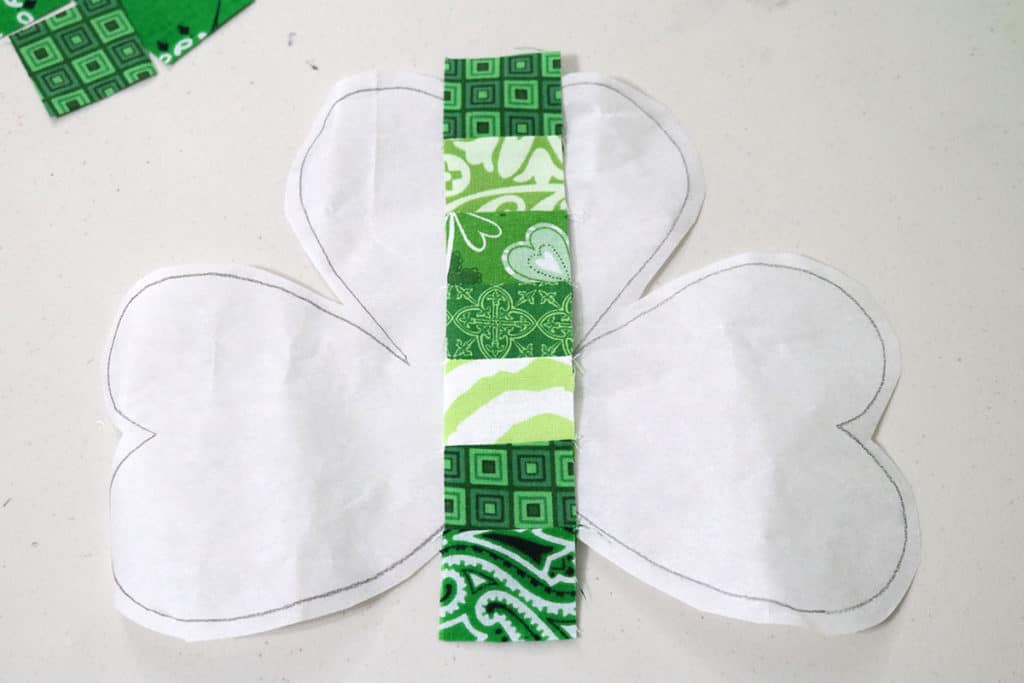
I feel like this is the easiest way to determine how many squares you need. And then, if you underestimated like I did, go cut a whole bunch more!
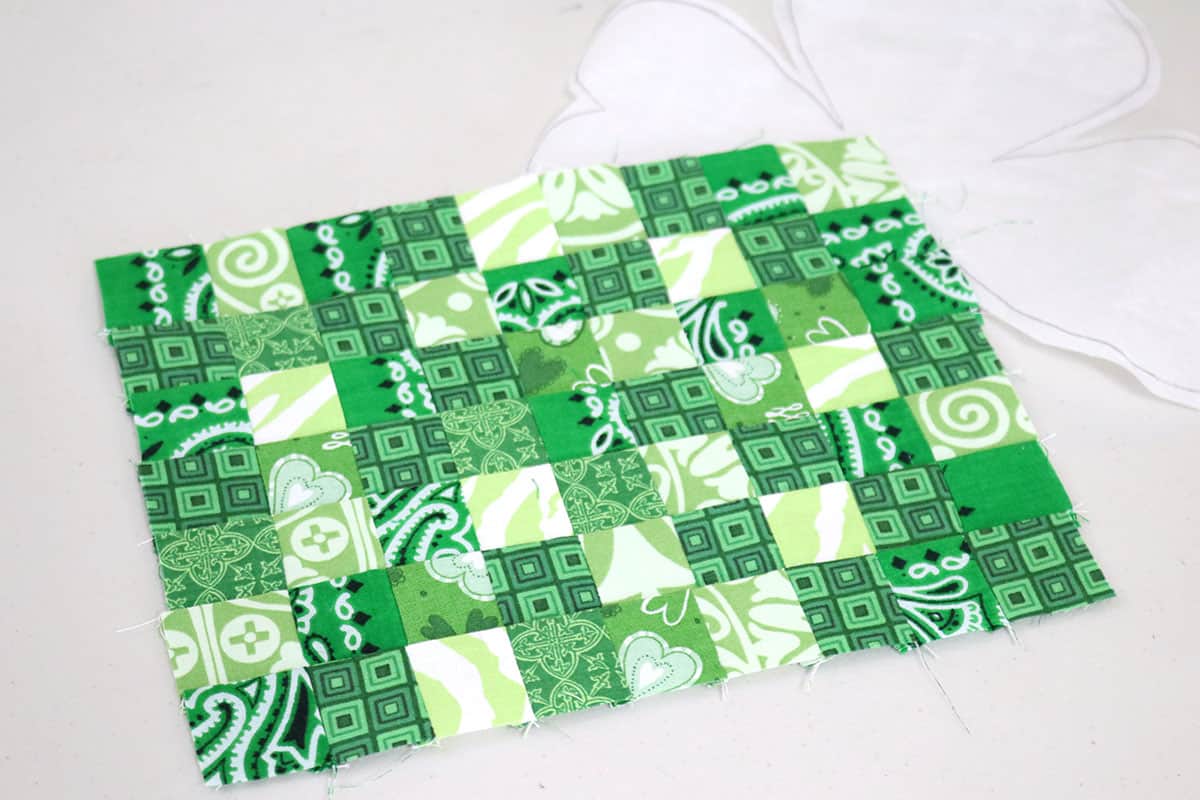
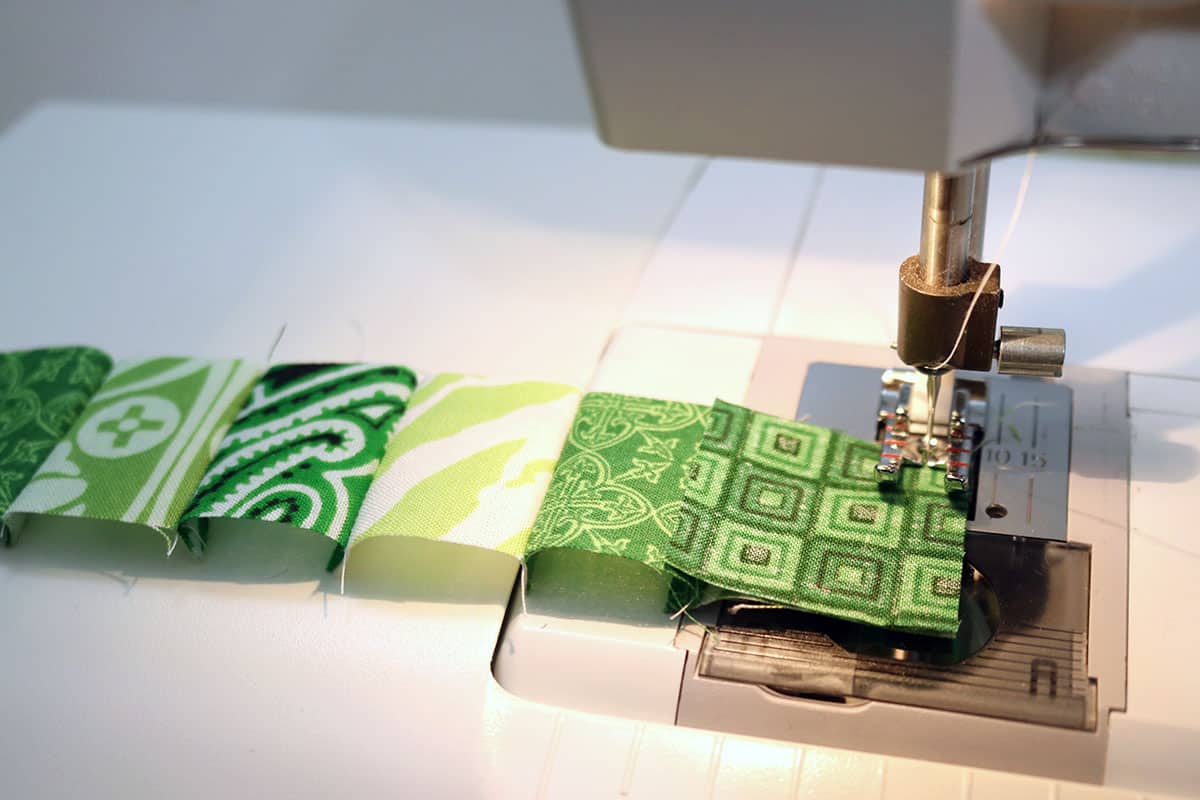
Sew the squares together
First, sew the squares by rows. Once one row is sewn together, lay it back down where you had it so you keep track of its position within the block.
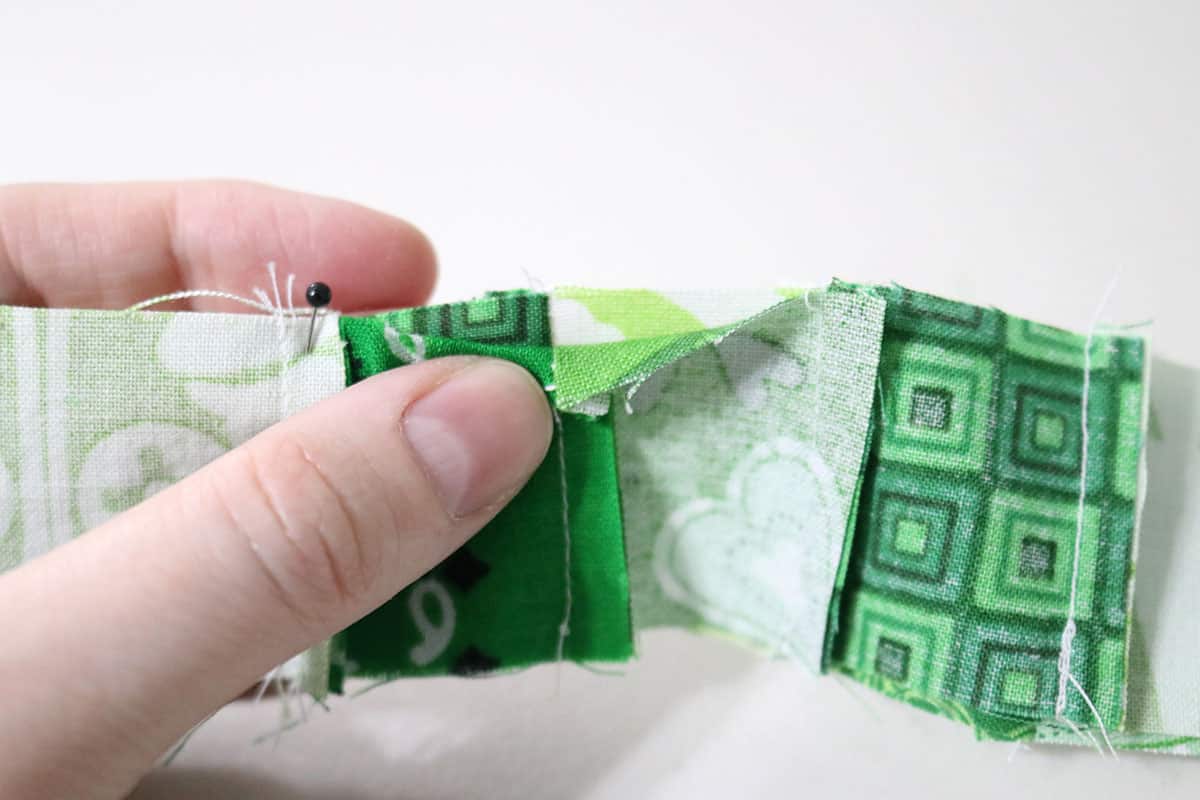
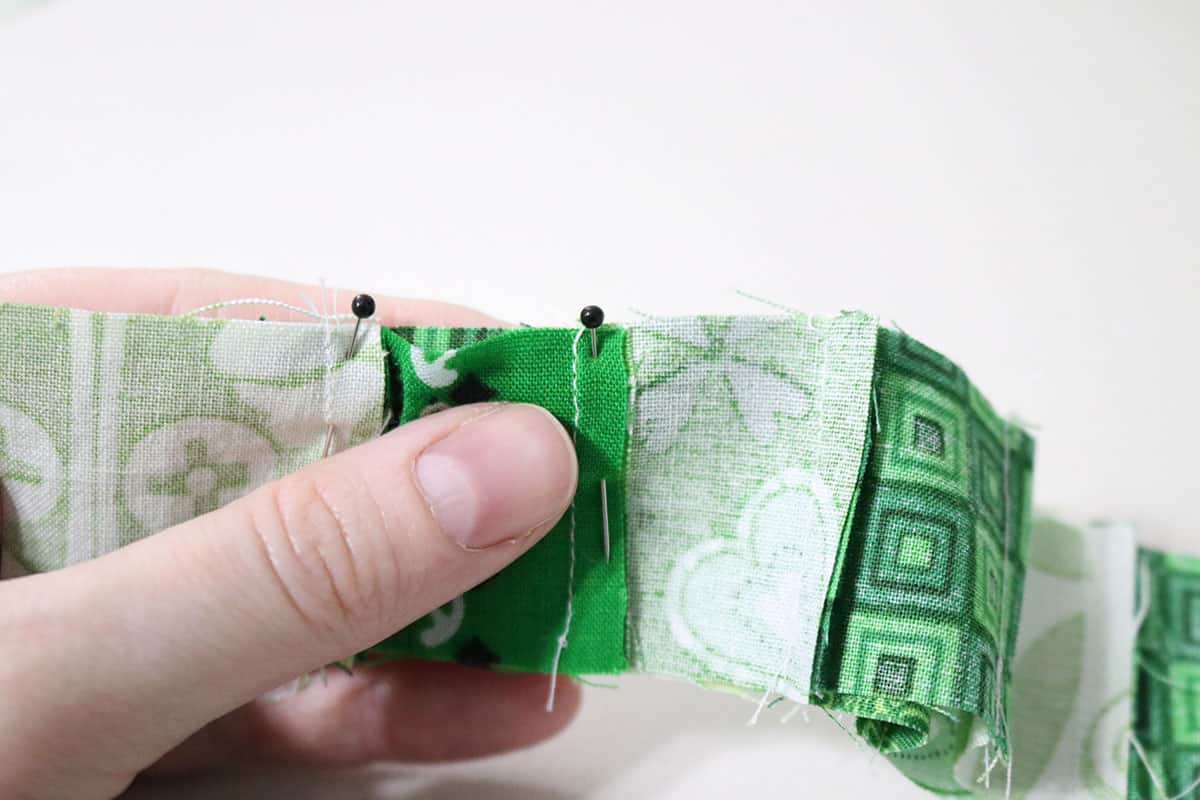
After each row is sewn (or you can wait ’til all of them are sewn), press the seams so each row goes an alternating direction. This will help later when you piece the rows together.
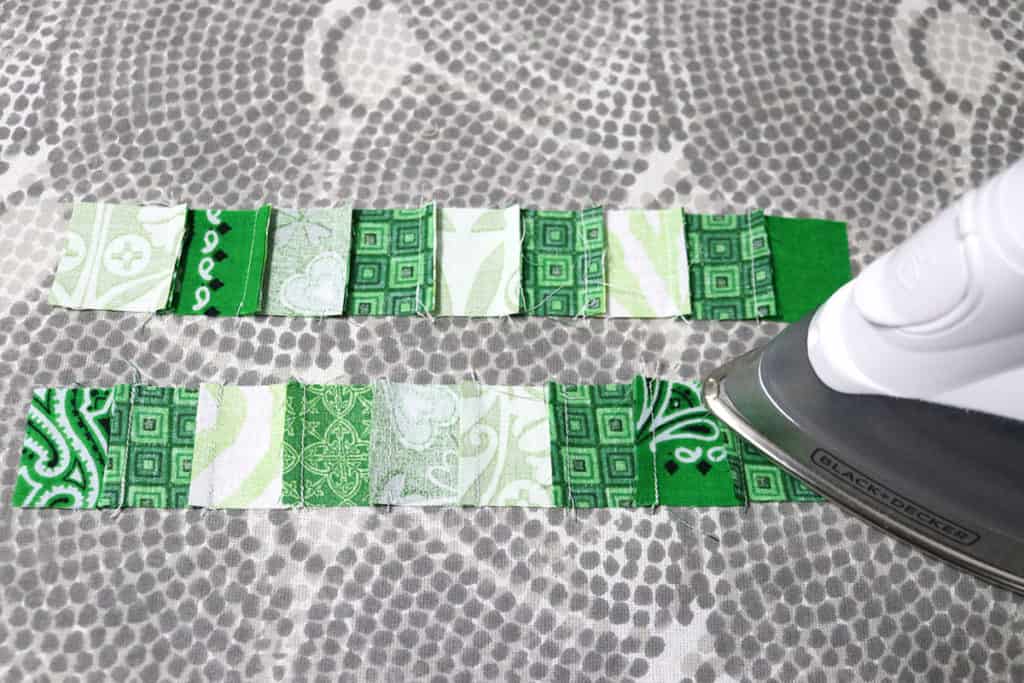
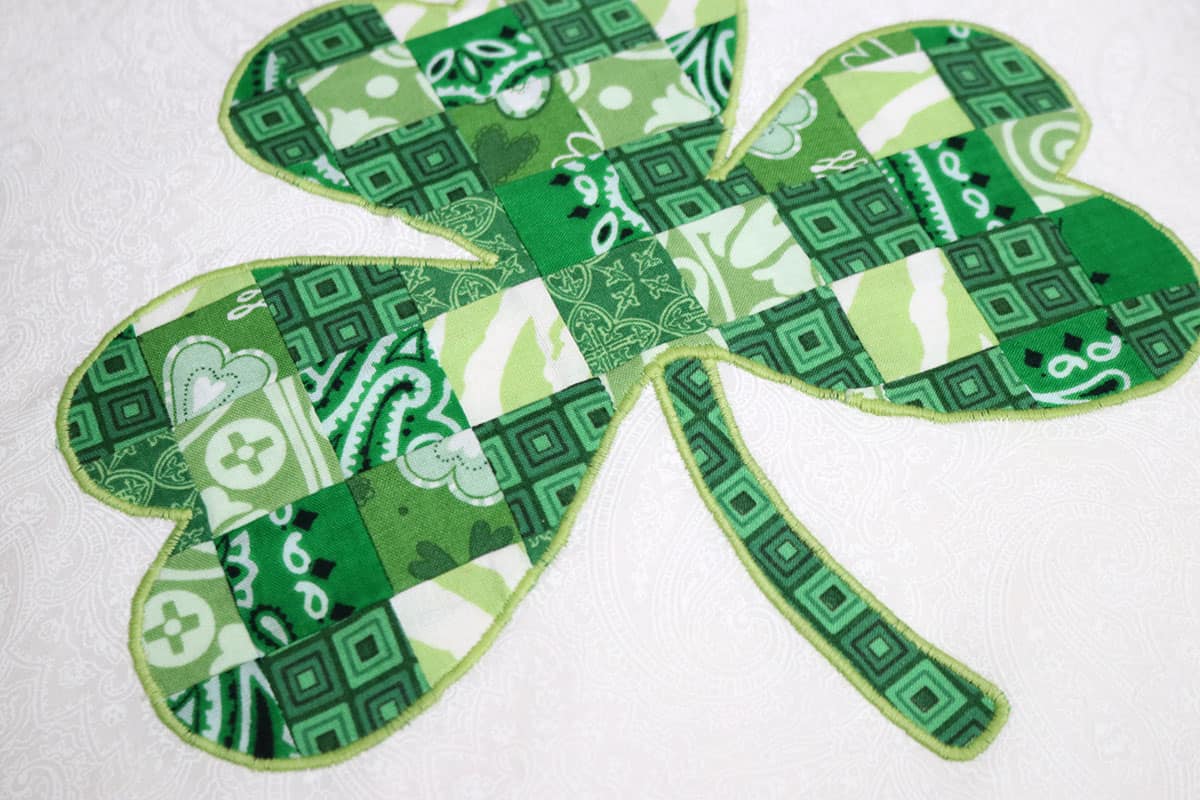
Next, sew the rows together. You want to match up seams as closely as possible so you get perfect intersections.
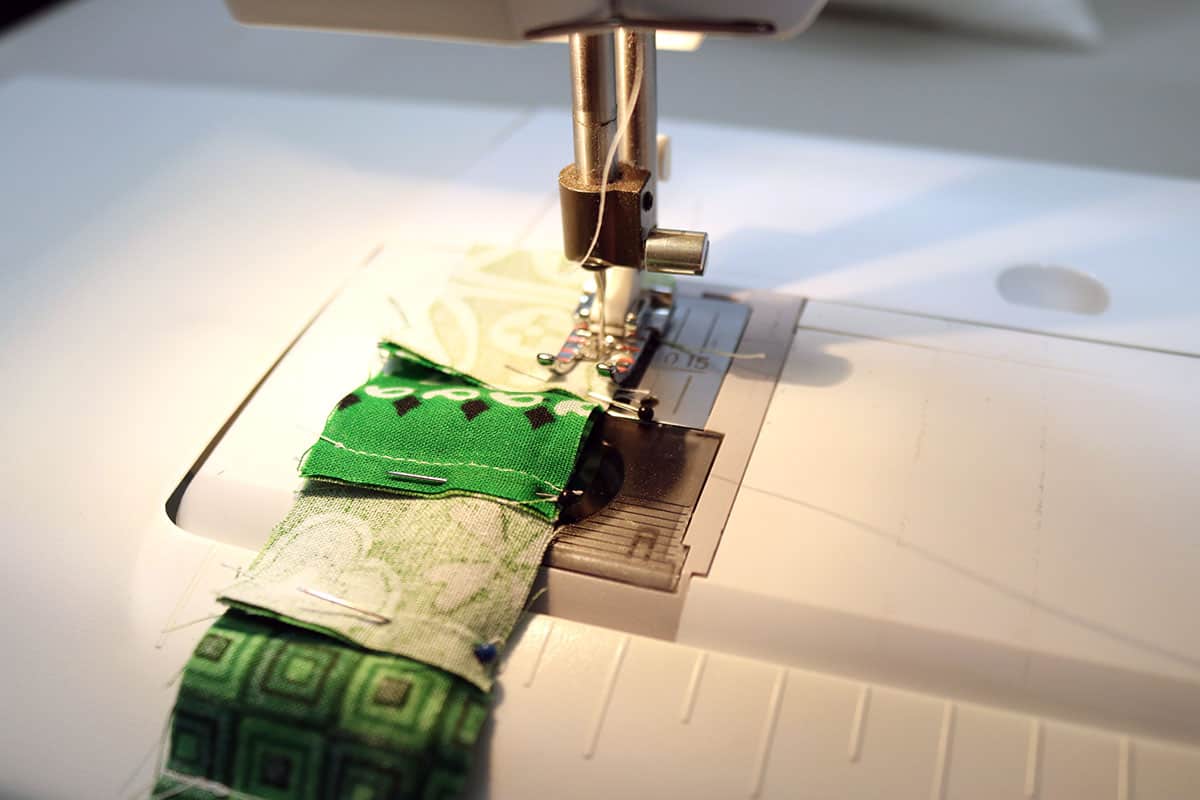
It’s so satisfying when you’ve finished piecing the patchwork block. I think it took me about an hour to sew and press it. So…you’ll either love the process or hate it. But you can do it! It’ll be worth it in the end!
Step 4: Create the appliqué
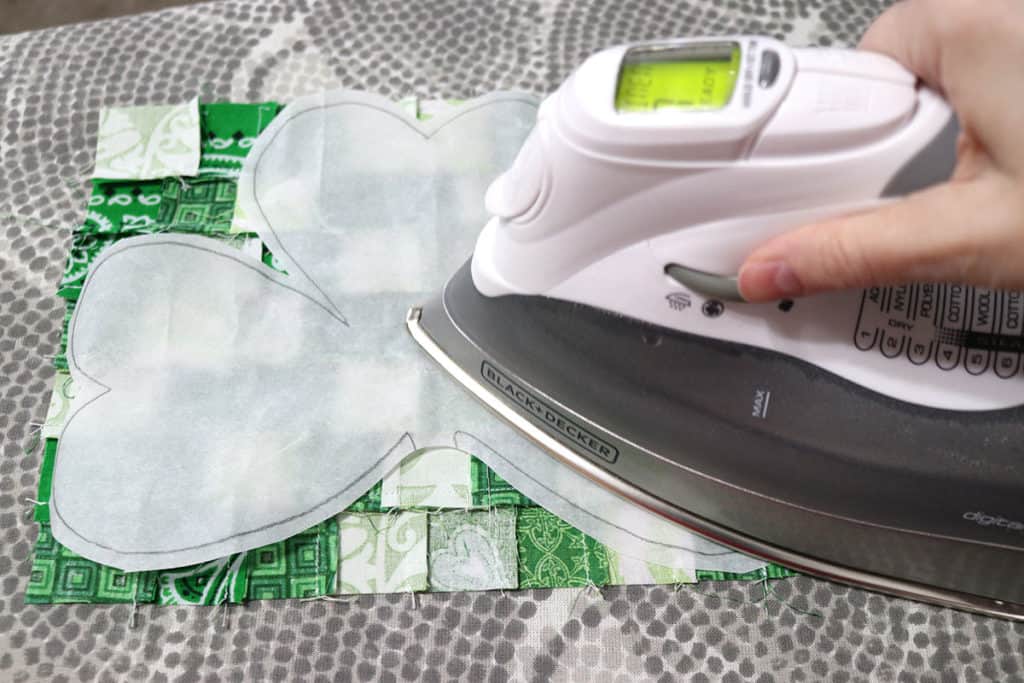
Press your Wonder-Under shamrock to the wrong side of your patchwork block, according to the Wonder-Under instructions (basically, use a lot of steam and press until it’s fully adhered).
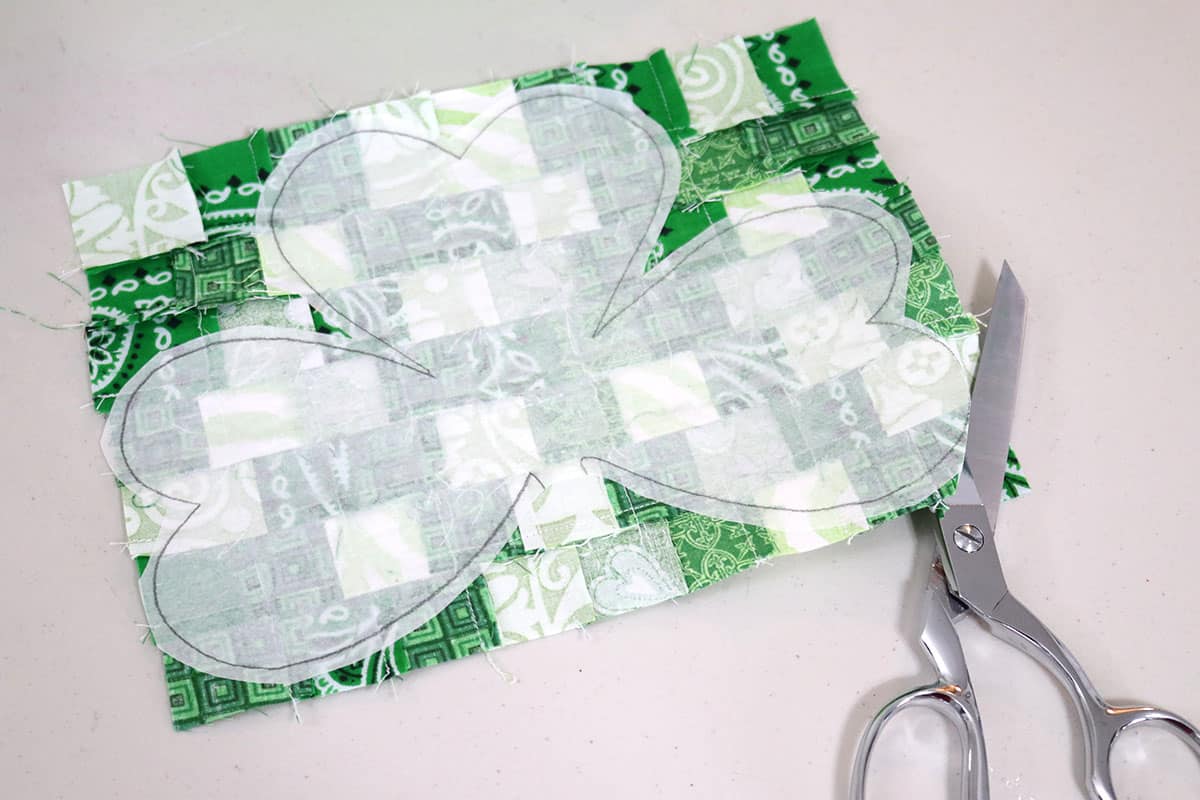
Cut out your shamrock, following the traced lines.
Note: this is the only time I cut “paper” with my sewing scissors! If you’re 100% opposed to that, I’d recommend cutting your image beforehand without leaving a border.
But I personally find that my method saves time (I only have to cut my image exactly on the lines once) and cutting the Wonder-Under and fused fabric at the same time seems to be cleaner and easier.
Step 5: Make a shamrock stem appliqué
Trace your original shamrock template onto Wonder-Under to create a stem appliqué. (My image actually cut off the stem, so I just kind of free-handed it with what I had.)
Follow the steps above to fuse the stem to a piece of fabric.
Step 6: Fuse the appliqués (shamrock and stem) to your background fabric
Carefully remove the paper backing from your appliqué pieces. (If the adhesive is acting spider-webby and isn’t staying on your fabric, you may need to iron again with more steam. This is why some people have recommended HeatnBond, though I have never personally used it.)
Lay your appliqué on your background fabric where you want it.
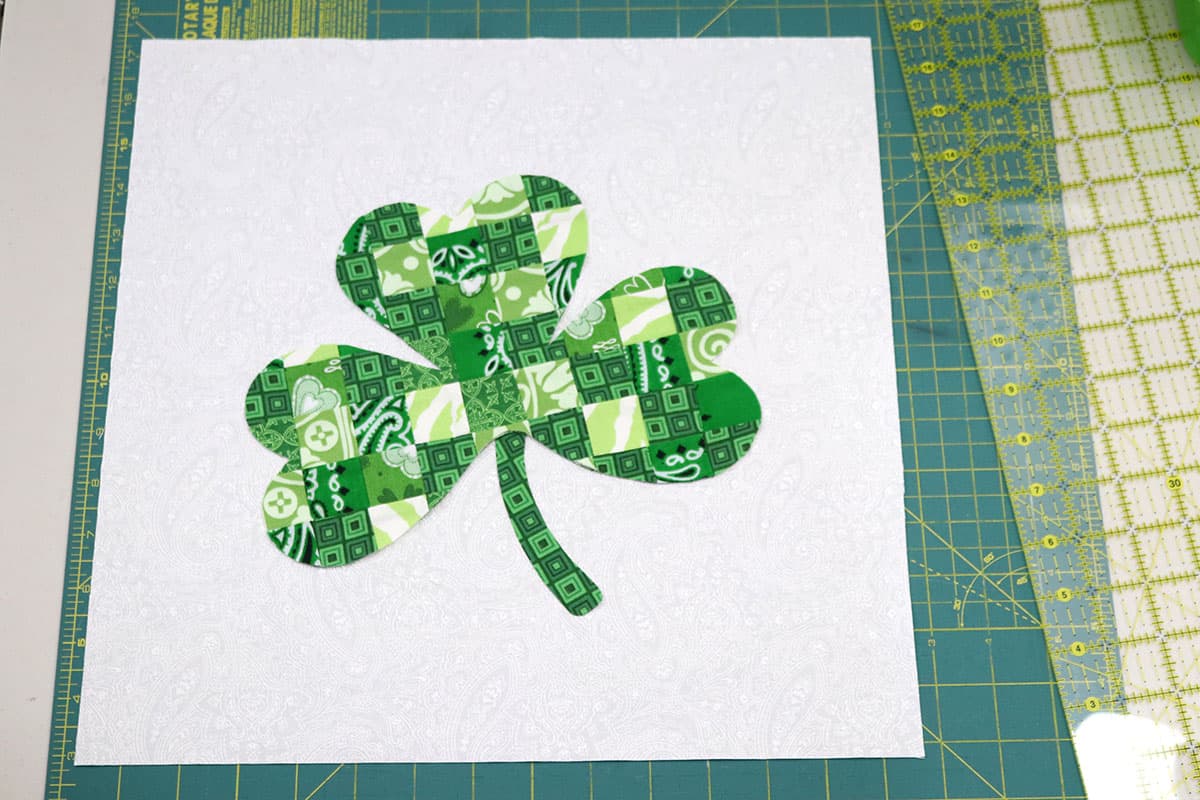
Follow Wonder-Under instructions to fuse to the background fabric (basically, use a wet cloth so that enough steam is generated to fuse the fabric and press until the cloth is mostly or all the way dry). Gently check the appliqué edges to ensure that the fabric is completely fused.
Step 7: Finish the edges of your appliqué
There are a number of ways you can do this, but I find that a machine embroidery stitch is the most durable finish. But you could also use a blanket stitch or straight stitch, and you could even finish the edges by hand if you prefer.
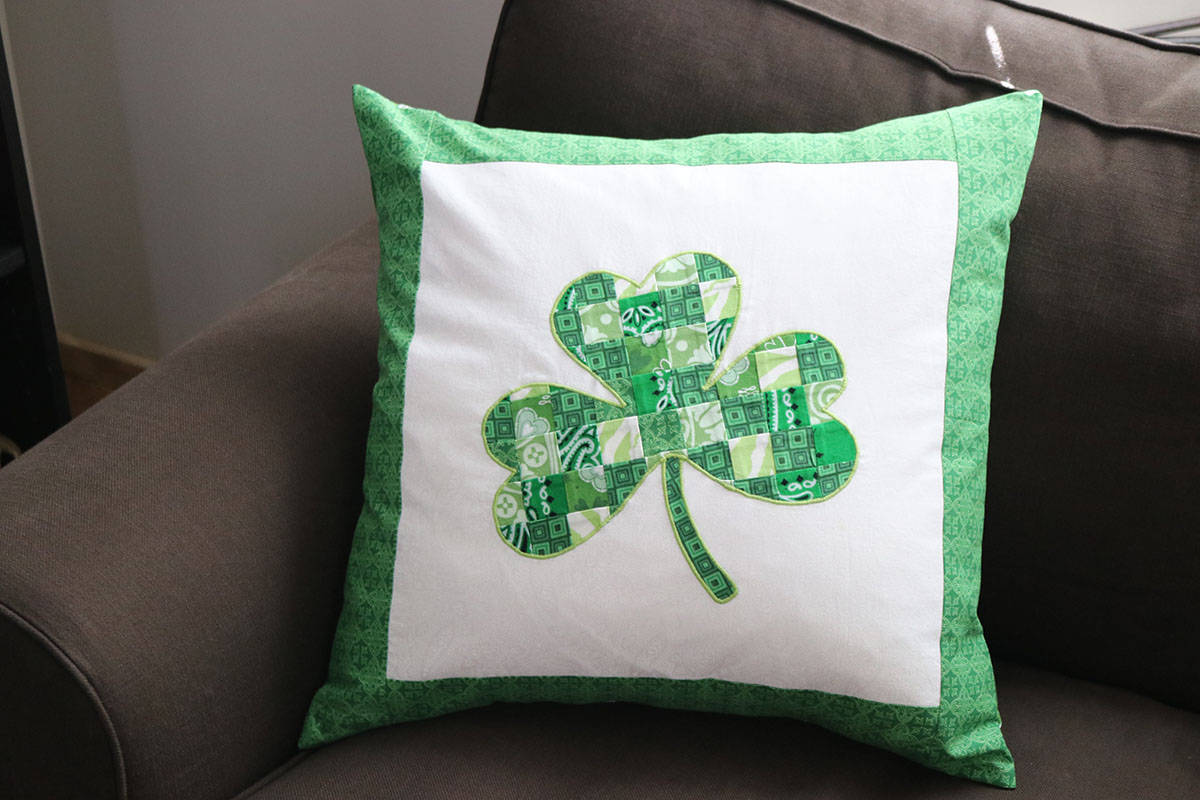
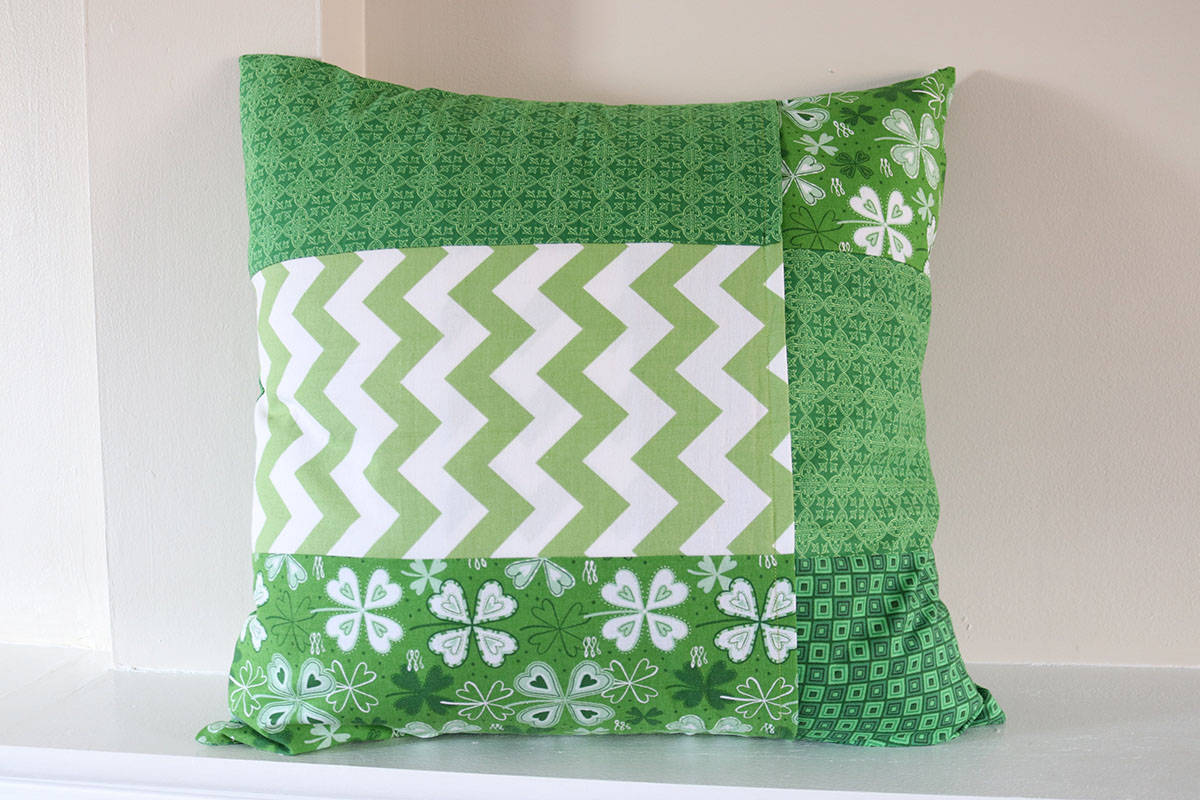
Step 8: Finish your pillow cover with an envelope closure
Follow my tutorial for an envelope pillow closure to finish your pillow. I was thrifty and used more scrap fabric for the back, and I love how it turned out!
Enjoy your new St. Patty’s Day decor!
Your friends will be so impressed that you actually made this. And it’s the perfect addition to your St. Patrick’s Day decor!
Did you try this tutorial? Let me know how it goes! Leave any questions or comments below!
And don’t forget to pin and save for later!