How to Make Toy Bin Labels With Cricut
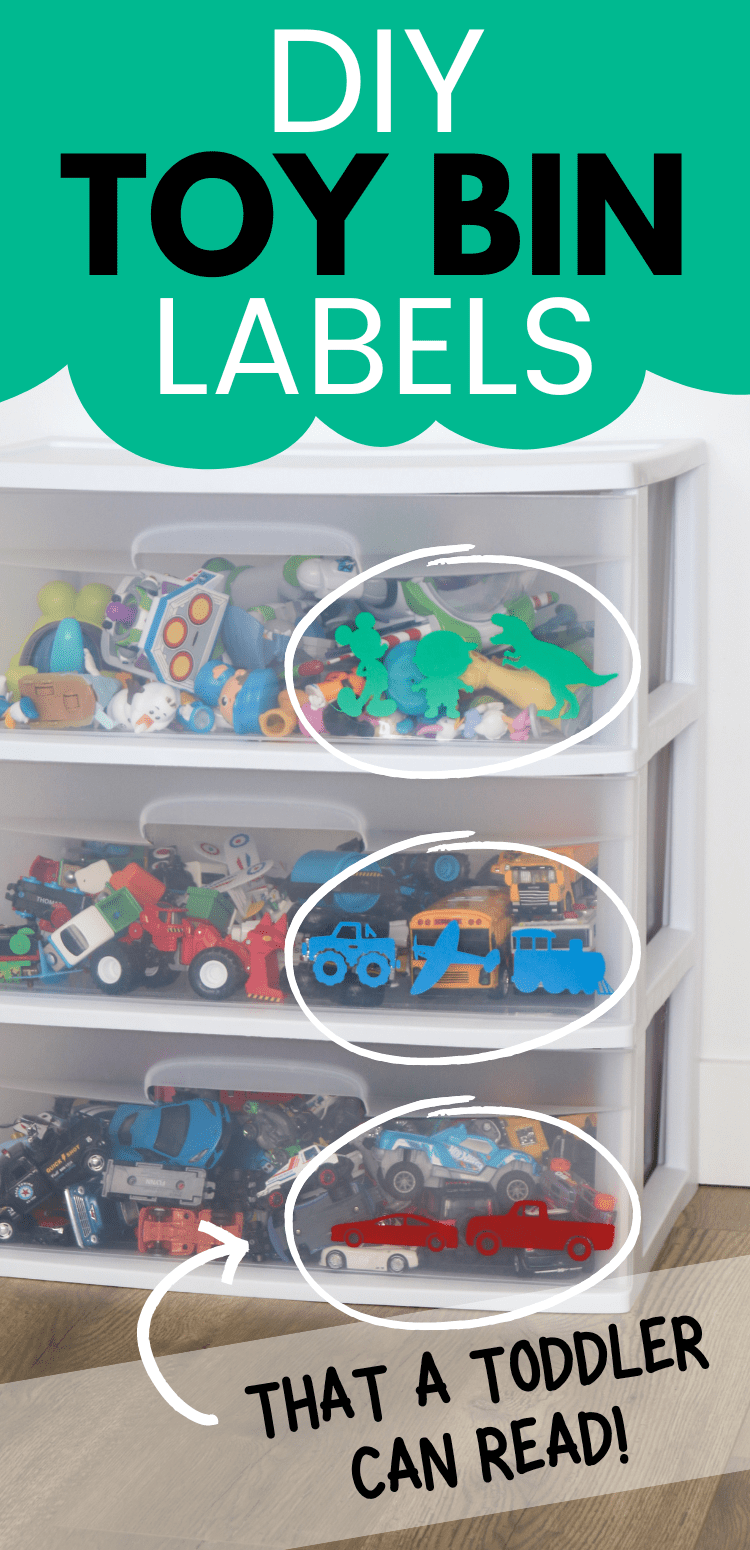
These vinyl labels are perfect for organizing your toy storage! The cute symbols help small children (who can’t read yet) clean up their toys and keep the playroom organized. Learn how to make them with your Cricut!
My toddler son is surprisingly great at cleaning up his toys. I guess I instilled organization in him from really young, because he loves to put things away where they go (he even straightens the cracker boxes in the pantry…okay, I admit that level of OCD is probably my fault 😆).
We had a large chest toy bin that held ALL my son’s cars, but then he was always asking us where the “red vroom” or the “boo truck” was because they were all the way at the bottom of the chest. So we did some re-organizing and I made these vinyl labels for him so he would know where to look for his toys (and where to put them away). Because he doesn’t read yet, these toy symbol decals are perfect for him!
This post contains affiliate links. For more information, see my disclosures here.
What you need to make toy bin vinyl labels
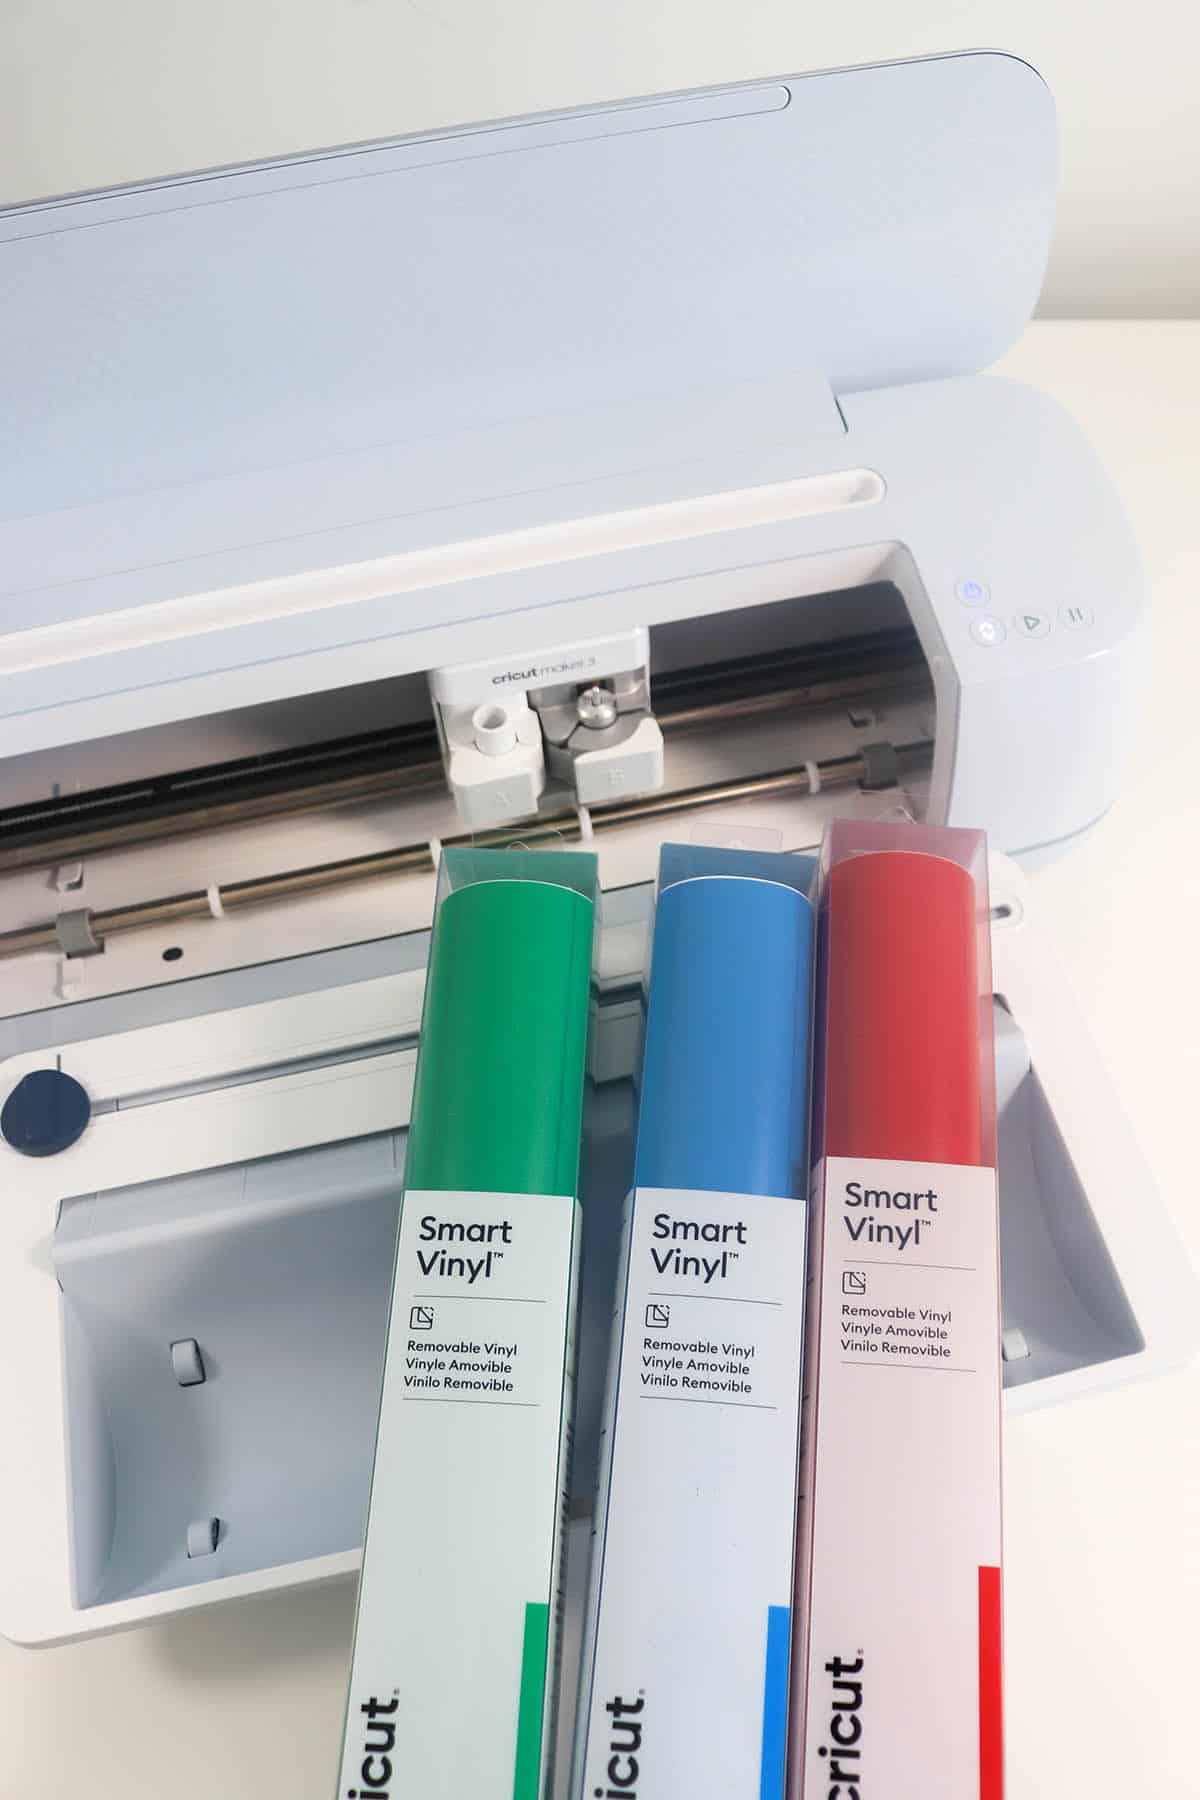
- Cricut machine: I love my original Cricut Maker the most, but I used my Cricut Maker 3 for this project so I could use smart vinyl without needing a mat (it just saves time, which is awesome when you’re trying to complete a project during nap time 😉)
- removable vinyl: I’d definitely recommend removable in case you need to change the labels in the future (which, as kids grow and their toys change, there’s a good chance you’ll be repurposing the bins at some point)
- transfer tape
- Cricut Access subscription: read my post all about Cricut Access to decide if this is something you need
- toy bins in need of organizing: I’m using a 3-drawer Sterilite bin from Walmart
- cutting mat, scissors, weeding tools, scraper tool, alcohol prep pads
Save $10 on any Cricut machine or heat press with the coupon code AUBREE-10
How to make labels for toy storage
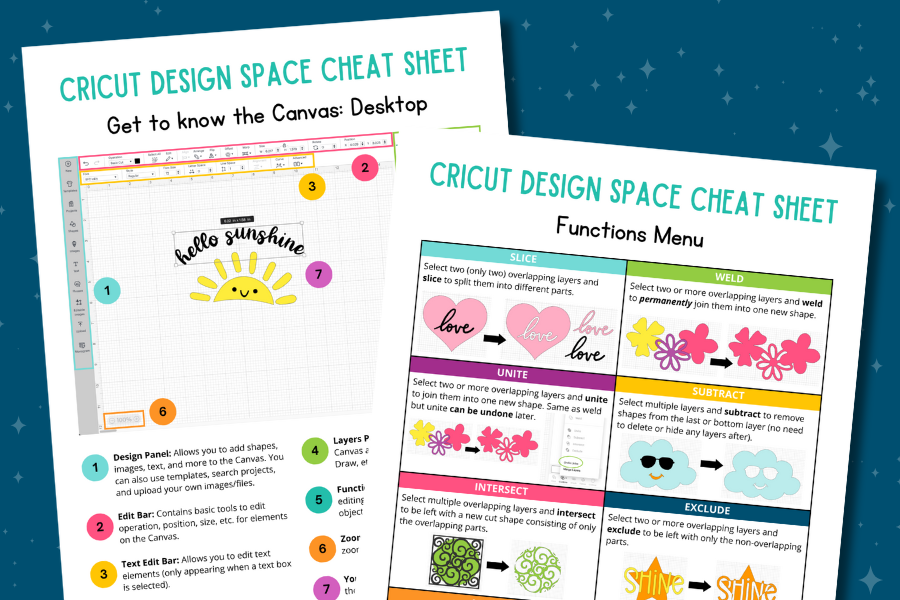
Select images in Design Space
Choose images in Cricut Design Space to fit the toys you are organizing—there’s an image for just about everything in the image library and they’re all free to use if you have a Cricut Access subscription (aside from licensed images which require a separate purchase)!
If you want to use the exact images I used, you can check out my project in Design Space. This is what I used for each drawer:
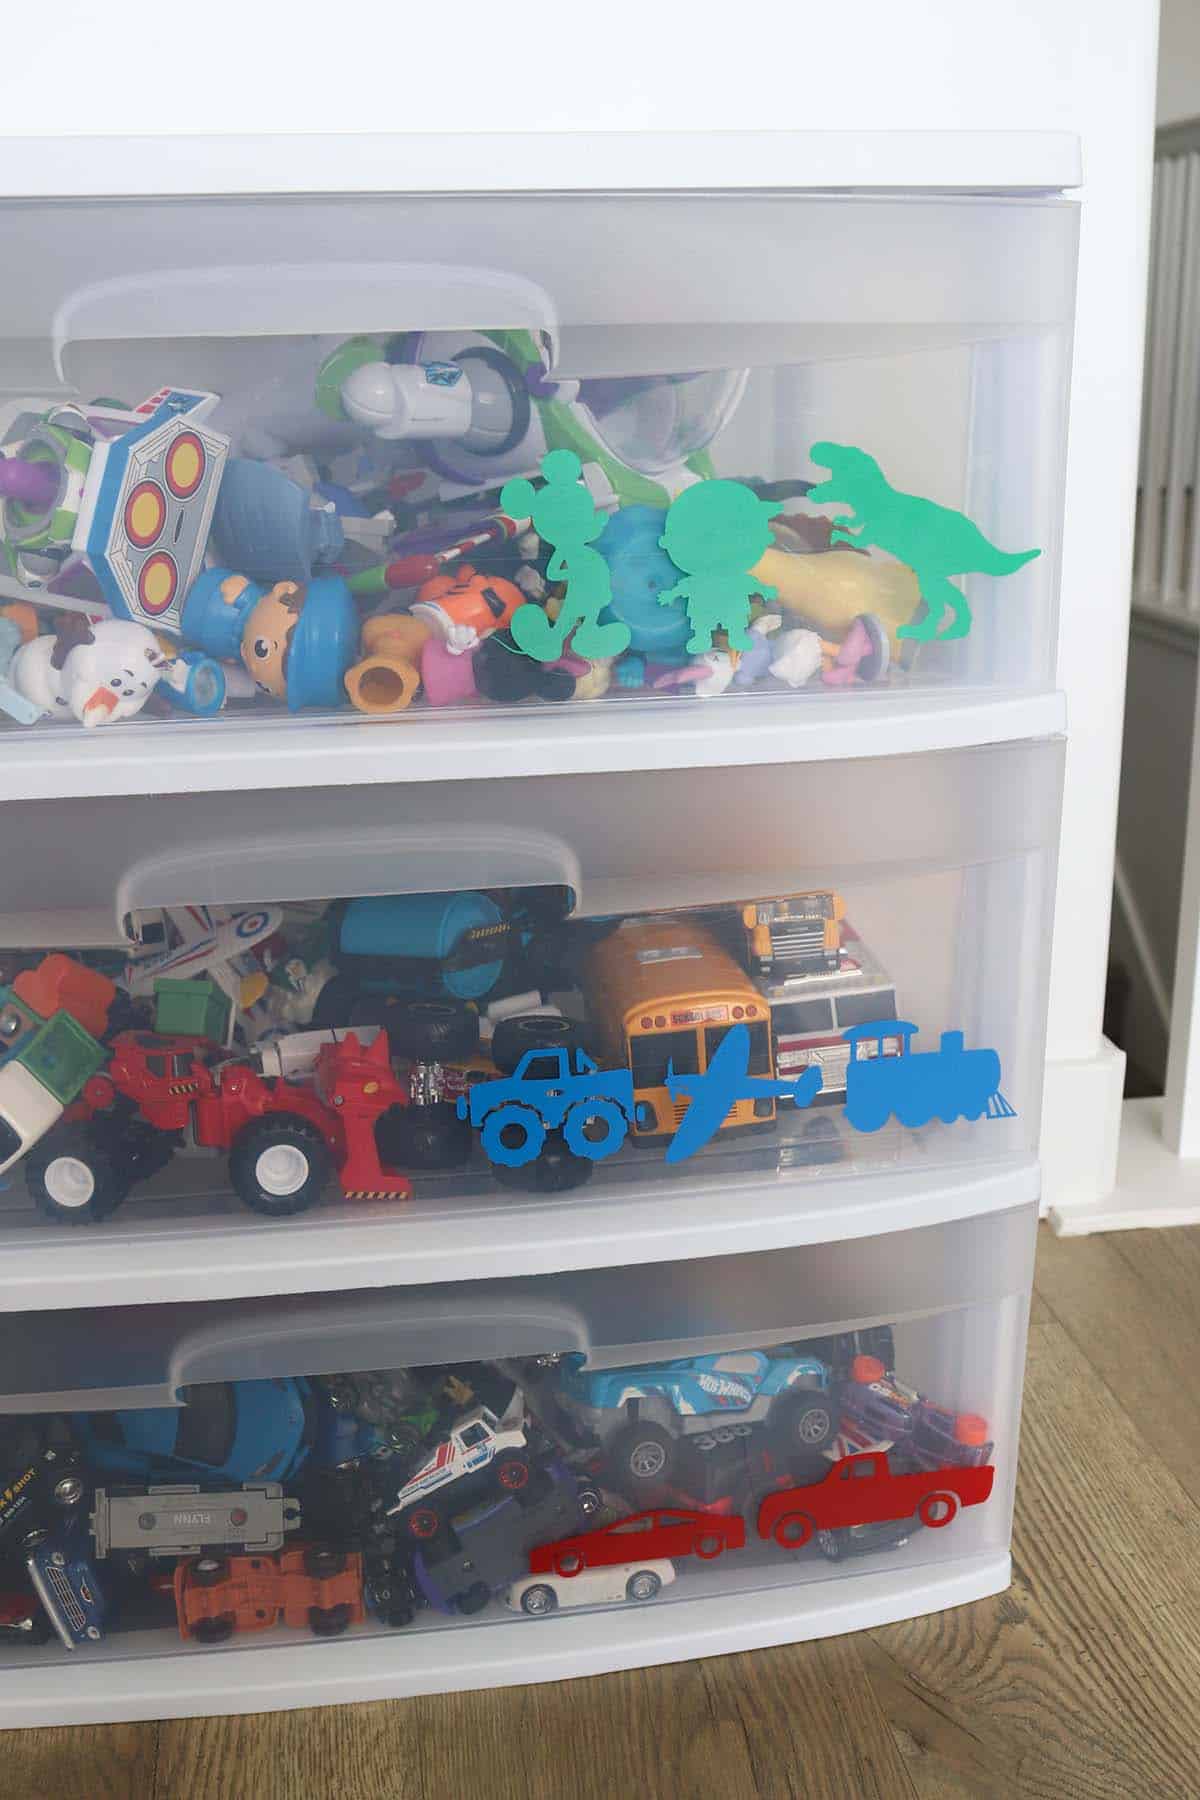
- Drawer 1: Mickey Mouse (the only licensed/purchased one) for his Mickey figurines, a toddler boy image for his Little People toys and similar, and a dinosaur
- Drawer 2: monster truck, plane, and train
- Drawer 3: car and truck (my son is basically a diecast car collection curator)
When you’re choosing images for something like this, keep in mind that the finished decal will probably be fairly small so avoid anything overly detailed. To achieve the silhouette look for certain images, either hide all the layers except the bottom solid layer (toggle the eyes in the layers panel) or use the contour tool to “fill in” details.
Resize and recolor images
Once you’ve selected your images, add them to the canvas. Resize them to fit your toy bins and recolor them based on the colors of vinyl you’ll be using. I chose green, blue, and red removable smart vinyl because that’s what I had on hand. I did consider whether all black or all white would’ve been better/easier to see…but the colors turned out pretty fun and my son likes them.
Attach images to cut together (optional)
If you want your images to cut all together in a row like mine, attach them before going to cut. This keeps their position on the mat so you can weed around them and apply transfer tape to multiple images in a row. Then, when you transfer them you won’t be guessing if they’re straight or spaced evenly because you already did that in Design Space!
(If you’re using my project, you can also detach the images if you want them to cut separately.)
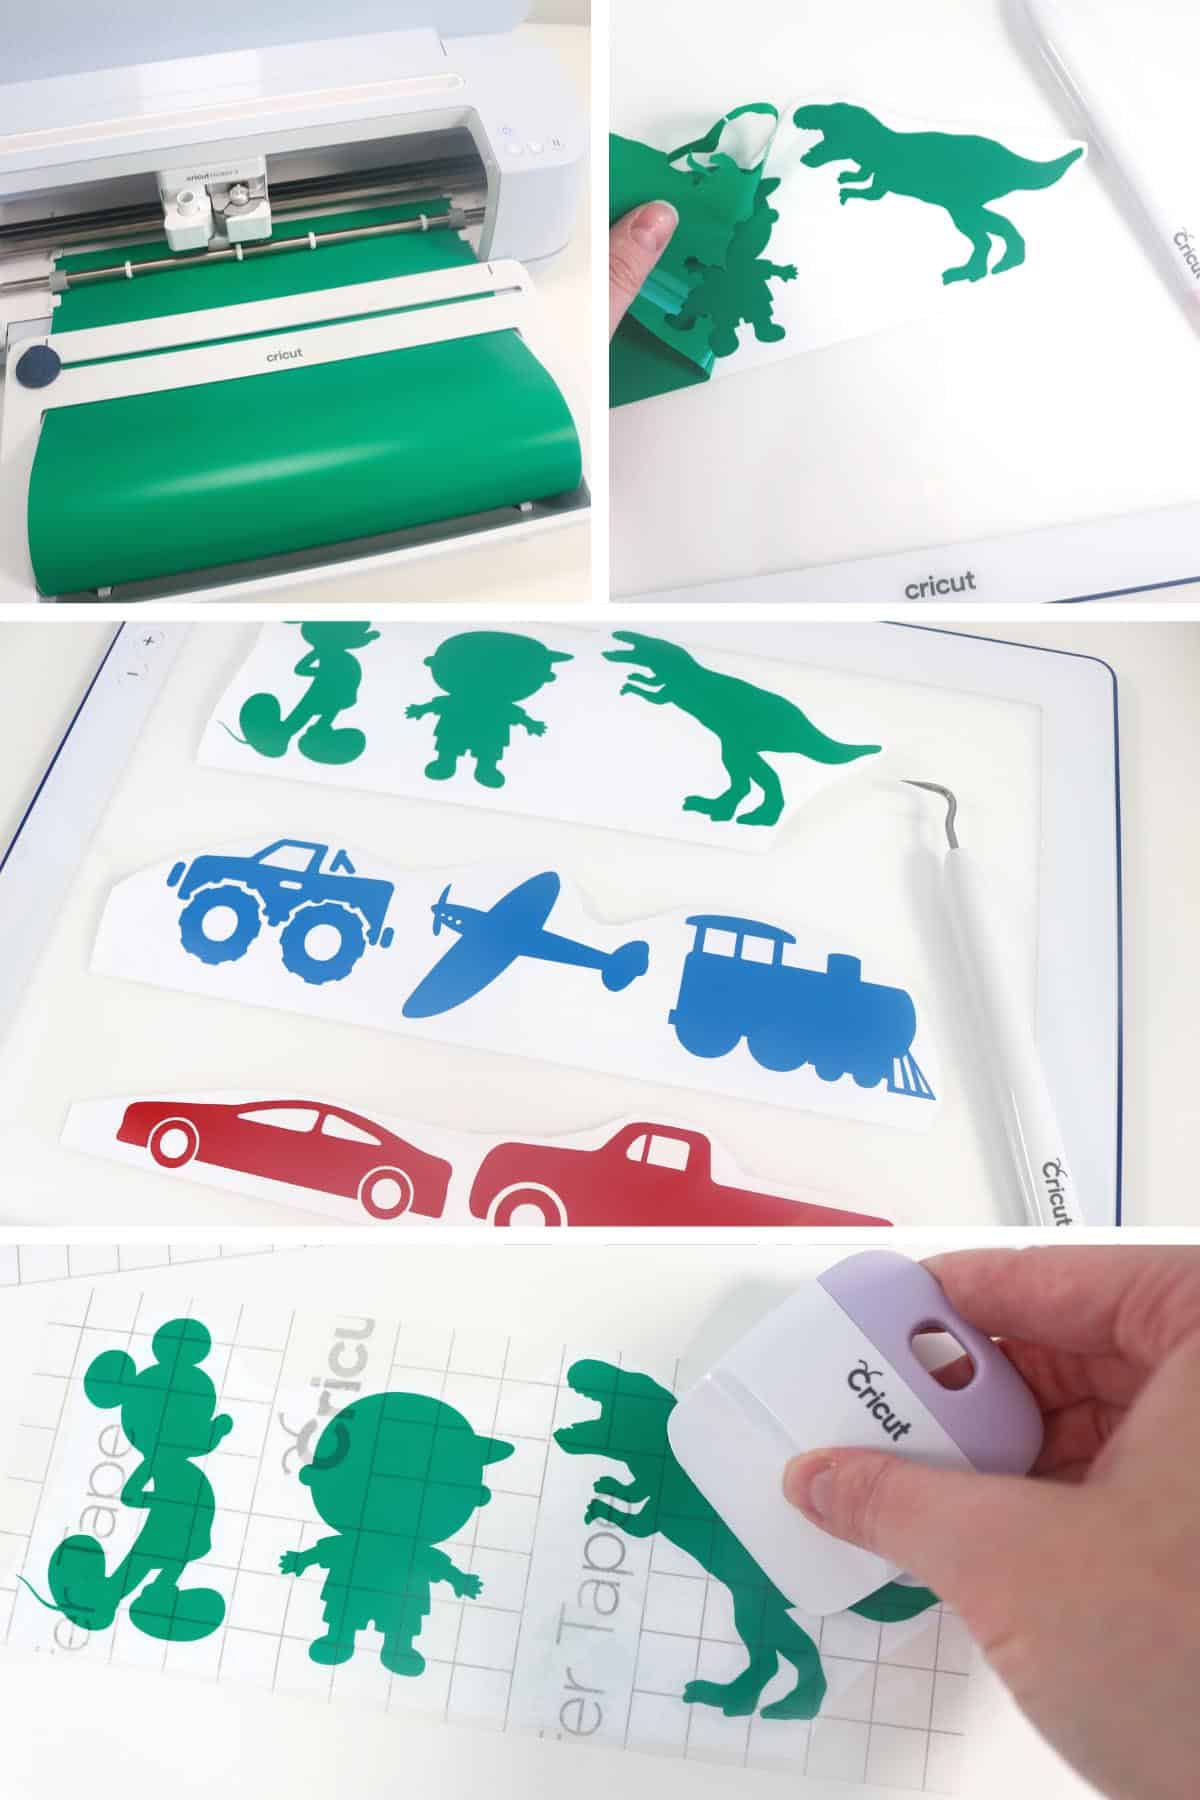
Cut and weed your project
Click “Make It”, set your material settings, load a mat with vinyl and load it into your Cricut machine (not necessary if using smart materials and a Cricut Maker 3), and cut your decals.
Remove the mat/vinyl from your machine. Trim around the decals to save excess vinyl scraps (optional). Weed the vinyl (the Cricut BrightPad Go is my preferred weeding surface, lighted or not depending on the vinyl!).
Apply transfer tape
Apply transfer tape and burnish really well on both sides.
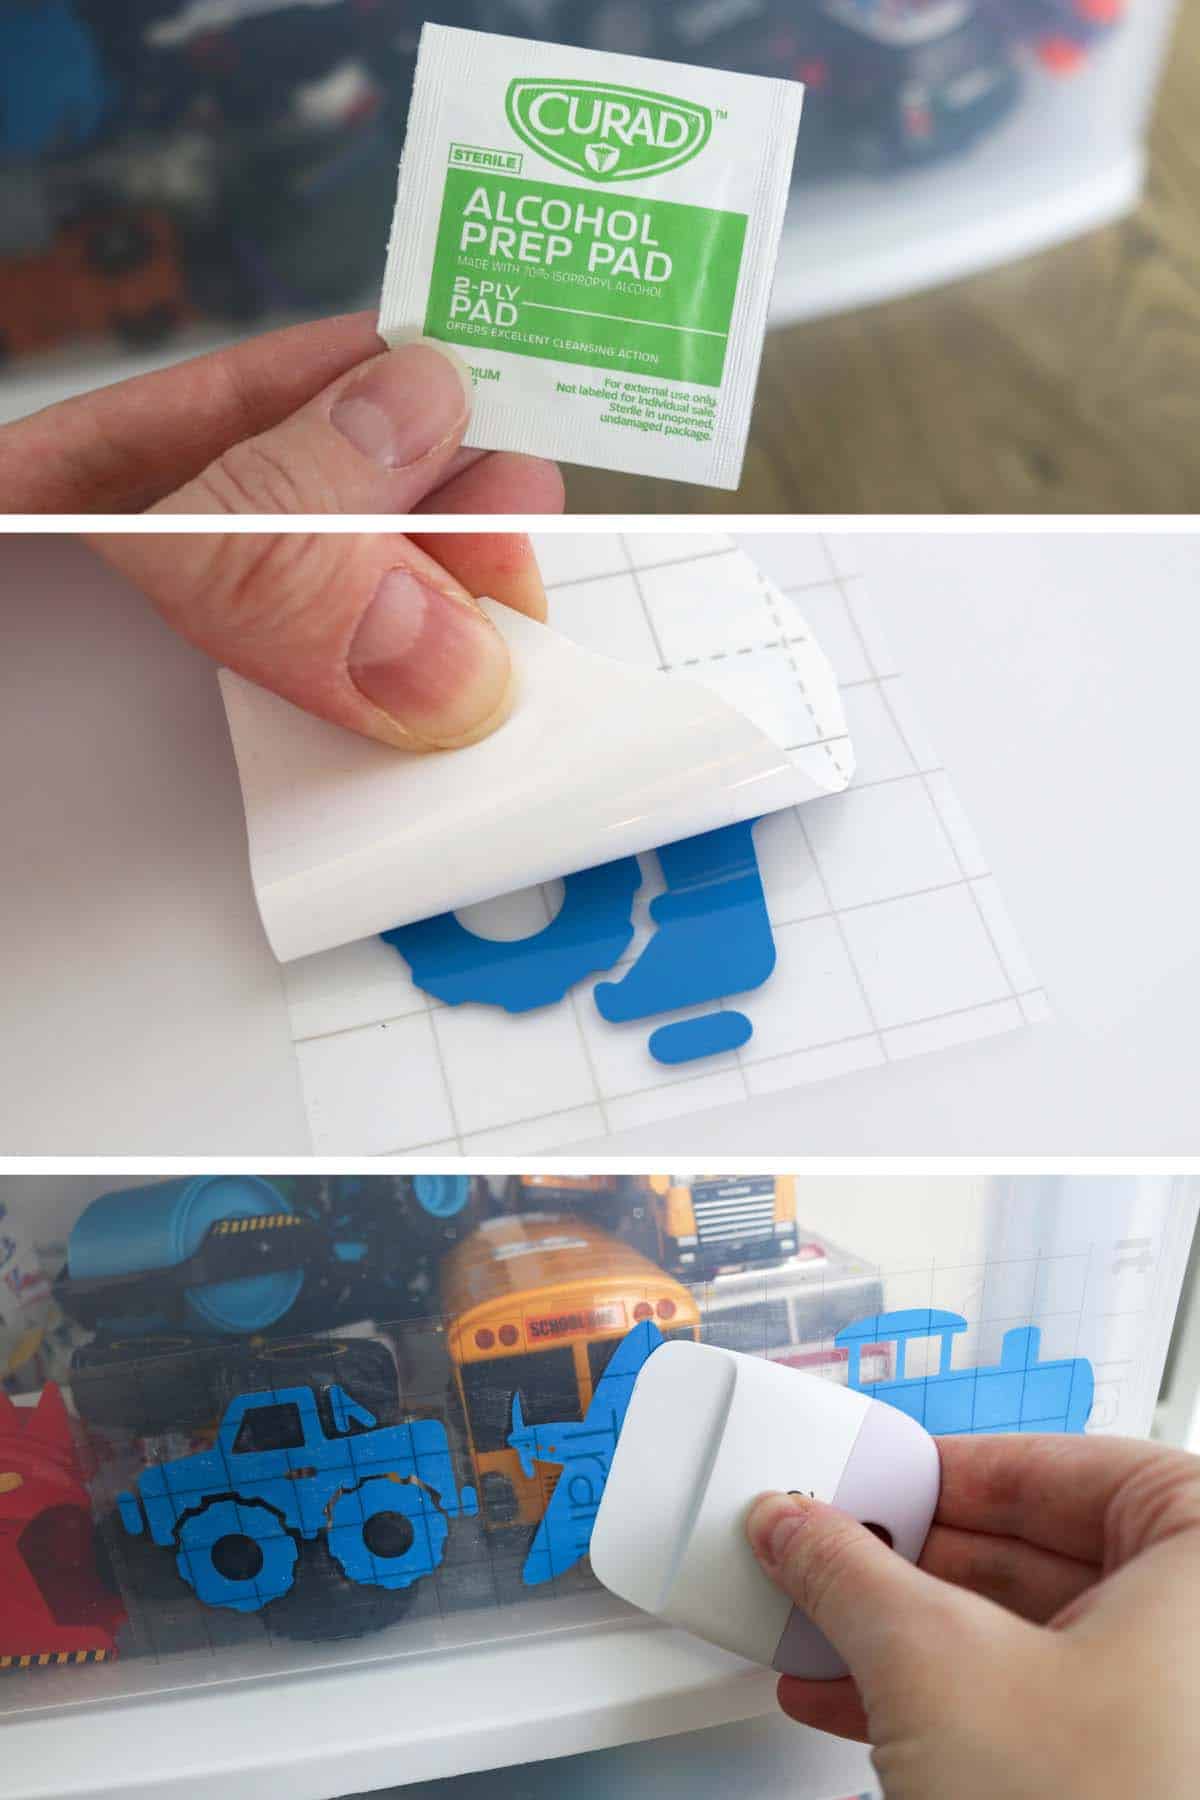
Prep your toy bins
Prep your toy bins by alcohol-wiping where you’ll be applying the vinyl (the individually packaged wipes are so convenient for this!).
Apply the vinyl decals
Remove the vinyl backing (if the vinyl’s not wanting to stick—the smart vinyl always struggles—try laying it flat upside down and then peeling the backing away from the vinyl).
Position the vinyl on your toy bin, stick it down, and burnish super well. Note: when using removable vinyl, you may want to try the soapy water application method to avoid bubbles (I didn’t do it but I probably should have…I was just lazy and popped the few bubbles I had with my sharpest weeding tool and let the rest work themselves out on their own).
DIY toy bin organization labels
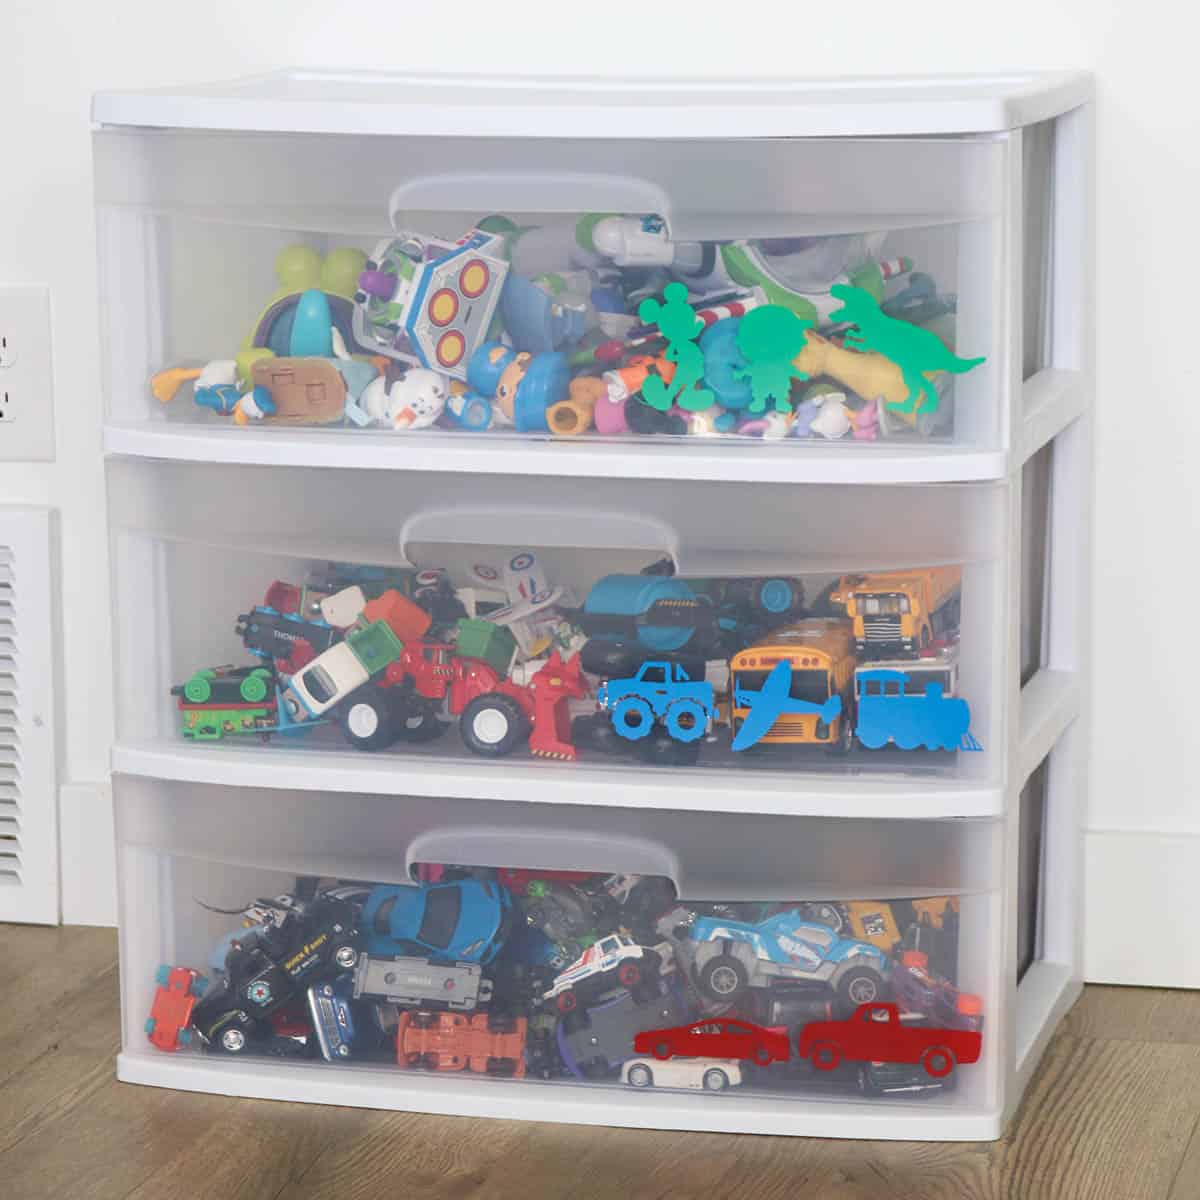
And that’s all there is to it! Easy organization labels you can make with your Cricut, all during a single nap time!
If your child is anything like mine, they’re going to love it! (Now, the tricky part is getting my husband to comply with the new toy organization rules…😜)

Don’t forget to pin and save for later!