How to Make an Ornament Wreath With a Wire Frame
This gorgeous ornament wreath is a fun dollar store craft project and a great addition to your holiday decor! Make your own with this step by step tutorial!
If you’ve been thinking about making a DIY ornament wreath this holiday season, I’ve got you covered!
This tutorial covers how to make ornament wreaths with wire wreath forms, but you can also check out how to make an ornament wreath with a styrofoam wreath form HERE or evergreen wreath form HERE. All my tutorials use hot glue, but you can easily adapt them if you want to use floral wire instead (I just think it’s a bit more work).
Last year, I found the prettiest set of blue and white ornaments at Hobby Lobby and waited until after Christmas to get them on sale, knowing they’d make a beautiful wreath for my front door! I wasn’t wrong! I love how elegant and glam this wreath is. It’s the perfect modern Christmas wreath, winter wreath for after Christmas, or New Year’s wreath. The best part is how inexpensive and easy it is to make – both things we love in a DIY project!

This post contains affiliate links. For more information, see my disclosures here.
More posts you’ll like:


What you need to make a wire ornament wreath

- shatterproof ornaments in a variety of sizes: I purchased a set of large and medium ball ornaments on clearance from Hobby Lobby for about $2 a box. The mini silver ornaments are also from Hobby Lobby (in their My Little Christmas line). The small matte silver ornaments are from Dollar Tree. You could technically use glass ornaments or even vintage Christmas ornaments…but I don’t recommend it–I’d hate for them to accidentally shatter when you’re gluing them or later on if your wreath falls or gets bumped.
- wire wreath form: I used a 14 inch wire frame from Dollar Tree. The size of your wreath form (and size of the ornaments used) will determine how big your wreath is. For reference, my final wreath measures about 18 inches wide.
- tinsel garland: I think this is the easiest way to wrap the wire wreath form to hide it. Dollar Tree has a bunch of cheap options around Christmas. You could also use ribbon but it will be more expensive.
- hot glue gun and extra glue sticks
- hot glue finger protectors (optional)
- 1.5 inch ribbon for a wreath hanger (any ribbon will do, but this is my favorite place to buy good quality wreath ribbon!)
- half a chenille stem (also for the wreath hanger)
- scratch paper to protect your table from hot glue drips (a drop cloth or tablecloth is also useful if you’re using any kind of glitter ornaments!)
How to make an ornament wreath with a wire frame

Wrap the wire wreath form
Wrap the wire wreath frame with your tinsel garland. You can kind of tie it on to secure it at the start or just overlap it a few times so it holds. My tinsel garland is actually wired so weaving it around the wires of the frame a few times worked great to hold it (I don’t remember exactly, but I might have even wrapped the end of the garland around the frame and then twisty-tied it to itself with the wire).
Wrap the garland, overlapping it a little each time so the wire frame isn’t visible (most of it will get covered with ornaments later, so it doesn’t need to be perfect). The most annoying part of this is having to go in and out of the wire frame over and over, but you’ll get there!
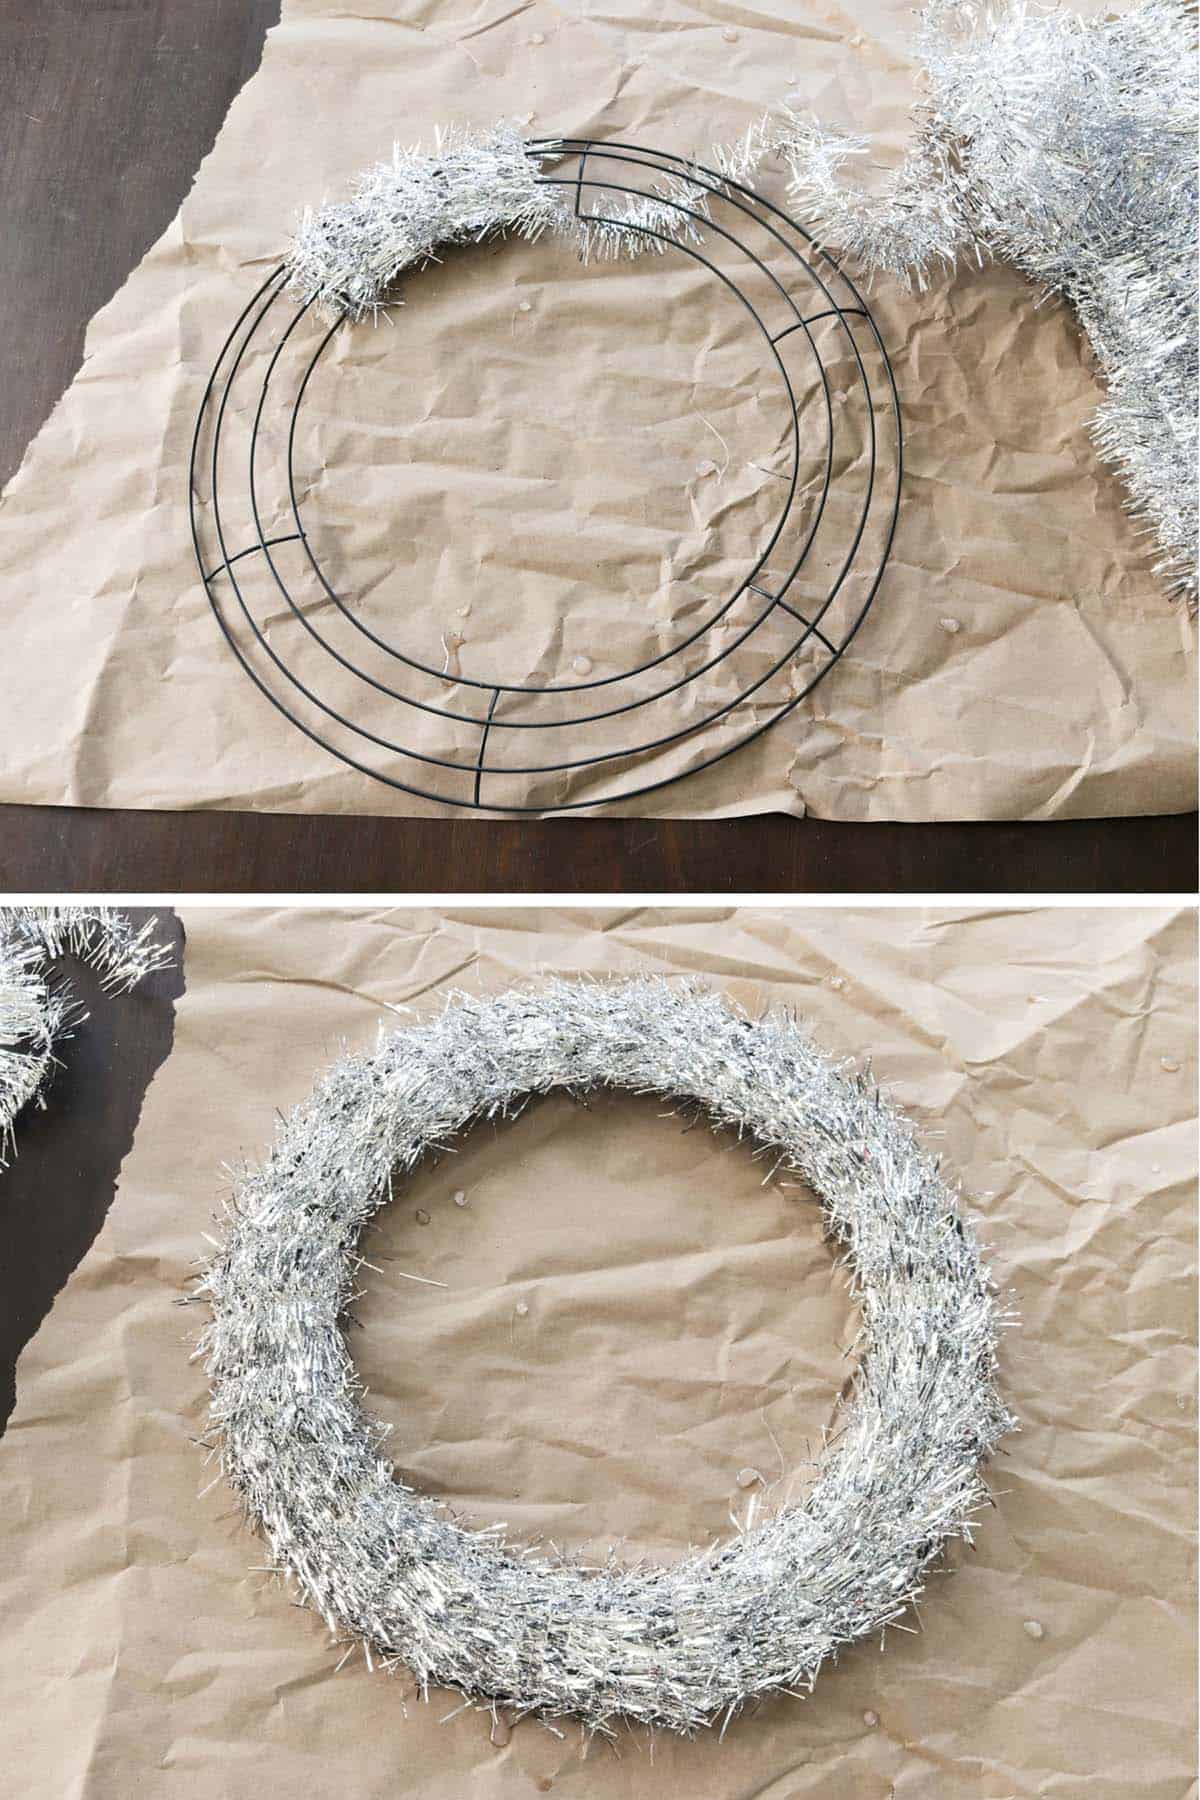
When you get to the end, overlap your starting point just a little, trim the garland, and tuck the end in to secure (or tie off–whichever way you secured it at the start).
Make a wreath hanger
Cut a length of ribbon (probably about 1 foot long, depends how long you want your wreath hanger) and loop through a middle wire from the back side of the wreath (just slide the tinsel garland out of the way if needed). Tie a knot.
To help the loop of the wreath hanger lay the right direction, I used half a chenille stem to twisty-tie around the base of the loop. Tuck the ends of the chenille stem into the wreath form (trim first if needed).

Glue large ornaments to outer ring
Hot glue will probably melt the tinsel garland a little bit, so don’t be alarmed. And you will have glue drips so just a reminder to make sure your table is covered with scratch paper!
Arrange your largest ornaments around the outer edge of the wreath frame, pointing their tops downward and towards the center. Pay attention to how the ornaments fit, how far off the edge you want to glue them, and if there will be any gaps (you want to space them out as equally as you can).

Once you’ve found a pattern or arrangement you like, begin gluing ornaments down by applying hot glue on one side of the top and on the silver cap. Make sure the ornament is lying flat and press the cap into the tinsel. Hold in place until the glue sets a little.
If two ornaments touch, also apply hot glue in between them as best you can. This is where you’ll probably have more drips, but don’t worry, most of that won’t be visible from the front of the wreath. Not all ornaments will touch, so, again, try to distribute those gaps equally around the wreath form.

If you get excess hot glue on an ornament, resist the urge to wipe at the glue when it’s hot – it will just smear and turn white and look messy. My excess glue spots that I allowed to cool all the way stayed clear and aren’t nearly as noticeable.
Glue large ornaments to inner ring
Glue more ornaments to the inner ring in the same manner, with the tops pointed down but this time towards the other ornaments (we don’t want any of the tops to be visible if we can help it). There will be more space on this ring, so I glued some of the ornaments together for stability and left small gaps between others.

Glue large & medium ornaments in second layer
Arrange more large and medium ornaments in between your outer and inner ring. These ornaments will sit on top of the others you already have glued down (and they won’t sit perfectly!). Do your best to space them out so the wreath looks balanced. Point the ornament caps towards the middle of the frame to hide them as much as you can. Glue everything down, again applying glue anywhere that two ornaments touch.

Fill in with small ornaments
It’s a great idea at this point to hang your wreath up (I used the knob on my china hutch) to see at eye level where you have gaps that need to be filled. Note the spots you need to fill in (even take a picture with your phone if it helps) and take your wreath back to the table to glue the small and mini ornaments on. Clean up any glue strings from your wreath.
If you’re curious, this is what the back of the wreath looks like when finished:

And yes, some of my hot glue drips pulled up some paper with it. Oh well, no one will know. I really need to invest in a large silicone crafting mat, though!
I love how this pretty wreath turned out! I don’t think the photos do it justice. I took this picture with my phone (hi!) and it might be a more accurate representation of the colors:

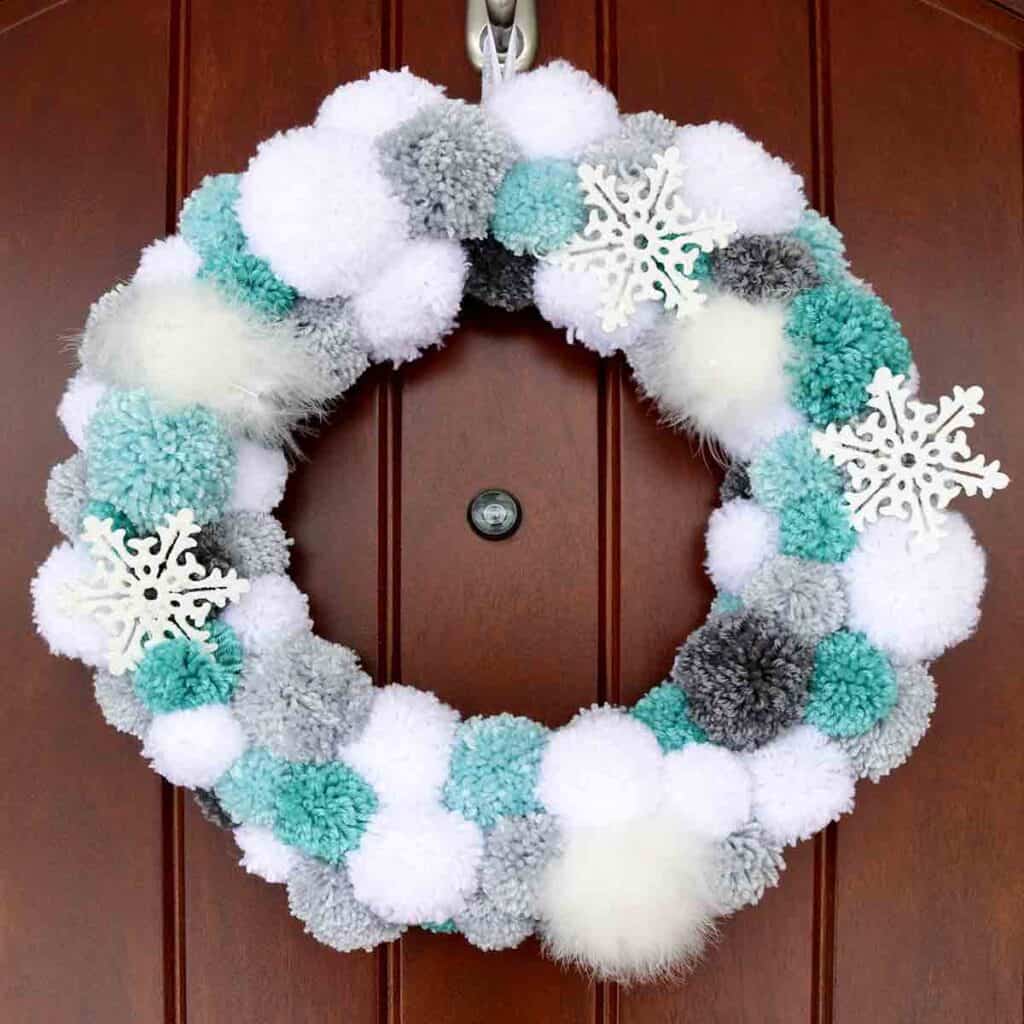
The blue, white, and silver ornaments make this especially perfect for a winter wreath (it actually kind of reminds me of this fun winter pom pom wreath!). Of course, you can use this ornament wreath tutorial with any color scheme you choose!
DIY Wire Ornament Wreath

I hope you try making your ornament wreath! Using a Dollar Tree wire wreath form and clearance (or even Dollar Tree) ornaments makes this a budget-friendly project, which totally takes the pressure off if this is your first wreath! But you’ll be surprised how fun and easy it really is.
Don’t forget to check out my other ornament wreaths here for more inspiration:
Evergreen Ornament Wreath With Bow

Don’t forget to pin and save for later!
