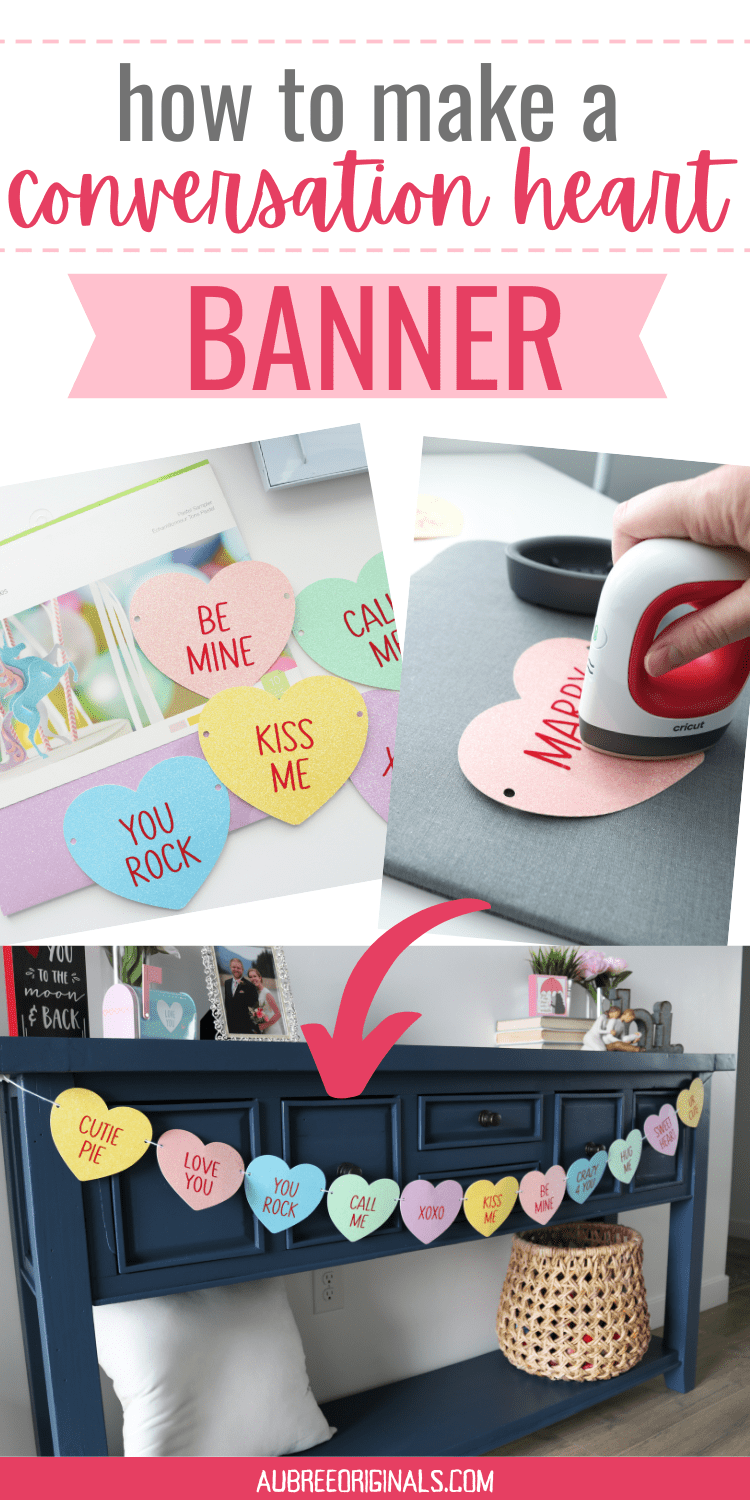
Easy Conversation Heart Valentine’s Banner
This simple conversation heart banner made from cardstock is the perfect Valentine’s craft and a cute addition to your DIY Valentine’s decor!
I love conversation heart candies. It seems I always got a little box of them as a kid and something about the messages on them seemed magical (somewhere in that box was the answer of whether my crush liked me back, I was sure of it! haha).
This cute DIY Valentine’s banner whips up in no time at all and is totally customizable with any phrases you want (check out my ideas below!). Keep reading for all the tips to make this easy Valentine’s Day decor!
This post contains affiliate links. For more information, see my disclosures here.
What you need to make a DIY conversation heart banner
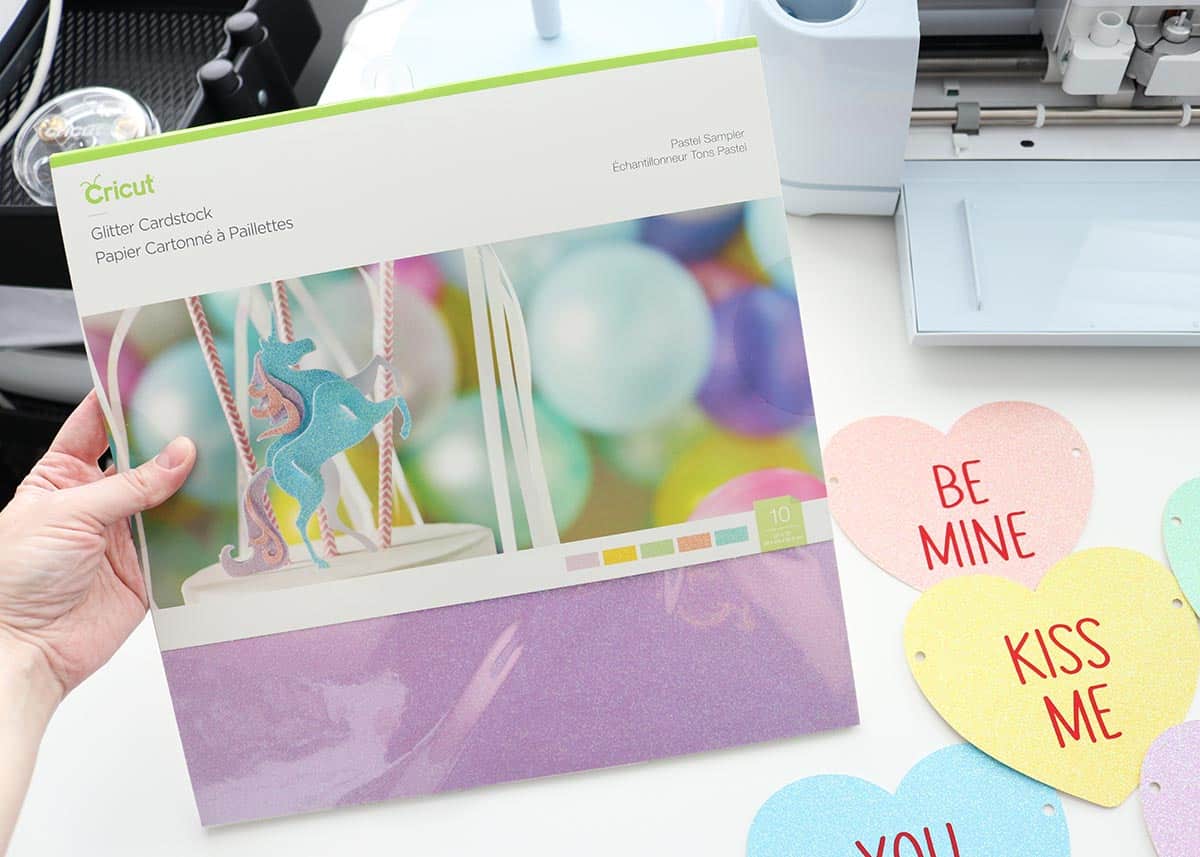
- glitter cardstock: I used a Pastel Sampler pack of glitter cardstock for this, and sadly you can no longer find it on Cricut’s website (I originally got it in a mystery box)! If you try an off-brand, just know that you might have to adjust your pressure settings when you go to cut—do a test cut first.
- iron-on vinyl in red (or you could also try a gold foil iron-on if you want a modern look, just test it first to see if it shows up on your cardstock colors)
- EasyPress mini and pressing mat
- Cricut machine
- ribbon or yarn: I ended up using white yarn. If you want to use ribbon, 3/8″ wide is the best size for the holes I made in the hearts, but you can always make the holes bigger if needed (instructions on how to do that below)
Can you use permanent vinyl on glitter cardstock?
If you were scratching your head at the supply list above and wondering why I’d choose iron-on vinyl for this project…it’s because adhesive vinyl DOES NOT stick to glitter cardstock (ask me how I know…). So I went back and re-cut all the words on iron-on vinyl and it turns out it presses beautifully to glitter cardstock!
If you don’t want to use iron-on, you can alternatively use regular/smooth cardstock with permanent vinyl. You could also skip the vinyl and have your Cricut draw the phrases if you’re using a smooth cardstock. But…the glitter adds a lot to the finished look!
How to make a glitter conversation heart banner
Customize the project in Design Space
Open my Conversation Heart Valentine’s Banner project in Design Space and click Customize. You’ll probably need to zoom out to see all the hearts.
You can use the phrases I have or you can make your own (see the end of this post for ideas). Important note, though: I stretched the font when I made the text boxes, so you’ll want to copy and paste the boxes to create new ones so it keeps the same formatting (or, just edit the text in the existing boxes).
If needed, adjust the colors based on the materials you’re using. Also, you can delete or hide hearts you’re not using (I only ended up needing 11 for my banner), or you can duplicate them if you need more.
You’ll see at the top of the layers panel a “hidden” heart (toggle the eye icon to unhide/hide it). This is an extra heart without holes on the sides in case you want to use this project for something besides a banner (maybe wall decor or place settings or even a regular Valentine to give to someone!).
If your ribbon is larger than 3/8″ wide, you may also want to increase the size of the holes before cutting. To do this, select a circle shape from the lefthand toolbar and resize it accordingly. (For reference, the current holes are 0.2″ so you’ll want 0.25″ maybe or larger). Duplicate your circle so you have two. Center each circle over the existing holes in the first heart as best as you can (if you want to be picky about the positioning, you can select both circles and choose Align–Bottom in the top toolbar). With both circles selected, Combine–Unite them (bottom of the layers panel). Now select the united circles and the heart and Slice (bottom of the layers panel). Delete the extra layers until you’re left with the heart (that now has larger holes to fit your larger ribbon). Now, duplicate this heart as many times as you need and delete the others.
Make the project
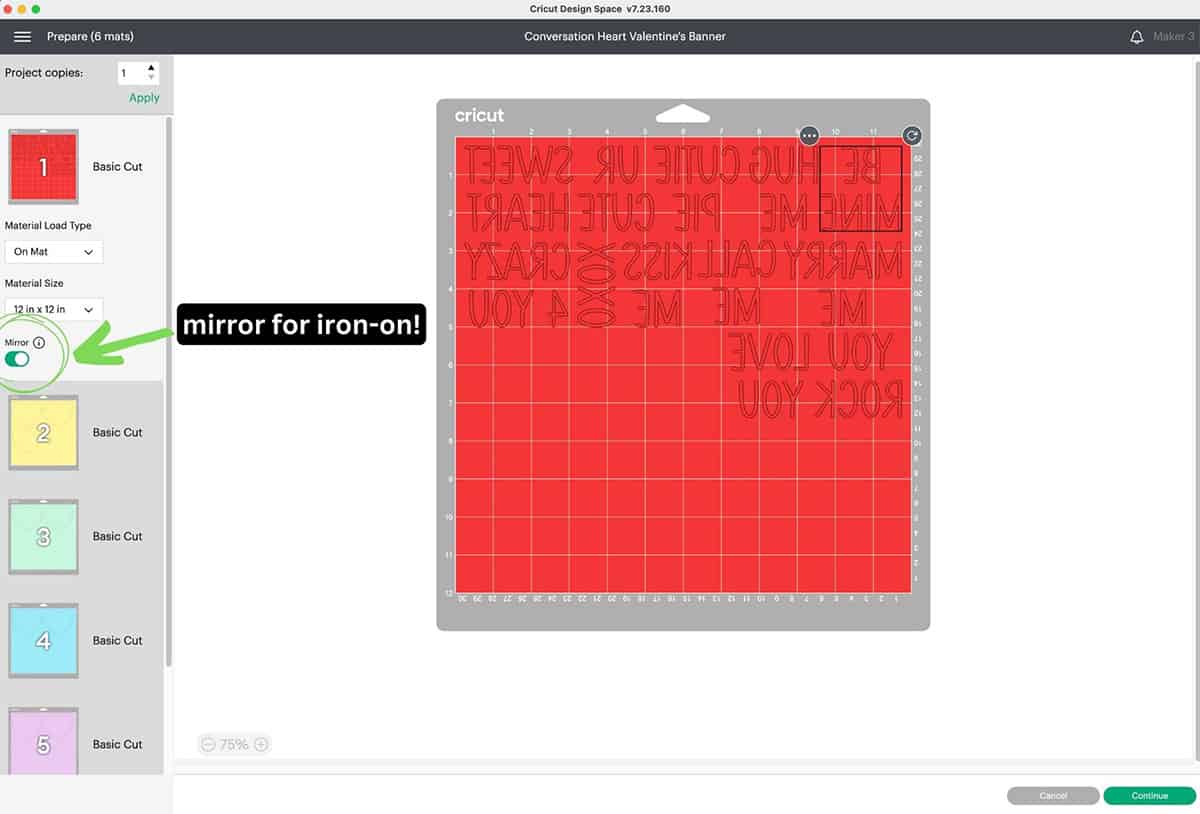
Once you’ve completed your edits, click Make It.
Select your mat preference (most likely “On Mat, For any material”). Be sure to mirror your mat with the phrases for iron-on. You can also adjust the positioning of the phrases to make them easier to cut between (optional). Click Continue.
Set your base material to iron-on vinyl for the phrases. Load your iron-on vinyl onto a mat (shiny liner side down) and load the mat into your machine. Press Go. Follow the Design Space prompts to unload the mat when completed.
On the next mats with the hearts, set your base material to Glitter Cardstock. And since the rest of the mats are all glitter cardstock, check the box next to “Remember material settings” so you don’t have to change the settings for the rest of the cuts. Follow the Design Space prompts to load each mat with the correct color of cardstock and finish the cuts.
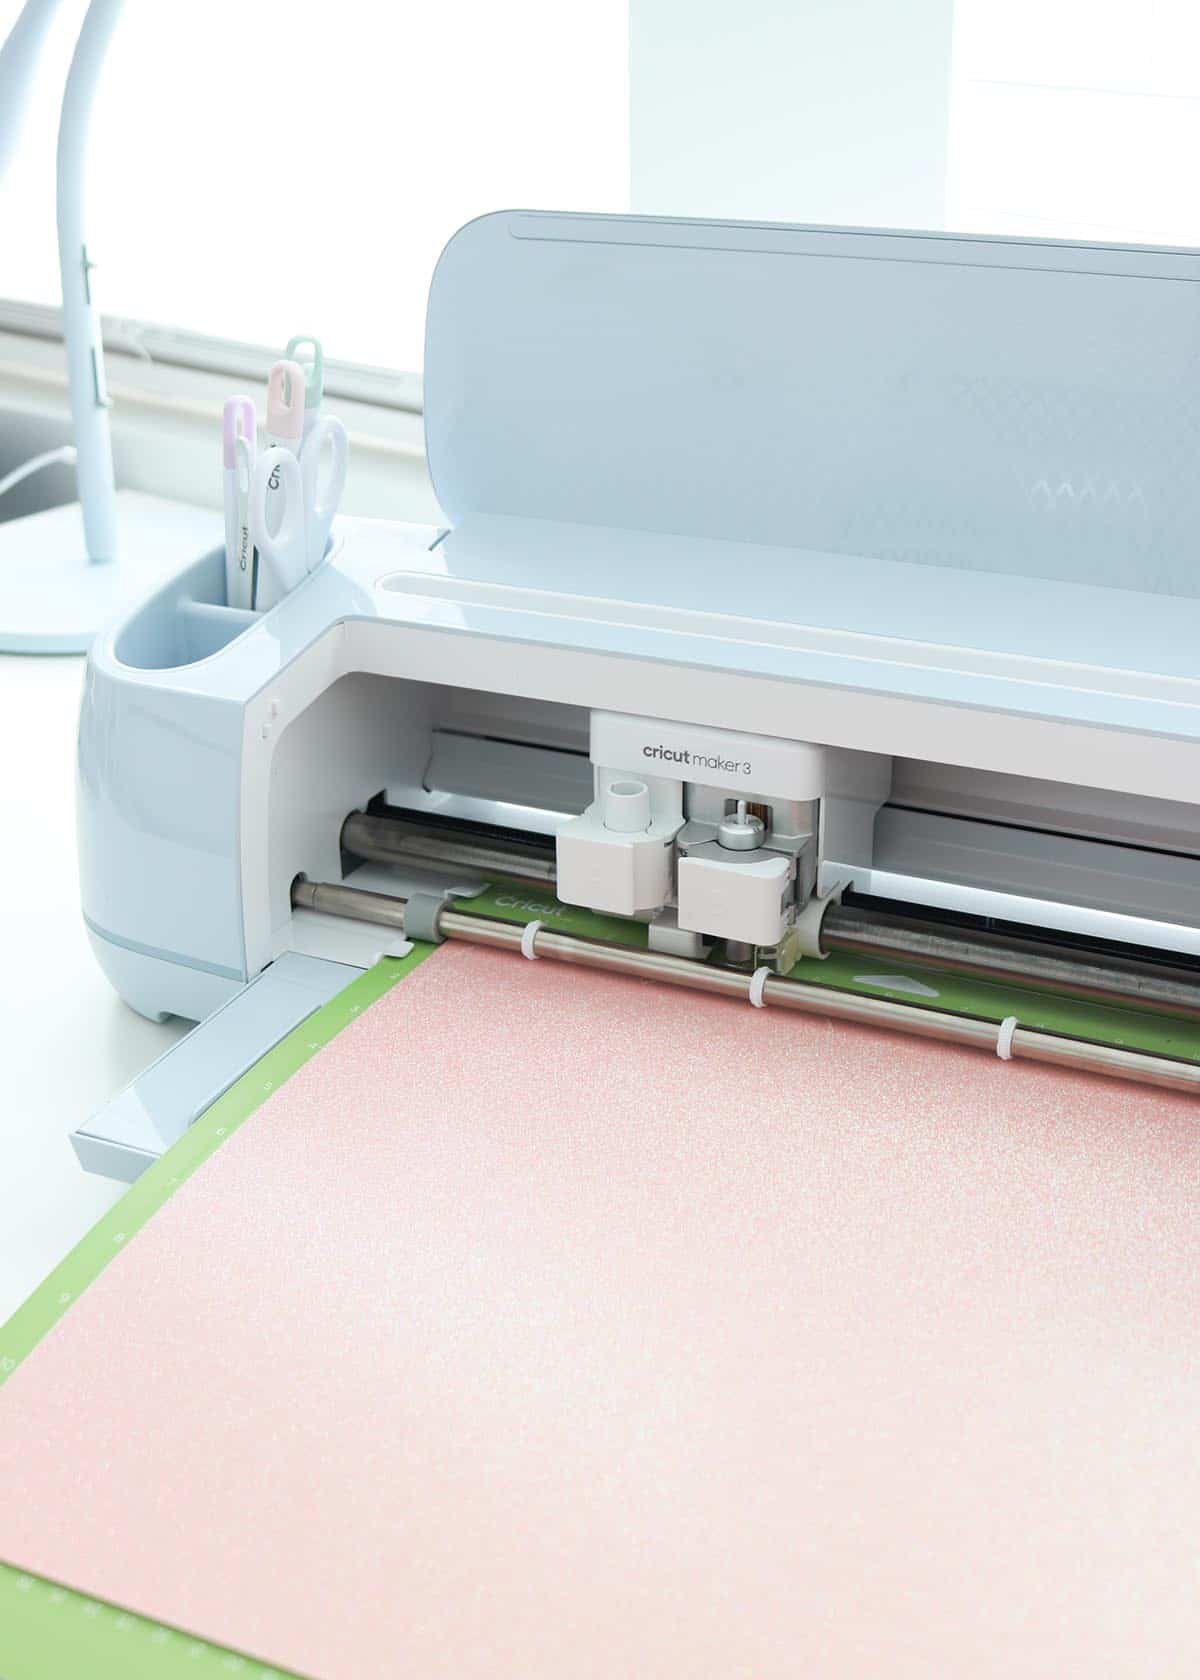
Tip: As you’re removing the cardstock from the mat, be sure to flip the mat upside down and peel the mat away from the material (not the other way around) and go slowly to avoid curling or tearing your material.
Weed the iron-on vinyl
Weed the iron-on vinyl and cut apart the phrases (you can do this while your Cricut cuts the hearts). I love weeding with my BrightPad Go, both to see the cut lines better and to protect my table from the weeding tool. Check out my post all about Cricut BrightPad if you’re on the fence about purchasing one.
Determine the order of your banner
Before you start ironing-on your phrases, determine what color order you want your banner to go in and then which phrases you want on which heart (this really doesn’t matter too much, I just tried to vary the phrases so similar ones (“cutie pie” and “UR cute,” for example) were spaced out).
Apply the iron-on with your EasyPress Mini
Set up your pressing mat on your table and heat your EasyPress Mini to Low (the first setting).
Center your first iron-on phrase on top of a cardstock heart and press with medium to firm pressure for about 20-25 seconds, moving the EasyPress back and forth as you press. (You can always access Cricut’s handy heat guide if you forget heat settings.)

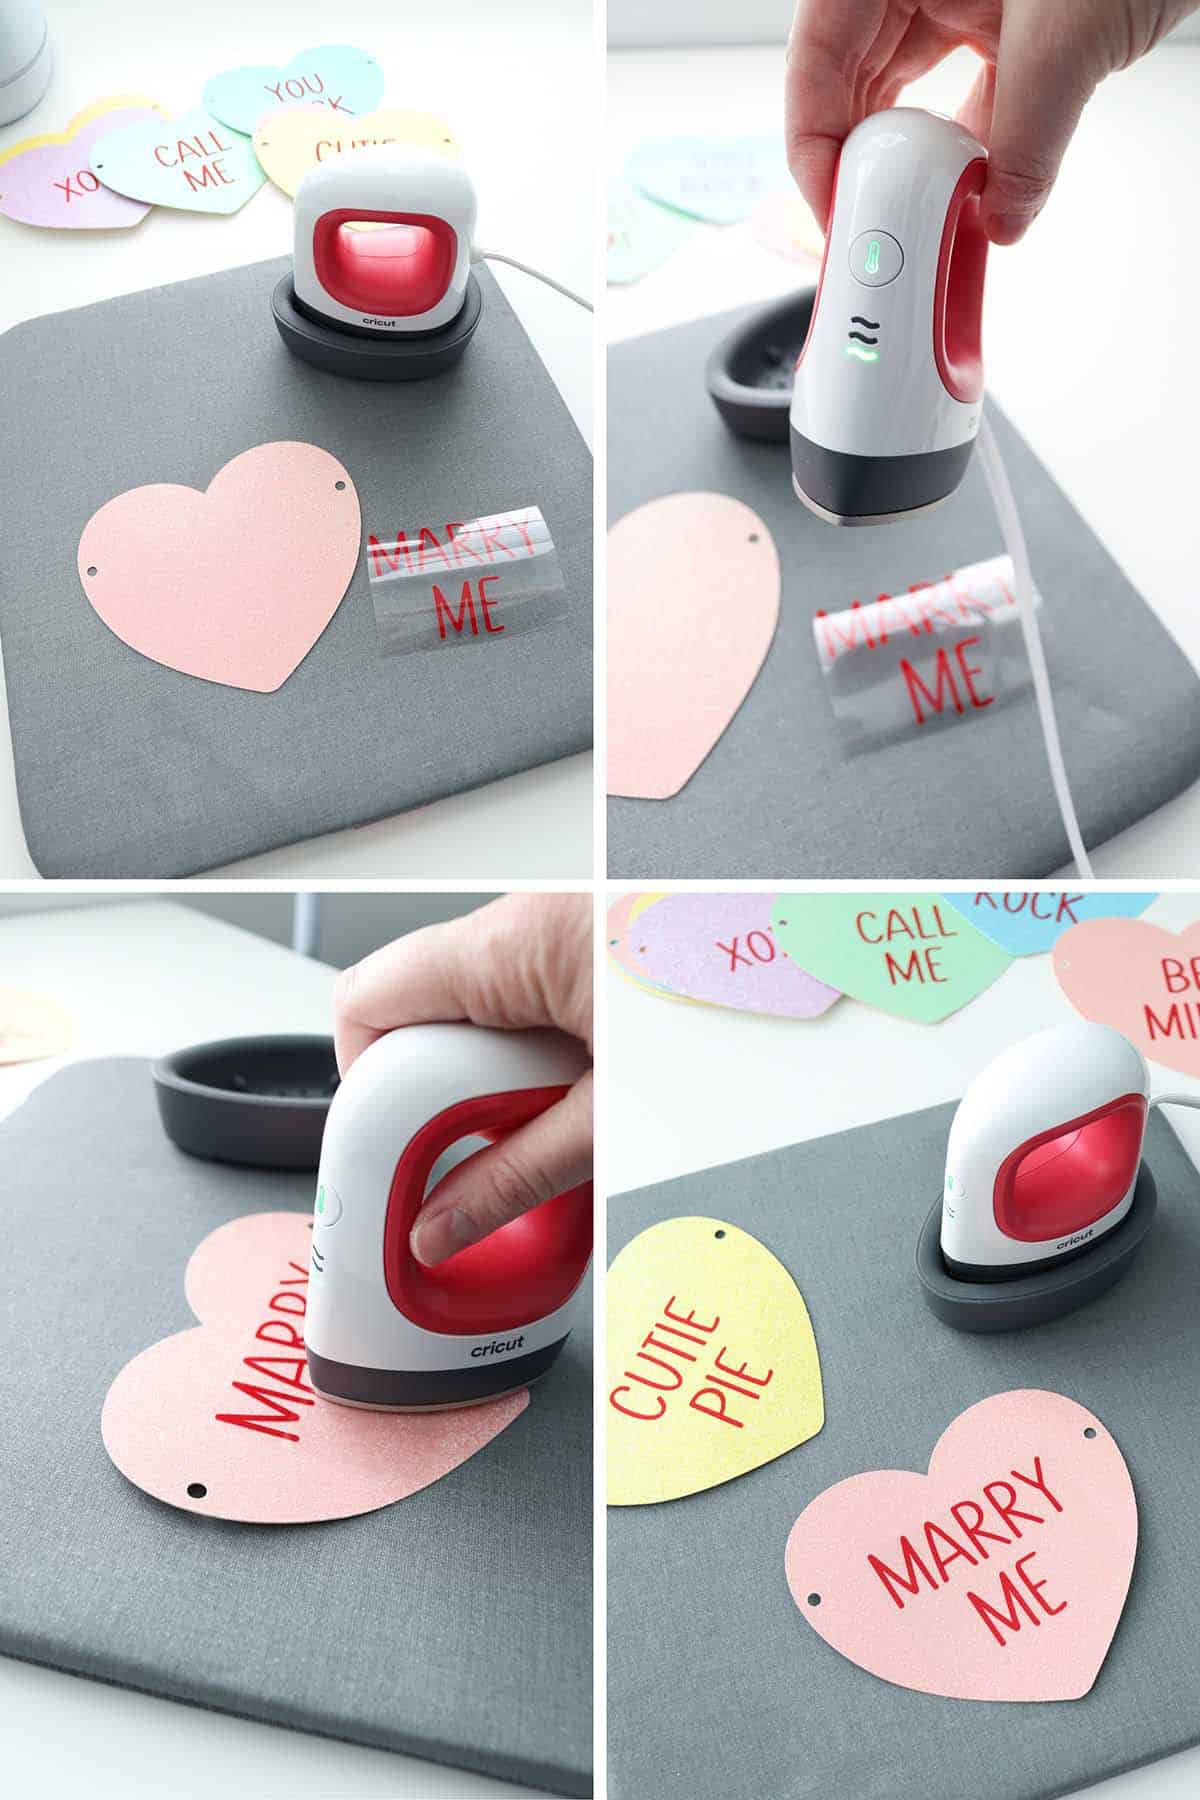
The cardstock will warp slightly from the heat, but it flattens more as it rests (or you could always press it under some heavy books for a few hours if it’s bothering you). (A teflon sheet is sometimes helpful when pressing iron-on, but it doesn’t make a difference with the warping here, so I wouldn’t bother with that).
Assemble your banner
You have a couple options when assembling your banner.
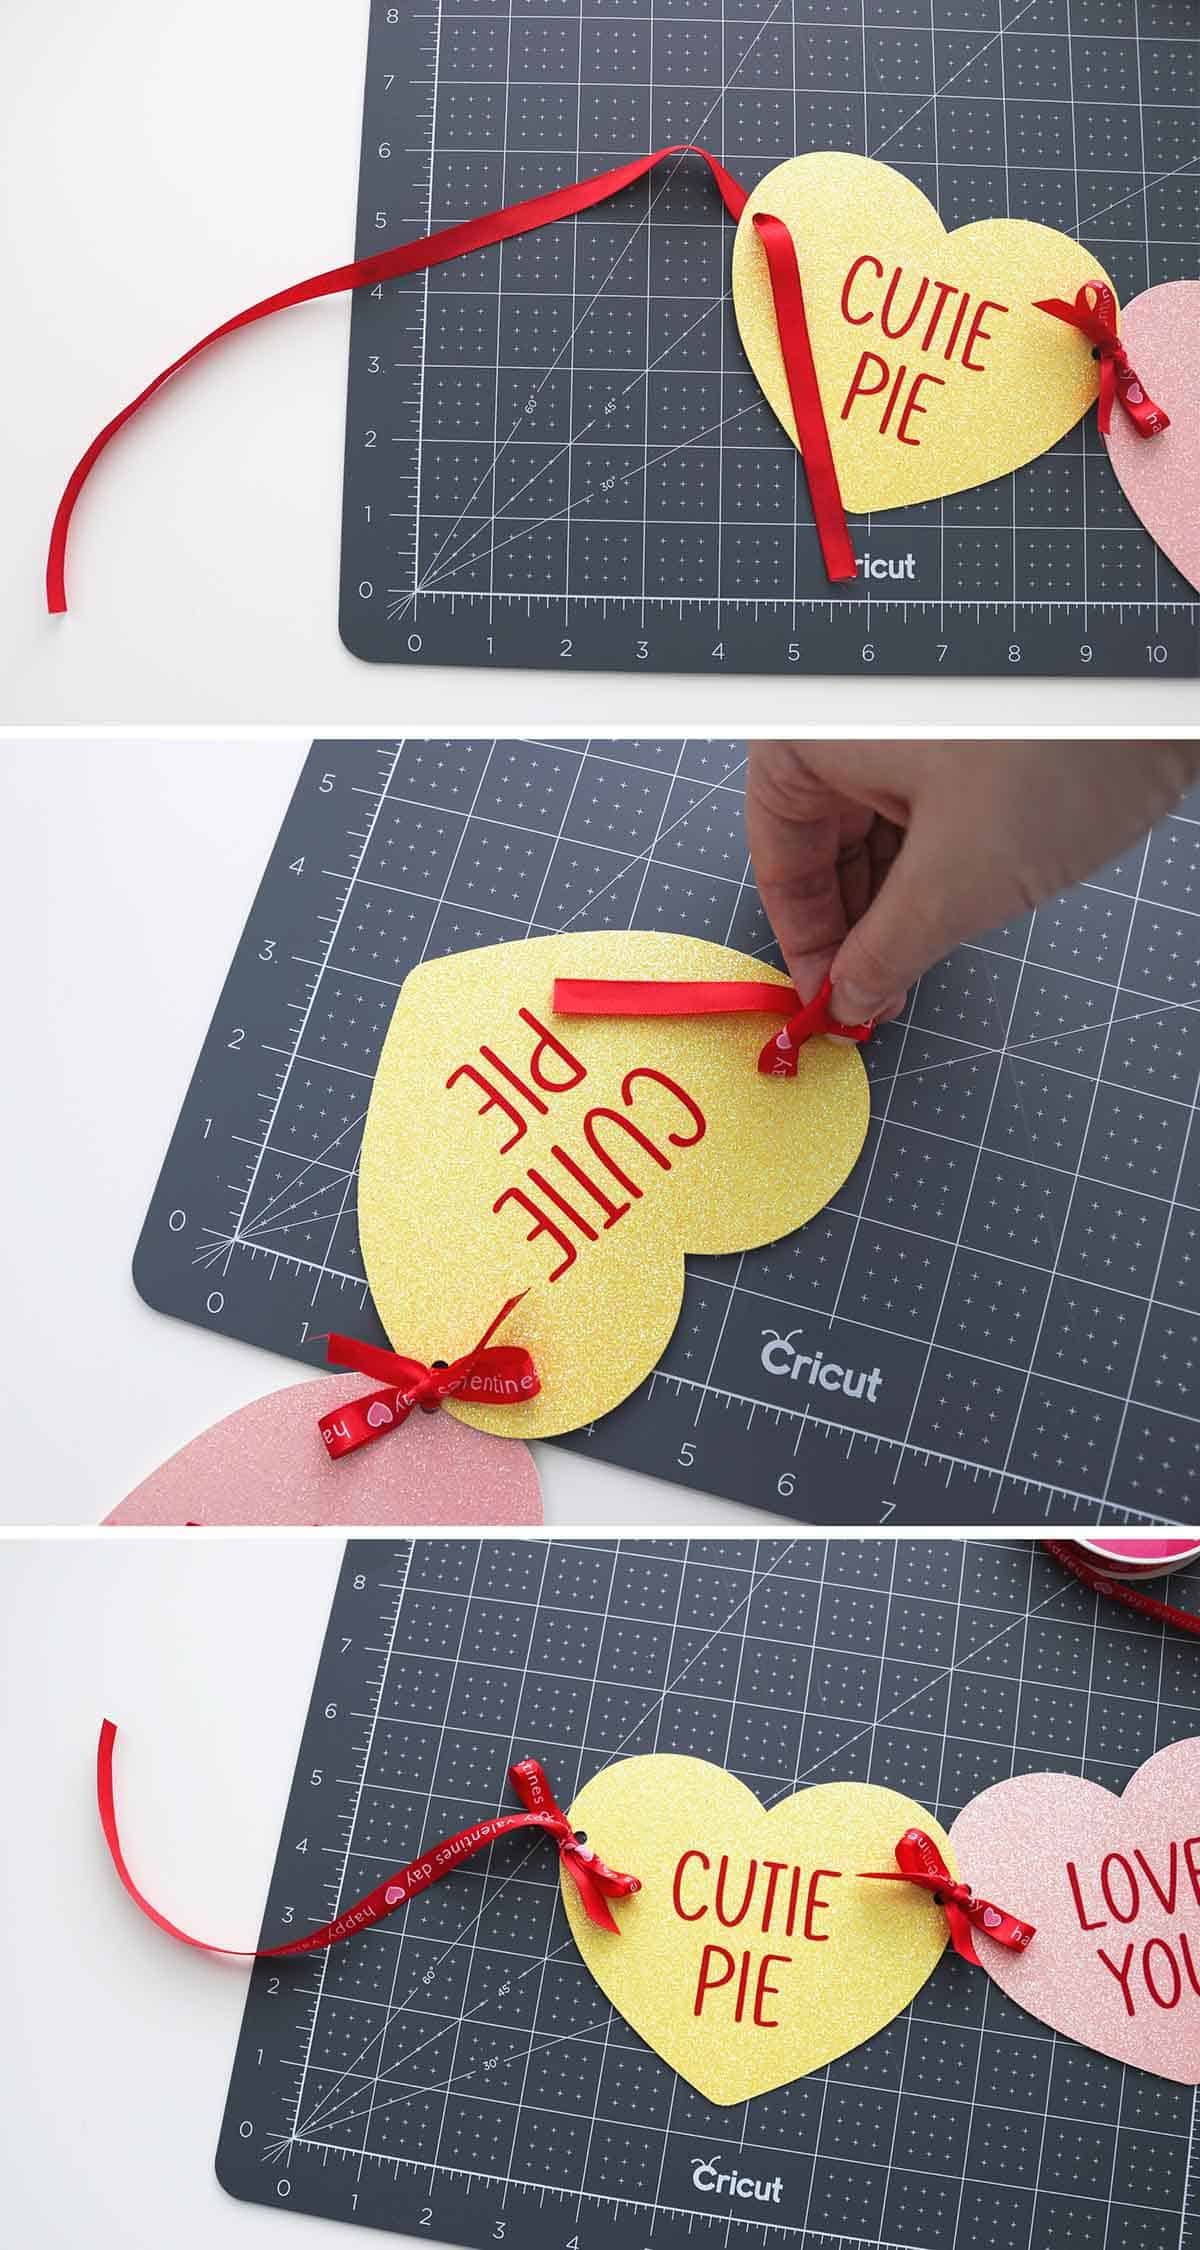
First, you can simply thread a continuous piece of yarn or ribbon through the holes. Starting with the heart on the left, insert the yarn from the top of the left hole and pull it through to the back, then come up the right hole. Go down the left hole on the next heart, and keep repeating this pattern until all hearts are threaded. Leave as much yarn on each end as you need to hang it and then trim.
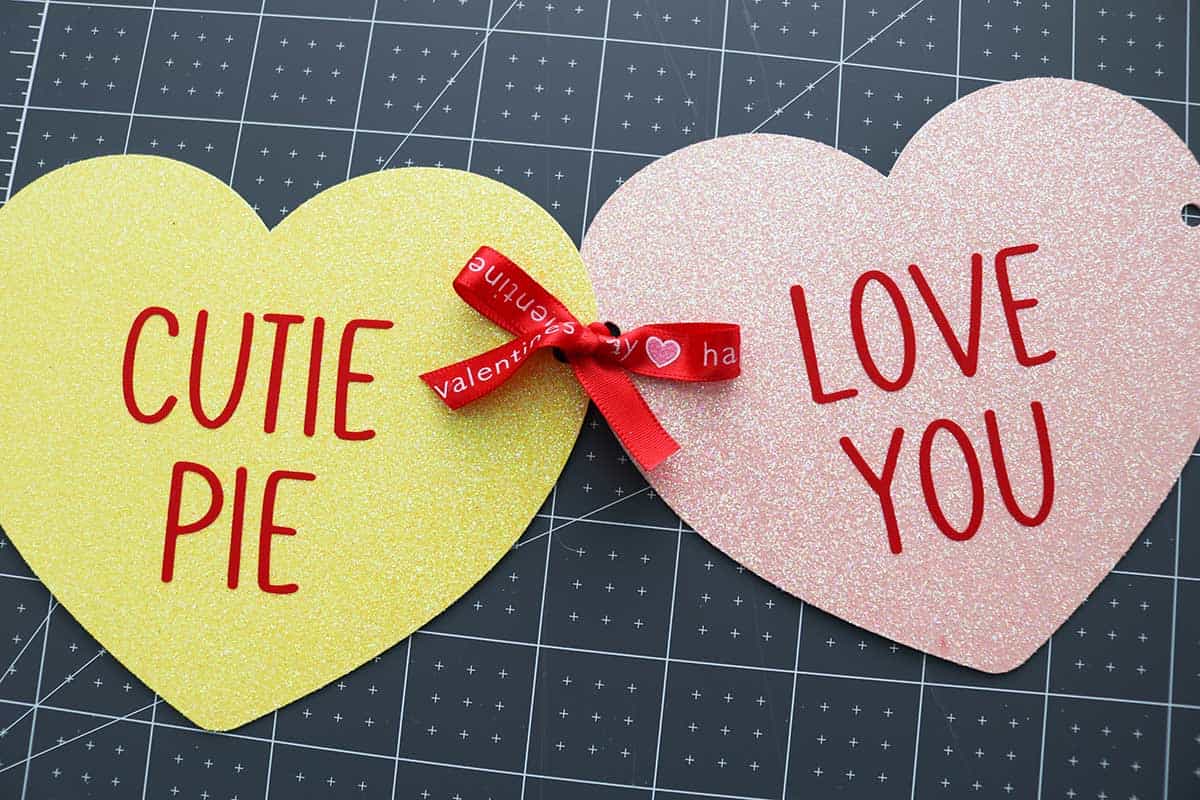
Or, if you’re using ribbon, you can tie ribbon bows in between each heart. Cut a 12″ piece of ribbon, thread it down the first heart’s hole and up through the second heart’s hole. Tie a bow (I always tie my bows upside down—they seem to lay better!) and trim the ends.
For the ends, tie a bow through just the last hole but leave one of the bow’s tails long to hang the banner from (you may have to play with the bow a little so it’s facing the right direction for hanging). An 18″ piece of ribbon will give you about a 9″ tail after tying the bow (keep the inside piece of ribbon short while tying and tie the bow upside down and that should give you a long tail on the end).
Conversation heart phrases
If you’re needing some inspiration for what sayings to put on your conversation hearts, I got you.
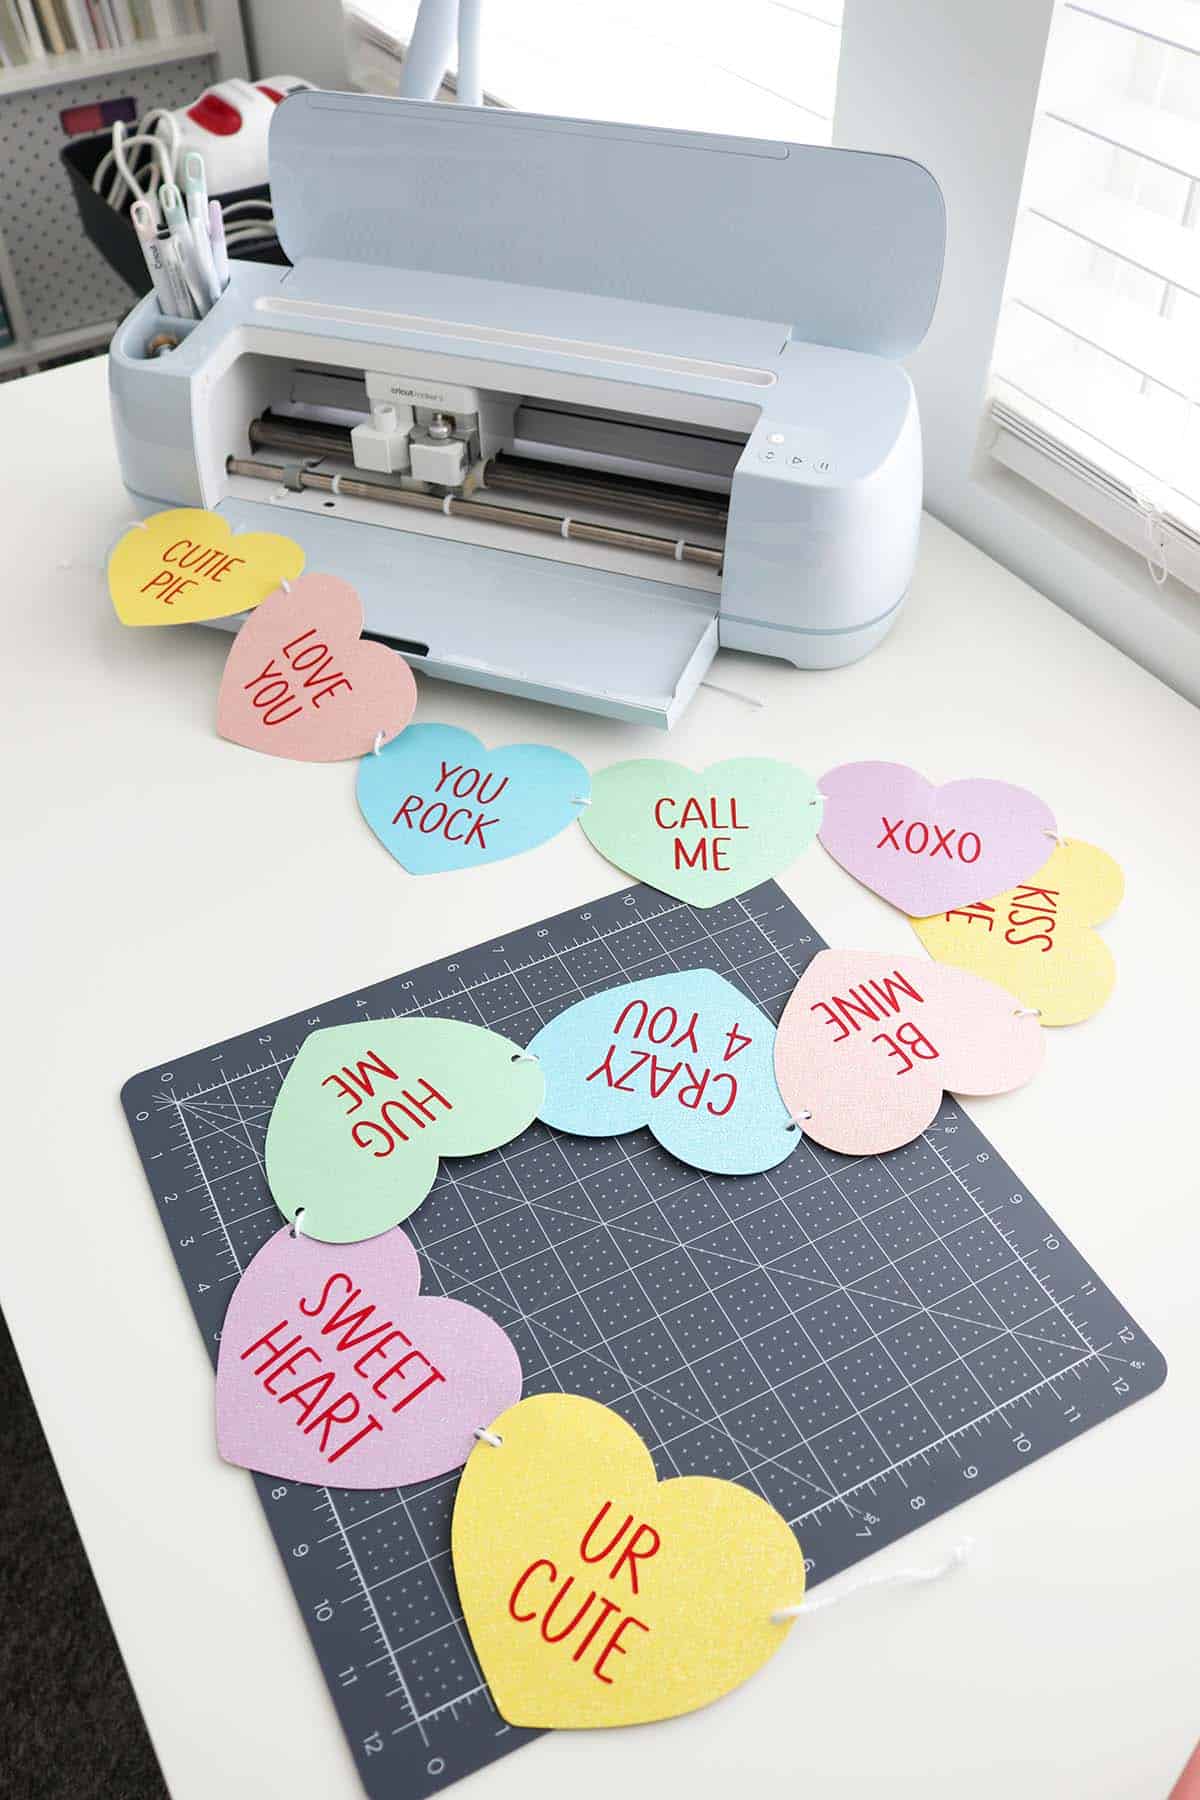
Here are the ones I used in the Design Space project:
- hug me
- call me
- XOXO
- be mine
- sweet heart
- you rock
- kiss me
- crazy 4 you (you could also change this to “crazy 4U”)
- love you
- cutie pie
- UR cute
- marry me
You could also use:
- text me
- I’m yours
- true love
- miss you
- say yes
- sexy
- angel
- love bug
- good vibes
- soul mate
- baby
- rock star
- hot stuff
- te amo
- bff
- bae
- sweet pea
- first kiss
- you shine
- you’re sweet
- it’s love
- heart throb
- sweet talk
- lookin’ good
- hubba hubba
- cute butt
- #1 fan
- so fine
- swipe right
- me & you
- pick me
- wink wink
- I do
- love birds
- honey bun
- my hero
And if you want some non-traditional/sarcastic/funny ideas, here you go:
Rejections:
- meh
- ew, no
- not yours
- hard pass
- next
- nope
- bye
- swipe left
- not a chance
- new phone, who dis
- as if
- can u not
Mild affection:
- you’ll do
- I suppose you’re ok
- you repulse me the least
- you suck less than most people
- not bored of you yet
- you’re so lucky to have found me
Real life:
- I’ll do the dishes
- I’ll cook
- I love you more than Dr. Pepper
- we can get pizza
- bald is beautiful
- we swiped right (true story for me!)
- clean kitchen, happy wife
- let’s cuddle
- I shaved my legs
- I have gas
- did you brush your teeth?
- you’re on my side of the bed
- trim your toenails
- I’m going to be asleep in 5
- maybe tomorrow
If you have kids:
- don’t eat that
- stop screaming
- go to sleep
- time for bed
- because I said so
- slobbery kisses
- where did you have it last?
Self care:
- love yourself
- you are enough
- you are worthy
- you have purpose
- it will be ok
- take a breath
- happy thoughts
- you are beautiful
Or come up with your own that are unique to your relationship/family! Let me know in the comments if I missed any good ones.
DIY Cricut conversation heart banner
And you’re all done! Isn’t this the cutest DIY banner for Valentine’s? And it was so easy to make!

Enjoy your glittery conversation heart decoration!

Don’t forget to pin and save for later!