DIY Camping Shirt With Cricut
Make an easy camping t-shirt with iron-on vinyl! This funny camping shirt is perfect for summer. Get the project in Cricut Design Space!
I love making custom t-shirts. And I love how easy it is to create unique shirts for any occasion, thanks to my Cricut machine and all the fun designs in Cricut Design Space.
For this camping shirt, I adapted an image already in Design Space so it would say “This is My Camping Shirt.” Now no one will mistake your camping shirt for anything else. (haha)
This post contains affiliate links. For more information, see my disclosures here.
What you need to make a DIY camp shirt
- t-shirt
- Cricut machine
- iron-on vinyl: Read this post to see which HTV is best for t-shirts.
- weeding tools
- EasyPress: the 9×9 EasyPress is the perfect size for this project
- pressing mat
- a Cricut Access subscription: This design does require an Access subscription. Read this post to see if Access is worth it for you.
How to make an iron-on vinyl camping shirt
Choose a design and cut
Open my “This is My Camping Shirt” project in Design Space (or create your own design).
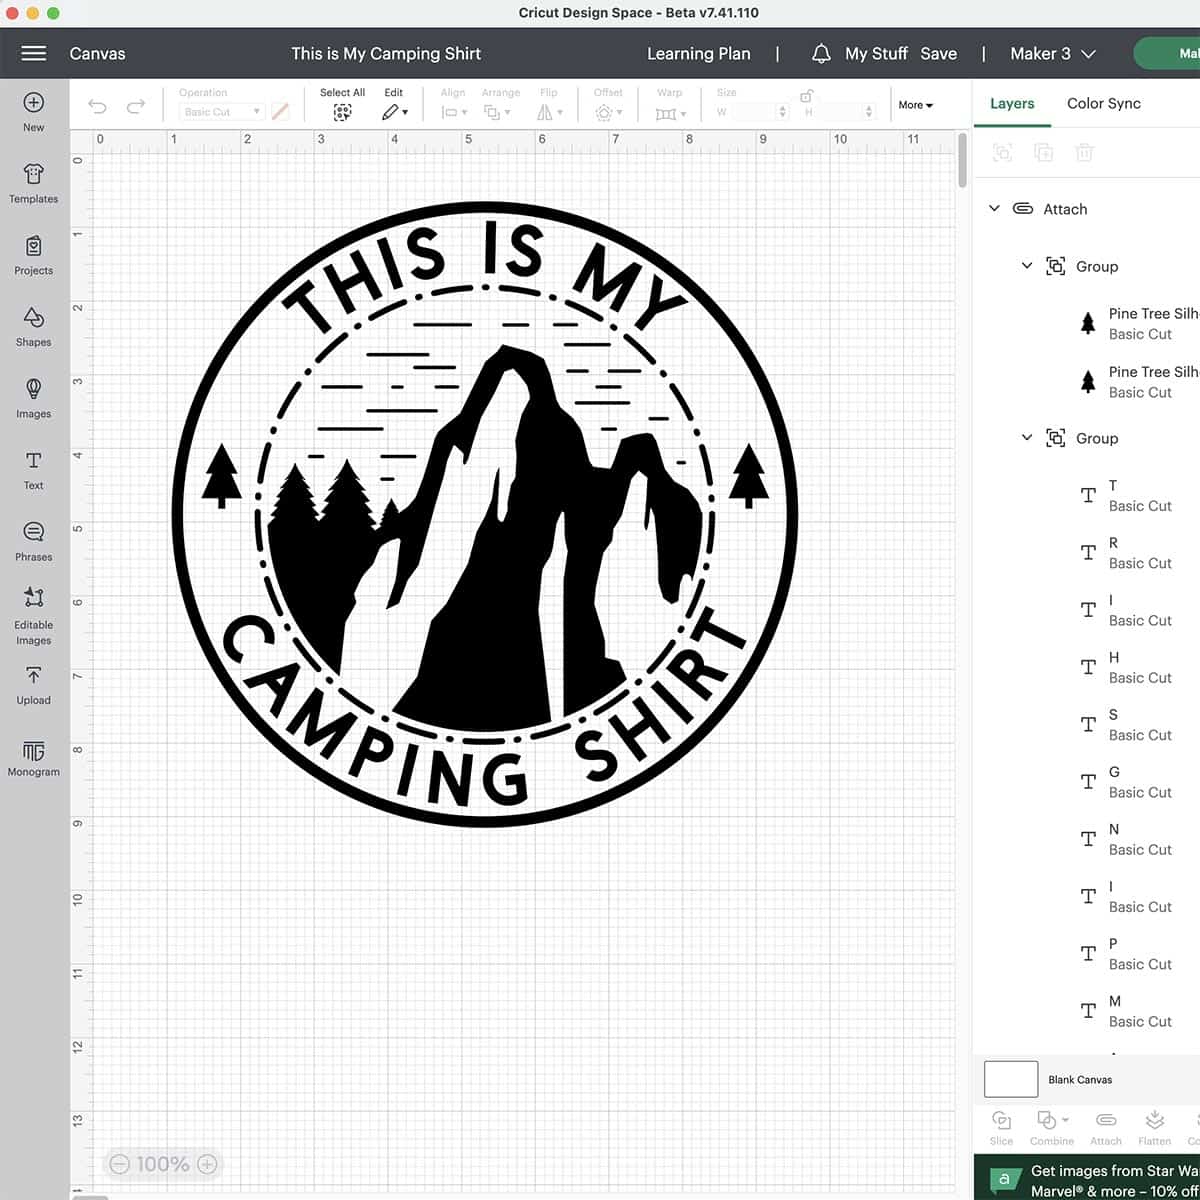
I sized the design to fit an adult t-shirt, but you can easily adjust the sizing for a youth or toddler shirt (select the entire image and drag the bounding box until it’s the size you want, or type in the desired dimensions in the top toolbar).
If you want to adjust the text on this shirt, you will most likely need to create new text boxes. I used the Cricut Sans font in bold, font size about 51. Once you’ve created your new text, curve it first, then you can ungroup and individually space the letters as needed. (If you ungroup first and then regroup, you won’t be able to curve the text.)
You can also swap the trees in the design for another image if you want.
Once you’ve finished your edits, be sure to attach the entire design so everything cuts together as one image.
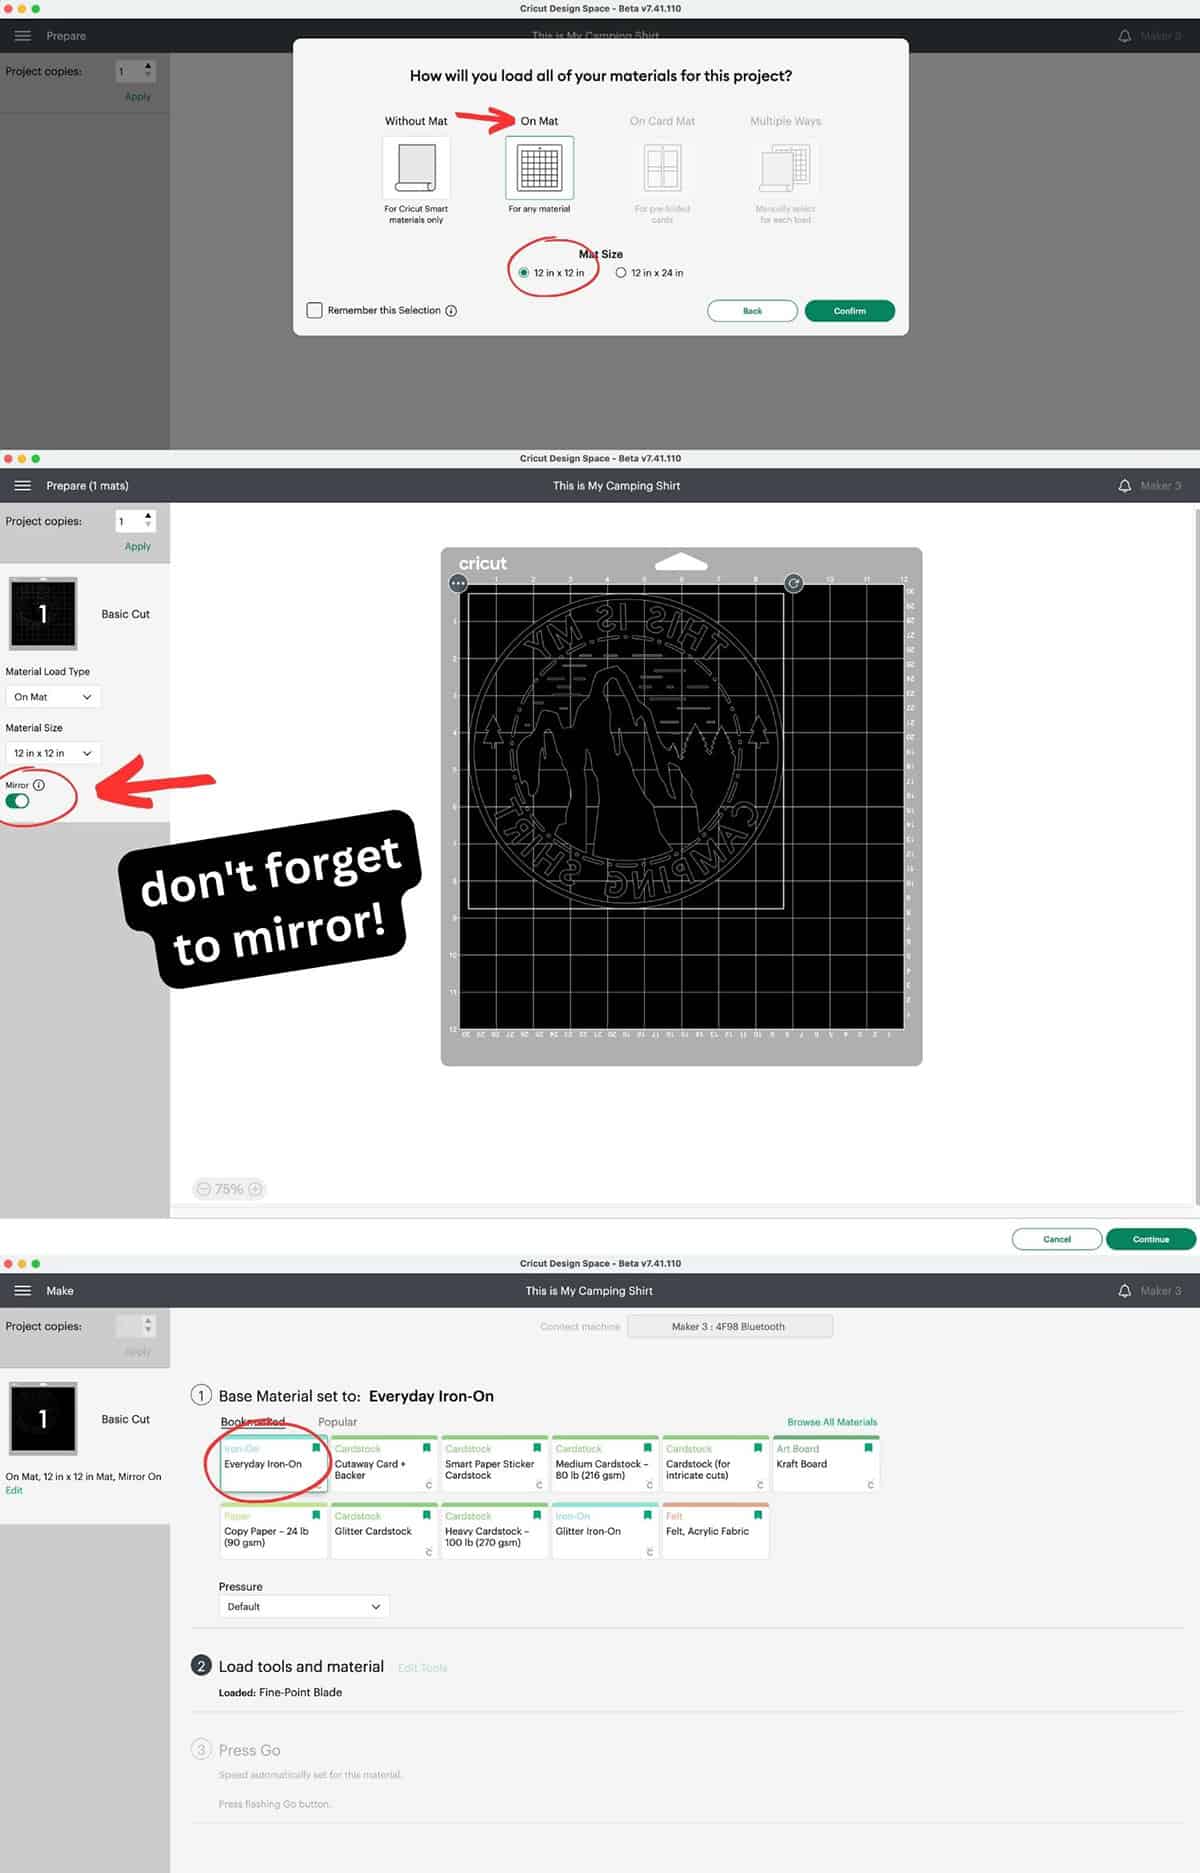
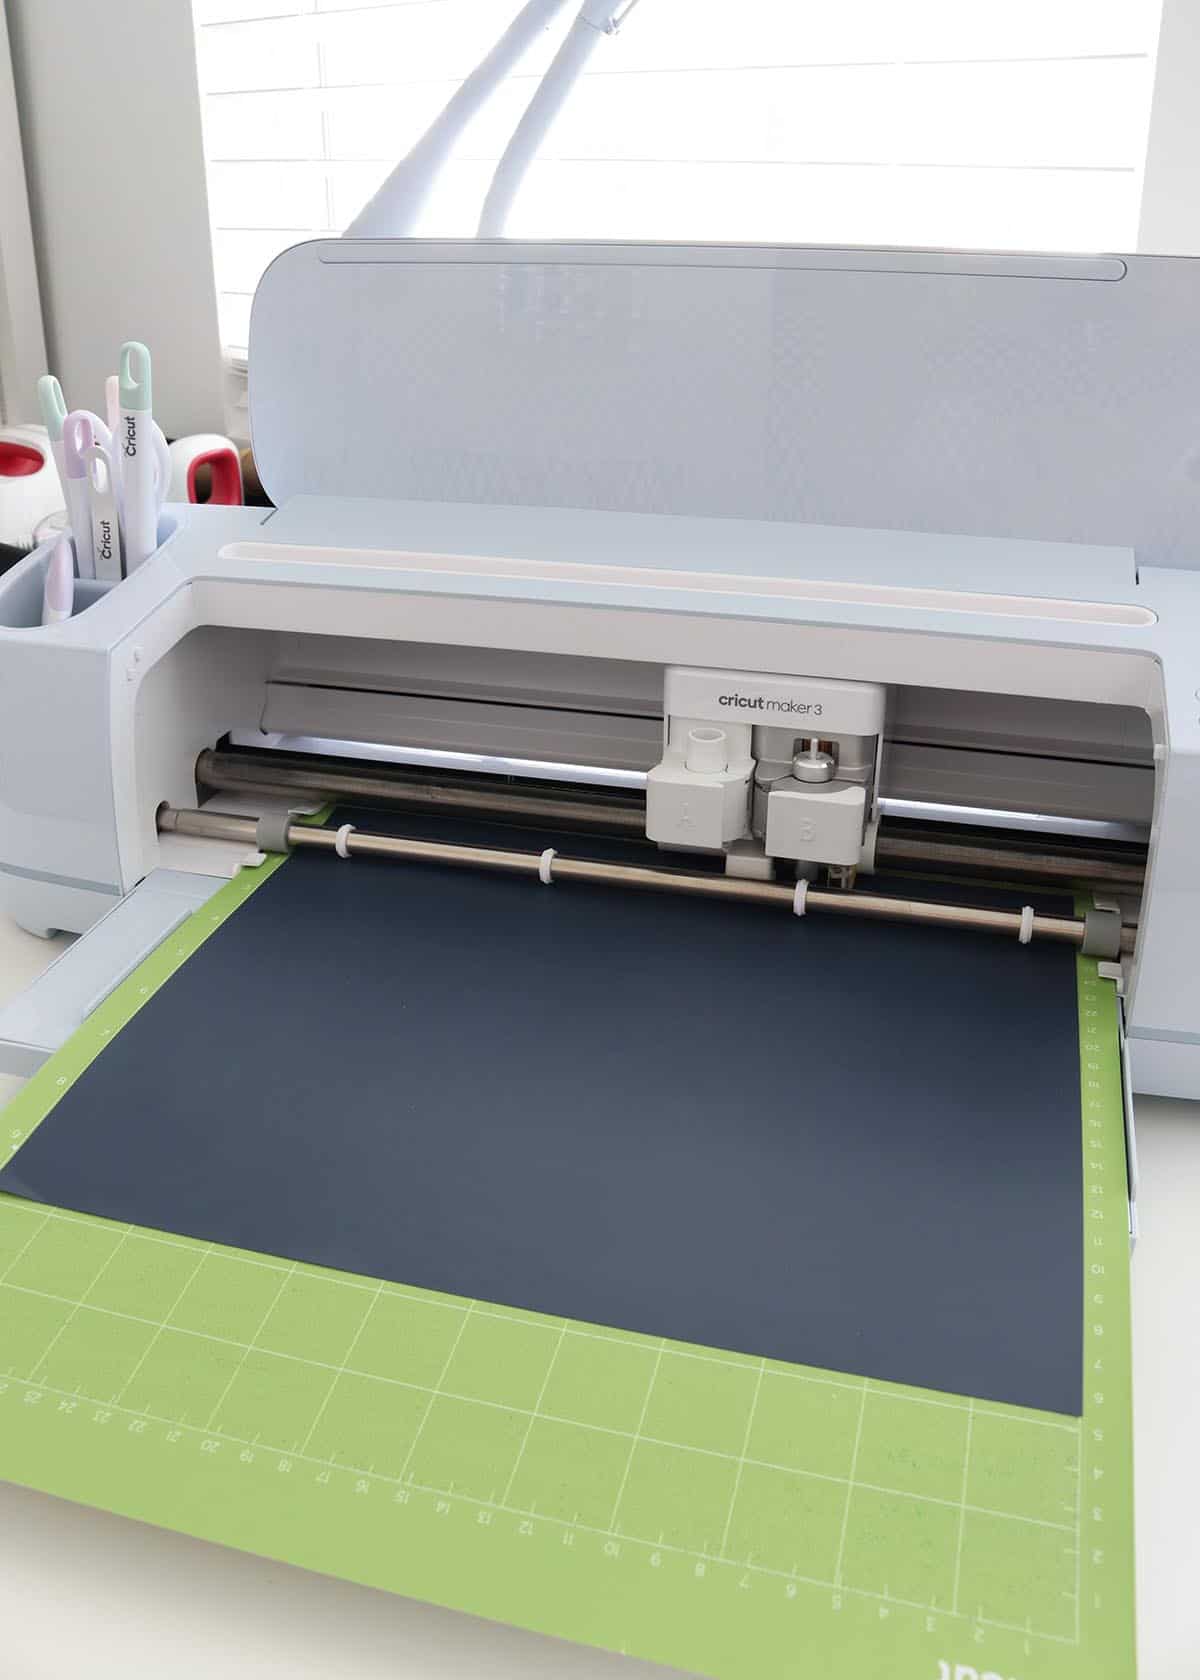
Click Make It and follow the Design Space prompts to cut your design from iron-on vinyl. Choose “On Mat, For any material” and a 12×12 mat, then Confirm. On the Prepare screen, be sure to select Mirror since we’re using iron-on vinyl (always mirror!!). Click Continue, then set your base material to Everyday Iron-On (I’ve bookmarked this so it shows up automatically here—if you don’t see it as an option, click “Browse All Materials” to find it).
Lay your iron-on vinyl on your cutting mat shiny side down. Load your mat into your machine and press the start button. Remove your mat and material once it’s finished cutting.
Weed the design
Before beginning to weed your design, I like to cut closely around it with scissors to save as much of the vinyl scraps as possible for future projects. Using a weeding tool, start removing all the excess iron-on vinyl, leaving only your design still attached to the carrier sheet. I think the BrightPad Go makes the best weeding surface!
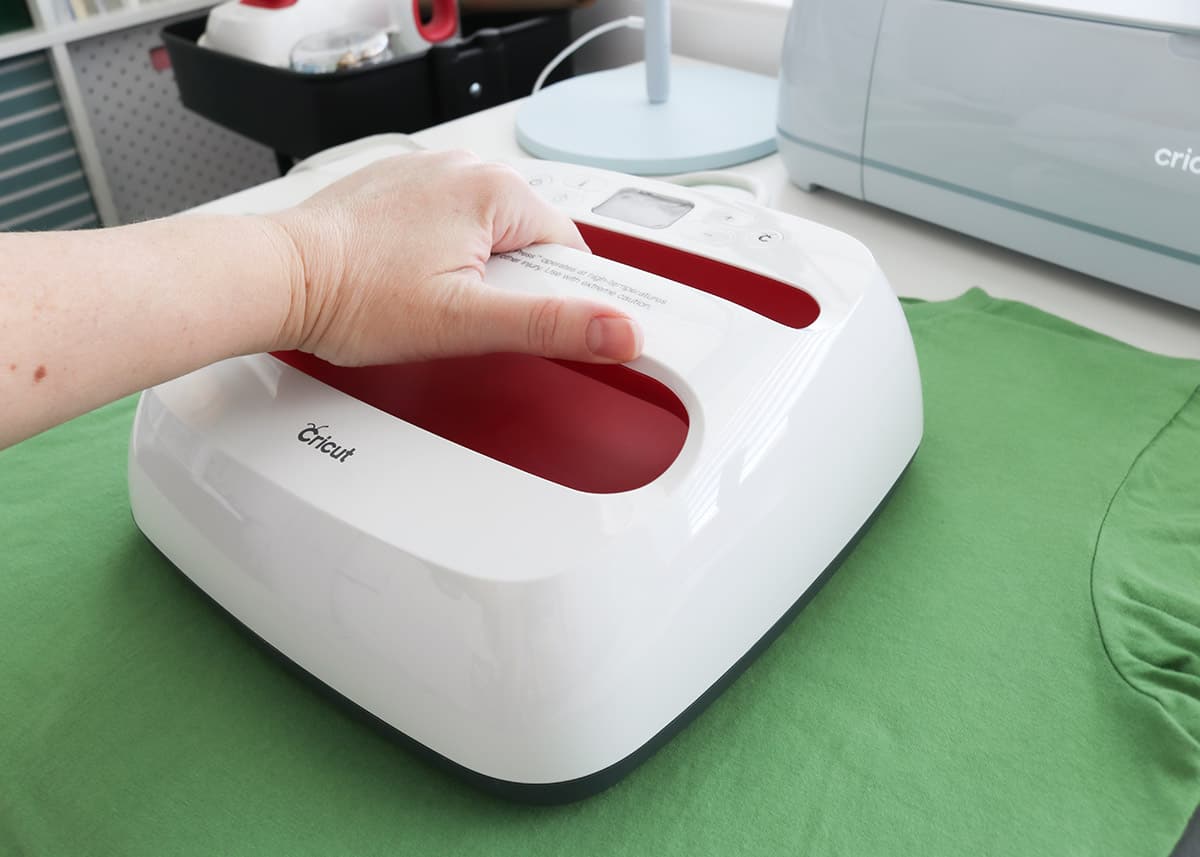
Press the iron-on vinyl to a t-shirt
Lay your pressing mat on your table. Lay your t-shirt on top and center your design on the shirt (shiny carrier sheet side up this time). (I usually like to fold my t-shirt in half to find the middle, crease it firmly with my fingers all the way down, then make a small crease in the iron-on carrier sheet at the top center and bottom center, and match the creases to the fold on the shirt. If needed, you can use heat resistant tape to help hold your design in place.)
Set your EasyPress to the correct time and temperature. For Everyday Iron-On on a cotton t-shirt, you will press at 315° for 30 seconds, preheating first for 5 seconds. Use firm pressure, then slowly remove the carrier sheet when it’s cool. You can check out Cricut’s heat guide if you’re using different materials.
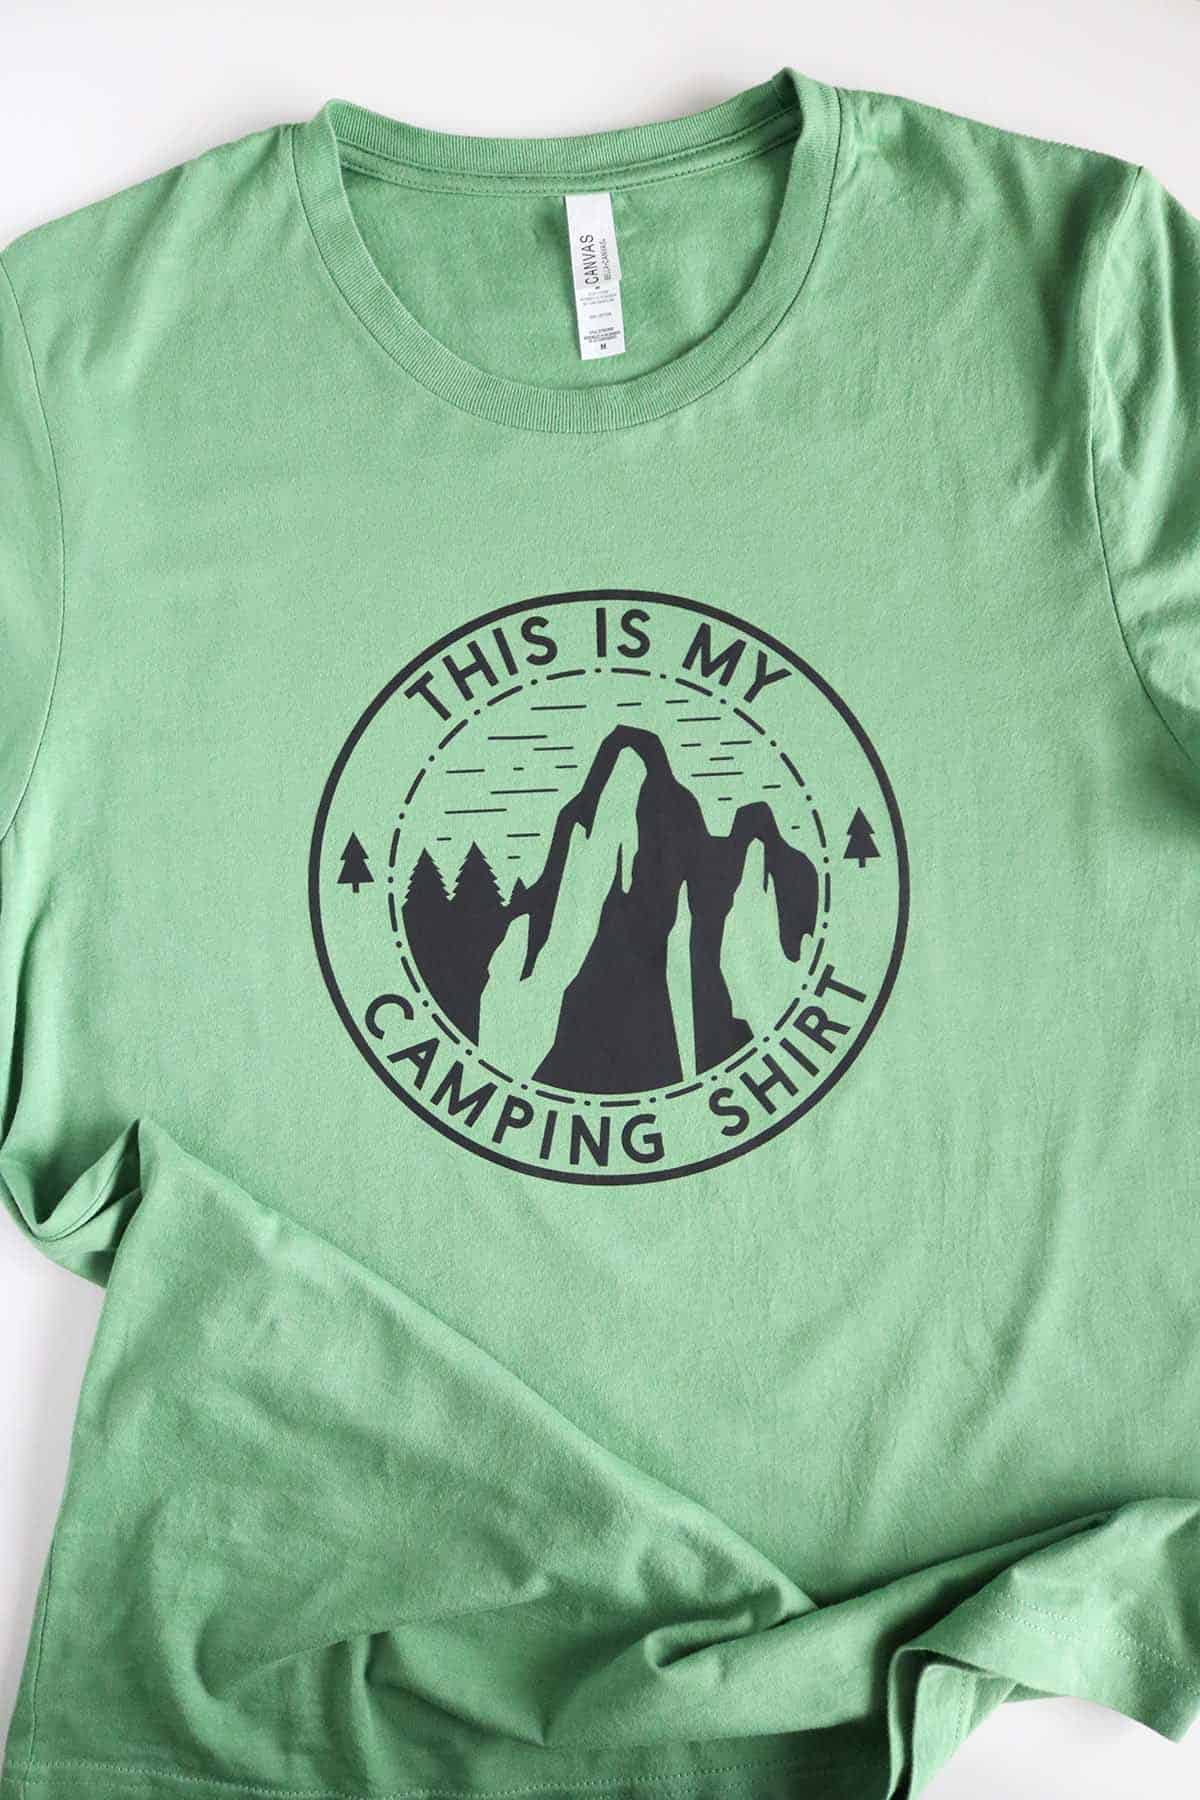
“This is My Camping Shirt” DIY t-shirt
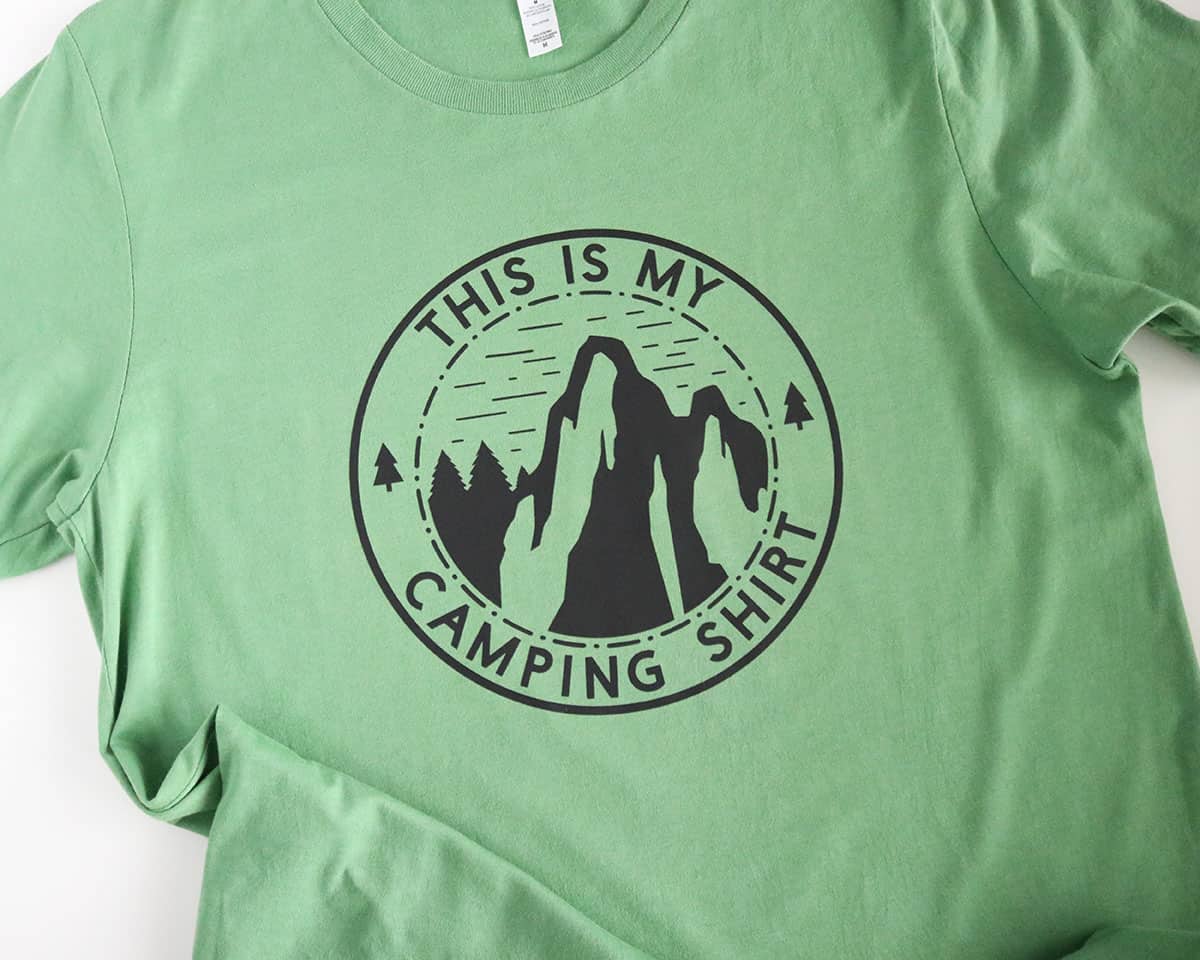
I hope you love your new camping shirt! Now go enjoy the great outdoors and eat a s’more for me! (Pro tip: use a Reese’s instead of the Hershey’s chocolate. You’re welcome. 😉)

Don’t forget to pin and save for later!