How to Make an Easy DIY Cricut Easter Banner
If you’re looking for an easy Easter craft to complement your Easter decor, this DIY banner is adorable and so easy to assemble! It features cardstock bunnies, eggs, and carrots cut with a Cricut.
This post contains affiliate links. For more information, see my disclosures here.
I love when Easter decorations start popping up in stores! I love the sweet pastel colors and I love all the eggs and bunnies on everything!
This DIY banner is a must-make for your Easter decorations this year! It’s so simple but totally adorable. It only requires a few sheets of cardstock and some string, so it’s also really inexpensive (assuming, of course, that you already own a Cricut machine which I think is the best crafting investment you could ever make!).
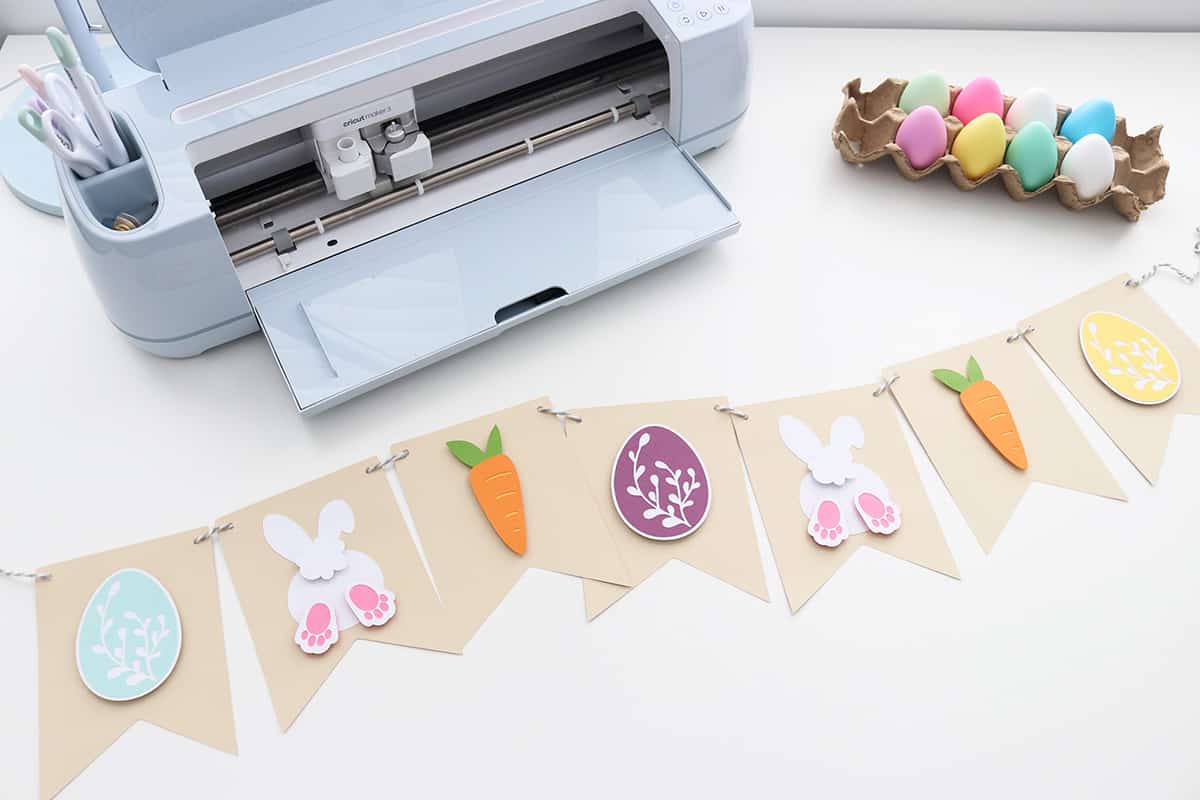
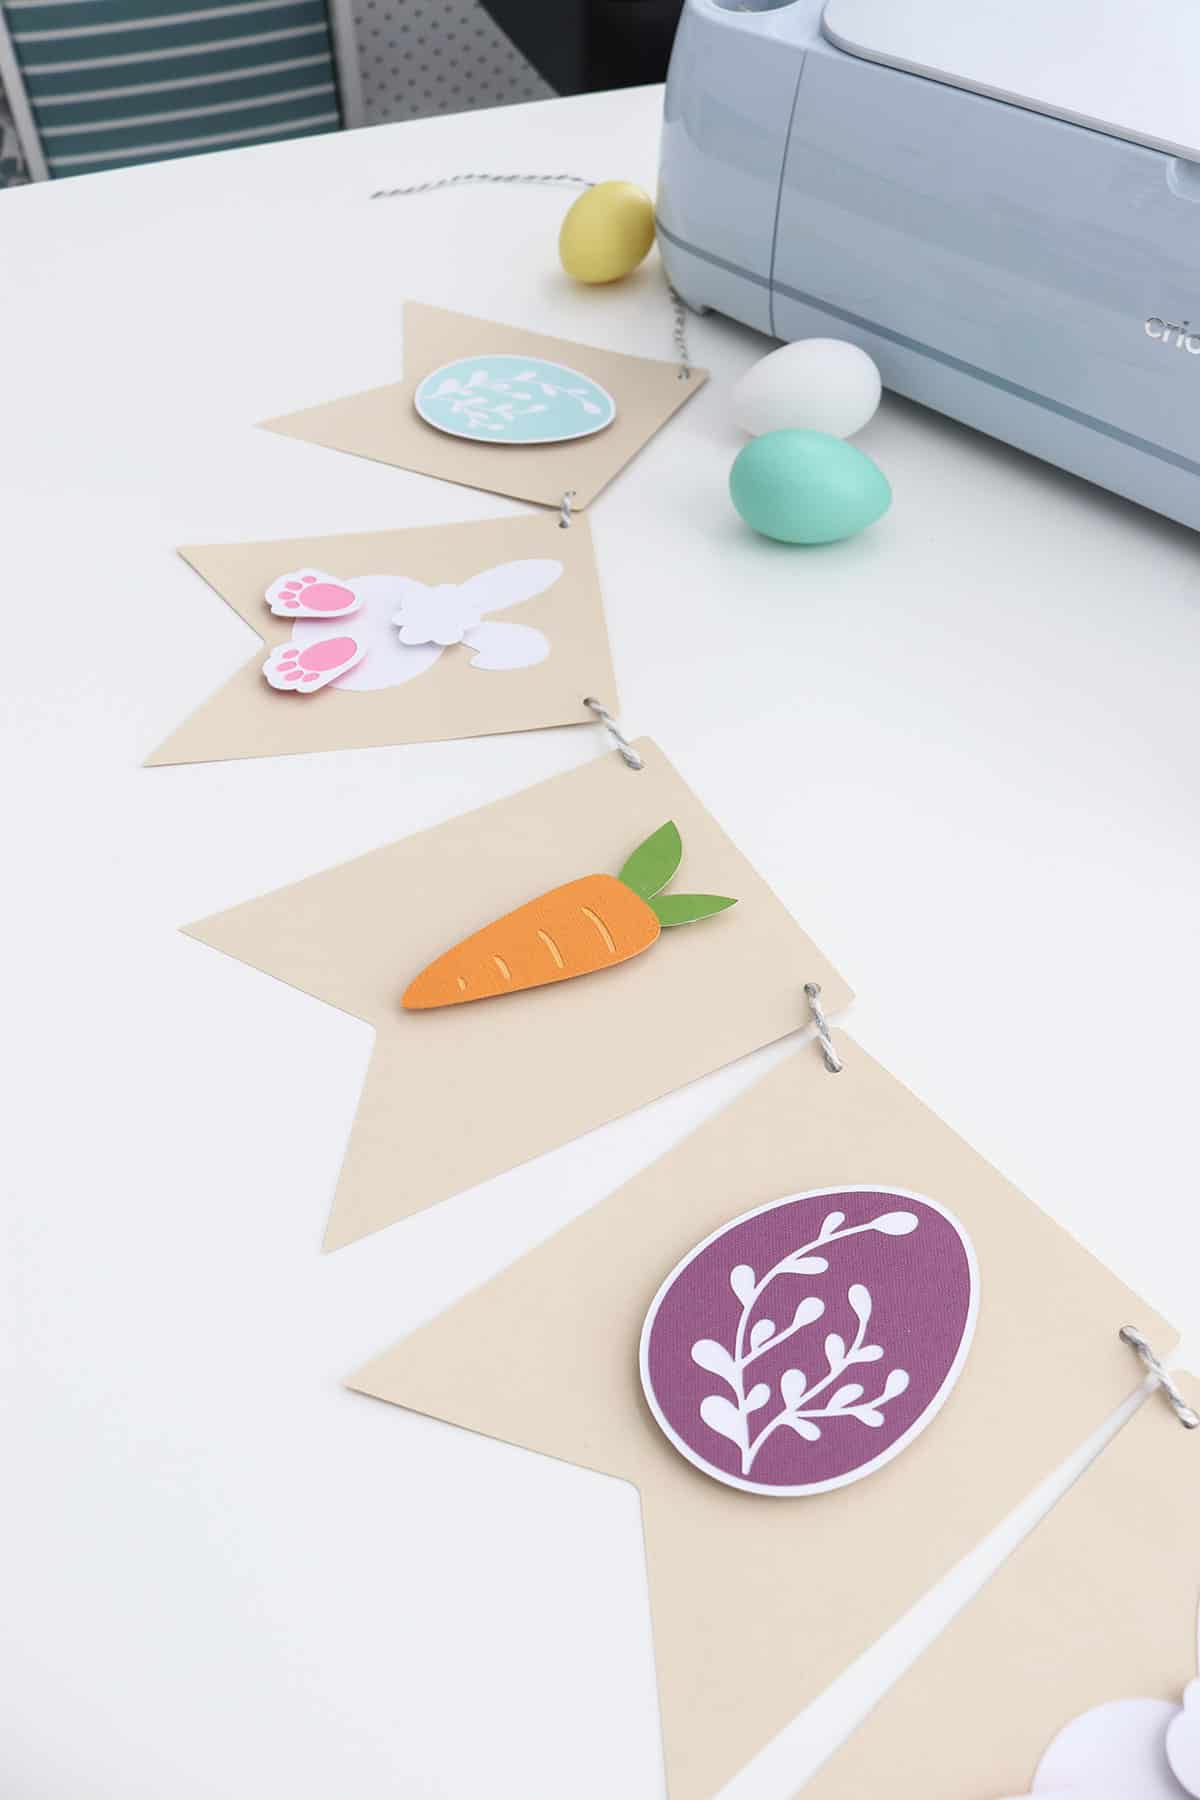
Keep reading for step-by-step instructions on how to make this easy Easter banner!
More posts you’ll like:
What you need to make an Easter banner with Cricut
- Cricut machine
- LightGrip cutting mat
- cardstock: I LOVE Cricut cardstock, but any quality lightweight cardstock will do (it can be hit and miss whether Cricut has good colors in stock, unfortunately)
- glue: this is my favorite adhesive for paper crafts!
- foam tape: This makes all the difference in transforming a flat, boring banner into a professional-looking banner!
- string, ribbon, or yarn (I used yarn)
How to make a DIY Easter banner out of cardstock
Customize in Design Space
Open my Easter Banner project in Cricut Design Space. Click “Customize” to make any edits, including adjusting the colors to match your cardstock colors. You can also resize the pennants*, duplicate them for a longer banner, or add additional Easter shapes (different eggs, flowers, etc.). You can also leave everything as is and change the number of copies at the next step.
The pennants have “hole punches” already in the corners so you don’t have to worry about adding those!
*(technically these shapes are called “guidon” or “swallow-tailed” –but pretty sure I’m the only person who knows that, and only thanks to a quick google search while writing this post– so we’ll say pennant for ease 😆)
Cut with your Cricut machine
Once you’ve finished customizing, click “Make It” and choose your mat preferences (most likely “on mat”). On the prepare screen, you can adjust the project copies as I mentioned. Click “Continue” and set your material settings. I recommend “Cardstock (for intricate cuts)” for anything intricate, like the eggs and bunny feet, and “Medium Cardstock” for the rest.
Load the cardstock on your cutting mat and follow the Design Space prompts to complete all cuts.
Assemble the banner
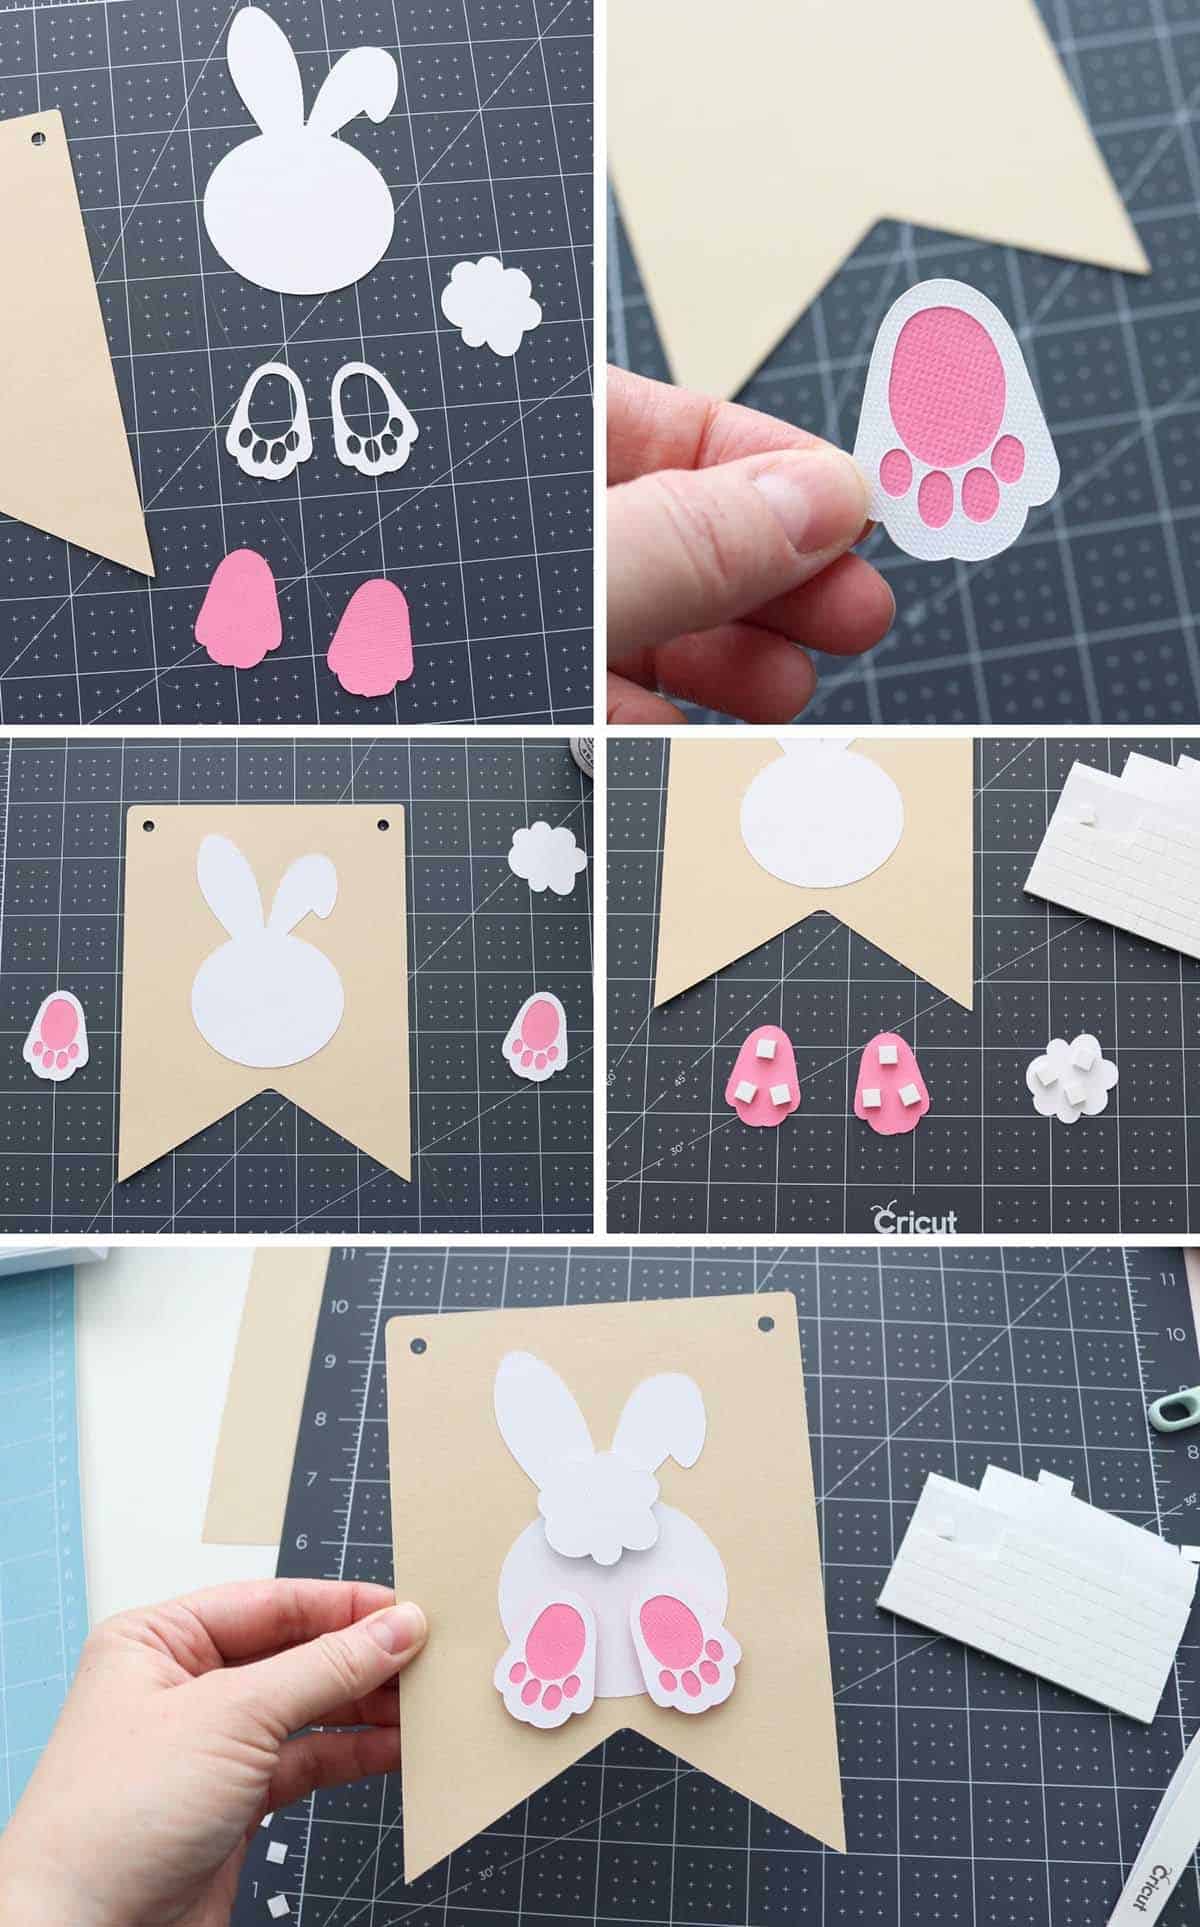
To assemble the bunny pennant:
- Glue the white foot pieces to their pink backgrounds. These white pieces are delicate so definitely utilize your tweezers to hold the cardstock while applying the glue and adhering it to the pink pieces.
- Glue the white bunny head to the pennant, positioning it as shown, so the left ear is about at the level of the holes at the top and roughly centered left to right.
- Apply foam tape to the backs of both the feet and the tail. Stick them to the bunny as shown.
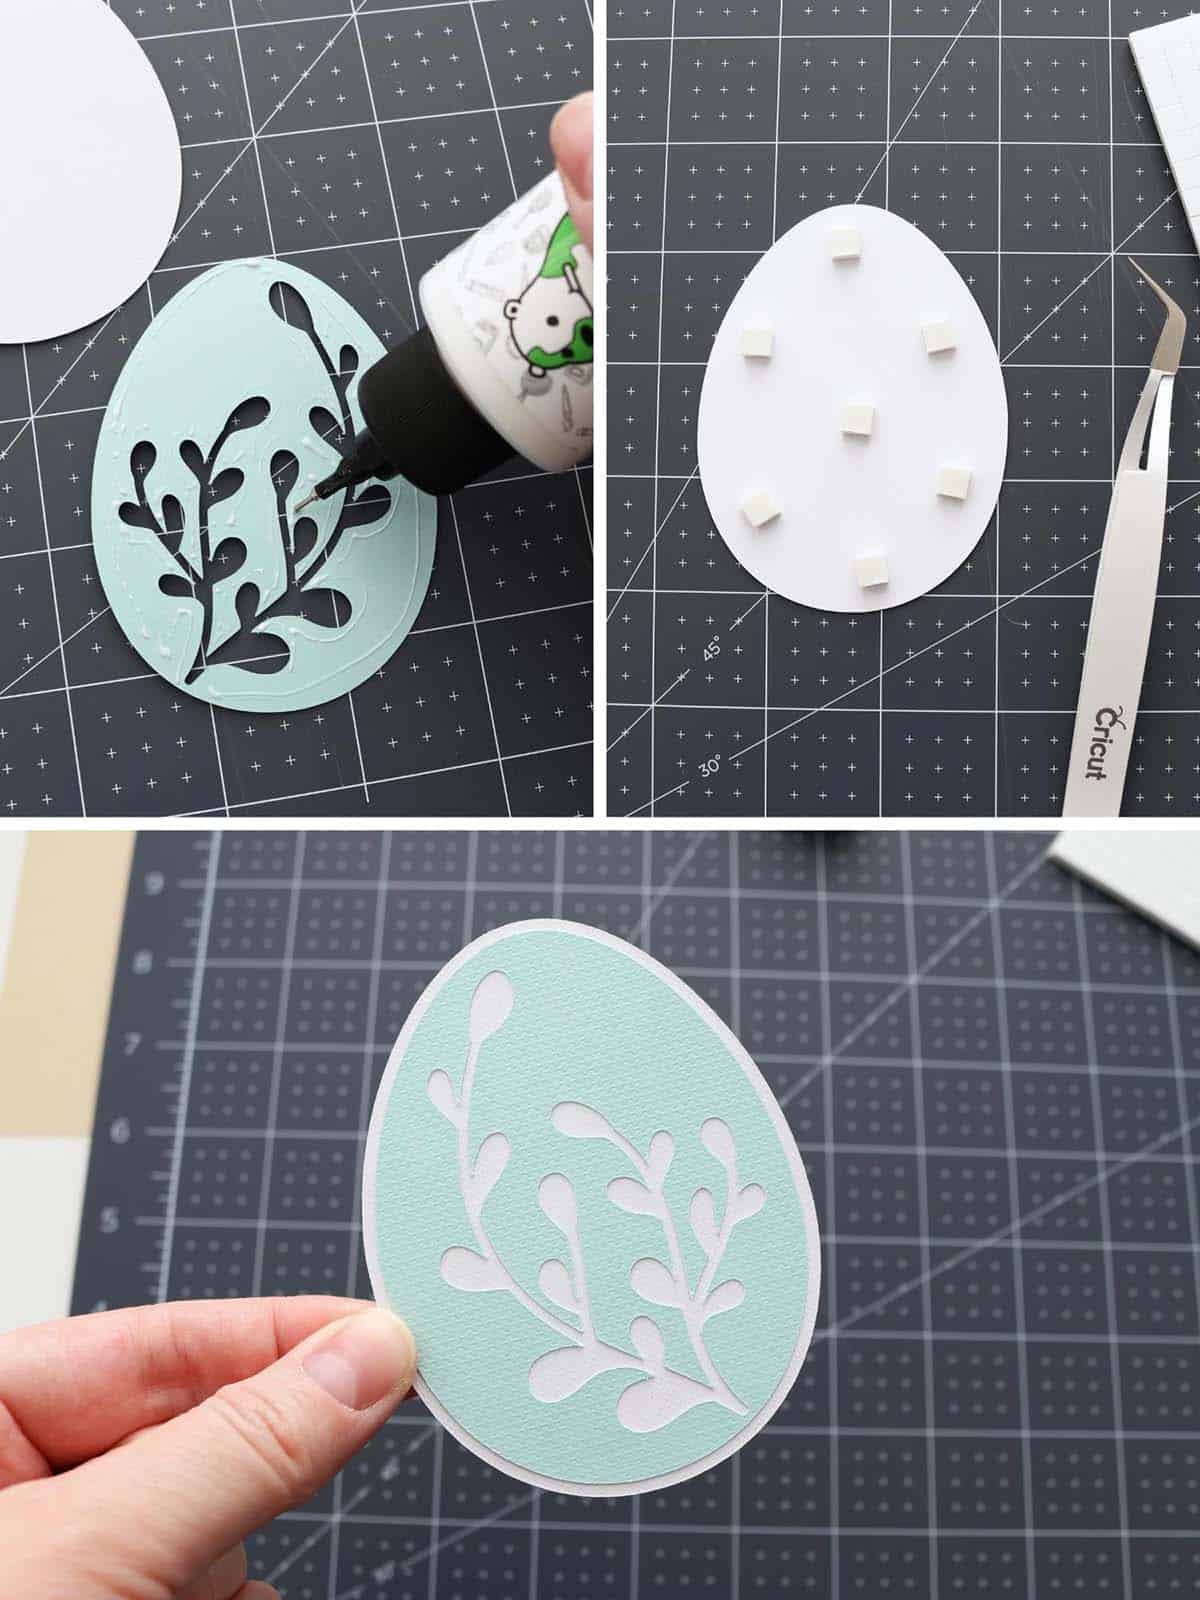
To assemble the egg pennant:
- Glue each colored egg piece to its white background. Work quickly before the glue dries, but try to get glue around the entire leaf design so all parts are adhered.
- Apply foam tape to the back of the layered egg and adhere to the pennant.
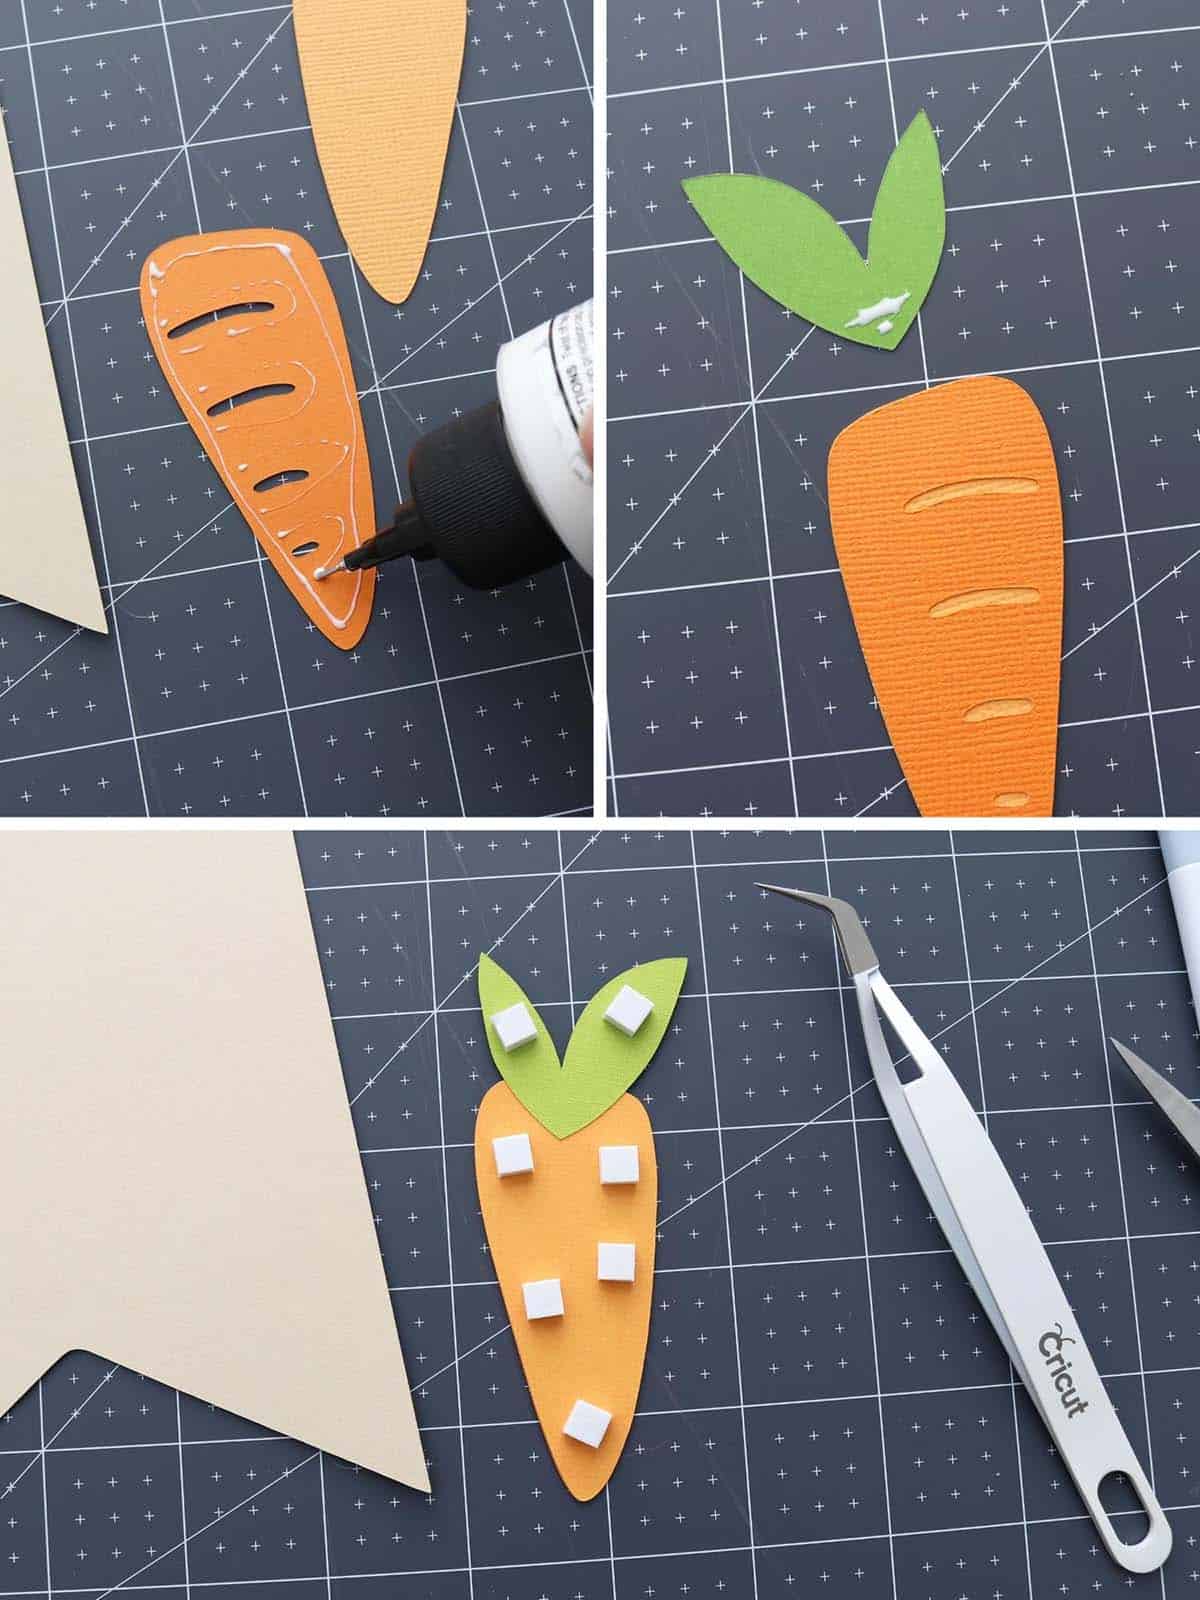
To assemble the carrot pennant:
- Glue the dark orange piece on top of its lighter orange background.
- Apply a small amount of glue to the bottom of the leaf piece (on the front side) and adhere to the back of the carrot.
- Apply foam tape to the back of the layered carrot and adhere to the pennant.
String the banner together
Once you’ve assembled each pennant, lay them out how you’d like (try to vary your egg colors for a good balance of light and dark) and string them together. Then hang to display!
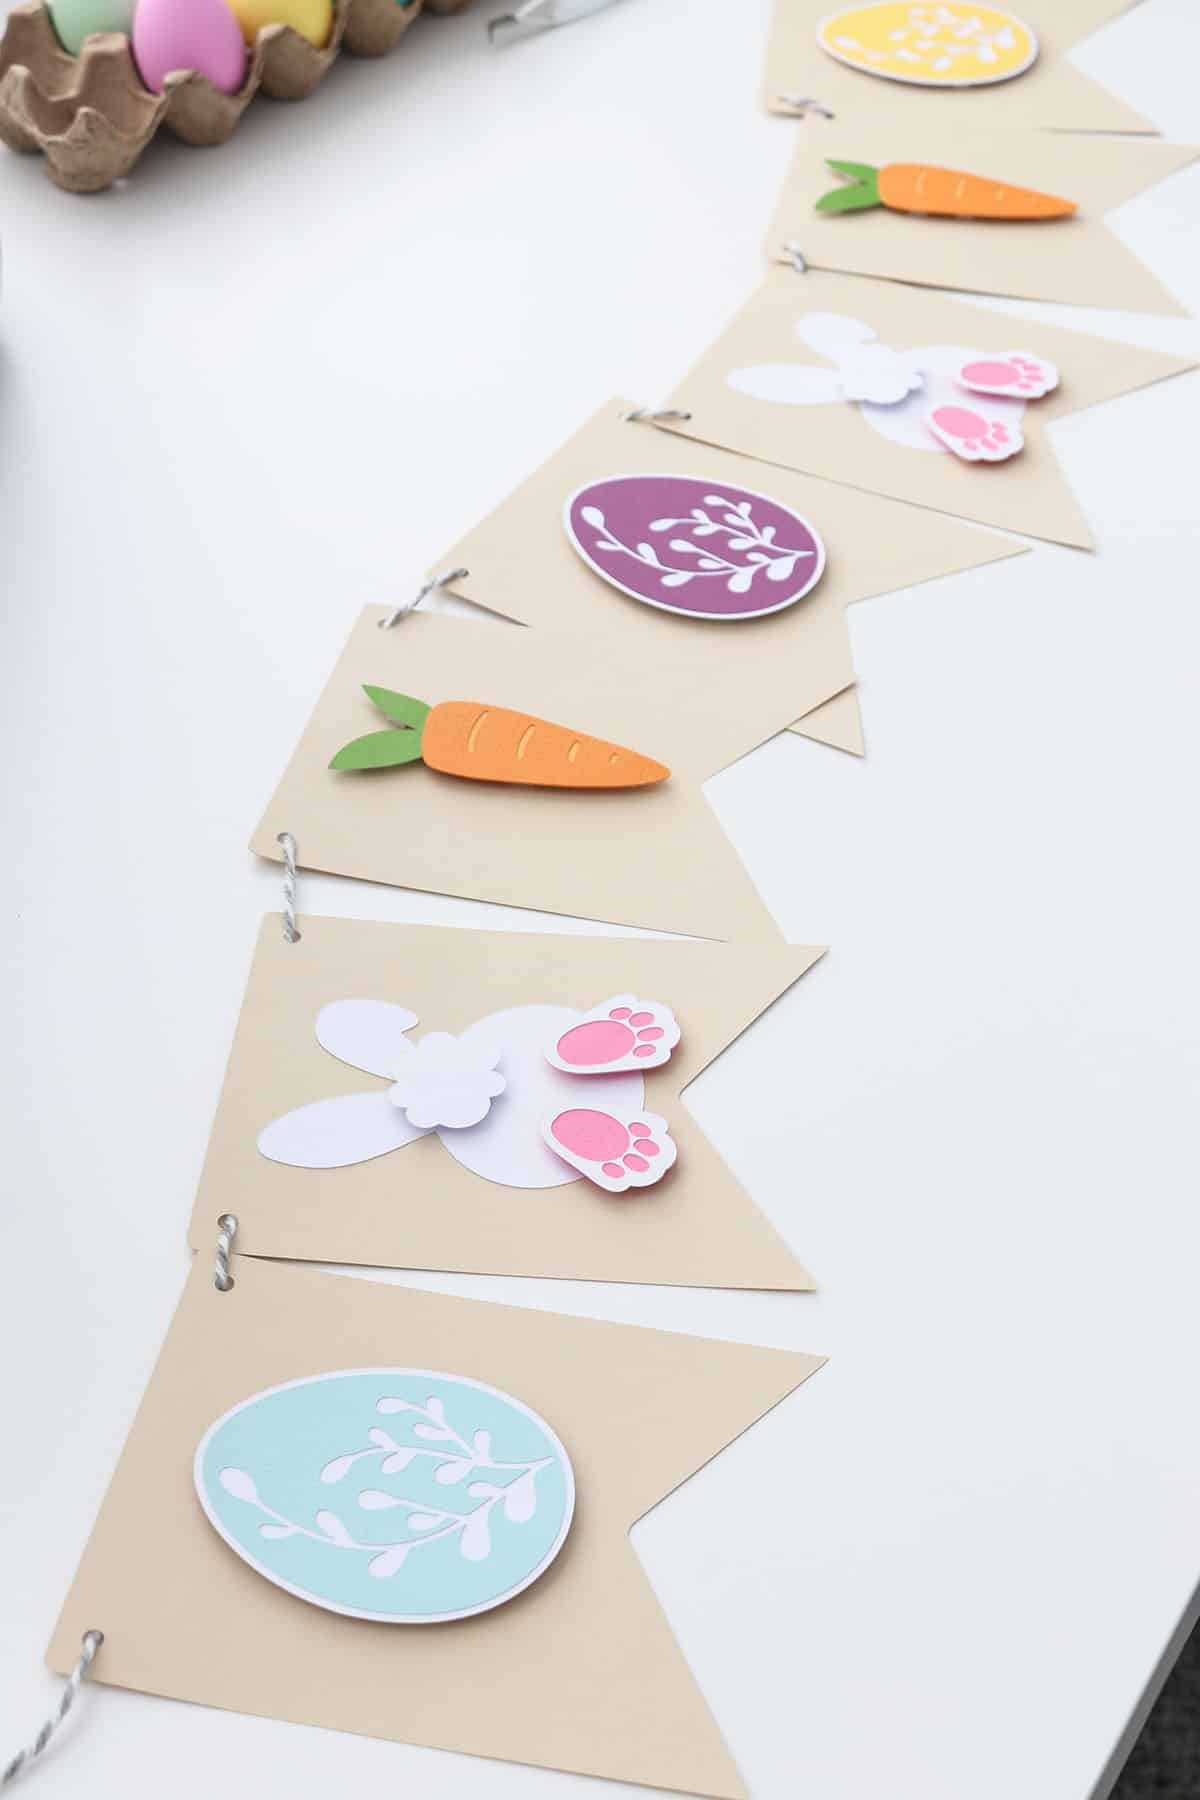
DIY Cricut Easter Banner Craft
I love how simple this Easter banner was to make, and it’s such a cheerful pop of spring colors in my decor! And I think those little bunny bums are adorable.
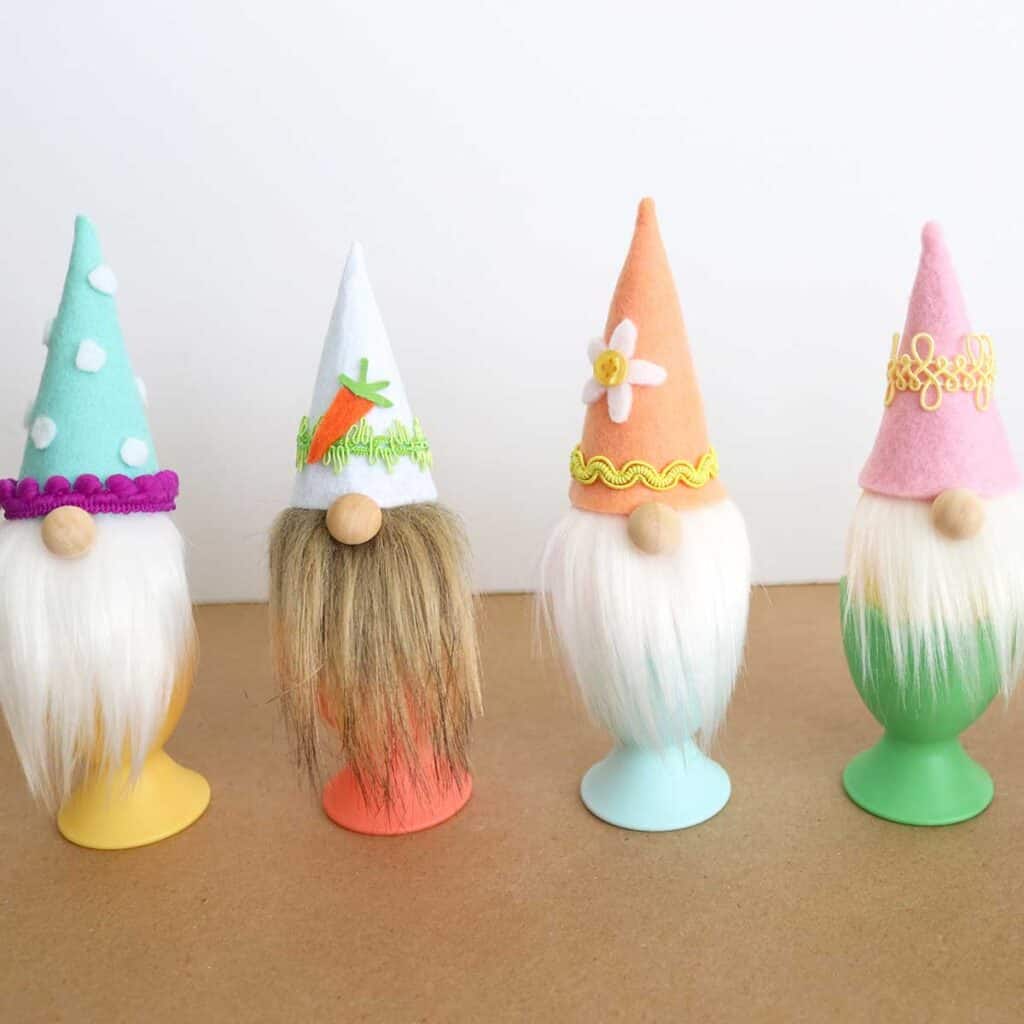
Here you can see it strung across my entry table (I spy my cute DIY Easter egg gnomes on the table too!):
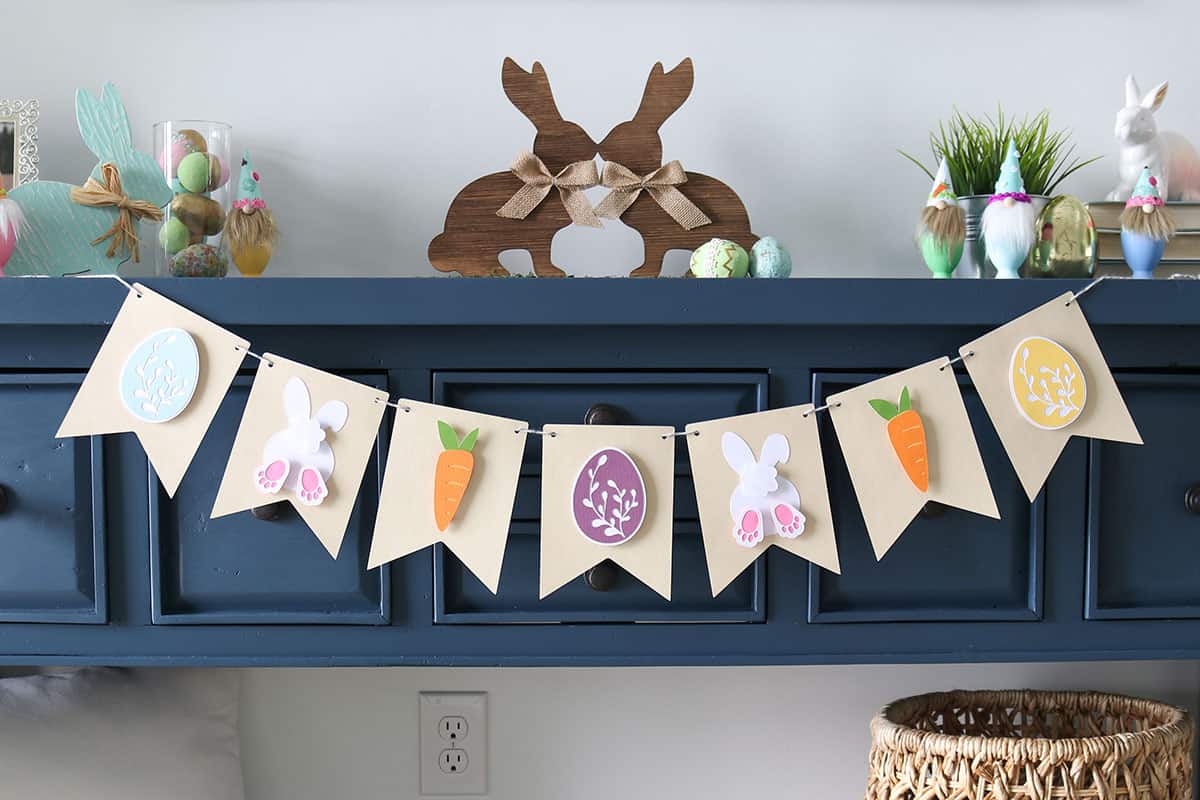
I hope you have fun making this cardstock Easter banner! Happy crafting!

Don’t forget to pin and save for later!

This is just the cutest!!
Thanks, Lynn! I’m glad you like it!