Easy Tissue Paper Wreath for Valentine’s Day
Make a simple heart shaped wreath from tissue paper and cardboard! This is a fun valentine craft for kids and adults!
I’ve made quite a few easy DIY wreaths, and several dollar store wreaths like this one. But this tissue paper heart-shaped Valentine’s wreath is the cheapest and easiest one yet! I bet you already have all the materials on hand, and it’s simple enough that kids can help make it!
My 5-year-old made this tissue paper wreath with me, helping me for the first hour. Then I filled it in and finished it while watching an episode or two of my current show after he went to bed. So, probably two hours total of work.
You can always make your wreath smaller to save time or make sure kids don’t lose interest when making their own. (I actually want to make some mini ones next to hang on my kitchen cabinets like these!)

This is such a fun and easy Valentine’s kids craft and I love that it uses recycled materials. And the finished wreath turns out so cute! I think you’re going to have a lot of fun making it!
This post contains affiliate links. For more information, see my disclosures here.
More posts you’ll like:


What you need to make a tissue paper wreath
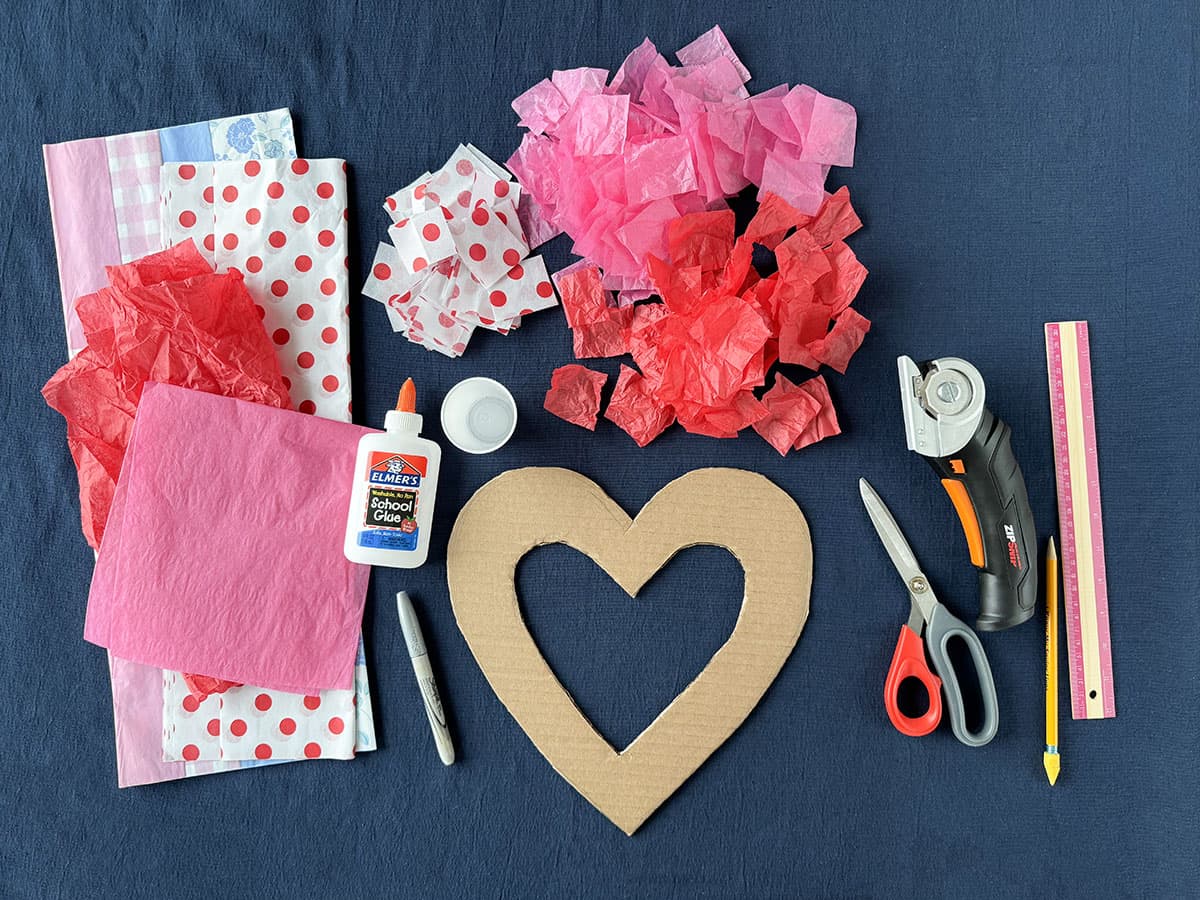
- tissue paper in various colors: I used red, pink, and white with red polka dots. This is a great craft to recycle your used, wrinkled sheets of tissue paper, so there’s no need to buy new if you already have some on hand! Otherwise, Dollar Tree is a great place to get tissue paper or this is an inexpensive pack of red/pink/white tissue paper.
- piece of cardboard: I used the side from a medium-sized box (the box from my most favorite mop, if you really wanted to know, haha), but how much cardboard you need will depend on how big you want to make your wreath.
- cardboard cutters: These are amazing and I wish I had invested in them earlier! I watched some review videos and these came out just a little bit on top of all the other options, and I’m very happy with them!
- scissors
- pencil for drawing the heart shape
- pencils or markers to help when gluing (we used Sharpies since they have a more-rounded end)
- Elmer’s glue
- small plastic or paper cup (you could even use an empty egg carton cup)
- ribbon: You just need a small piece, so I also recycled this from a gift.
- hot glue: I love my Cricut hot glue gun, but it’s only available in this set right now (could make a fun gift for the right person, though).
How to make a heart-shaped tissue paper wreath

Cut a wreath base out of cardboard
Cut out a piece of cardboard and sketch a heart on it. I just freehand-drew mine, but you could also use a template (you could print one out, or find something heart-shaped to trace).
I used my cardboard cutters to cut around the outside of the heart and it cut so smoothly! (The cutters take just a second to get used to, so do some test cuts first.)
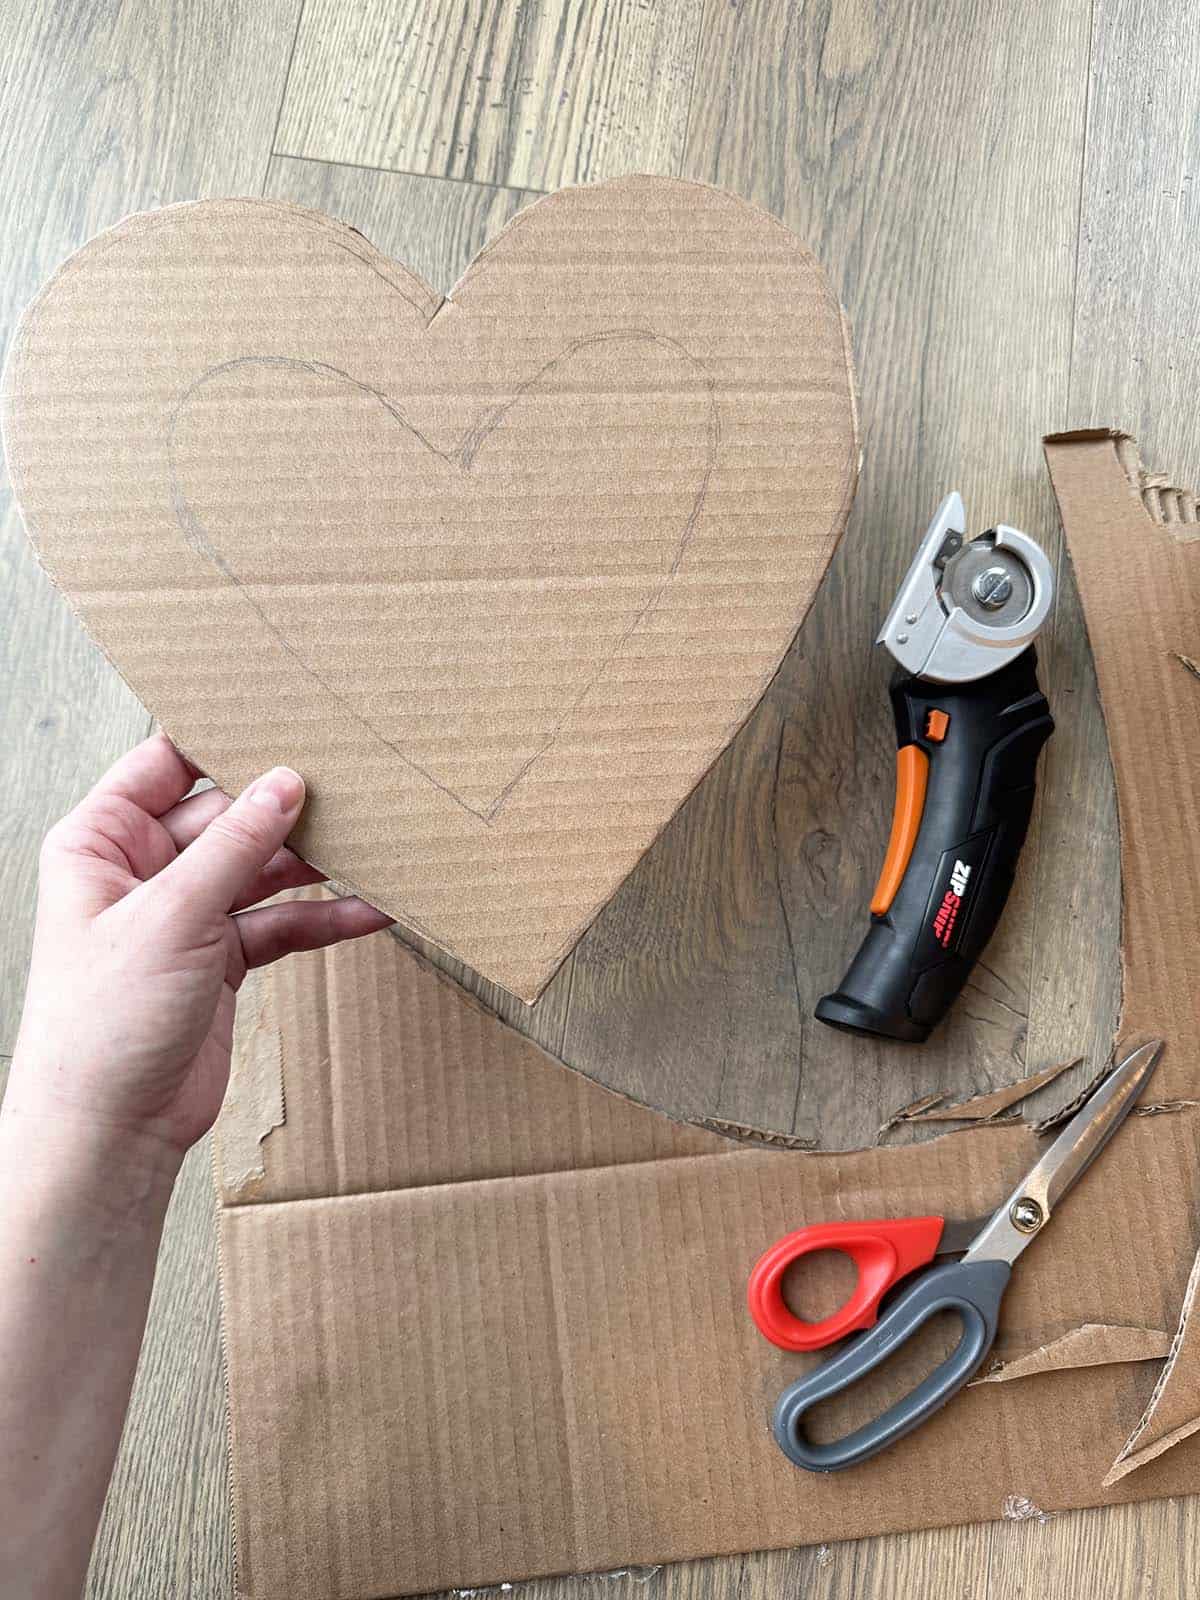
Once I had that shape figured out, I drew a smaller heart on the inside and cut that out with scissors. Don’t worry, the base does NOT have to look perfect because it won’t be seen at all once you’re done! (Kids don’t tend to fill their tissue paper wreaths in fully, so their base might show through, but kids are also way less picky about those details.)
If you want to skip all of these steps or if you have a large group you’re making wreath bases for, these pre-made cardboard hearts are a great alternative.
Prep tissue paper squares
Cut your tissue paper into roughly 1.5 inch to 2 inch squares (I estimated the sizes, and some pieces definitely came out more rectangular, but it doesn’t matter too much). I think the larger squares are easier to use, especially for kids.
You can speed up the cutting by folding the tissue paper in rows and cutting whole strips at once, then stacking them to cut into squares.
How many squares you need totally depends on the size of your wreath and how closely you place tissue paper pieces. You can always cut more as you go. (I didn’t keep track of how much I used, but I bet I didn’t use more than a single piece of each color, if I had to guess.)
Glue tissue paper to wreath
Pour some glue into a small disposable cup (I used scissors to cut my cup down so it would be easier to reach to the bottom).
Center the end of your pencil or marker over a square of tissue paper and wrap the tissue paper gently around it. Dip the tissue paper into a cup of glue. Stick the tissue paper to the cardboard base and pull the marker out carefully (sometimes it helps to twist the marker when you press it down so it releases the tissue paper, and sometimes you’ll need to use your fingers to get it to stay on the cardboard).
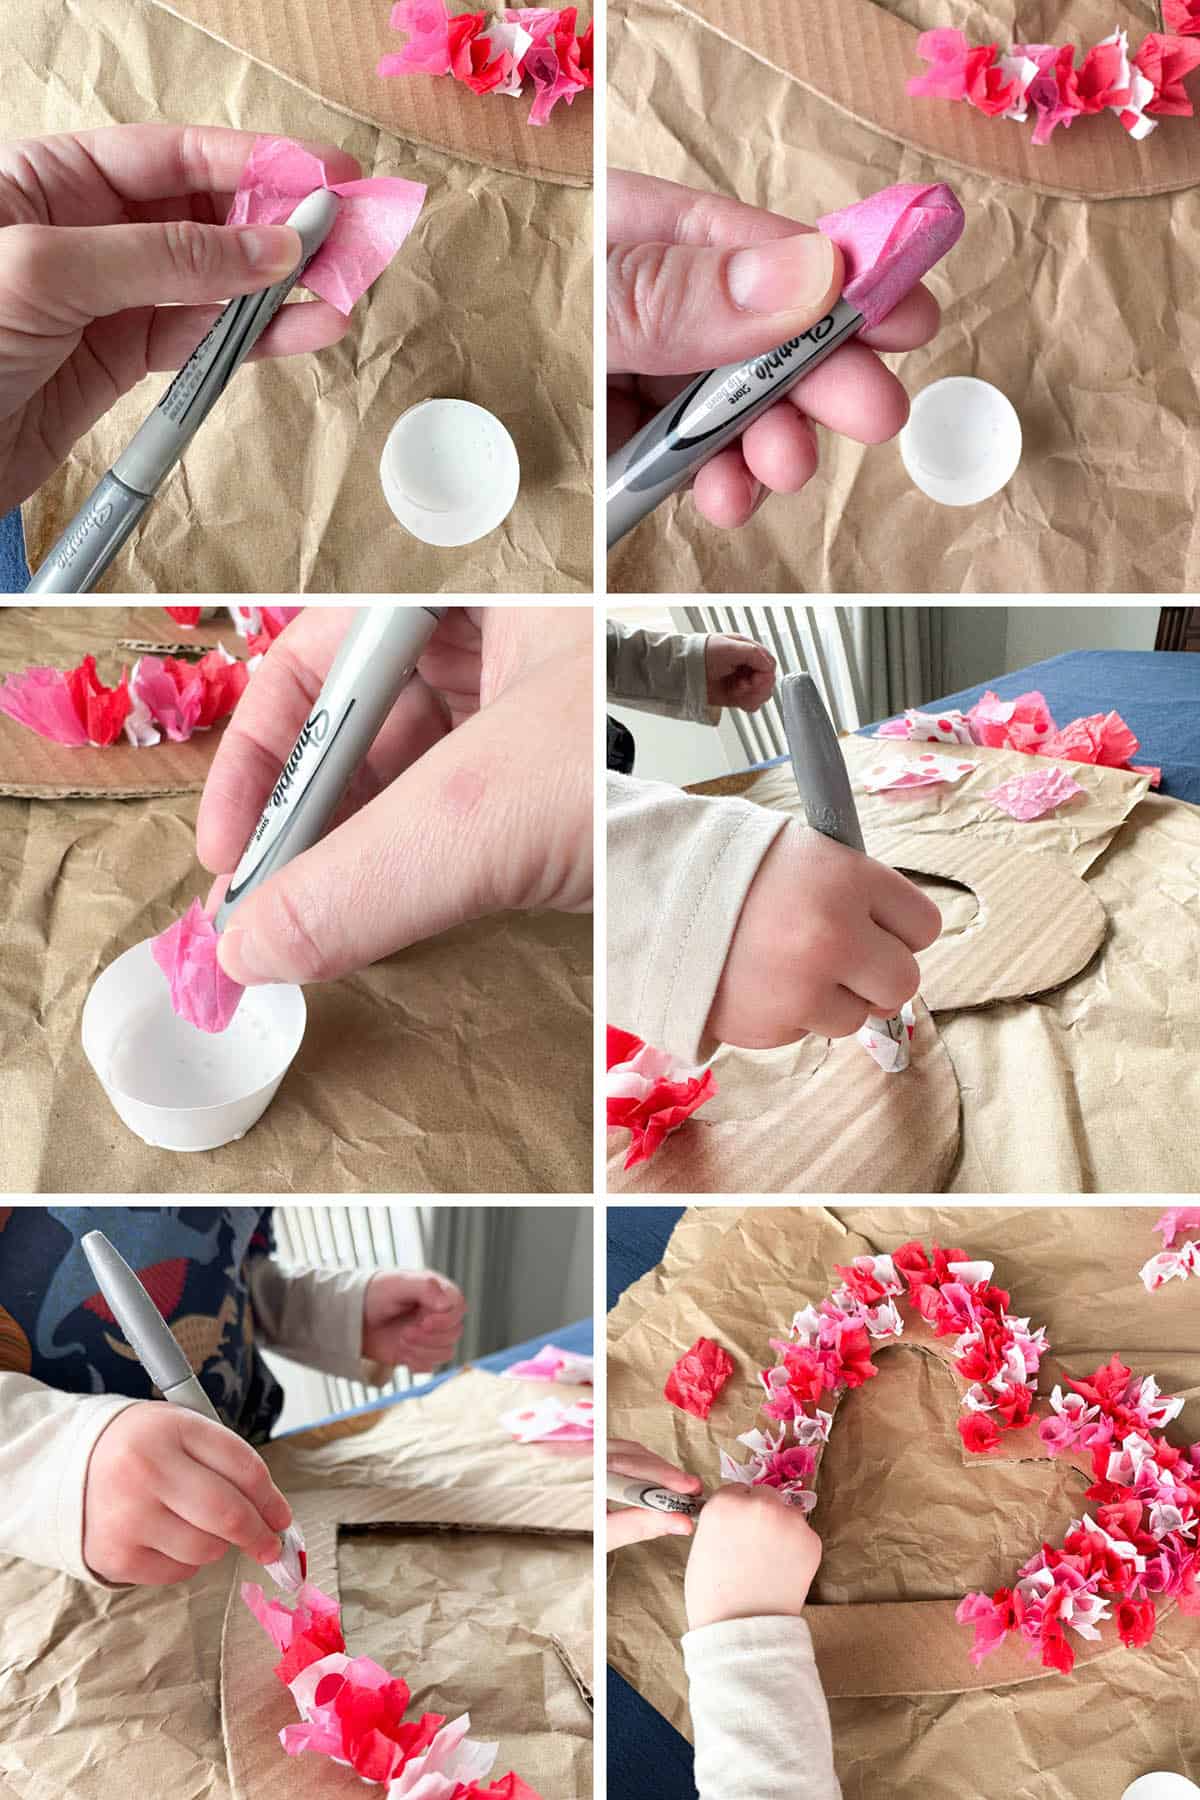
To make your wreath look really full, it’s probably easiest to start on the edges of the wreath and fill in from there. Place tissue paper pieces right next to previous ones, varying the colors used. Of course, if you’re doing this valentine craft with kids, you don’t need to stress this and can always go back in later to fill in any gaps.
Keep repeating this gluing process until your heart wreath is full. (Turn on a show or podcast and time will go quickly!) Let the wreath dry completely, for at least a few hours or overnight.
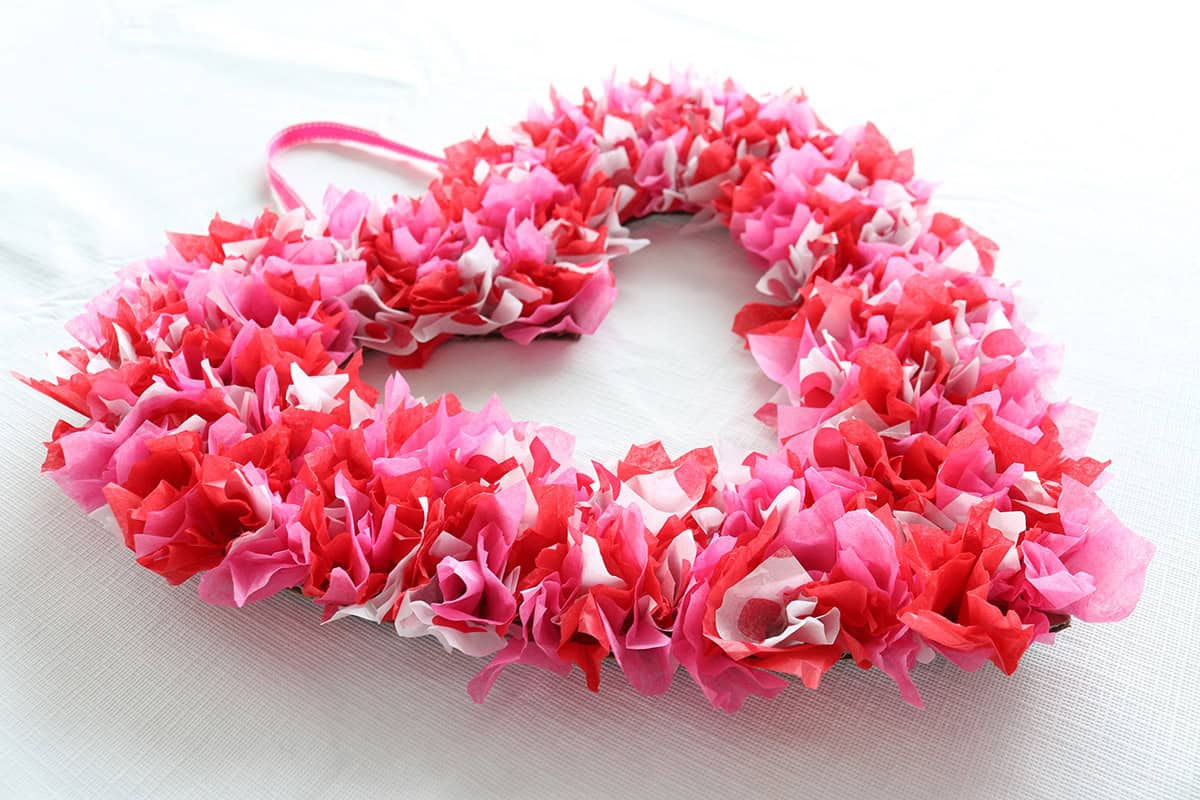
Make a wreath hanger
Cut a piece of ribbon to make a wreath hanger (how long is totally up to you, but mine is about 14 inches). Hot glue the ends to the back of the wreath base at the top–you can see my placement here:

And your wreath is ready to hang!
Remember, this is an indoor-only wreath since the tissue paper and cardboard would quickly disintegrate in any kind of wet weather. So find a doorknob, drawer pull, or hook to hang your wreath on and enjoy your new Valentine’s Day decoration!
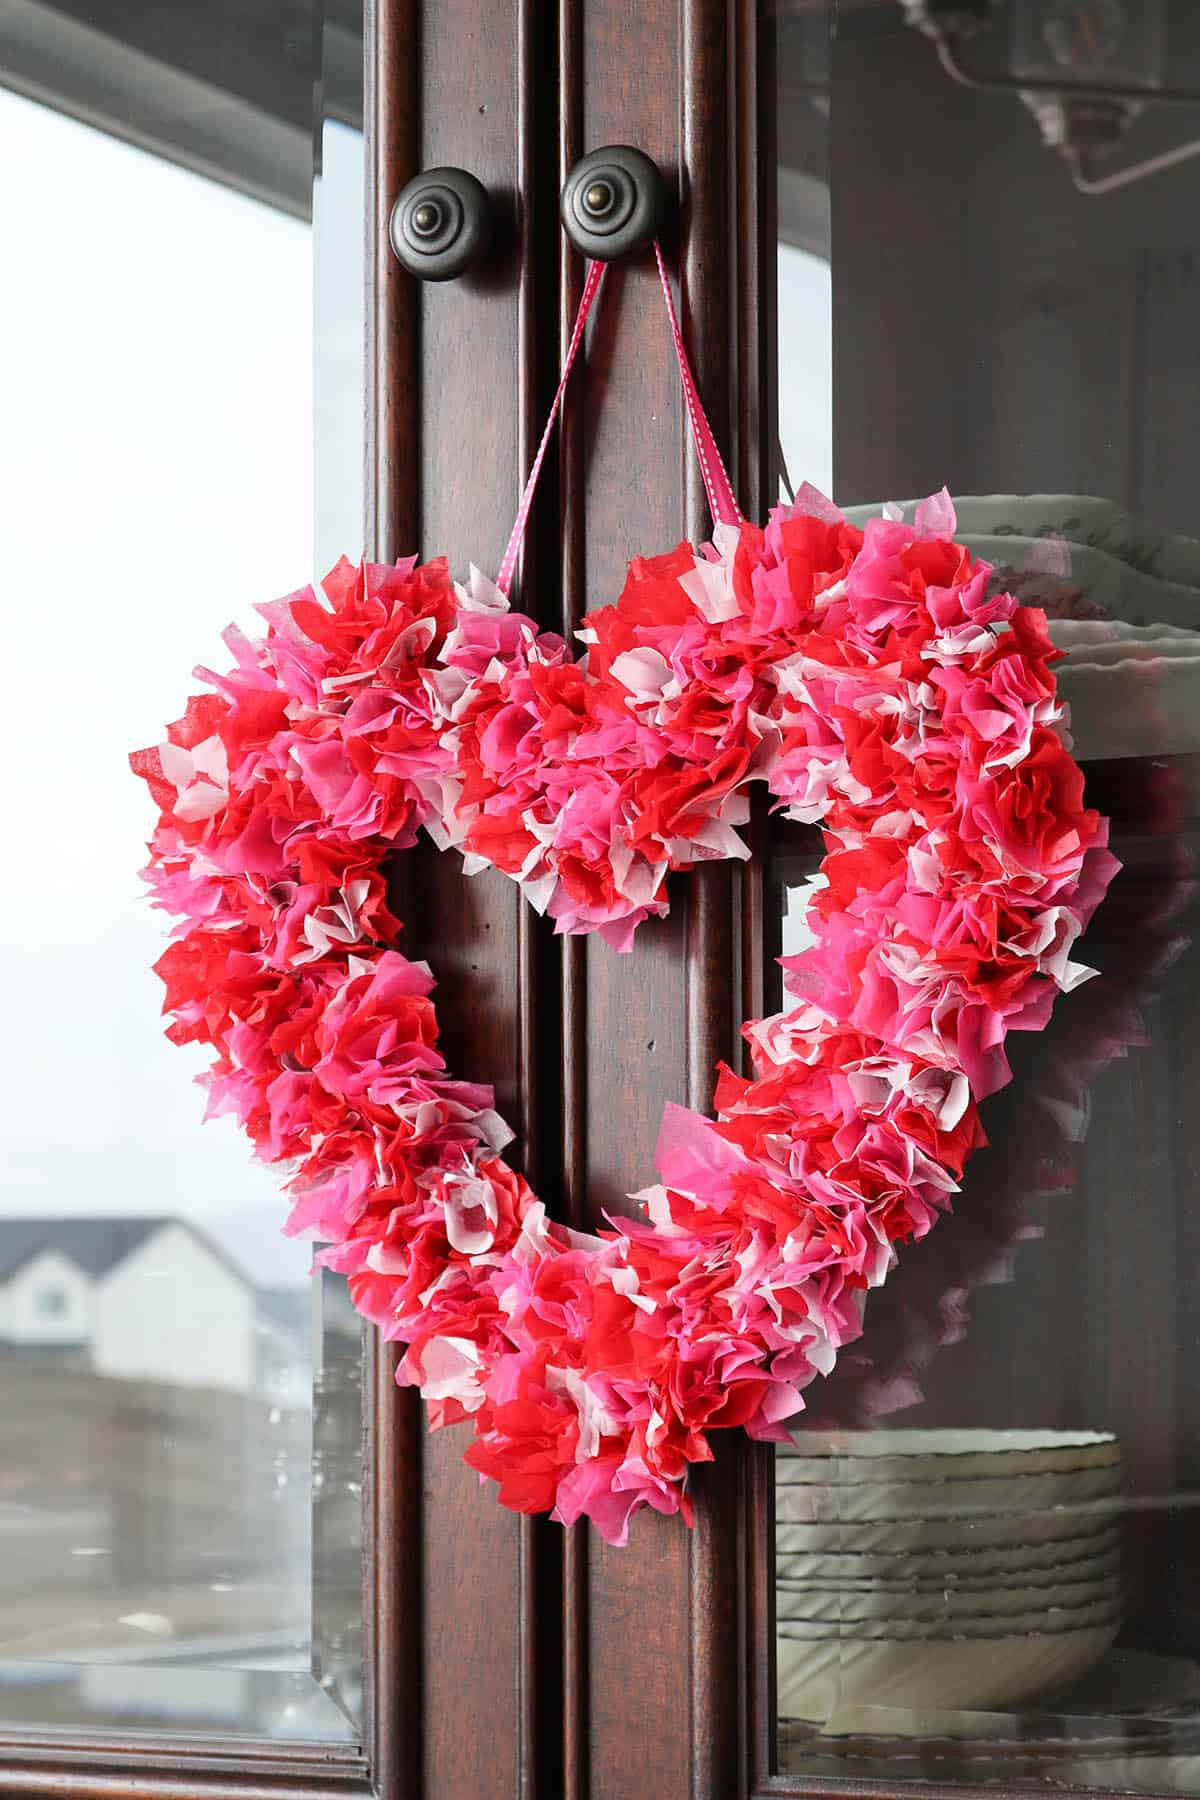
Cute DIY tissue paper heart wreath
I love how this little wreath turned out! It’s so simple (and SO inexpensive), but it’s such a fun pop of color for our Valentine’s decor. I actually anticipated it looking slightly more homemade/tacky…but it surprised me! I’m going to be saving this to display year after year!
Besides, I’m so proud of my little guy for making this wreath with me. He did amazing for his first time making something like this and followed instructions so well!

Don’t forget to pin and save for later!
