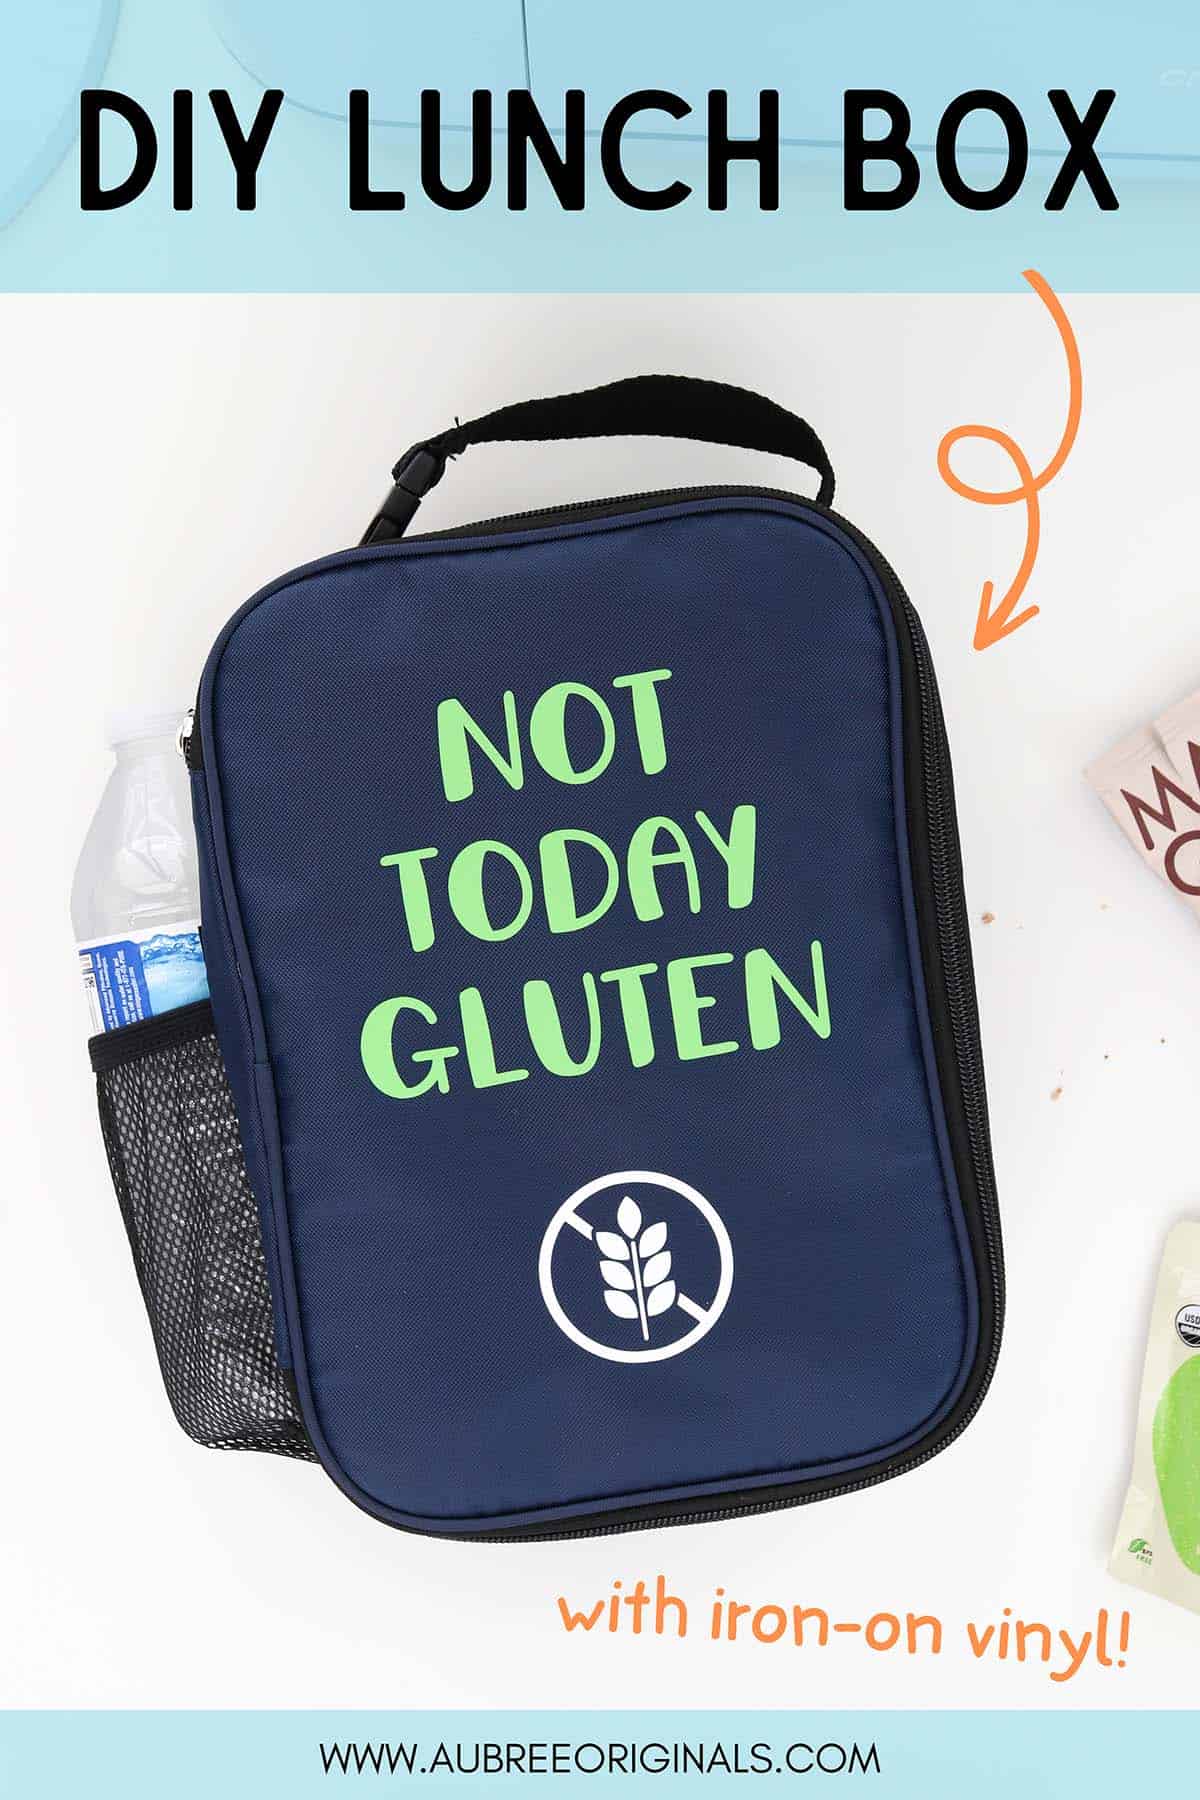
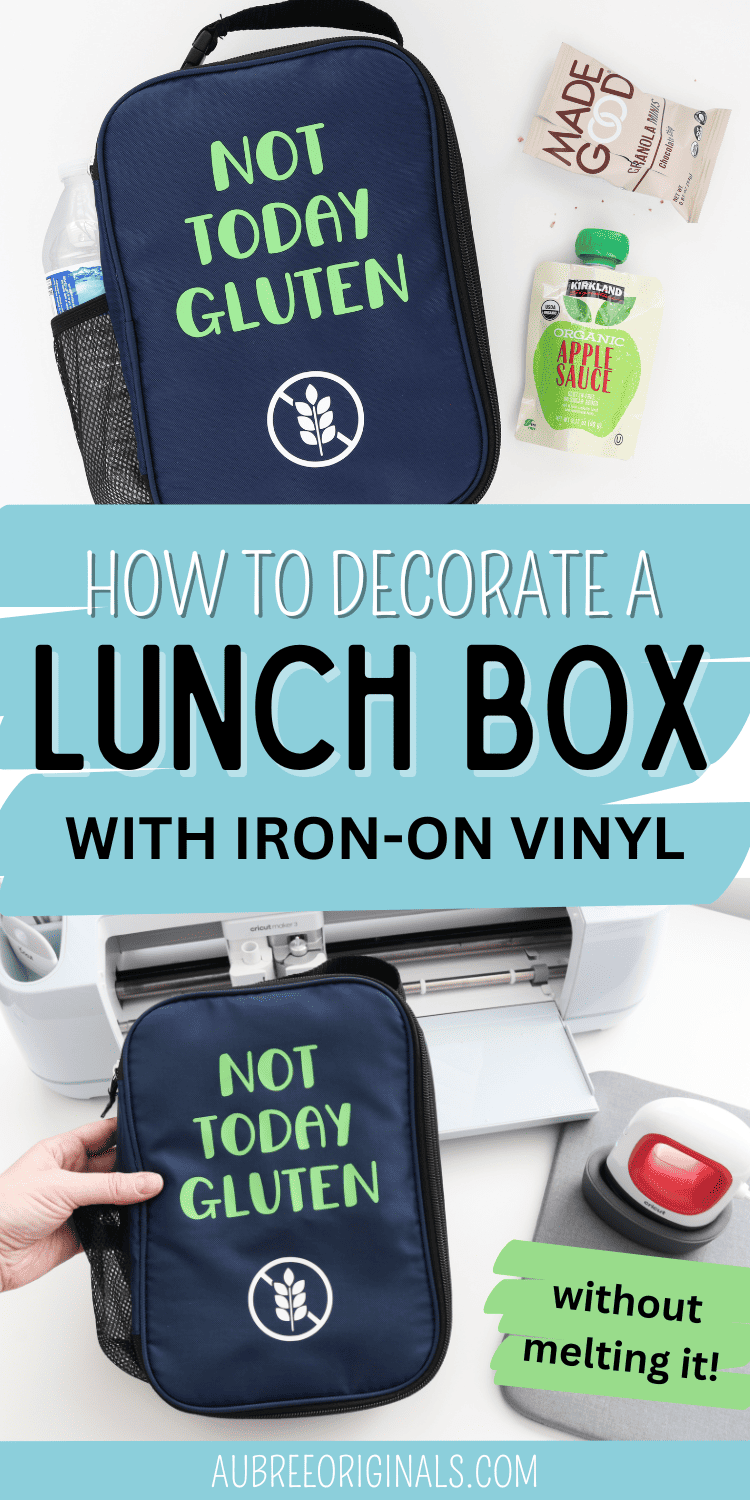
How to Decorate a Lunch Box With Iron-On Vinyl
Learn how to apply iron-on vinyl to an insulated lunch box. This funny gluten-free design is perfect for keeping my celiac-safe food separate!
We recently went on a road trip and I thought it would be fun (and handy) to have a designated lunch box to keep my gluten-free snacks separate from my husband and son’s. It ended up being great to throw in the stroller while we were out and about, too.
Celiac disease sucks, but my “Not Today Gluten” saying on the lunch box makes me giggle.
If you’ve ever wondered if you can decorate an insulated lunch box with iron-on vinyl, the answer is yes, but there are some things you’ll want to know first. This tutorial will teach you how to decorate your own custom lunch box with HTV—without ruining it.
This post contains affiliate links. For more information, see my disclosures here.
What you need to decorate an insulated lunch box
- lunch box: I bought this inexpensive lunch box from Walmart, which was perfect for what I wanted. If you’ve never used iron-on vinyl on an insulated lunch box before, I highly recommend getting a cheap lunch box to practice on—too much heat can crush the foam or melt the PEVA lining, so it might take a little trial and error to get your temperature and pressure right.
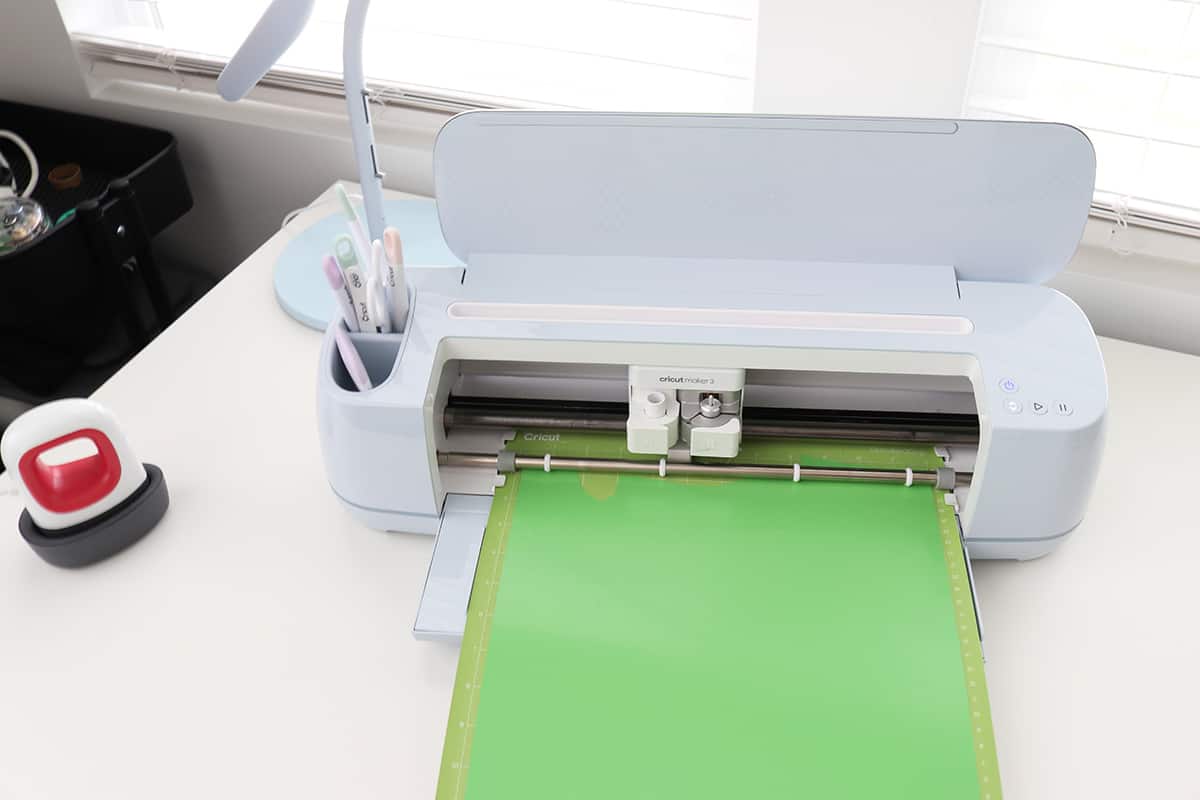
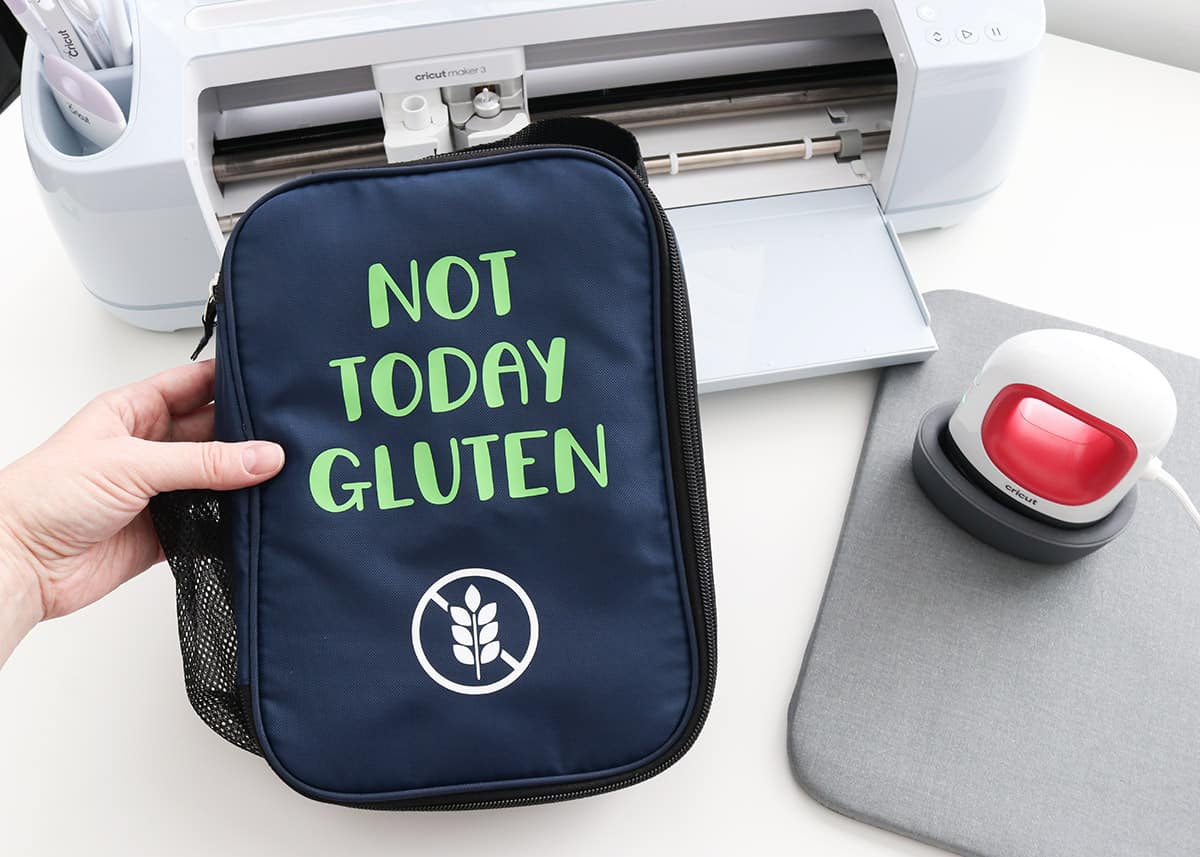
- Cricut machine: I love both the Maker 3 and original Maker
- Siser Easyweed HTV: This is one of the few times I don’t recommend using Cricut iron-on vinyl (I’ll explain more below)!
- EasyPress Mini: you definitely want this size press for the best control in this project
- pressing mat
- teflon sheet (I’m not totally sure if this is necessary but it can’t hurt)
- a Cricut Access subscription: If you want my exact lunch box design, it does require an Access subscription. Check out this post if you’re wondering if Access is right for you.

Can you use iron-on vinyl on an insulated lunch box?
Yes! Iron-on vinyl can be applied to an insulated lunch box, but it’s a slightly tricky process to do it right without melting anything. That’s why I’m writing this tutorial to show you the right way to do it!
Can you use adhesive vinyl on a lunch box?
If your lunch box is made of any kind of fabric or polyester-type material, then adhesive vinyl will not be an option (which is why we’re using iron-on for this insulated lunch box—I briefly considered using adhesive vinyl since I was worried about the melting, but nope, it doesn’t stick at all).
If your lunch box is made of hard plastic, stainless steel, or another hard/non-porous material, then you can use adhesive vinyl (and I recommend this brand of permanent vinyl so it can withstand washing).
What’s the best brand of HTV to use on insulated lunch boxes?
Because the temperature and pressure is so tricky to get right with insulated lunch boxes, you want an iron-on vinyl that “tacks” quickly, can be peeled hot or cold, and requires only minimal pressure to adhere. Siser Easyweed worked great for my lunch box! It adheres quickly at a lower temperature (even with minimal pressure) and can be peeled warm, allowing you to quickly check if it has adhered as you go. I normally use Cricut brand, but this is the one instance where I actually prefer Siser.
How to decorate a lunch box with iron-on vinyl
Choose your design and cut
Open my Gluten Free Lunch Box project in Design Space (or create your own design).
I created a shape the size of my lunch box and changed the Operation type in the top toolbar to Guide (this way I would know how big to size my design). Feel free to adjust the guide to fit your lunch box and resize the design as needed. You can also change the colors to match the iron-on vinyl you’ll be using.
Click Make It and follow the prompts to cut your design from iron-on vinyl. I always like to use my brayer tool to make sure the material is pressed really well to the cutting mat. Don’t forget to lay your HTV with the shiny side down and click mirror in Design Space!
Weed your design
Trim around your design to preserve the vinyl scraps for another project, then weed with a weeding tool (if you’re unfamiliar with weeding, you’re removing all the vinyl pieces from the carrier sheet except your design). I love using my BrightPad Go as a weeding surface! Check out this post for a more thorough review of the Cricut BrightPads.
Press your design to the lunch box
Lay out your pressing mat and preheat your EasyPress Mini to the lowest setting.
Unzip your lunch box and lay the front flap on the mat (depending on your lunch box and where you’re applying vinyl, you may or may not be able to do this). Center your iron-on vinyl design on the lunch box. Cover with a teflon sheet.
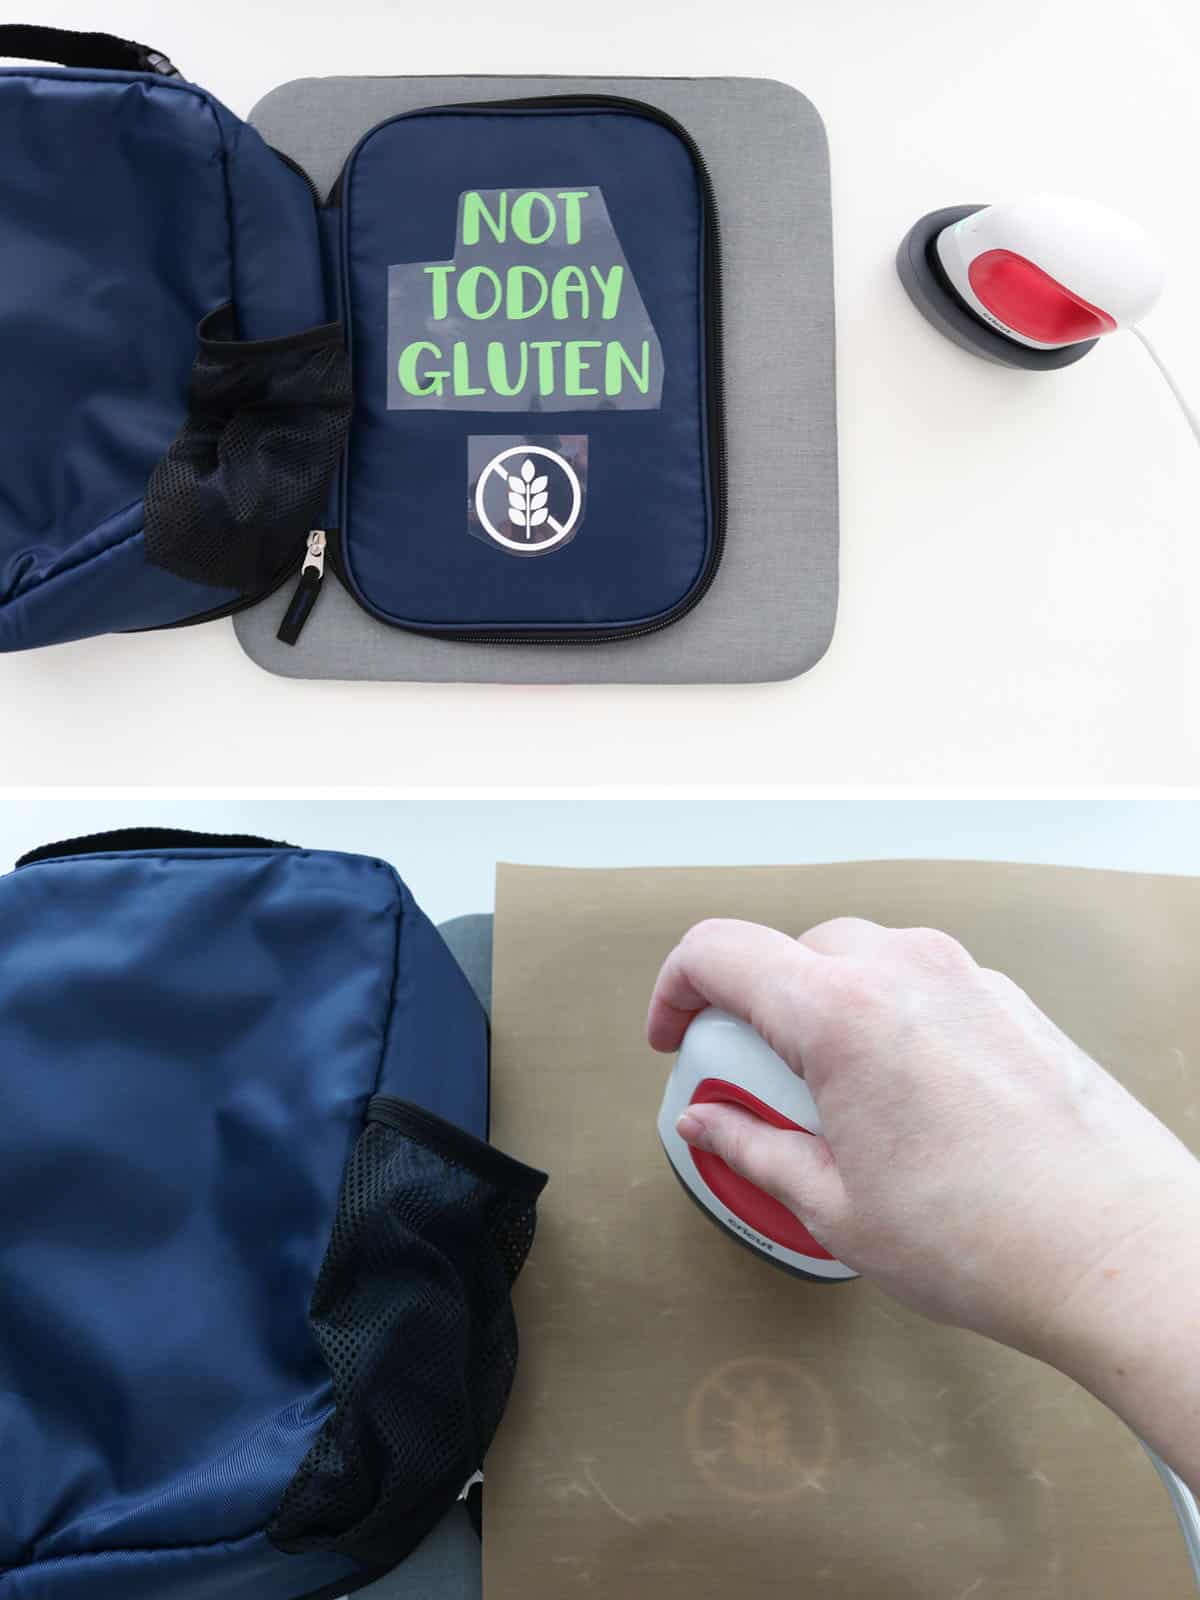
Now, the important part. When I say press, I mean this very loosely. You actually don’t want to use any pressure at all—do NOT squish the lunch box material or the foam inside will melt, and possibly even melt the PEVA lining inside.
Lay your EasyPress Mini against the iron-on vinyl and begin going in careful circular motions. Remember, minimal to no pressure, at least to start. The heat from the EasyPress should be enough by itself to start activating the iron-on vinyl and adhering it to the lunch box. Start with about 5 seconds.
You want to check regularly (every few seconds) to see if the vinyl is adhering and stop applying heat as soon as it’s adhered—carefully peel back the carrier sheet in sections to check, re-covering and “pressing” again as needed. This will be pretty easy to tell: if the carrier sheet isn’t releasing your design, you need more heat and time. (And the great thing about Siser Easyweed is that it releases from the carrier sheet much sooner than other brands and also can be peeled hot, so hopefully you don’t have any issues with your lunch box melting!)
If, while you’re pressing, you notice any signs of melting: stop, let the lunch box cool completely, and then resume pressing in short increments, allowing the lunch box to cool again in between each press.
Once you’ve finished pressing your design, peel back the entire carrier sheet and check for any letters or parts of the design that didn’t fully adhere. If needed, cover again with the carrier sheet and apply heat to those sections for a few more seconds or until adhered (you can even kind of turn the EasyPress mini on its tip to just get a small section of the design again so you’re not overheating the whole thing).
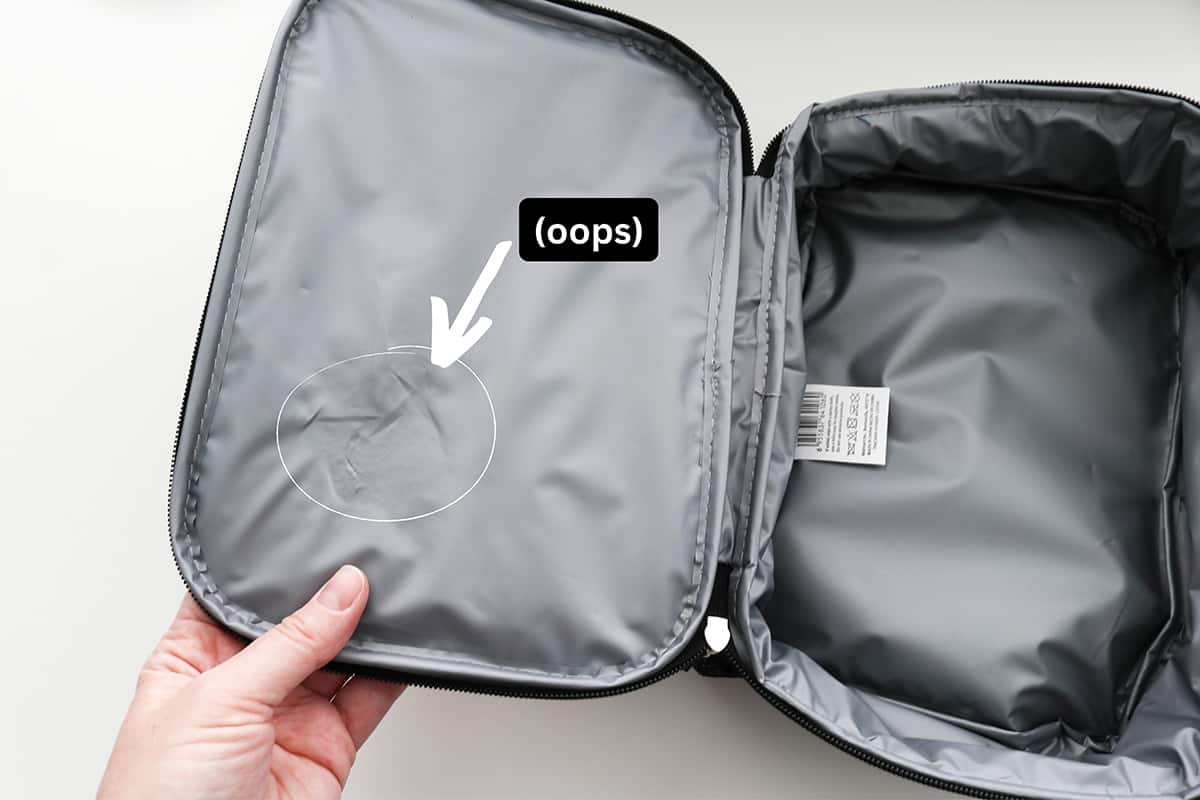
You can see here on my lunch box where I pressed the bottom of the design first with medium pressure (a no-no) and melted the inner lining. Oops. It’s not terribly noticeable and didn’t affect the lunch box’s ability to keep my food cool (as far as I can tell for a cheap lunch box), but if you run your hand over it, you can tell the foam got squished in that section. Once I got the hang of it and avoided pressing down with the EasyPress, the rest of the design applied great.
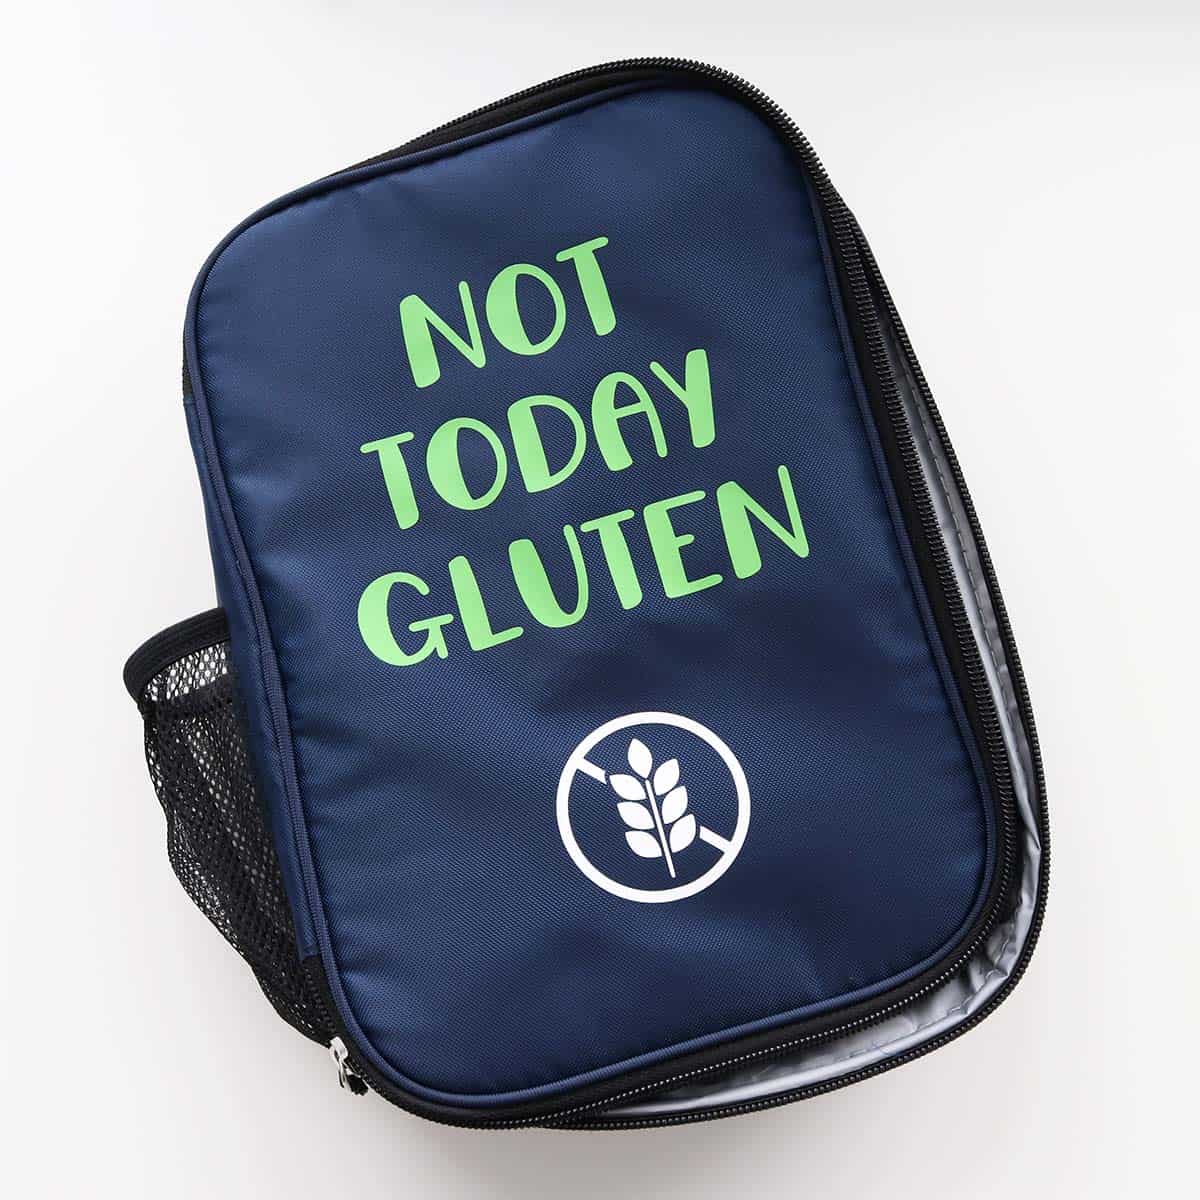
DIY “Not Today Gluten” Decorated Lunch Box
I hope you found this helpful! I can see this being such a great thing for back-to-school time, especially if you want to give your child a custom lunch box that’s not available in stores or want to label their lunch box with their name. And hopefully, after learning from my mistakes, you won’t melt your lunch box!
If you do make my gluten-free lunch box, leave a comment below so I can give you a virtual hug for having to live the gluten-free lifestyle—it’s not always the most fun, but hey, we do what we can. 🙂

Don’t forget to pin and save for later!
This was brilliant! It gave me the confidence to use an iron on label on my daughters insulated lunch bag and it worked perfectly and looks fantastic! Thank you!
Yay, that’s awesome Rachel! I’m so glad this helped!