How to Make Freezer Paper Stencils for Fabric
Freezer paper stencils allow you to easily paint designs on fabric. They’re a great (and inexpensive) alternative to vinyl.
I have discovered a love of freezer paper. Who knew that it creates the best stencils for paint? I’d heard about this technique years ago, but I can’t believe I’d never actually done it. I guess I never had a need until now.
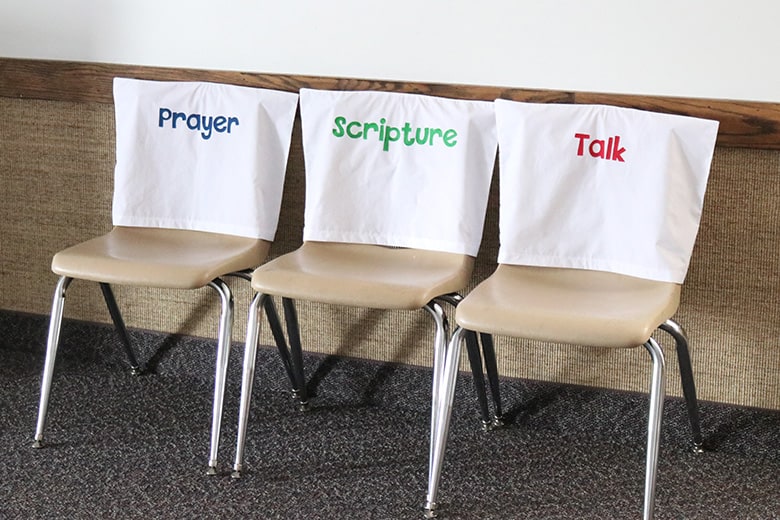
I had to make some primary chair covers for my ward*, and needed an easy way to put the class names on them. I didn’t have plastic letter stencils that were the right size, so I made my own from freezer paper! It worked like a charm!
*You can learn more about The Church of Jesus Christ of Latter-day Saints here.
This post contains affiliate links. For more information, see my disclosures here.
This technique can be used for a variety of designs and applications. As long as it’s a design you can trace and cut, you can do it, no Cricut machine needed!
(But if you do have a Cricut machine, the process gets even simpler! Follow this tutorial for Cricut freezer paper stencils.)
What you need to make freezer paper stencils
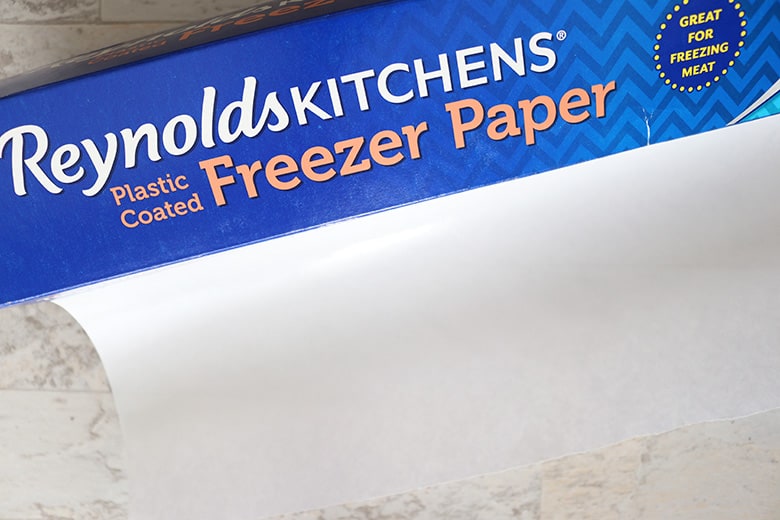
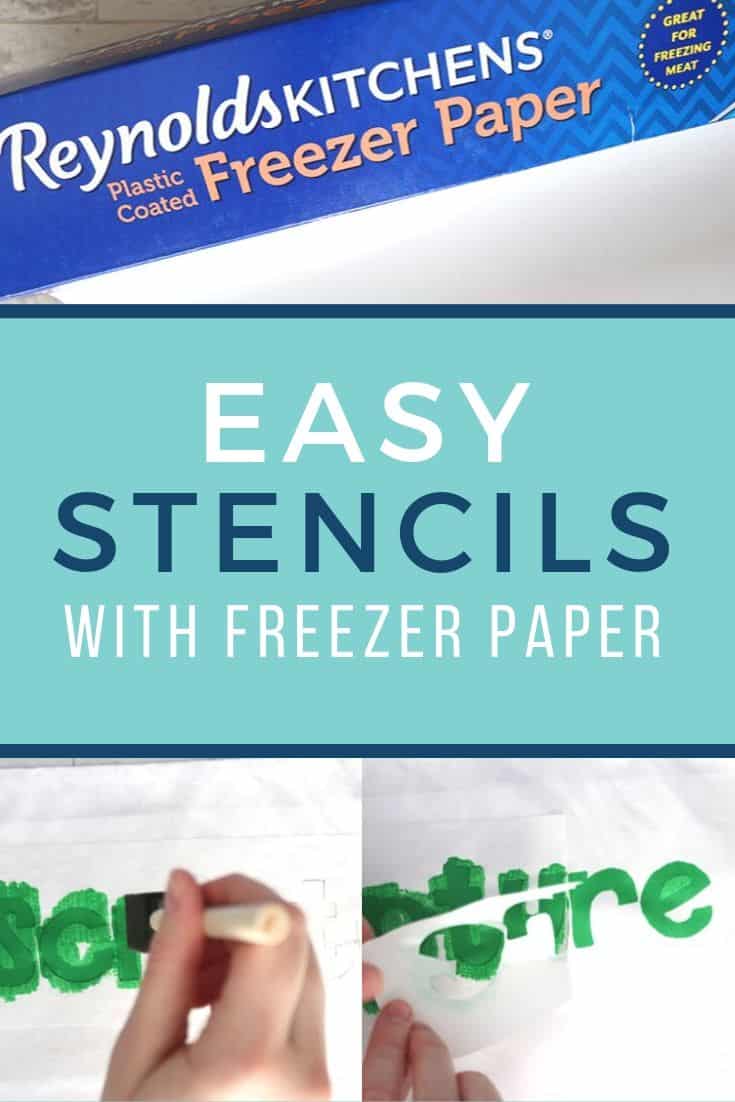
- freezer paper (not wax paper, not parchment paper: freezer paper has one “paper” side and one “waxy” side and you need both for stencils)
- small, sharp scissors (these are my favorite for cutting paper!)
- a printed template or design to trace (you can also print directly on the “paper” side of freezer paper, if your printer allows it)
- fabric (or your project to be painted on)
- iron and ironing board
- paint and brushes (make sure it’s fabric paint if you will be wearing/washing the item a lot)
- seam gauge (optional, but can be helpful in positioning your stencil evenly)
- a piece of cardboard to put under your project when stenciling
How to make a stencil from freezer paper
Print your design
First, print your design from your printer. Then trace it onto the freezer paper–be sure to trace the design onto the “paper” side of the freezer paper.

Alternatively, you could print directly onto the “paper” side of the freezer paper with your printer and skip the tracing step. I did this for some of my chair covers later on and it saved a lot of time.
To do this, cut a piece of freezer paper to fit your printer (for me, this was 8.5 x 11 inches). I layered the freezer paper on a piece of regular printer paper for stability, then loaded both into the manual feed tray of my printer so that the design would print on the correct “paper” side of the freezer paper. (You may want to test which way your printer takes paper first–I always struggle to remember how it’s going to print out!)
Cut out your design
Once you have your design traced or printed on the freezer paper, cut it out, keeping the edges and “holes” intact, as well as a wide border around the design. See how I’ve cut my design below:
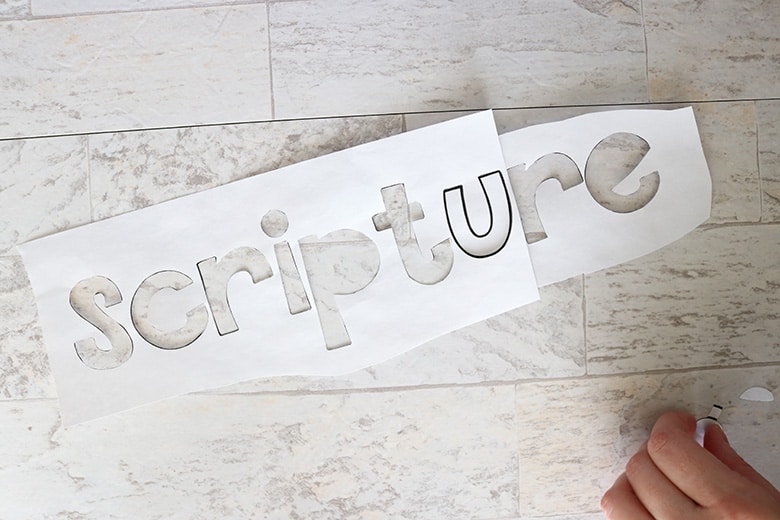
This is where those sharp scissors come in handy! To keep the “stencil” intact, you’ll have to poke through the design (in this case, my letters) and carefully cut them out without ruining the edges. You can’t simply make a big cut from the edge like you normally would when cutting something out!
Also, you can see that I preserved the “holes” above (from the ‘p’ and ‘e’). Before you paint your design, you’re going to want to make sure any “holes” of the stencil are also included, otherwise you’re going to get a big blob of paint where there should have been white space.
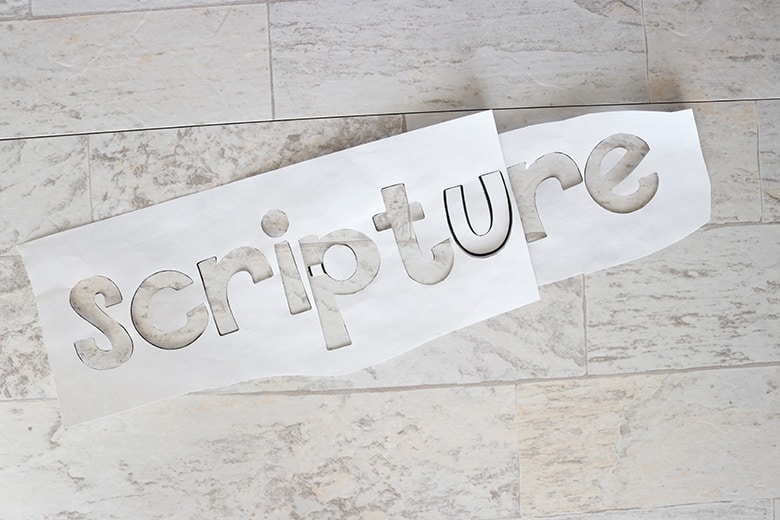
Okay, now back to why the ‘u’ doesn’t look to be cut out. My word didn’t fit completely on an 8.5×11″ piece of paper, but I knew I wanted to have a guide to line up the two word halves. So, I printed an extra ‘u’ with the second half of the word. That way, I could line up the ‘u’s on top of each other, making sure my spacing was right and that the word was straight. Once they were ironed down in the next step, I could then trim off the extra ‘u’. (And now that I think about it, I could have just cut out both ‘u’s, lined them up, ironed them both and painted through both. Huh, oh well!)
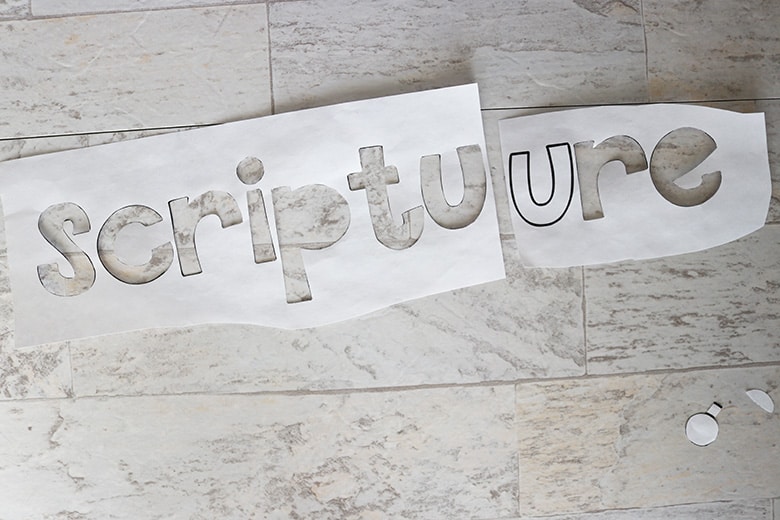
Iron your completed stencil to your project
Now this is the fun part about freezer paper: it can be ironed onto fabric and the heat will temporarily adhere the freezer paper to the fabric! This is why this is so much better than a regular plastic stencil you might have used before–you’ll get much cleaner edges and will have less chance of bleed with freezer paper. It will stick as long as you want it to, but can be easily removed when you’re finished (or if you need to readjust it as you’re working).
First, measure out where you want your stencil to go. I find a seam gauge useful to make sure my design is centered and straight, but you can use any measuring tool (or just eyeball it!).
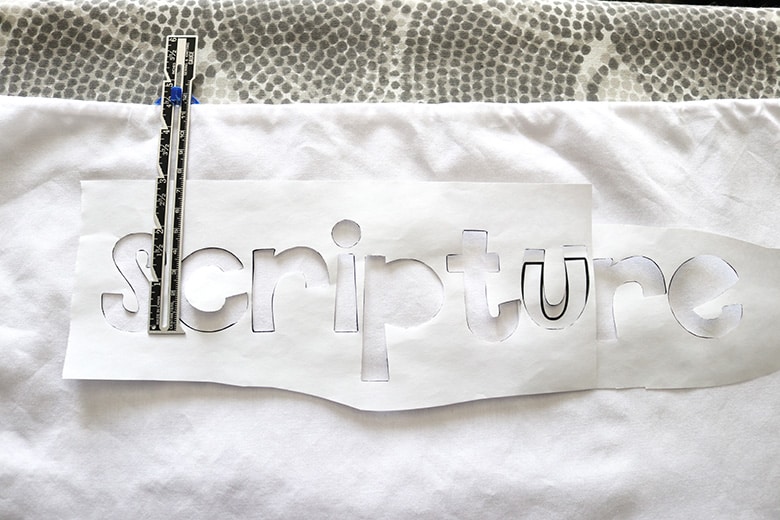
When your stencil is where you want it, carefully press it to the fabric with your iron. Steam can make the freezer paper warp, affecting how well it adheres, so turn your iron to a no-steam setting.
If your stencil is in two pieces like mine, iron one half first. Then, line up the second half, cut off any extra that you need to, and iron the second half down.
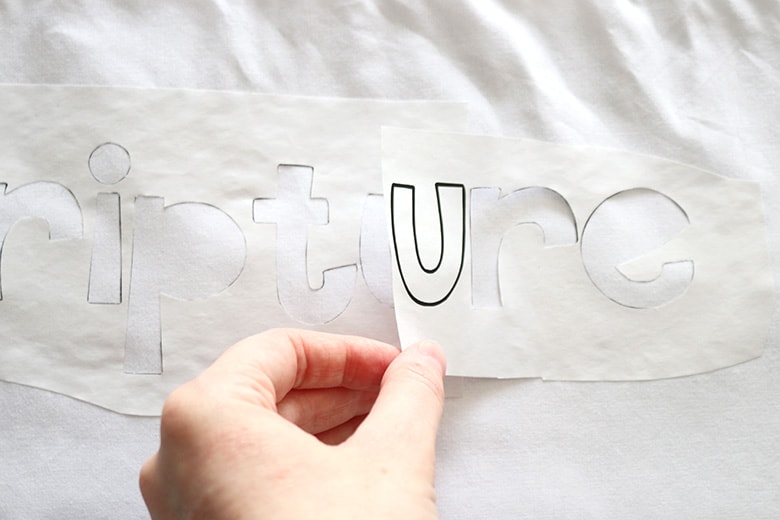
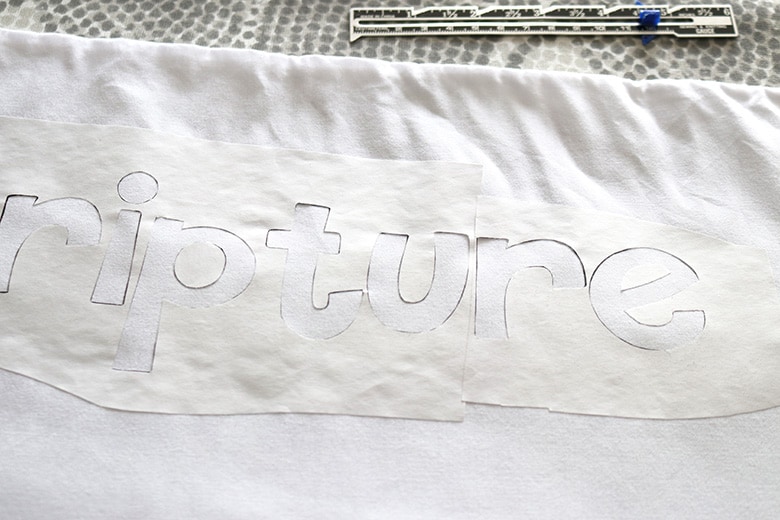
Examine your ironed stencil to make sure that it has adhered fully to the fabric. Re-press any edges that are sticking up.
Paint your stenciled design
Now, grab your scrap piece of cardboard to put behind your fabric. For me, I put the cardboard in between the two layers of my chair cover. You’d want to do the same for t-shirts so the paint doesn’t bleed to the other side.
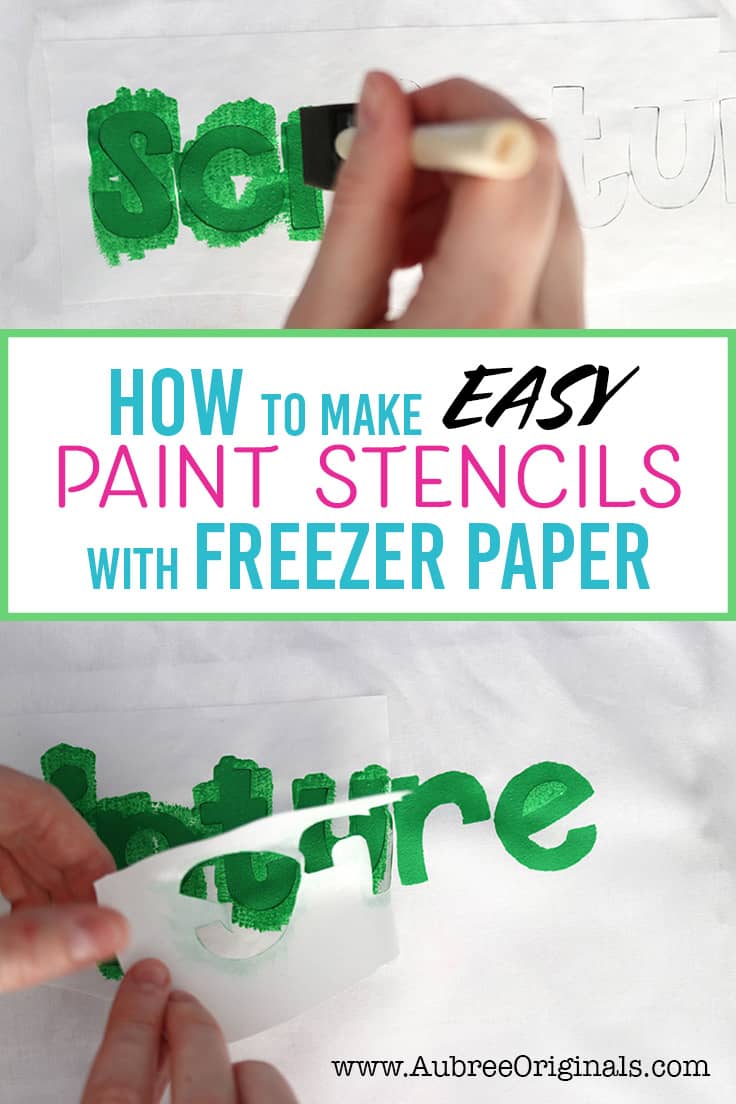
Using a foam brush, lightly dab paint onto your design, being careful not to “push” paint under the stencil edges. I find it easiest to use a small amount of paint on my brush first and add more as I need it.
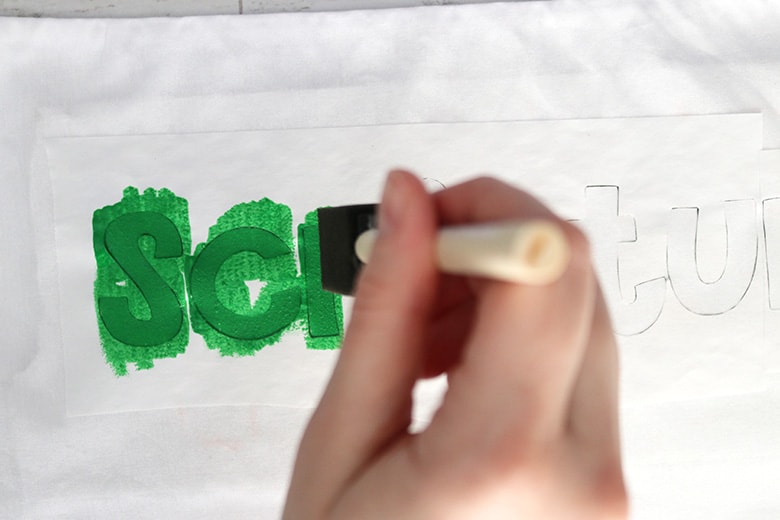
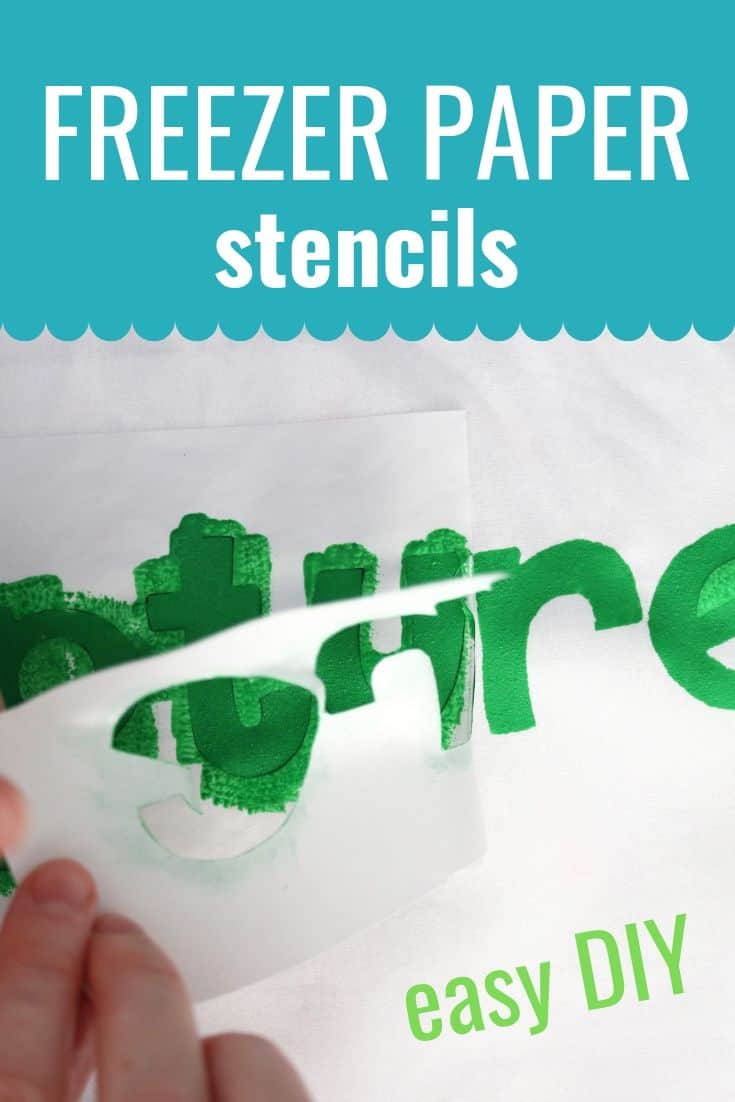
Once you’re done painting, you can let the paint dry completely before removing the freezer paper. Or, if you’re a rebel like me, you’ll want to remove it right away. I do this because I want to check for any edges that need touchup while the paint is still wet.
If you remove the freezer paper when the paint is wet, just be careful not to smudge the paint. You can remove the stencil “holes” now or later, it’s up to you.
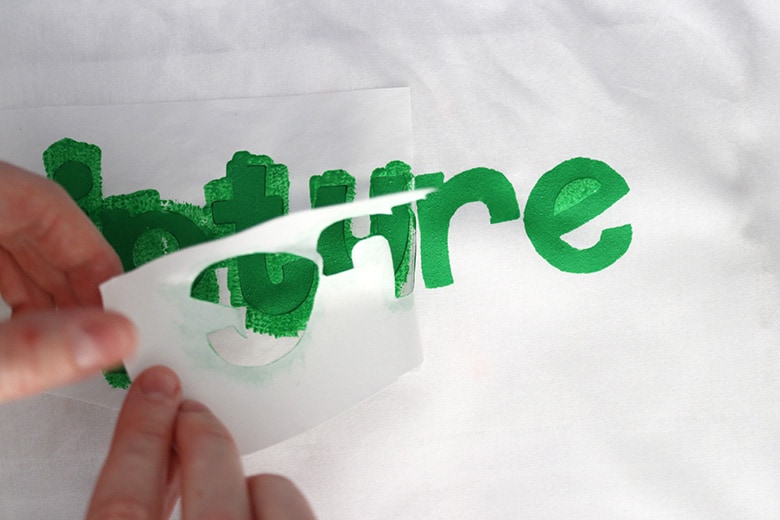
Using a very small paint brush, touch up the edges so they’re crisp and clean. (This is obviously an optional step, but I’m just terribly OCD…)

Once your paint is completely dry, heat-set it according to your fabric paint instructions.
Because I knew my project wouldn’t be washed hardly ever, I cut cost and used regular acrylic paint. However, I still heat-set the paint with my iron to make it as permanent as possible. (I have actually done this with other projects and the paint held up to several washings, so you’re welcome to try it if you don’t have fabric paint on hand.)
And there you go! A perfectly stenciled design! Pretty simple, huh?
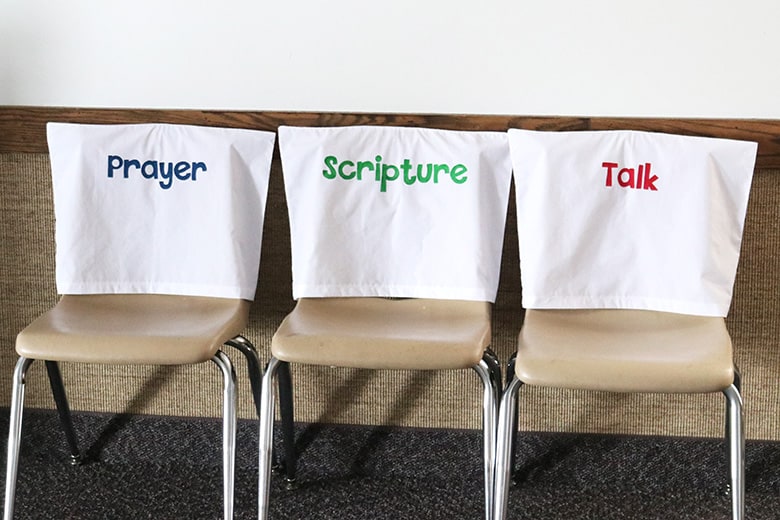
The possibilities are endless with this technique! I’m thinking I need a new stenciled tote bag…or maybe a new Mickey shirt to go along with my Disney crafts.
So many fun crafts you could make with this! Let me know what you’re making in the comments!

