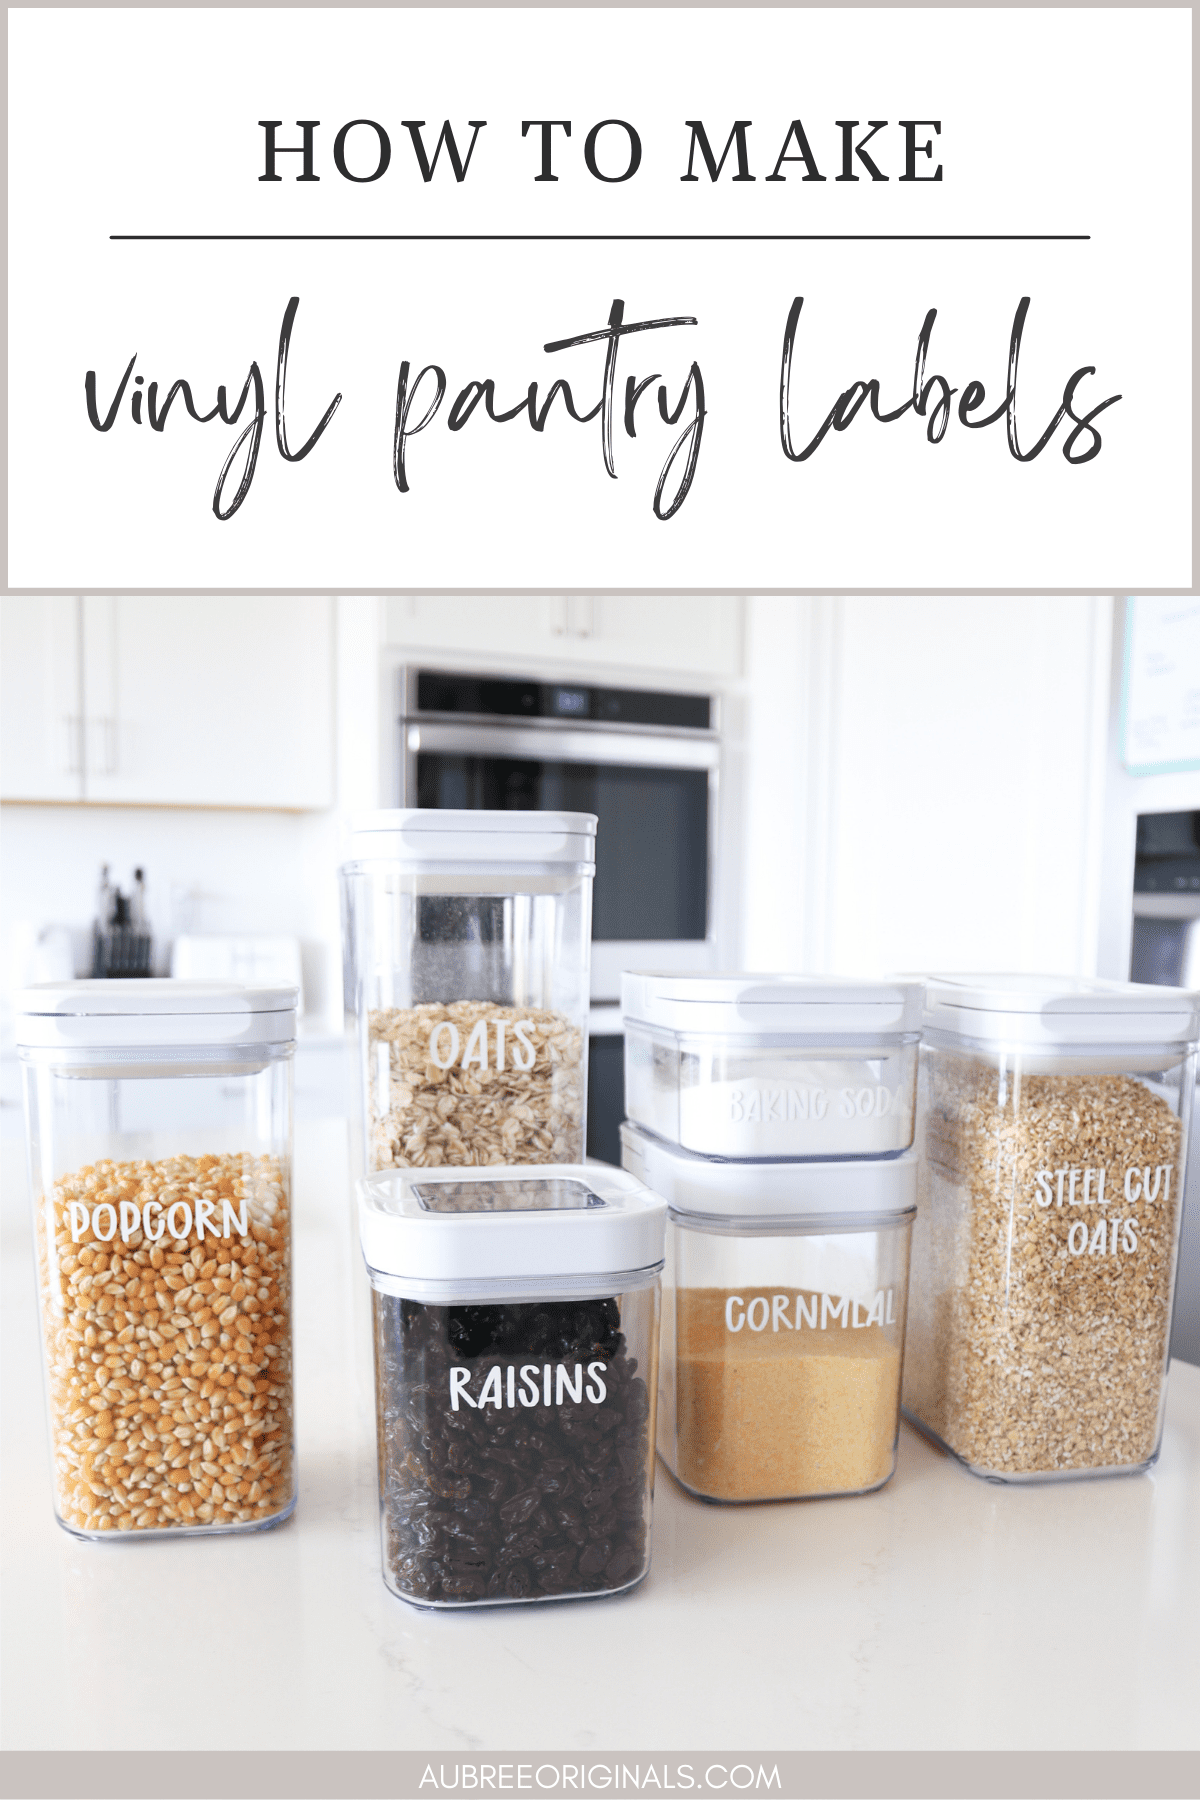
How to Make Pantry Labels With Cricut
A Cricut machine makes the best label maker! Learn how to make simple vinyl pantry labels in this tutorial and enjoy an organized pantry!
I was so excited for our walk-in pantry when we moved into this house (our last pantry was probably 6 times smaller than this one with difficult-to-access shelves). I planned and dreamed about organizing this pantry for months before we moved in. Then I bought and washed and filled all the fun pantry containers. And…my husband has been guessing at the contents ever since, asking me where everything is 😂. So it’s high time I made some labels for those containers!
I love that my Cricut machine makes that labeling process super easy and painless! And, the result is so satisfying. I love my new pantry labels! I’ll show you just how easy they are to make below!
This is a sponsored post written by me on behalf of Cricut. All thoughts and opinions are my own.
This post contains affiliate links. For more information, see my disclosures here.
Can a Cricut be used as a label maker?
Absolutely! Making labels is one of my favorite uses for my Cricut and probably one of the biggest reasons I purchased mine to begin with. You can make labels with any of the Cricut machines and label just about anything you want, from plastic bins to fabric and more! If you love organization, I would highly recommend investing in a Cricut machine to help with your label making!
What can you label with a Cricut machine?
I’ve labeled so many things with my Cricut! Craft room storage, toy storage bins, spice jars, closet organizers, notebooks, water bottles, and more! Can you even call it organization if it’s not labeled? 😉 Okay, you probably can, but labels make it so much easier to quickly see where things go and they just make everything prettier!
How to make labels with Cricut

There are tons of different ways to make labels with a Cricut, but probably the most common is to use either removable or permanent vinyl—which is what I’m using here for these pantry labels. Keep in mind that adhesive vinyl (either removable or permanent) works best on smooth surfaces (think plastic, glass, painted wood, etc.). If you want to label fabric bins, you’d want to use iron-on vinyl and a heat press.
What you need to make pantry labels with Cricut
- a Cricut machine
- removable or permanent vinyl (I used permanent for these pantry containers so they could be washed later if needed, but you can also use removable if you think you’ll change the contents of the container regularly)
- a StandardGrip cutting mat (I’m using my Cricut Maker 3 and Smart vinyl so I don’t need a mat—so convenient!)
- transfer tape
- a scraper tool
- a weeding tool
- scissors and/or a paper trimmer
- an Access subscription: There are some free fonts and images you could use, but the best ones require an Access subscription. Check out my post all about Cricut Access to see if it’s right for you!
Save $10 on any Cricut machine or heat press with the coupon code AUBREE-10
How to make Cricut pantry labels
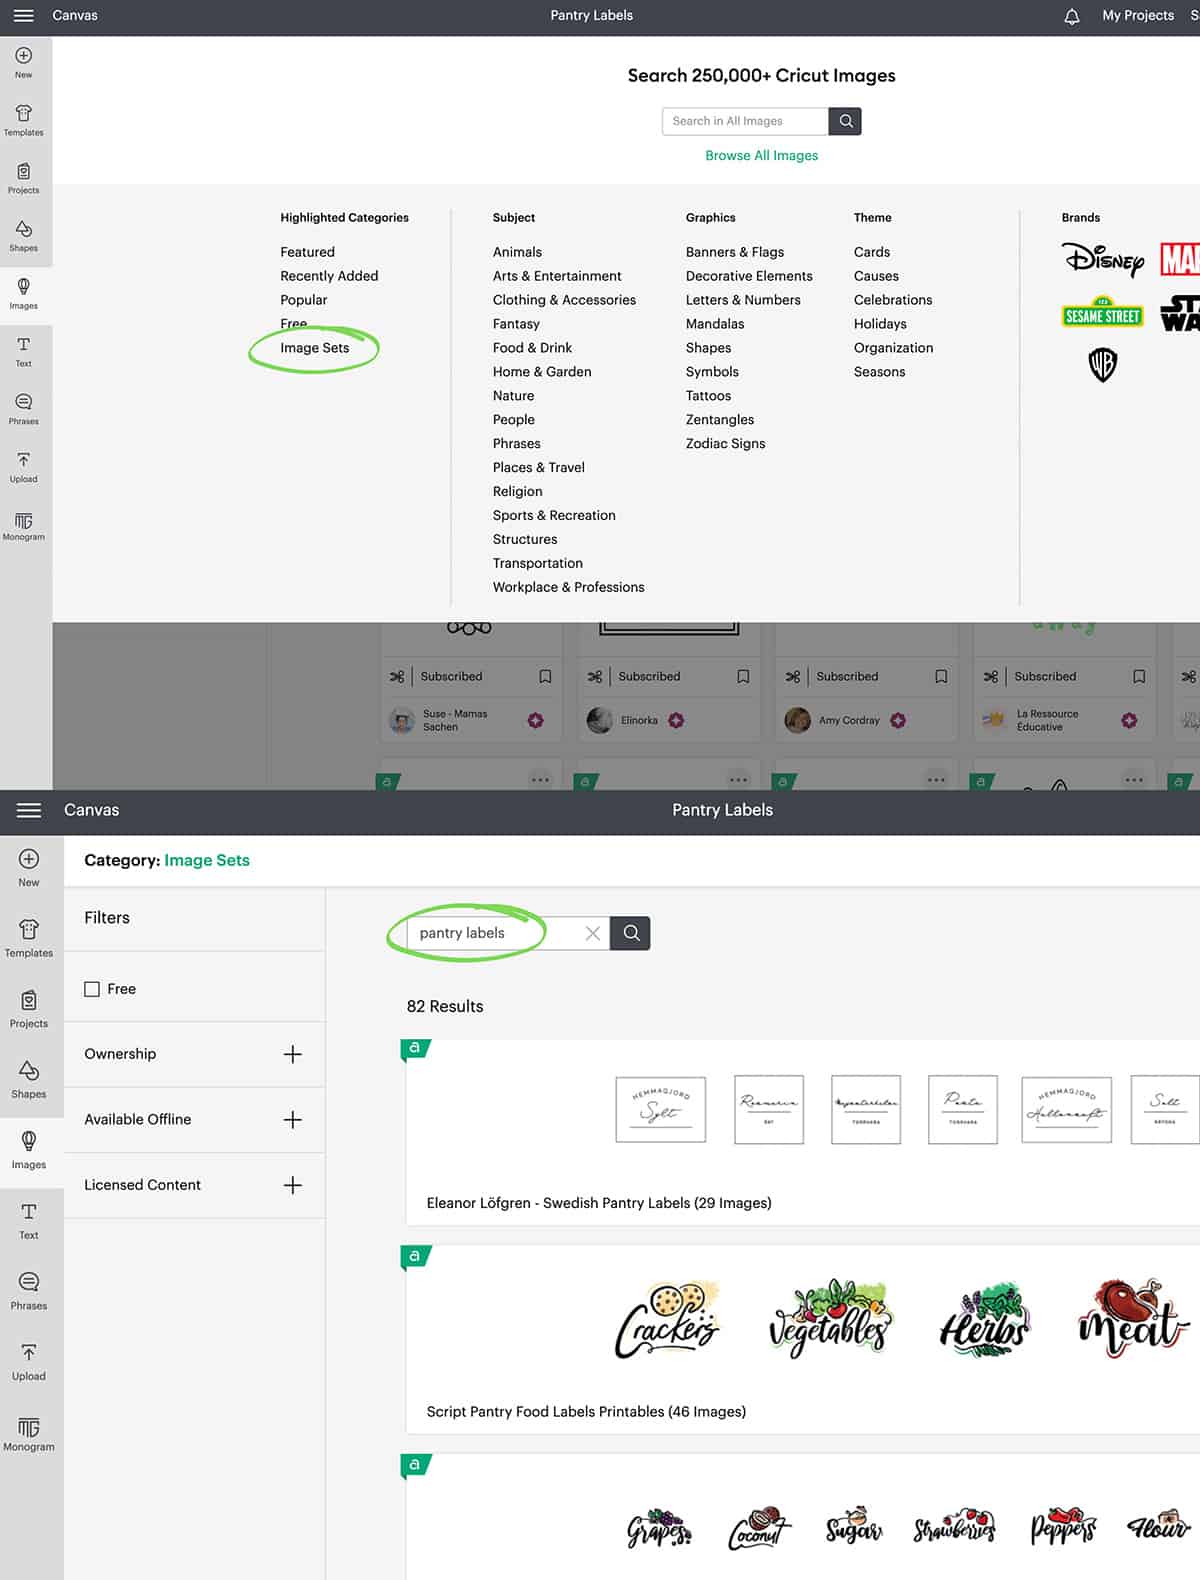
Cricut Design Space has some very fun pre-made pantry labels in their image library (search by categories: Image Sets and then search “pantry labels” to see matching images).
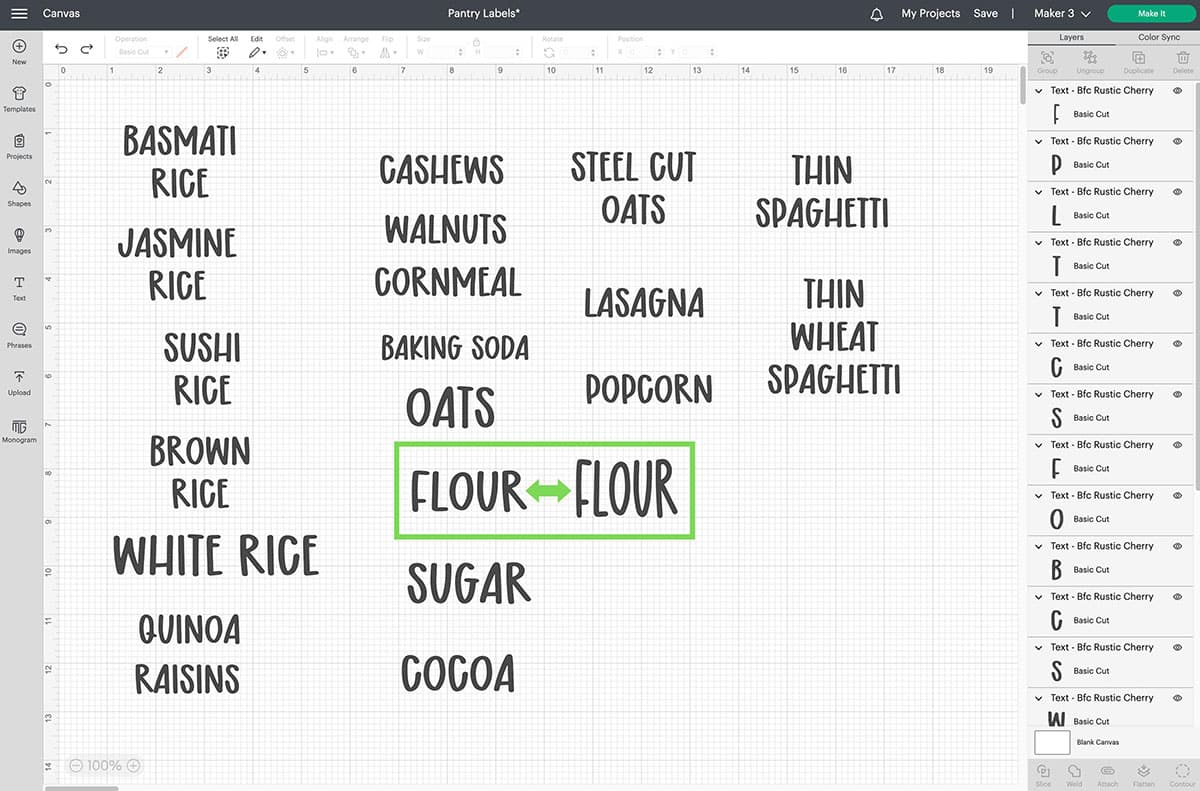
I ultimately decided I just wanted very clean, simple text labels for my pantry containers. I used the font BFC Rustic Cherry but then expanded/stretched it to customize it even further.
Tip: You can customize fonts by unlocking the dimensions of the text box, then drag the corner to stretch the font in any direction. This is my favorite way to get even more out of a font in the Design Space library, and how I made this particular font less narrow! If you do this, be sure to highlight all text boxes at once and stretch them together to keep the amount of stretch uniform between your labels. Otherwise you’d want to copy and paste the text box after stretching it and edit the new text from there.
In the image below, you can see the difference in my stretched text (the left “flour”) verses a new un-stretched text box (the right “flour”).
P.S. If you want to use my labels as a base for creating your own, you can get my Design Space project here. Just click “customize” to make changes!
After you’ve typed out all your labels (I recommend putting them in their own text boxes unless you want them to be cut the same size), resize them to fit the dimensions of your pantry containers—you’ll want them to be a little smaller than the width of the containers, and feel free to put words on a second or third line to fit.
Note: There’s no need to attach or weld your letters—the words in each text box will be grouped together when you go to cut. I think this was a recent Design Space update and it’s so nice not to have to worry about that!
Click “Make It” and follow the prompts in Design Space. I moved the words around a little bit on the material so they’d be easier to cut apart after. Select your material settings. Load a mat with vinyl into your machine (or just the vinyl if using Smart materials and a Maker or Explore 3) and cut your labels.
Remove the vinyl and weed your labels. I find it easiest to weed the entire sheet first, and then you can cut the labels apart after. Also, the Cricut BrightPad is your best friend for weeding!
Apply transfer tape to the vinyl labels and burnish really well. Peel the vinyl away from the backing and adhere it to your container (wipe the container down with an alcohol wipe if you need to first). Burnish well and remove the transfer tape.

Admire your newly organized pantry!
You can see a quick video of this whole process on my Pinterest account here:
DIY pantry labels with Cricut
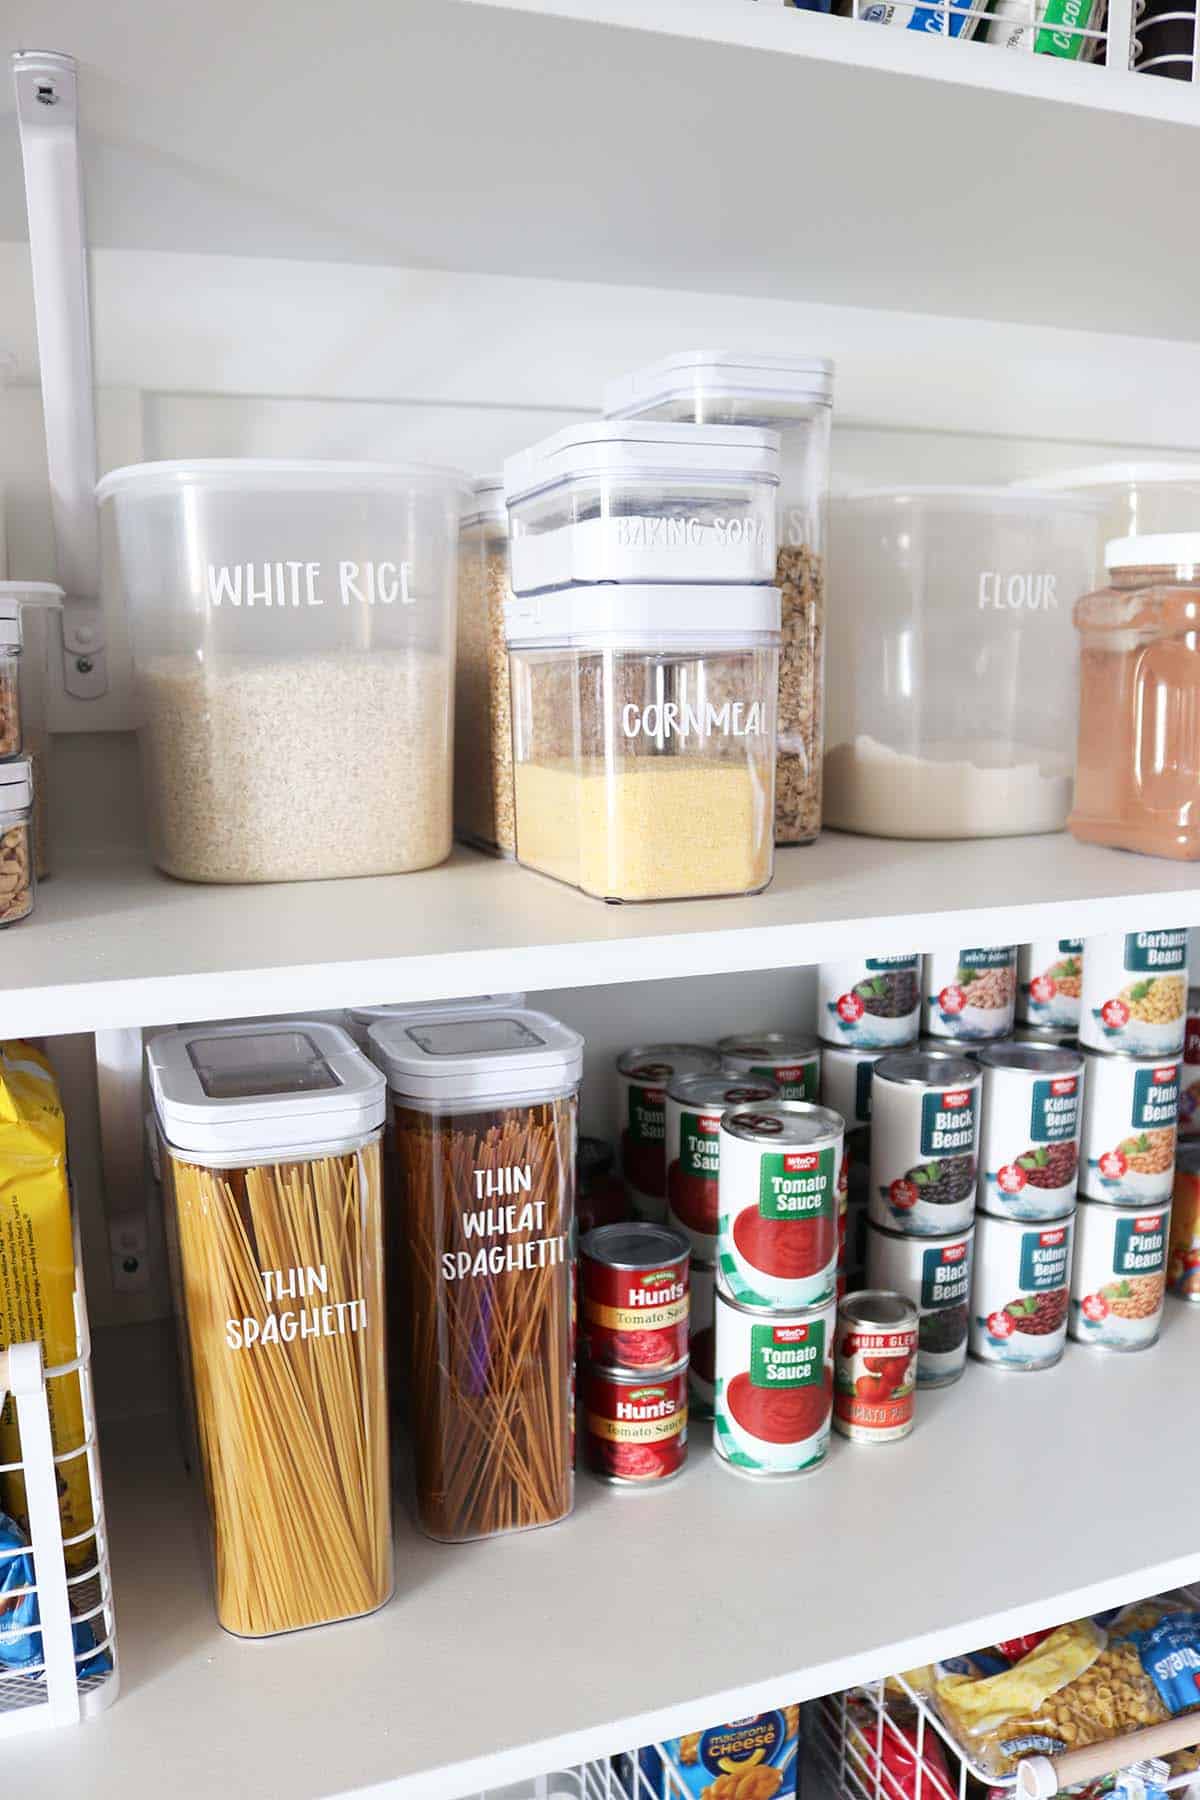
I love how a few simple vinyl labels transforms my whole pantry! It looks so clean and organized. And the best part? My husband doesn’t have to ask me which one’s the baking soda anymore! 😆
I hope you’ve been inspired to make your own pantry labels. You’re going to love them!

Don’t forget to pin and save for later!
