How to Upload SVG & Image Files to Cricut Design Space
Learn how to upload your own images to Cricut Design Space. This is so easy to do and essential for making custom Cricut projects!
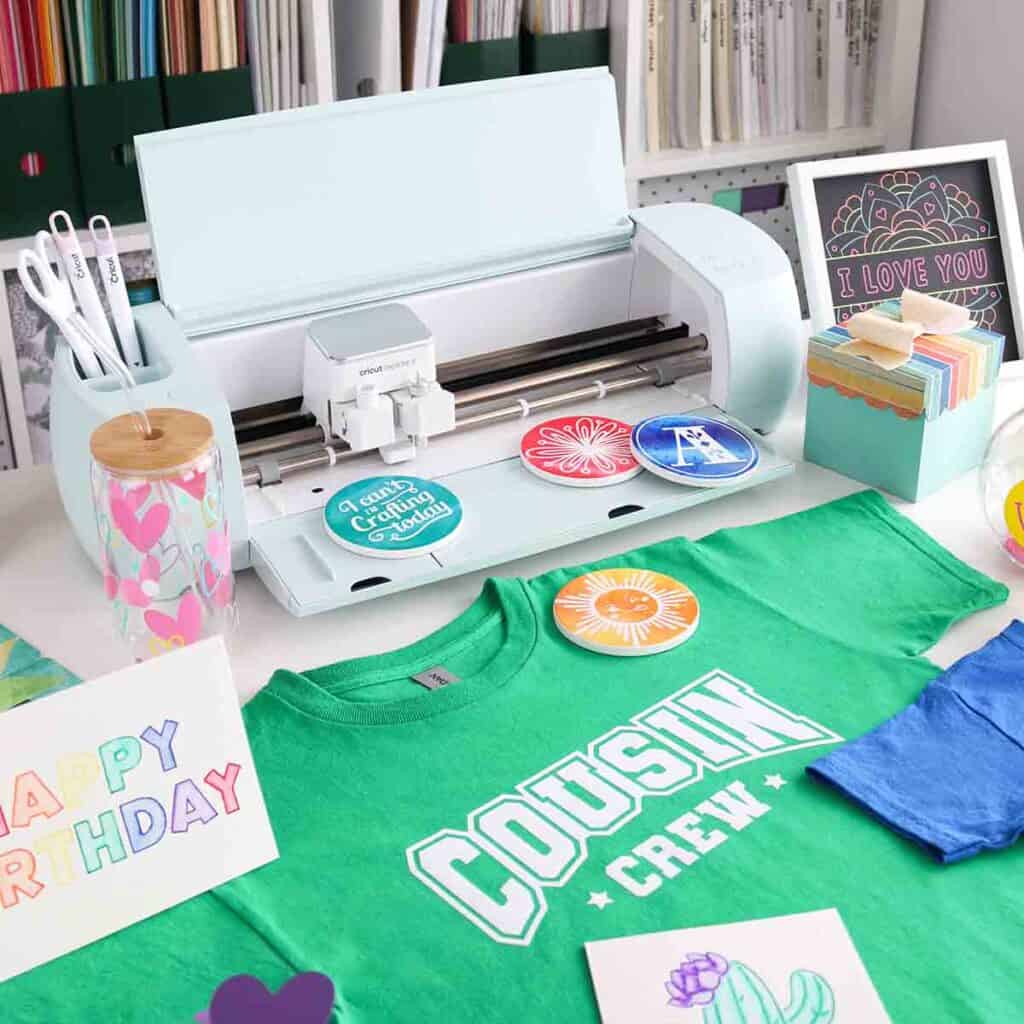
Cricut crafting is so much fun, especially with all the great SVG images/cut files at our disposal!
I most frequently use the images already in Cricut Design Space with my Cricut Access subscription, but you can also easily upload your own designs (both those that you create and those purchased elsewhere).
The process of uploading your own images to Cricut Design Space is very simple. I’ll show you the types of images you can upload, how to upload them to Design Space, as well as make simple edits so you can make all the custom Cricut projects you want!

This post contains affiliate links. For more information, see my disclosures here.
More posts you’ll like:


What types of files can you upload to Cricut Design Space?
Cricut Design Space allows you to upload the following image types:
- .jpg
- .gif
- .png
- .heic
- .bmp
- .svg
- .dxf (only supported on desktop)
The first five file types listed are known as basic or raster images. These files have a single layer and you can edit the image while uploading (you can crop, remove the background, etc.).*
The last two file types, .svg and .dxf, are known as vector images. You may also hear these images called cut files since they’re in a format that’s ready to be cut. If your file has multiple layers, Design Space will automatically upload the layers separately, which you will see in the Layers panel when you add your image to the Canvas.
*Cricut is currently testing a new Access-exclusive feature that will allow you to convert multi-colored basic images into layers upon upload (up to 9 layers). You can try this for yourself in the Beta version of Design Space.
What are SVG files?
SVG stands for Scalable Vector Graphic. SVG files are nice because they’re built with vectors instead of pixels, so resolution or quality of the image isn’t affected when you increase the size of the image.
SVG files are the most common type of cut file that you’ll see. Images in this format already have defined cut areas and layers so they work very well with Cricut and other cutting machines (they’re arguably the best file type for this).
If you want the easiest uploading process to Cricut Design Space, look for SVG cut files.
Where can you buy cut files for Cricut?
There are lots of places to purchase cut files or SVG files, and a lot of sites have free SVG files as well. Here are some good places to start:
Keep in mind that images outside of Cricut aren’t necessarily designed for Cricut, even if they’re in an SVG format. After uploading outside images to Design Space, you’ll want to double check that things are aligned and/or attached properly first.
If you’re looking for licensed images (like Disney, Warner Bros., etc.) at a good deal and want to go the legal route (since Etsy and other sellers aren’t technically allowed to sell these images), stay on the lookout for digital Cricut mystery boxes. These come up every month or so and have some really cute images in them that you won’t find elsewhere. After you purchase the digital mystery box, the images will be automatically added to your image library in Design Space, no uploading necessary.
How can you make your own SVG files for Cricut?
I won’t get into this too much since this is a whole other topic, but you can create your own SVG files in programs like Illustrator, Inkscape, Procreate, or even Canva.
Illustrator is on my to-learn-one-day list, but for now I use Canva for designing anything custom that I can’t do as easily in Design Space (note: it does require a Canva Pro subscription to download in SVG format).
Can’t you just use the images already in Design Space?
Absolutely, you can! There’s a handful of free images, shapes, and fonts in Design Space that are available for anyone to use. But if you want unlimited access to all the images in the Design Space library, you will want an Access subscription, which I have a whole post about, explaining all the benefits and costs involved with that.
I personally couldn’t live without my Access subscription because it’s so convenient having every image I could ever want at my fingertips, already uploaded and ready for me to use. But I also realize it’s an investment.
If you prefer to purchase your cut files elsewhere or want to use your own images that you’ve designed, you’re more than welcome to. Either way, you’ll want to know how to upload your own images in Design Space at some point!
Save $10 on any Cricut machine or heat press with the coupon code AUBREE-10
How to upload images to Cricut Design Space: for desktop
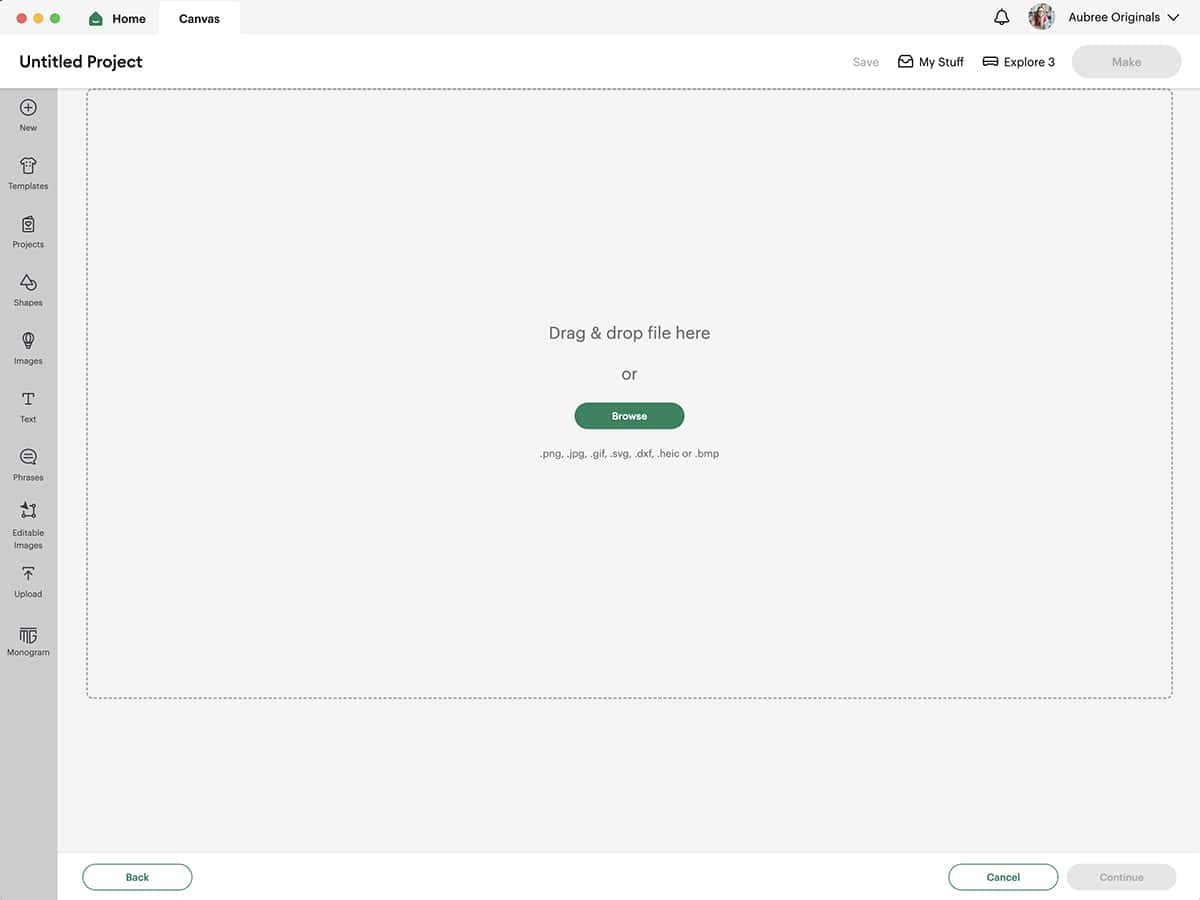
Open Cricut Design Space. Go to the Canvas (click Canvas at the top or start a new project) and click on the Upload icon from the toolbar on the left side. Click the Upload Image button.

Click the Browse button to find the image on your computer, or drag or drop the file into the window in Design Space. If you’ve just downloaded the file, it will most likely be in your Downloads Folder. If the image came in a zipped folder, “unzip” it by double clicking on the folder to open the files.
The next steps will be slightly different for basic images (.jpg, .gif, .png, .heic, .bmp) versus vector images (.svg, .dxf).
For basic images:
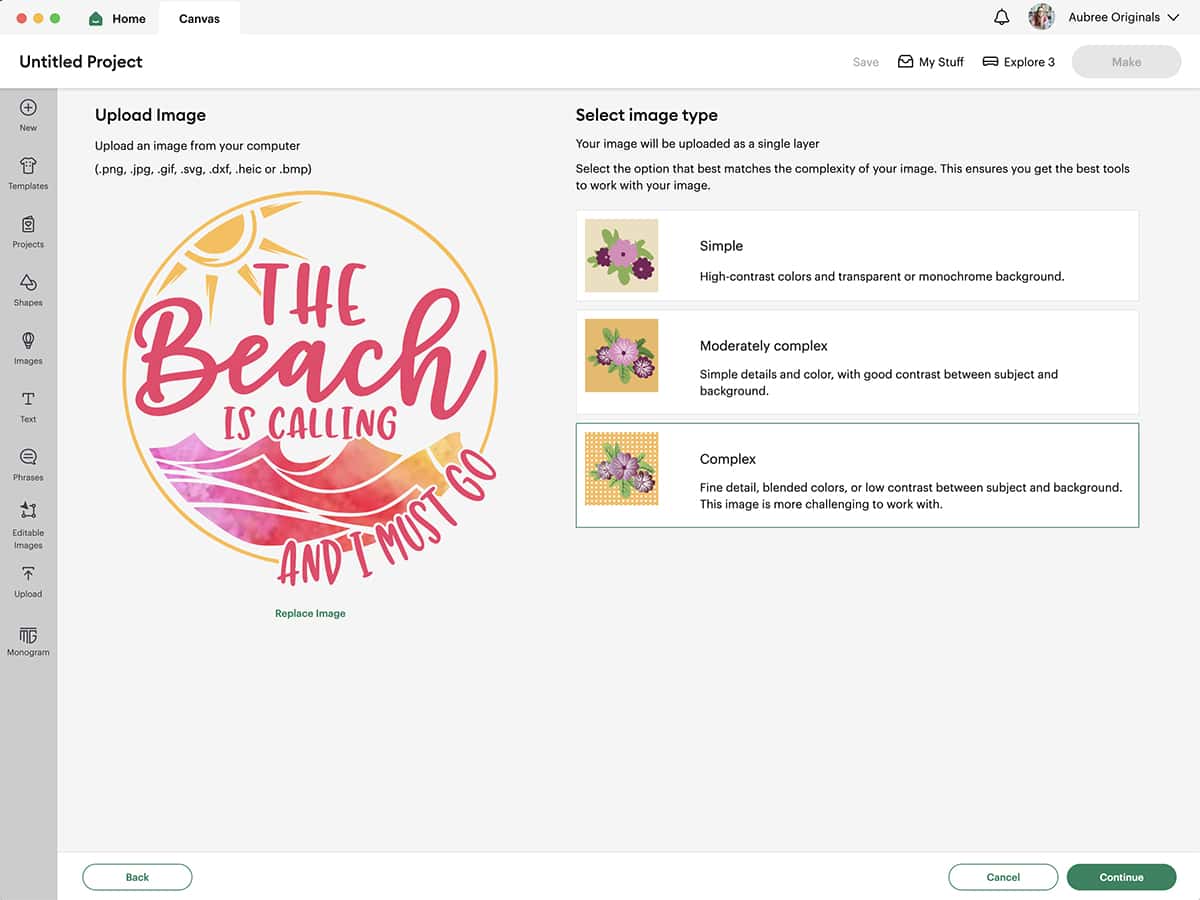
Select your image type from the three options shown, Simple, Moderately complex, or Complex. You can see which one fits your image best based on the descriptions, but I usually choose Complex.
Next, you can remove the background or crop the image to further define your image.

The automatic background remover is an Access-exclusive feature, but anyone can manually select the background and erase unwanted parts. Depending on the image, the automatic background remover might be all you need, and other times it won’t be able to detect the background correctly and you’ll need to use the manual options instead. You can click Revert if you don’t like how the automatic tool removes the background and start over.
With the Select button, you can quickly remove connected areas of the same color. The Erase tool is a freehand eraser and you can adjust its size (zooming in on your image may also be useful here). The Restore button is also freehand and works opposite of Erase, adding your image back where you might have accidentally erased too much.
When using the Select tool, you have More Options to help define the selection:
- You can reduce the number of colors in your image. For an example of how you would use this, say you have a leopard print image that has multiple shades of brown and black but you just want to isolate the black spots. You can select 2 in the dropdown and Design Space will change your image to have only 2 different colors, a brown and a black. You can then use the Select tool to click on the brown background to erase it and be left with the black spots.
- You can also adjust the color tolerance up or down to make it easier to remove larger areas. Increasing color tolerance (a bigger number) will allow a greater quantity of similar colors to be removed at one time. Decreasing color tolerance (a smaller number) will limit how many colors are removed at one time. The easiest way to understand this for yourself is to test it on a colorful image like a photograph: drop the tolerance down to 5 and click on your image, undo, then raise the tolerance to 100 and click on the image in the same spot and see how much more is erased.
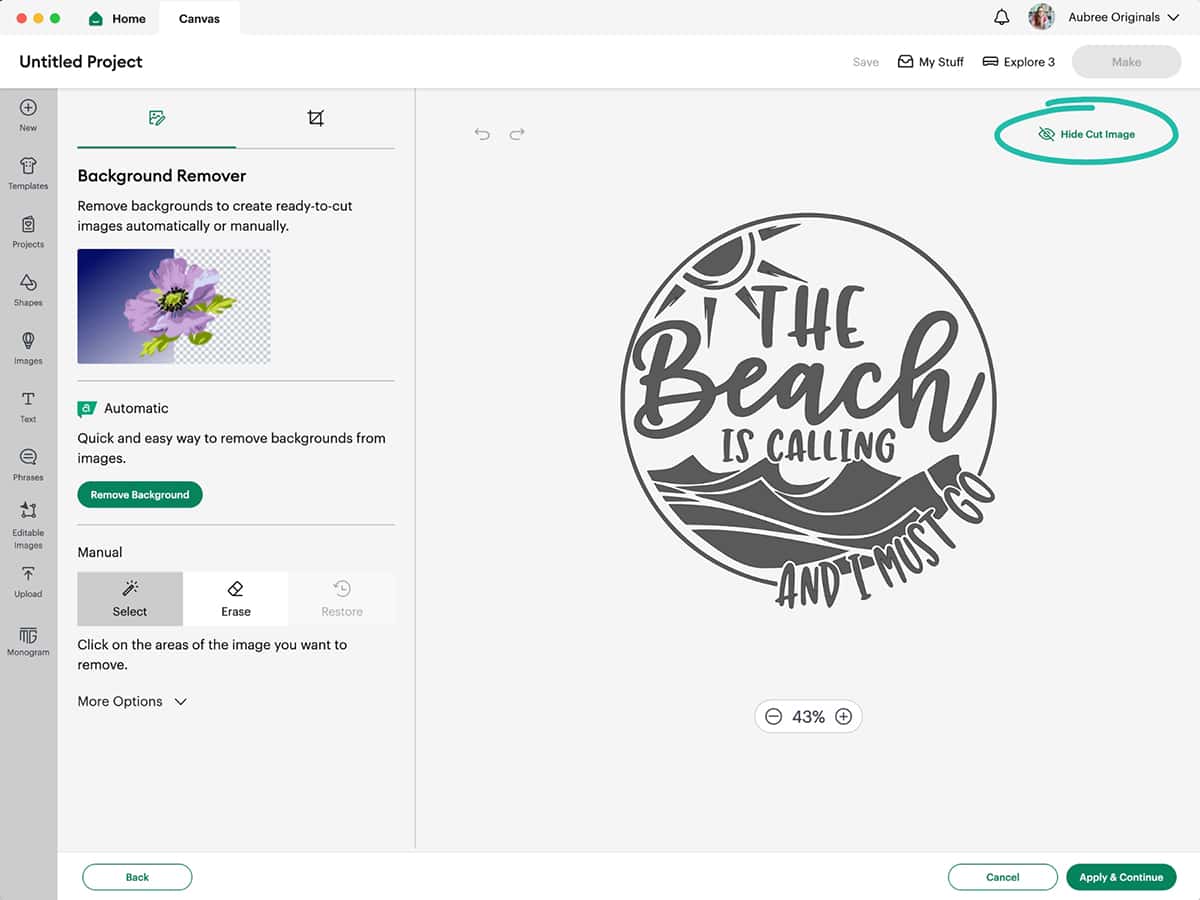
If you remove the background or erase anything, you’ll notice a checkerboard pattern which represents areas of the image that won’t be cut. Solid/colored parts of the image will be cut. You can click Preview Cut Image to more clearly see the shape of your image. If you still need to edit the image, click Hide Cut Image and continue.
If you want to crop your image closer, click on the Crop icon in the upper left. Use your mouse to drag and draw a bounding box where you want your image to be. If I know I’m going to be removing a complex background, I will often crop first to make the background removal process easier.
If you make a mistake during any of the editing, you can click Undo (the back arrow) or Redo (the forward arrow) at the top.
Once you’re happy with your image, click Apply & Continue.
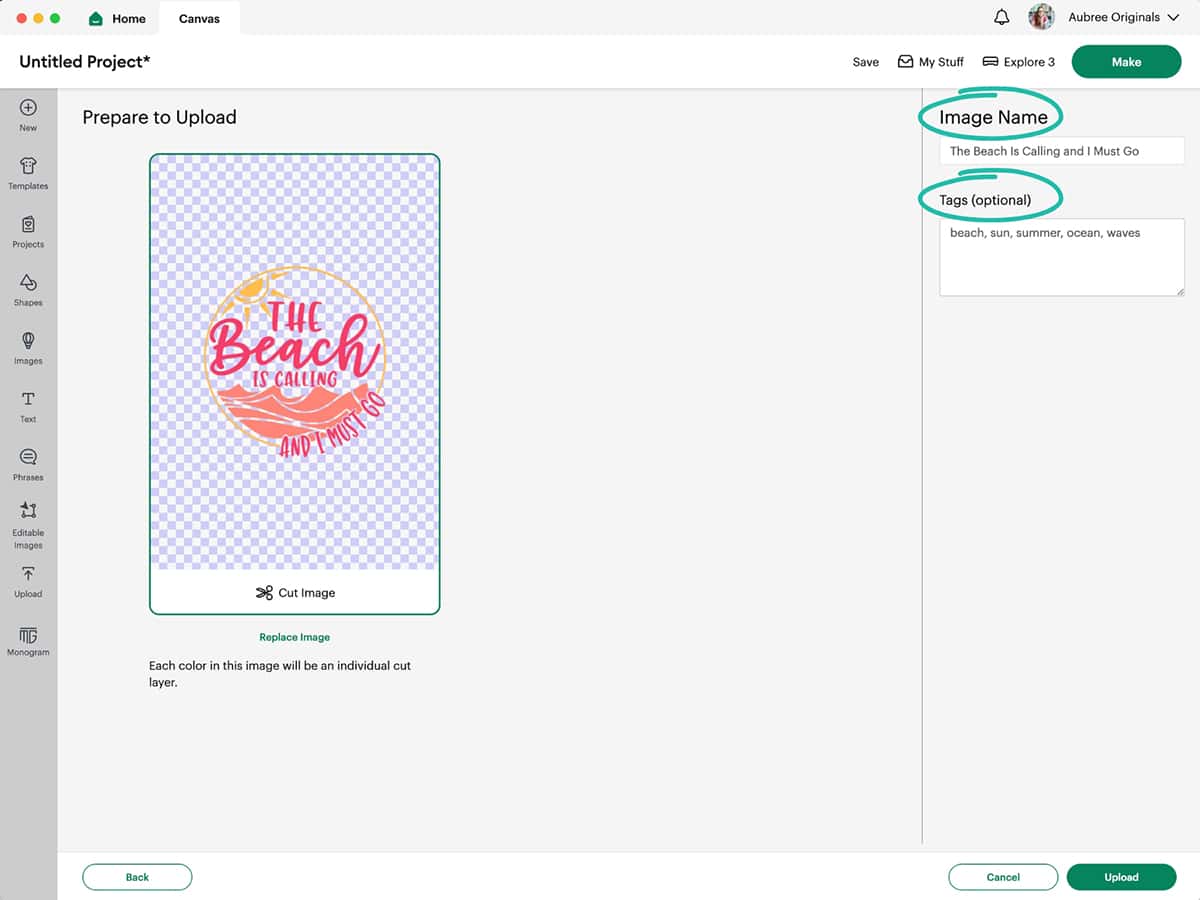
On the next screen, select your upload type, a Cut Image or Print Then Cut Image. A cut image will save the shape of the image only. A Print Then Cut image will also save colors and patterns for Print Then Cut projects (where you’ll use your home printer to print the image and then have your Cricut machine cut around it).
Name your image and add tags to help locate your image easier by search later. You can also add it to a collection if you want (collections can be whatever you want but I like to sort my images and projects by holidays/theme/etc.).

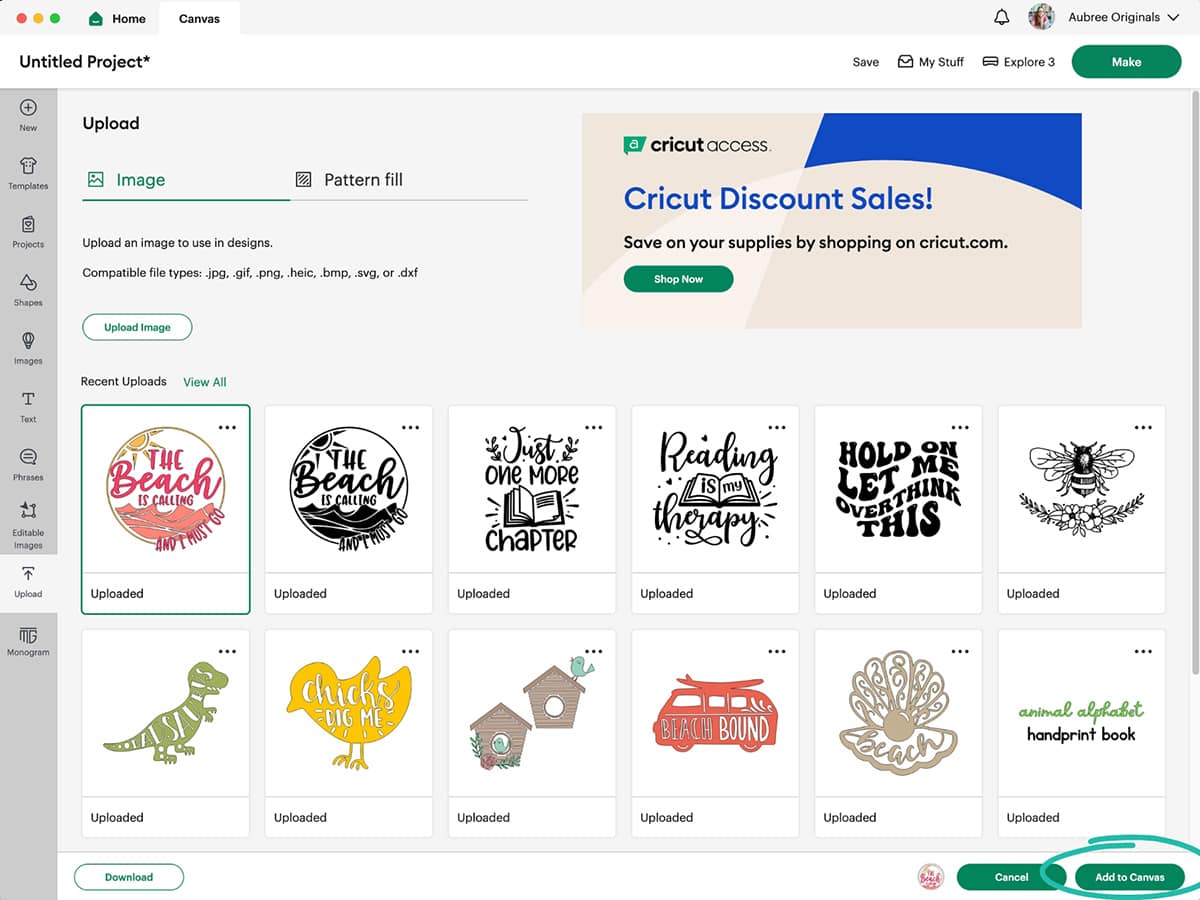
Finally, click the Upload button. You will be taken back to the Upload screen and the image will now be in your Uploaded Images Library. To use it, click on it and click Add to Canvas.
For vector images:
When uploading vector images, you’ll be taken right to the Upload screen where you’ll simply name your image and add tags if desired, then click Upload. (I used the same image as before, only this time in an SVG format, to show you how the different colors are preserved as different layers. This is why SVG format is often preferable.)
Again, you’ll be taken back to the Upload screen and the image will now be in your Uploaded Images Library. To use it, click on it and click Add to Canvas.
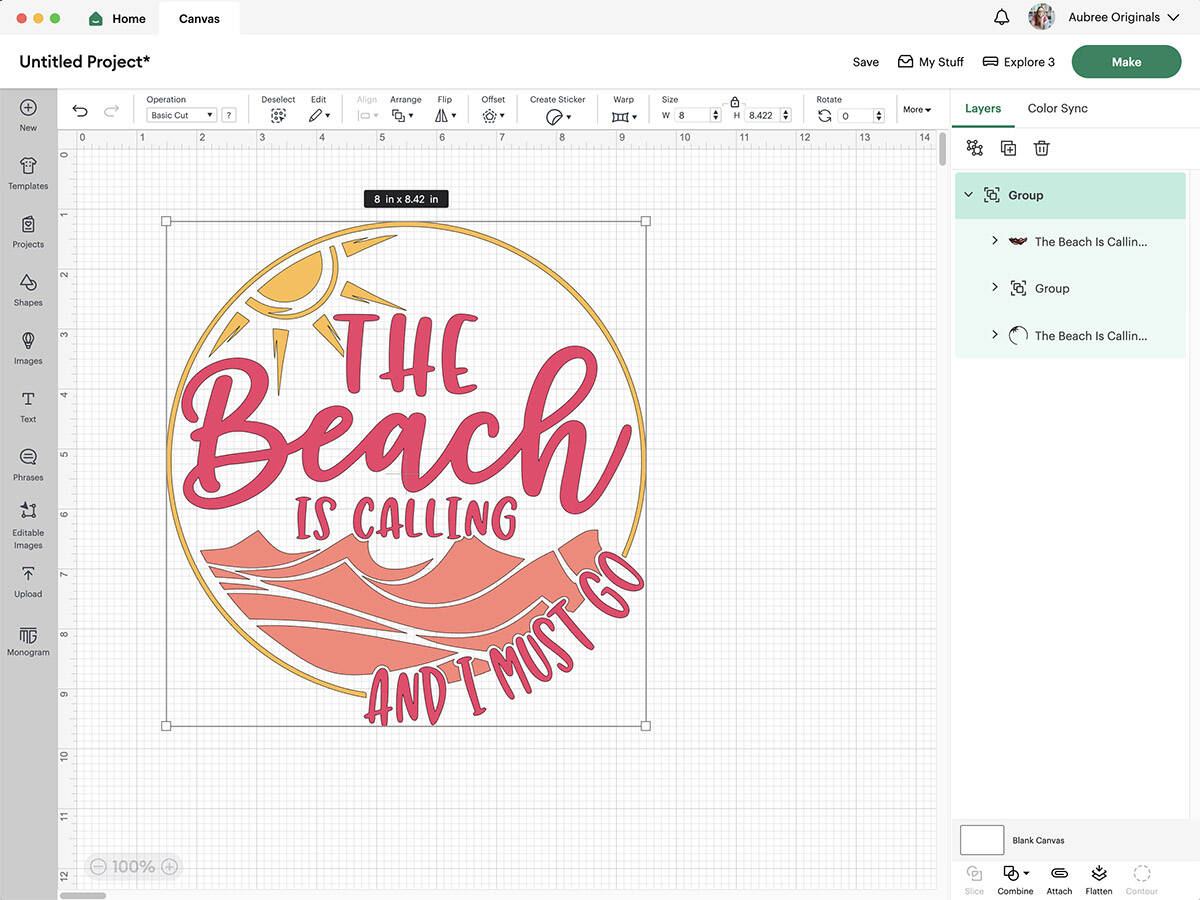
In the image above, you’ll see that the layers are grouped but not attached. I would need to attach the pieces of the same color to ensure they cut together. Pay attention to your uploaded images, even SVG files, to make sure everything’s correct before making your project!
How to upload images to Cricut Design Space: for mobile or tablet
Open the Cricut Design Space app. Go to the Canvas (click Canvas at the top of the screen or the plus sign in the bottom menu bar). Click Upload from the bottom toolbar. You can choose to take a photo, select from your photo library, browse files (on iOS), or open uploaded images. To access file storage locations on your device (like Dropbox, Google Drive, etc.), click on Browse Files for iOS or Select from Photo Library for Android.

If the image is a vector (SVG image), the cut areas will already be defined so all you’ll need to do is enter an image name and click Save (iOS) or Next (Android). On iOS, the image will be automatically added to your Canvas. On Android, the image will show up in your Uploaded Images library and you can insert it on your Canvas.
If the image is a basic file type, you will have options to erase the background or crop the image, similar to the desktop version (see above). When finished, click Apply. Choose between a Cut image or Print Then Cut image, give your image a name, then click Upload or Next.
How do you find images after uploading them to Design Space?
There are two ways to find your uploaded images in Design Space on desktop:
- From the Canvas, click on Upload in the left toolbar to take you to the Uploaded Images Library. You’ll see a handful of recently uploaded images. To see the rest, click View All. You can use the top search bar to search by name or keyword (tags you may have added to the image when uploading).
- You can also find images by going to the image library. From the Canvas, click on Images in the left toolbar. Filter by My Stuff – Uploaded. Then you can use the search bar again to search for specific images you’ve uploaded.
If you’re using a mobile device or tablet, you can access previously uploaded images by clicking on Upload (in the bottom toolbar of the Canvas) and selecting Open Uploaded Images. Or, from the image library, you can also filter by My Stuff – Uploaded.
What is the Pattern Fill upload for?
At the top of the Upload screen, next to Image, you’ll notice a second tab for Pattern Fill. You can upload a pattern (in the format of .jpg, .gif, .png, or .bmp) that can be used to fill designs instead of colors for Print Then Cut images. After selecting your image to upload, you can name your pattern and click Upload.
When editing a Print Then Cut image, you can change the color to a pattern instead (click on the color square next to Operation, then change the Print Type from Color to Pattern in the dropdown). Your uploaded pattern will be there, or you can also choose from one of the patterns already in Design Space. Click Edit Pattern to adjust the scale and position of the pattern fill on your design.

How to upload images to Cricut Design Space
I hope this tutorial was helpful! I love that Cricut allows you to use your own images in Design Space and that the upload process is so straightforward. There are so many crafting possibilities with Cricut!

Don’t forget to pin and save for later!
