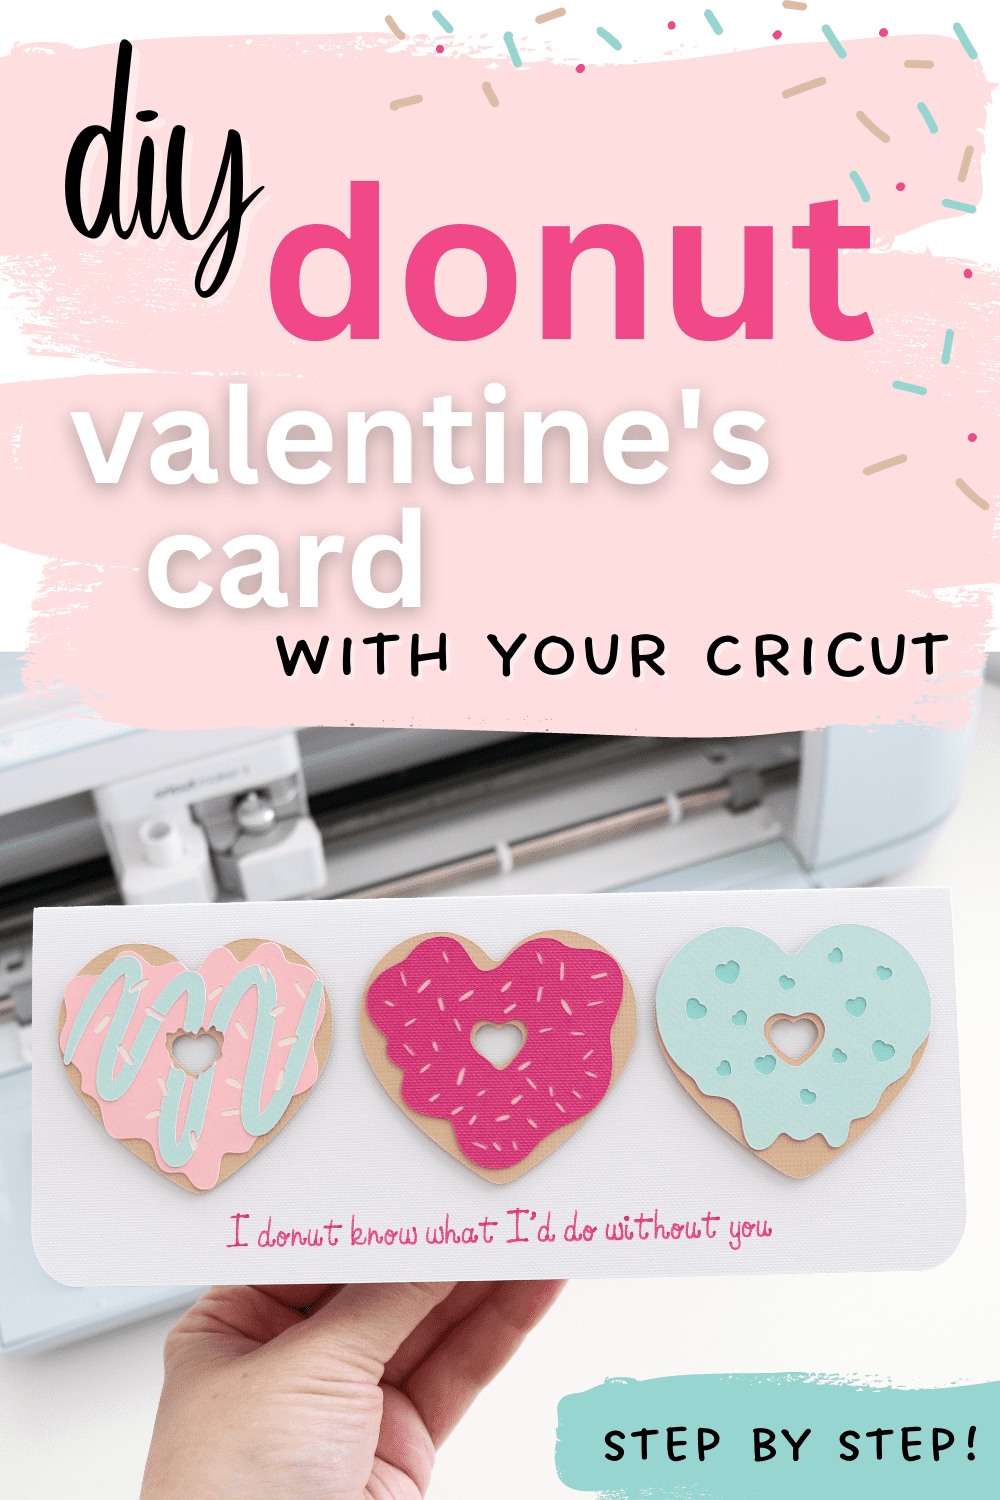
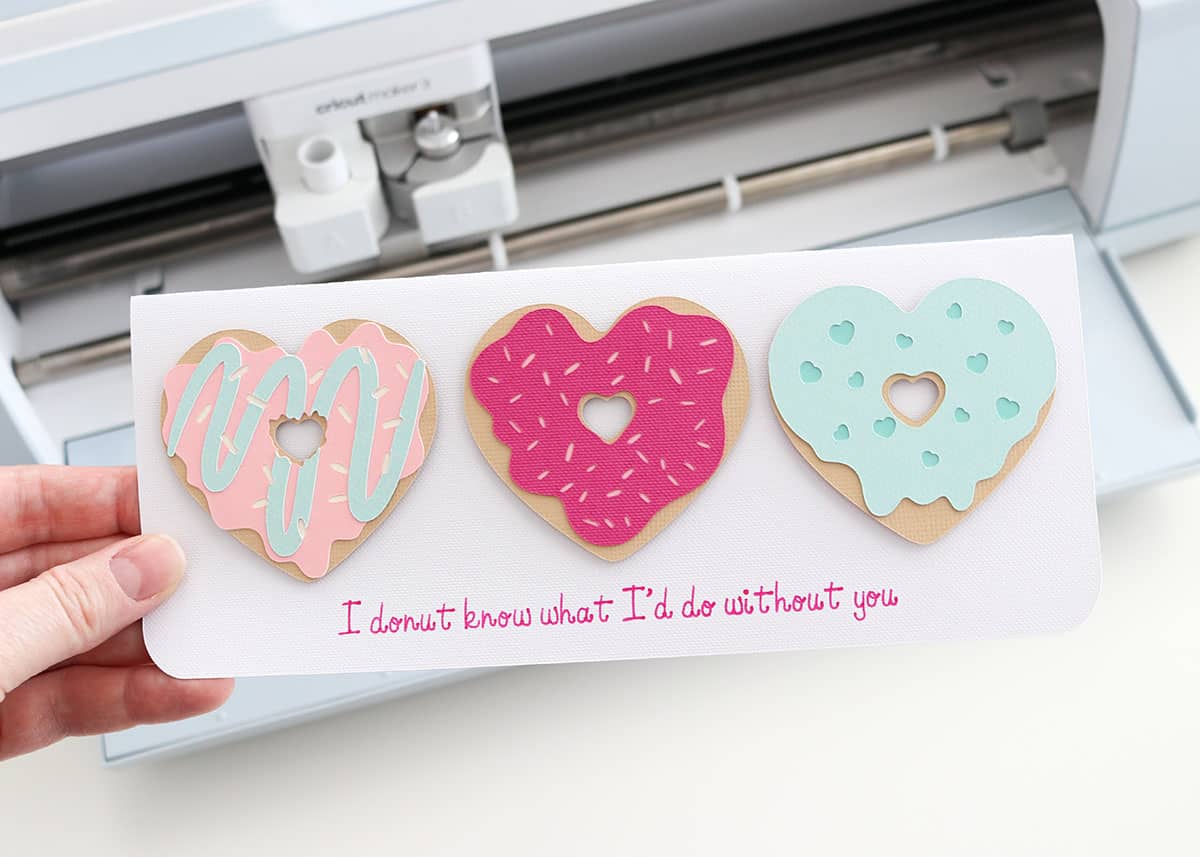
Donut Valentine’s Cricut Card DIY
This DIY paper crafted slimline card features adorable heart-shaped donuts and is a simple Cricut Valentine’s project! Get the step-by-step tutorial below!
Mmmm…donuts. Who doesn’t love them? And heart-shaped donuts are especially adorable for a homemade valentine.
I took all the hard work out of this card for you by rearranging and slicing the layers so they’re as easy to assemble as possible! (Some images are great for vinyl but not so much for cardstock…the donut images were like that.)
Let’s get crafting!
This post contains affiliate links. For more information, see my disclosures here.
What you need to make this DIY donut Valentine’s card
- Cricut machine
- Cricut Access subscription: This project uses Access images and fonts. If you’re not sure if Access is right for you, check out this post all about Cricut Access. (It’s so nice not to have to search anywhere else for images!)
- white cardstock
- cardstock for the donuts: I used tan for the base, cream, light pink, dark pink, light mint, dark mint
- Cricut pen: I used a 1.0 gel pen
- LightGrip mat: I like this for cutting light- to medium-weight cardstock
- craft glue: I love this glue, especially for the super fine point tip—you’re going to want that for the tiny pieces!
- foam tape or dots: I’ve been liking the foam tape from Dollar Tree! It’s super sticky and a great price. You just cut off what you need and can even cut it lengthwise if you need skinnier strips. Or try a variety pack like this one with precut squares.
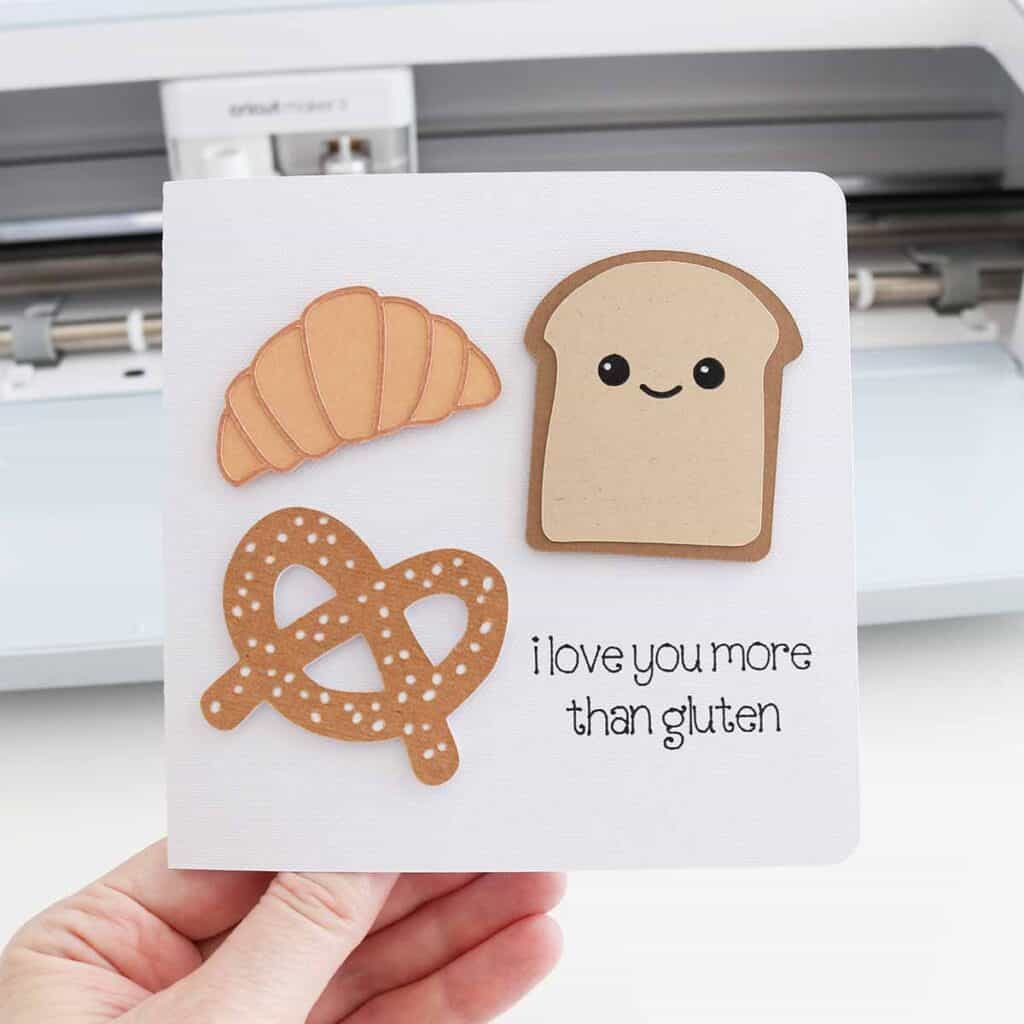
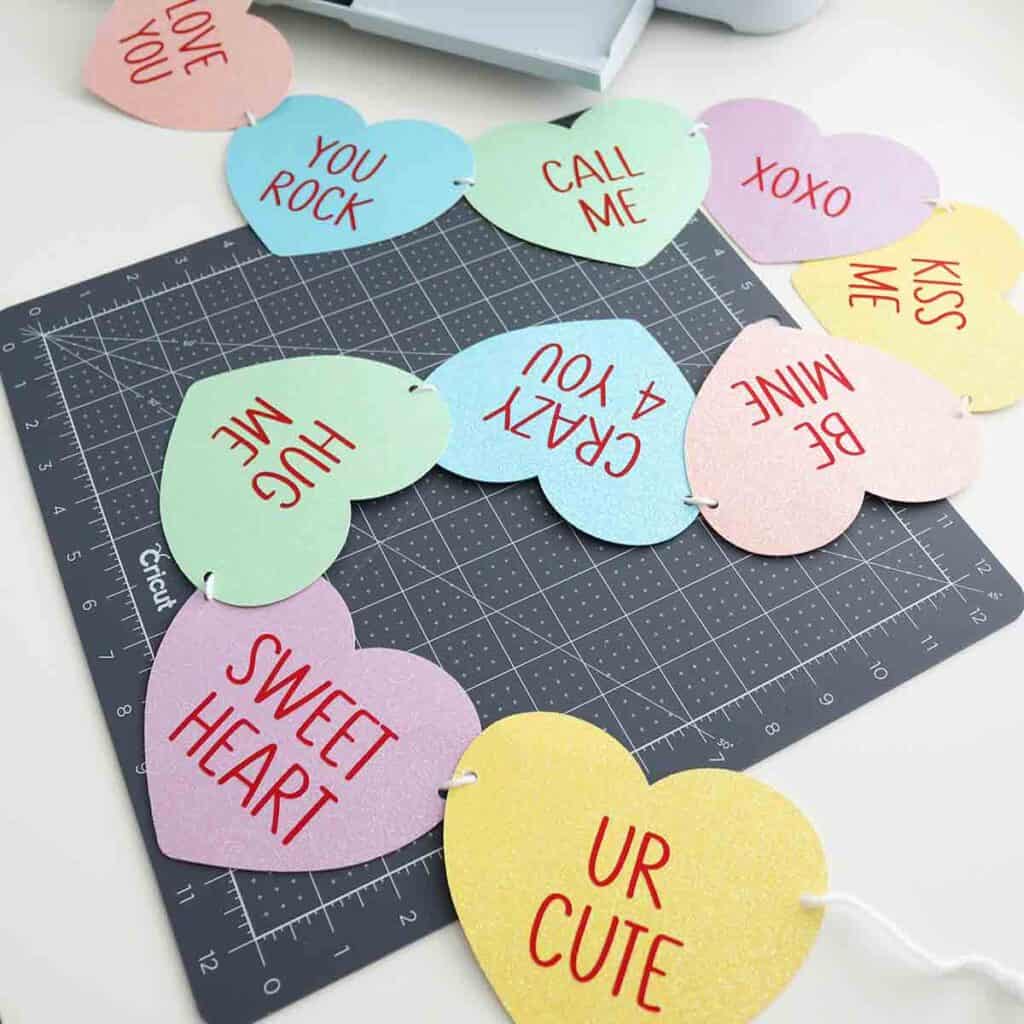
More posts you’ll like:
How to make a donut Valentine’s card with your Cricut
Customize in Design Space
Open my Donut Valentine’s Card project in Cricut Design Space. If you want to make any changes, choose Customize. You can adjust the colors to fit the colors of cardstock you’re using.
This card would also be cute with just the donuts and no text, so feel free to delete or hide the text layer before cutting (and then just center the donuts on the card when assembling).
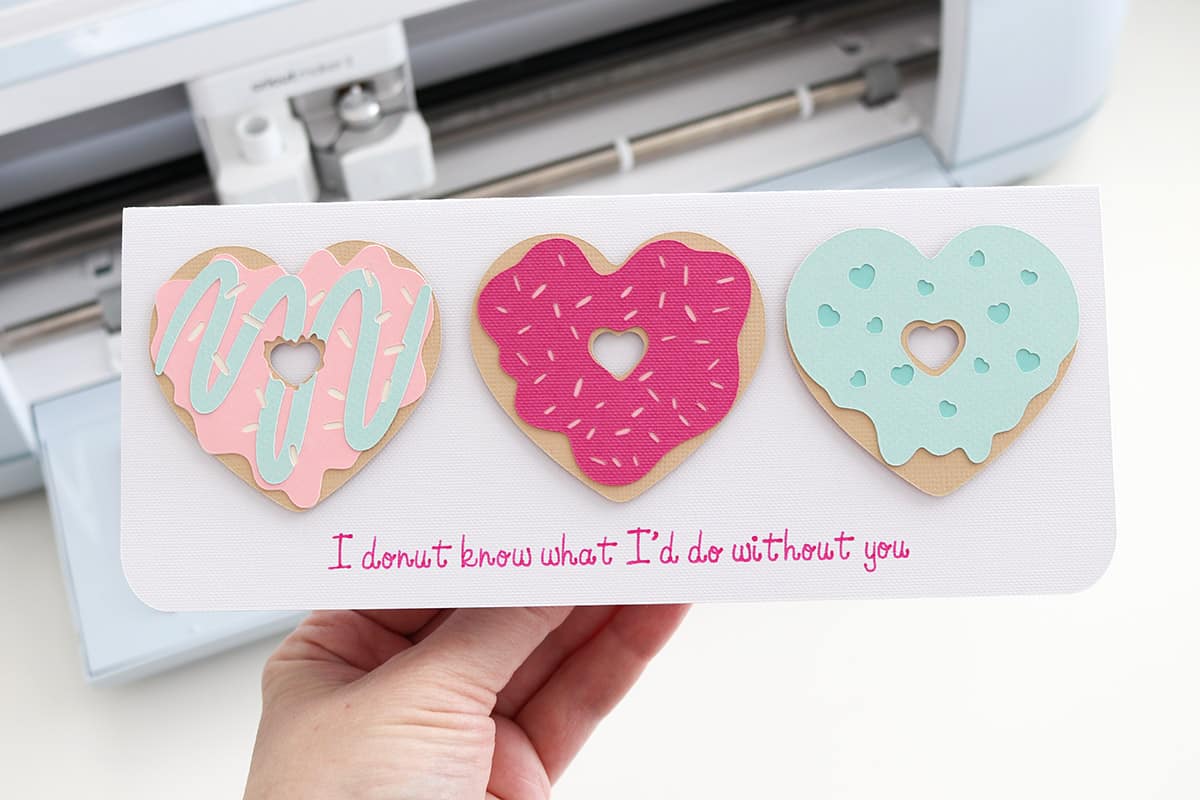
The finished card size is 8.5″ x 3.5″ which fits in a slimline envelope.
Cut with your Cricut machine
Click Make It. Choose your mat preferences. Set your base material to Medium Cardstock if using Cricut cardstock or anything of a similar weight.
For the white cardstock, load the pen into Clamp A and the scoring wheel into Clamp B. Follow the Design Space prompts to draw and score. Once finished, switch out the scoring wheel for the fine-point blade (do NOT unload the mat or you’ll lose your placement!).
Continue following the Design Space prompts until all mats/colors have been cut.
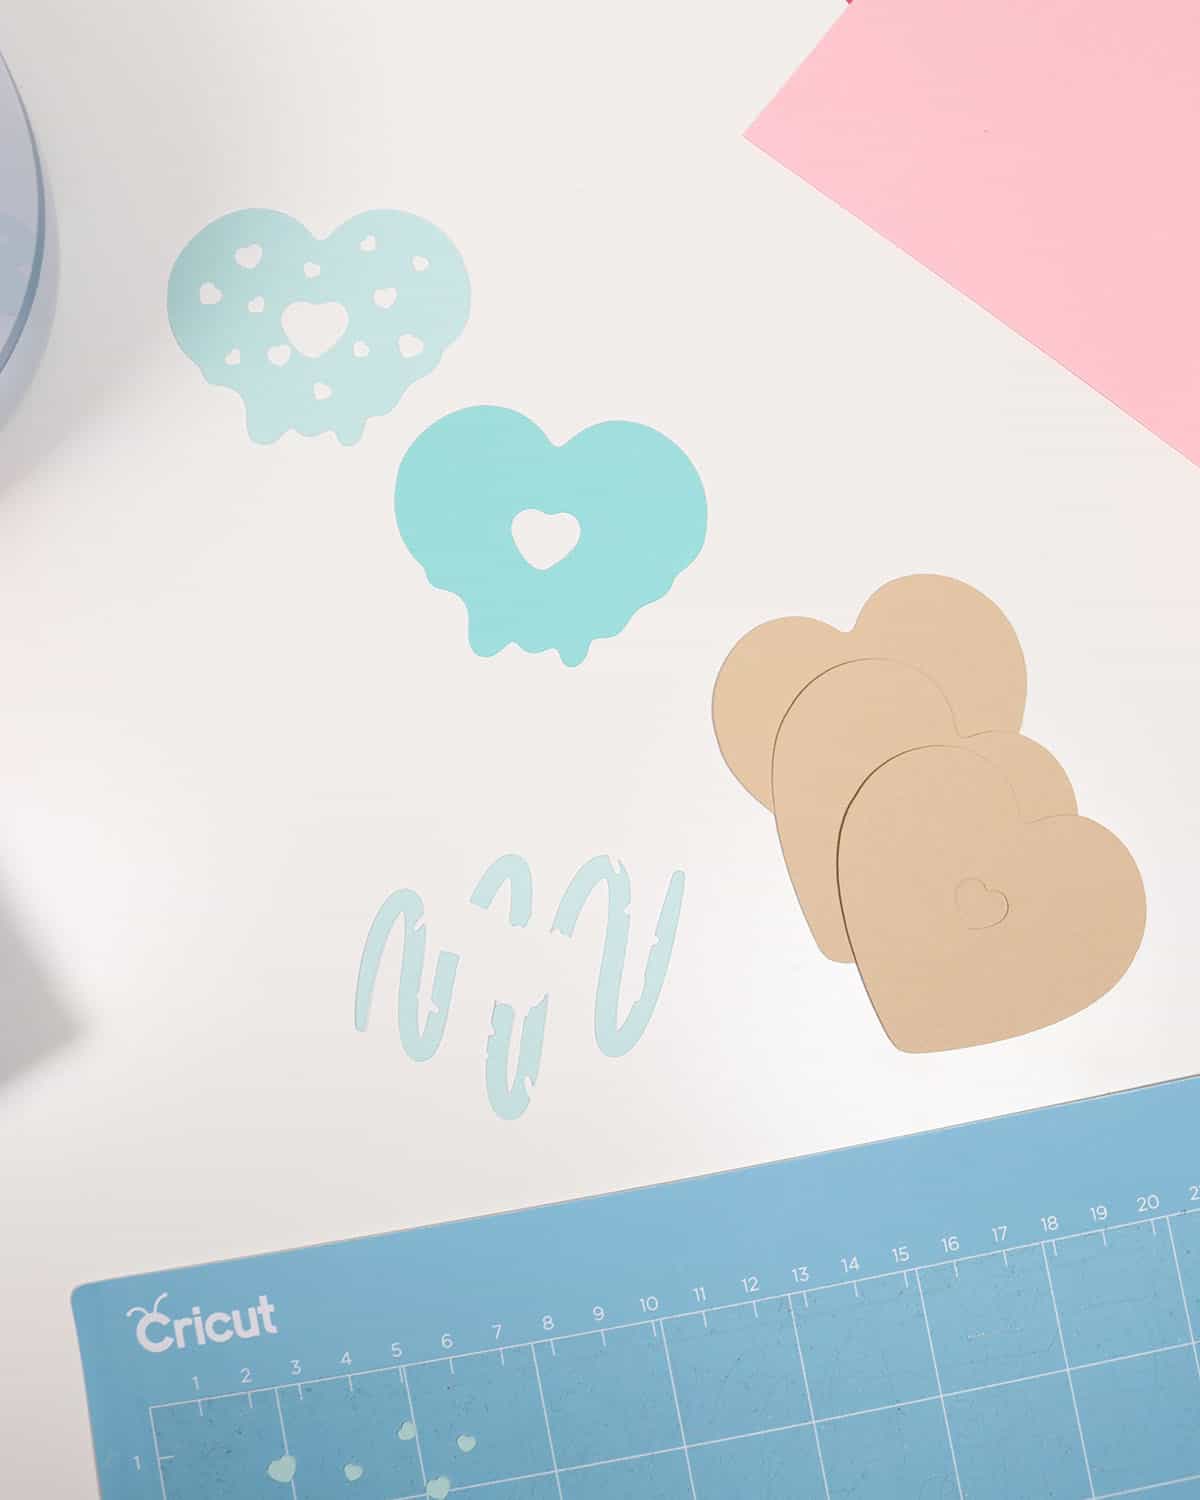
For the intricate pieces, particularly the one with sprinkles cut out, my machine did a much better job of cutting on the “Cardstock (for intricate cuts)” setting. If you’re still having issues with the sprinkles popping out all the way, use a pin or a sharp weeding tool to push the sprinkles to the back of the piece, then cut or tear them the rest of the way (so that if it does tear, it’s not on the front of the piece).
As your machine cuts, remove each piece from the mat carefully and place them right side up on your table, positioning them the same way that you’ll assemble the card (so you know which pieces will go where). If you’re still worried about losing pieces or getting confused on their placement, you could press some cling wrap to the pieces before removing them from your mat and then remove them all together.
Assemble card
Donut assembly order:
Donut #1: Glue the pink frosting piece (with cutout sprinkles) on top of the cream backing (they’re the exact same shape so center them as closely as possible so you don’t see the cream peeking out at the edges). Glue these two pieces to the brown donut base. Next, glue the mint frosting squiggles on top by using the sprinkles and the donut hole as guides (it’s actually not as difficult as it might seem, but you can lay them out before gluing if that helps to visualize it).
Donut #2: Glue the dark pink frosting (with cutout sprinkles) on top of the light pink backing (again, they’re the exact same shape so center them as much as you can). Glue these pieces to the brown donut base.
Donut #3: Glue the light mint piece on top of the dark mint backing, centering them as closely as possible. Glue these pieces to the brown donut base.
You can either glue all the donuts to the card or use foam dots for added dimension.
DIY Cricut Donut Valentine’s Card
I hope you enjoyed this tutorial! I think these donuts are so fun and make a cute card for just about anyone. Let me know if you have any questions in the comments.
Happy paper crafting!

Don’t forget to pin and save for later!